The address 127.0.0.1:49342 is a reference to a local network connection between applications running on the same system.
The IP address 127.0.0.1 represents loopback traffic, while the number 49342 identifies a dynamic port used for internal communication.
This tutorial will explain what 127.0.0.1:49342 means, how it works, and how to troubleshoot common issues.
What is 127.0.0.1:49342?
The IP address 127.0.0.1:49342 refers to a loopback connection on the local machine using port number 49342. The loopback IP is a virtual network used for internal networking, which allows services and applications on the same device to communicate without leaving the host. The port number 49342 is a high-range dynamically assigned port.
Ports in the high range are used for temporary sessions, especially when a client (like a web browser or development tool) connects to a server process listening on a different local port. In most cases, you see 127.0.0.1:49342 when interacting with a local development server, debugging session, or a tool that creates temporary network listeners.
This address functions the same way as 127.0.0.1:62893, another loopback address with a randomly chosen port. The only difference is the specific port number in use. Both are assigned on-demand and manage internal-only traffic. They are not accessible from external devices, such as other networked computers or remote systems.
Benefits of Using Localhost on Port 127.0.0.1:49342
127.0.0.1:49342 keeps all traffic looped back to the system's own hardware, as localhost refers to the local machine itself. This protects the service from external access and reduces latency by eliminating unnecessary network overhead, making it ideal for isolated development environments.
This address hosts temporary web servers or application instances during testing and development. Developers bind tools and local APIs to it when validating functionality before deploying to production.
Ports like 49342 fall into the ephemeral range - temporary ports the operating system allocates automatically when needed. This helps avoid manual port assignment and reduces service conflicts.
Since the service stays internal, developers avoid issues related to firewall rules, Network address translation (NAT), and exposure to other machines. It speeds up testing cycles and simplifies configuration for tools that don't need outside connectivity.
How to Use Port 127.0.0.1:49342
Using port 127.0.0.1:49342 involves running a local service on your machine and accessing it via a web browser or command-line tools. Below are detailed methods to utilize this port effectively, including starting simple servers, development frameworks, and scripting tools.
Python HTTP Server
Python is a programming language that includes a built-in HTTP server module. This module allows you to serve files from any local directory through the loopback address (127.0.0.1).
Because it requires no extra packages, it is one of the fastest ways to serve local content on 127.0.0.1:49342 during development or file-sharing tests. To use 127.0.0.1:49342 via the Python HTTP server, follow these steps:
1. Check whether Python 3 is available with:
python3 --version
The output shows Python is on the machine. If not, install Python 3. For example, to install Python on Ubuntu, run:
sudo apt install python32. Use the cd command to navigate to a specific location. For example, navigate to the ~/Documents directory:
cd ~/Documents
3. Start the server on port 49342 with:
python3 -m http.server 49342
4. Open http://127.0.0.1:49342 in a web browser to view the directory contents.
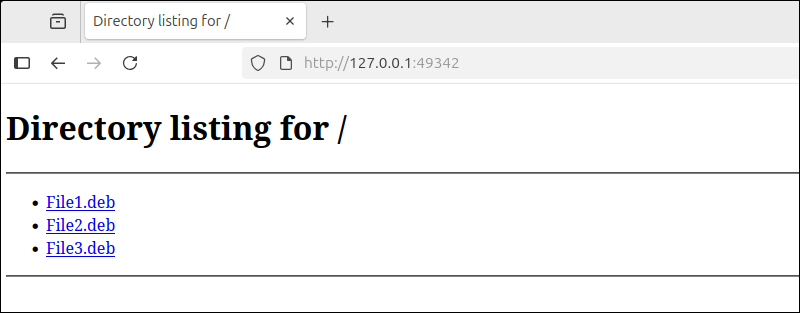
The page displays the ~/Documents directory contents.
Note: If the port is already in use, find the conflicting process with sudo lsof -i :49342 and stop it with kill [PID].
Python HTTP Server Script
To reuse the same setup regularly, create a script to launch the server automatically:
1. Create a Bash script in a text editor of choice. For example, in nano:
nano start_server.sh2. Paste the following content:
#!/bin/bash
cd ~/Documents
python3 -m http.server 49342
This script navigates to the ~/Documents directory and starts a local HTTP server on port 49342.
3. Save the file and exit the editor.
4. Make the script executable with the chmod command:
chmod +x start_server.shThe command has no output.
5. Run the Bash script with:
./start_server.sh
The command starts the server exactly as if you'd run the commands manually. The directory contents are available at http://127.0.0.1:49342.
Flask Development Server
Flask is a lightweight Python web framework for building web applications. It is used in development environments because it provides a simple way to start a local server and test application behavior. To launch a basic Flask development server on port 49342, take the following steps:
1. Flask does not come with Python by default. Install Flask with pip:
pip install flask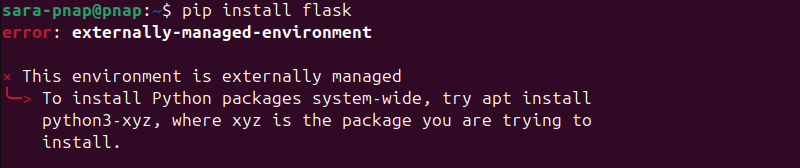
In case the command doesn't work and returns "This environment is externally managed", the easiest way to install Flask is with a virtual environment. Run the following to create a virtual environment:
python3 -m venv ~/flaskenvThe command has no output. Next, activate the environment with:
source ~/flaskenv/bin/activate
Finally, repeat the installation command:
pip install flask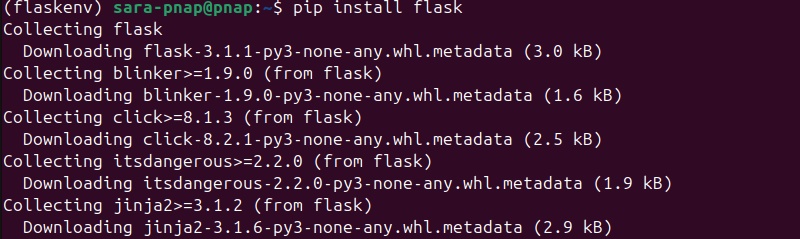
Note: The "This environment is externally managed" error occurs on modern systems (like Ubuntu 24.04) that follow PEP 668. Apart from using virtual environments, you can use pip --break-system-packages. However, it risks breaking your Python system environment.
2. Create a basic Flask app that returns a text message when accessed in the browser. Create a new file in your text editor. Do not leave the virtual environment during these and the following steps if you used that method to install Flask.
To create an app in Nano, run:
nano app.py3. Paste the following content into the file:
from flask import Flask
app = Flask(name)
@app.route('/')
def home():
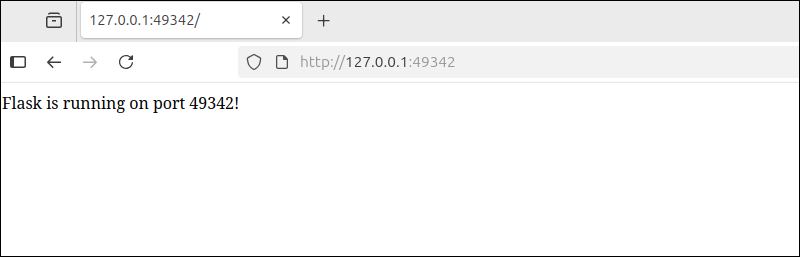
return 'Flask is running on port 49342!'
This app initializes a Flask server and sets up a single route (/) that returns a plain-text message.
4. Save the file and exit the editor.
5. Set environment variables that tell Flask which file to run and enable debug-friendly behavior. To do it in Linux/Mac, run the export command in the terminal:
export FLASK_APP=app.py
export FLASK_ENV=development
The commands have no output and the variables are set for the current session. Run them in every new terminal session or add them to your shell configuration file (e.g., .bashrc).
If you're on Windows, run the following in the Command Prompt to set environment variables:
set FLASK_APP=app.py
set FLASK_ENV=development
6. Run the Flask server on port 49342:
flask run --port=49342
7. Once the server starts, open http://127.0.0.1:49342 in your web browser
Flask Development Server Script
If you frequently test Flask apps, create a script to automate the setup and launch process. Stay inside the virtual environment (if using) it while performing these steps:
1. Access a terminal text editor and create a file:
nano start_flask.sh2. Paste the following content:
#!/bin/bash
export FLASK_APP=app.py
export FLASK_ENV=development
flask run --port=49342
3. Save the file and exit.
4. Make the script executable:
chmod +x start_flask.shThe command has no output.
5. Activate the virtual environment:
source ~/flaskenv/bin/activateThe command has no output but activates the virtual environment by modifying your shell session to use the environment's Python and pip executables instead of the system-wide ones.
Note: Skip this step if you installed Flask globally (without using a virtual environment). In that case, your system Python already knows where to find Flask.
6. Run the script with:
./start_flask.sh
This script sets the required environment variables and starts the development server on port 49342. You can test it in a web browser.
Node.js Express Server
Node.js is a JavaScript runtime that allows you to run JavaScript on the server side. Express is a minimalist web framework for Node.js, widely used for developing and testing web applications.
Follow these steps to set up and run an Express server on port 49342:
1. Check if Node.js is already on your system with:
node -v
If Node.js is not on your machine, download it from the official Node.js website or install it using your package manager. For example, to install Node.js on Ubuntu, run:
sudo apt install nodejs2. Set up a separate directory for your project with mkdir:
mkdir express-serverThe command has no output.
3. Navigate to that directory with:
cd express-server
4. Initialize a new Node.js project:
npm init -y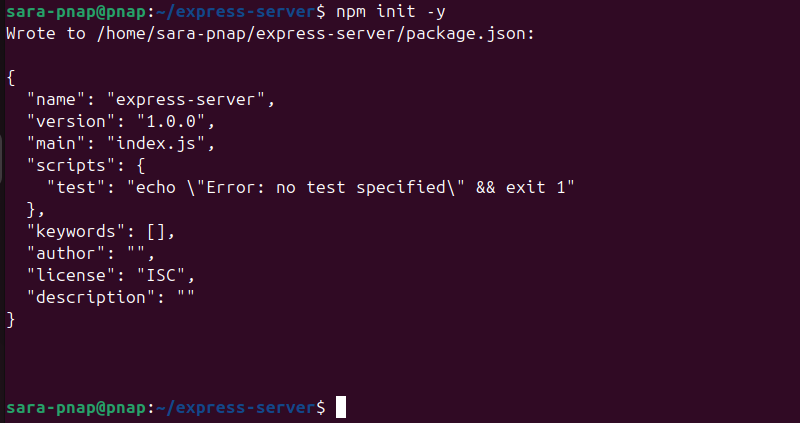
The command auto-generates a package.json file with default values. This file defines basic metadata for your Node.js project (like name, version, entry point, and scripts), which is a requirement for installing packages like Express and managing the project.
5. Install Express with:
npm install express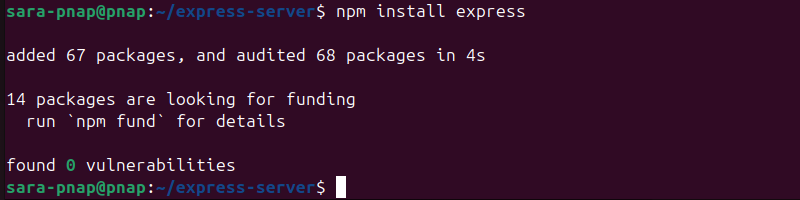
6. Using a text editor of your choice, create your server script. For example:
nano server.js7. Add the following code:
const express = require('express');
const app = express();

app.get('/', (req, res) => {
  res.send('Hello from 127.0.0.1:49342');
});

app.listen(49342, '127.0.0.1', () => {
  console.log('Server running on http://127.0.0.1:49342');
});
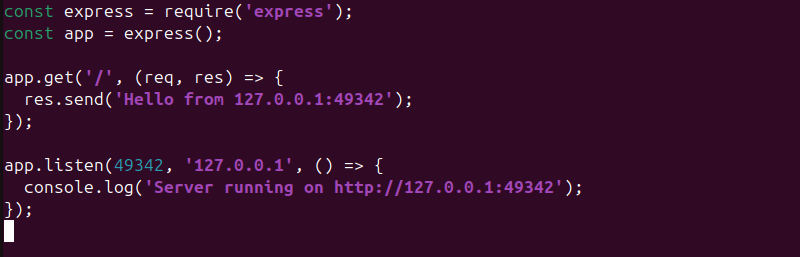
This code creates a basic Express server that listens on 127.0.0.1:49342 and sends the message "Hello from 127.0.0.1:49342" when you open the root URL (/) in your browser.
8. Save and exit the file.
9. Start the server with:
node server.js
This launches the Express server listening on port 49342 at the local address 127.0.0.1.
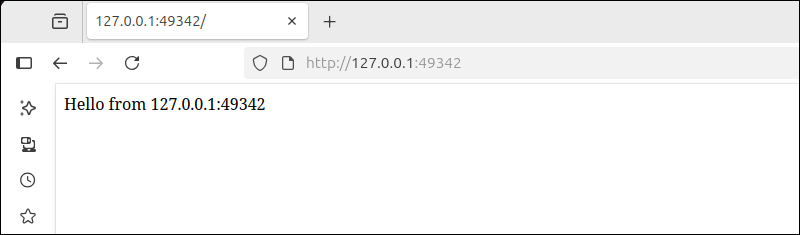
10. Open your web browser and navigate to http://127.0.0.1:49342 to verify the server response
Node.js Express Server Script
To streamline server startup and improve reliability during development or testing, automate the launch process and optionally use a process manager to keep it running:
1. Access the file with:
nano package.json2. Edit the package.json file and define a custom script under the "scripts" section. This allows you to start the server using a simple command (npm start).
In package.json, update or replace the "scripts" section with:
"scripts": {
  "start": "node server.js"
}
The update defines npm start to automatically run node server.js, so you don't have to type the full command each time.
3. Save and exit the file.
4. Start the server with:
<code>npm start
This executes the server.js script and starts your Express server. You can open http://127.0.0.1:49342 in your web browser to test it.
Common 127.0.0.1:49342 Errors
Errors related to 127.0.0.1:49342 appear during local development when something blocks access to the port or the service fails to respond. Below are the most frequent issues:
- Connection refused. The server process is not running, or it exited unexpectedly. The port is closed, and not listening for incoming connections.
- Address already in use. Another application is already bound to the port
49342. Trying to launch a new process on the same port will fail. - Access denied (EACCES). Running the server without the required permissions, especially when using protected ports or restricted environments.
- Timeout or no response in the browser. The server is running, but the code is misconfigured, stuck, or unable to serve requests properly.
- Firewall or security software blocking localhost. By default, localhost resolves to 127.0.0.1 on most systems. On some systems (or when using antivirus/firewall tools), localhost traffic may be filtered or denied.
Troubleshooting 127.0.0.1:49342
Follow these steps to diagnose and resolve issues when using port 49342 on localhost:
- Verify the server is running using the
pscommand to list all processes. Pipe the grep command topsto check your app is active and listening. For example, for Flask run:
ps aux | grep python
The output shows no error. The app is active and listening.
Note: You don't need to stay in the project directory for this.
- Check if the port is already in use with the lsof command:
sudo lsof -i :49342
The output shows a Python 3 process (PID 5049) is actively listening on port 49342. This means the server is running and ready to accept connections. If the output indicates that another process is using the port, either stop that process or change your app's port number.
- Kill conflicting processes with the following:
sudo kill -9 [PID]Replace [PID] with the process ID from the previous command
- Both Flask and Node.js provide logs in the terminal. Look for stack traces, syntax errors, or crash messages after launching the app.
- Test http://127.0.0.1:49342 directly in the browser. If you see the expected response, the server is working.
- If the code changes or the process crashes, restart the server using
npm start,node server.js, orpython app.py. - Make sure the server is correctly binds to
127.0.0.1and port49342. Confirm the route handlers return valid responses. - If nothing else works, and you're running additional security software, disable it briefly to rule out interference with local traffic.
- If persistent problems occur, modify the port in your code (e.g., to
49343) and retest. Port conflicts or OS restrictions sometimes block specific port ranges.
Conclusion
This tutorial explained what 127.0.0.1:49342 is and its main benefits. It also elaborated on how to use it, providing examples with Python's HTTP server, Flask Development Server, and Node.js Express Server.
Moreover, the text touched upon common 127.0.0.1:49342 errors and how to solve them.
Next, learn about the SSH Connection Refused error.