Python is a popular programming language used to write automation and other types of scripts. Python 3, the latest program version, includes performance improvements, new features, security patches, and enhanced compatibility with libraries and tools.
In this tutorial, you will learn how to install Python 3 on Ubuntu.
Prerequisites
- A system running Ubuntu (this tutorial applies to Ubuntu 22.04, Ubuntu 24.04, and Ubuntu 26.04).
- A user account with sudo or root privileges.
- Access to the terminal.
Check if Python Is Installed on Ubuntu
Before installing Python 3, check whether it's already installed on your system. Run the following command:
python3
If the output shows the version, Python 3 is already installed. You can also see additional information about copyright, license, etc.
If the command shows an error saying bash: python3: command not found, Python is not installed.
Install Python on Ubuntu
There are several methods for installing Python on Ubuntu:
- Via APT. Install the latest version available in the default Ubuntu repository.
- From source code. Install the latest version from the official Python website.
- Via PPA. Install Python from the Deadsnakes PPA, a third-party repository designed for Ubuntu.
The sections below show the process for each installation method.
Method 1: Install Python via APT
This process uses the apt package manager and the default Ubuntu repository to install Python. This method is the easiest but does not always provide the latest version. The latest Python versions are available on the official website or in a third-party repository.
Follow the steps below.
Step 1: Update the Package Repository
Update the package repository to ensure you get the latest available program version. Run the following command:
sudo apt updateStep 2: Install Python
After the package repository information is updated, run the command below to install Python:
sudo apt install python3
Step 3: Verify Installation
Verify whether the installation was successful by checking the program version:
python3 --version
Method 2: Install Python From Source Code
Use this method to download and compile the source code from the official developer. It is a bit more complicated, but the trade-off is accessing a newer Python release.
Follow the steps below:
Step 1: Update Local Repositories
Update the local package repositories:
sudo apt updateStep 2: Install Supporting Software
Compiling a package from source code requires additional software. Run the following command to install the required packages for Python:
sudo apt install build-essential zlib1g-dev libncurses5-dev libgdbm-dev libnss3-dev libssl-dev libreadline-dev libffi-dev wget
Step 3: Download the Latest Version of Python Source Code
1. Navigate to the /tmp directory with the cd command.
cd /tmpThe /tmp directory is often used for downloading source code because it is designated for temporary storage, allowing easy cleanup of downloaded files after installation.
2. Navigate to the official Python source code webpage and select the program version you want to install. Scroll down to the Files section and copy the link to the Gzipped source tarball:
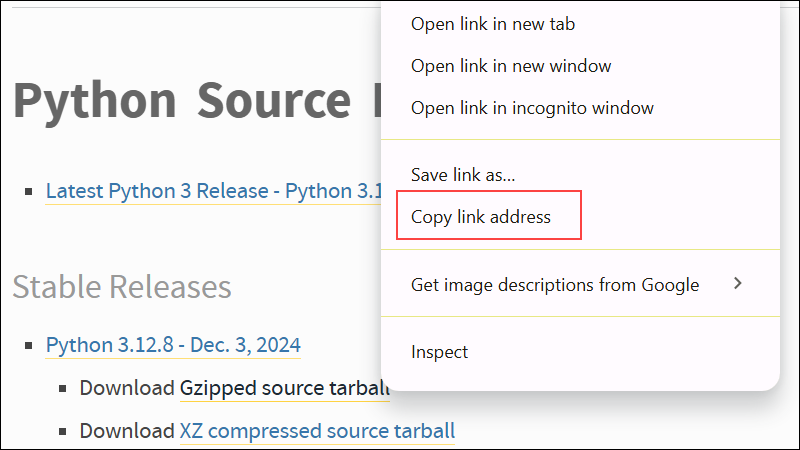
3. Use the wget command and the link above to download the newest release of Python Source Code:
wget https://www.python.org/ftp/python/3.12.8/Python-3.12.8.tgz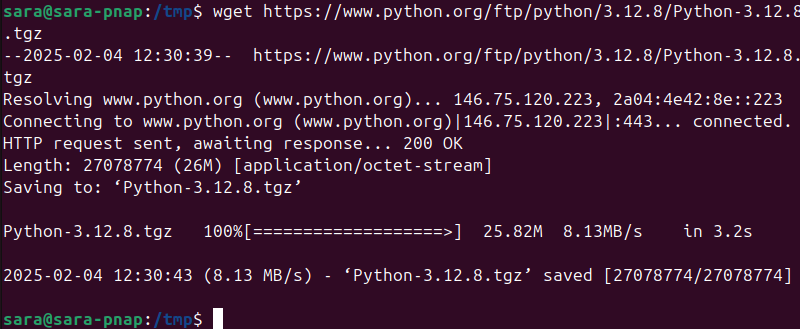
Step 4: Extract Compressed Files
In this step, extract the tgz file you downloaded. Run the command below:
tar -xf Python-3.12.8.tgzReplace the version numbers in the tgz file name with the one you have downloaded. The command has no output.
Step 5: Test System and Optimize Python
Before you install the software, test the system and optimize Python.
Switch to the directory you extracted the tgz file to, and enter:
./configure --enable-optimizations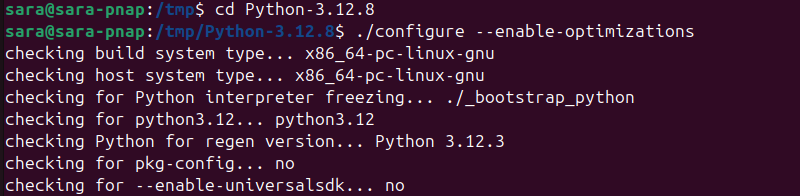
The ./configure command evaluates and prepares Python for the installation. Using the --optimization option speeds up code execution by 10-20%.
The process takes some time to complete. Wait until it finishes before moving on to the next step.
Step 6: Install Python
After the optimization and test are complete, run the make command to build the Python package:
sudo make install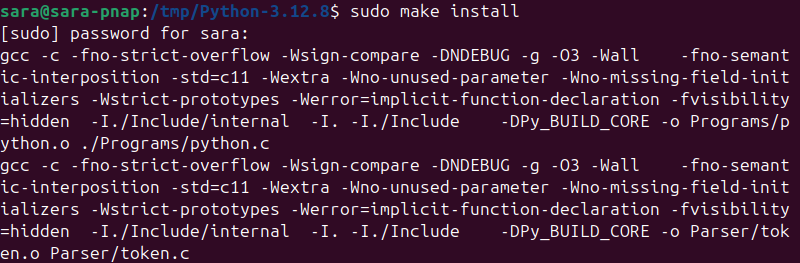
Note: If you already have Python 3 but want to create a second Python installation on top of that one, run sudo make altinstall.
Allow the process to complete.
Step 7: Verify Python Version
Check if the installation is completed correctly by running:
python3 --versionThe command displays the program's version.
Note: If you are starting with Python and are still looking for the right IDE or editor, see our comprehensive overview of the best Python IDEs and code editors.
Method 3: Install Python via PPA
A Personal Package Archive (PPA) is a third-party repository in Ubuntu that offers a convenient way to access and install newer versions of programs that aren't included in the standard Ubuntu repositories.
Follow the steps below to install Python via a PPA:
Step 1: Update and Refresh Repository Lists
Open a terminal window and run the command below:
sudo apt updateStep 2: Install Supporting Software
The software-properties-common package gives better control over your package manager by letting you add PPA (Personal Package Archive) repositories. Install the supporting software with the command below:
sudo apt install software-properties-common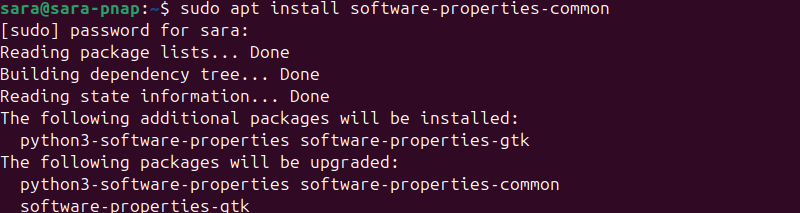
Step 3: Add Deadsnakes PPA
Deadsnakes is a PPA with newer releases than the default Ubuntu repositories. Add the PPA by running the following:
sudo add-apt-repository ppa:deadsnakes/ppa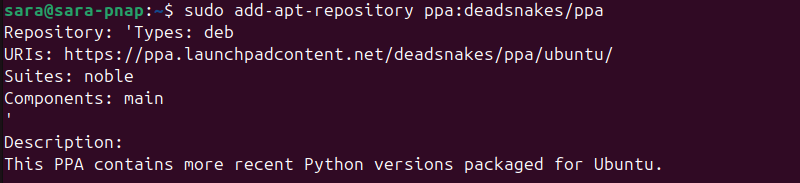
The system prompts you to press Enter to continue. Update the package lists again once the process completes:
sudo apt updateStep 4: Install Python 3
The Deadsnakes PPA has many Python versions in its database and allows you to install older versions as well. Specify the version in the package name to install that version.
For example, run this command to install Python 3.12:
sudo apt install python3.12
Step 5: Verify Installation
Verify Python is installed by running:
python3 --versionThe output states the program version you chose to install.
Conclusion
This article explained how to install Python 3 on your Ubuntu system. With everything set, you can start with some basics, like getting the current time and date in Python, learning file handling in Python with built-in methods, learning how to delete files in Python, or using Python struct functions.
Next, consider installing PIP for Python if you haven't already.