wget is a free GNU command-line utility tool used to download files. It retrieves files using HTTP, HTTPS, and FTP protocols and is useful for downloads in unstable networks.
In this article, you will learn how to use the wget command with examples.
Requirements
- A Linux system (this tutorial uses Ubuntu 22.04).
- Access to the terminal.
What Is wget?
wget is a tool that sustains file downloads in unstable and slow network connections. If a network issue occurs during a download, this software resumes the download without starting over.
Another useful feature is performing recursive downloads. wget transfers not only individual files but also entire directory structures by following links. As a result, the tool creates local copies of entire web pages, maintaining their structure and content.
The wget command is highly flexible and works in terminals, scripts, and cron jobs. The user does not have to be active or logged in during the download.
The following text lists some crucial benefits and risks of using wget.
Benefits of wget
The wget tool has many features and benefits. Some of them are listed below:
- Resuming downloads.
wgetsupports the ability to resume interrupted downloads. This feature is useful for large files or unstable connections. - Bandwidth control.
wgetallows users to limit bandwidth usage during downloads, enabling better management of network resources. - Versatility. The tool handles protocols such as HTTP, HTTPS, and FTP, making it versatile for downloading content from different sources.
- Scriptability. Using the command in a CLI makes integrating into scripts or automated workflows for repetitive tasks easy.
Risks of Using wget
While wget offers features for uninterrupted and easy downloads, there are some risks you should be aware of:
- Unintended downloads. The tool sometimes inadvertently downloads large volumes of data or entire websites if not used cautiously.
- Server overload. Careless utilization of
wget, particularly with recursive downloads, burdens servers excessively, potentially breaching website usage guidelines. - Security issues. Employing
wgetto retrieve content from dubious sources or via maliciously constructed URLs exposes systems to security threats like malware or phishing schemes. - Incomplete mirroring. Recursive downloads sometimes don't capture dynamically generated content or interactive elements, which results in incomplete local replicas of websites.
- Legal concerns. The use of
wgetfor specific content types sometimes infringes upon copyright or intellectual property rights.
Note: Read about the differences between wget and curl.
How to Check if wget Is Installed
wget is most likely already on the system, as it is often pre-installed.
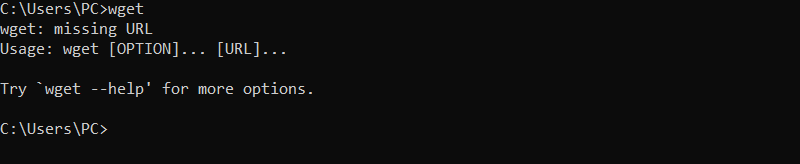
To check if the tool is available on your system, run the command without any options:
wgetIf wget is already installed, the output shows the command is missing a URL:

Otherwise, the output looks like this if wget is not installed:

How to Install wget
If the output shows the tool is not installed on your system, you can install it manually. Below are the installation instructions for Ubuntu/Debian, CentOS, Windows, and macOS.
Install wget on Ubuntu/Debian
Before installing wget on Ubuntu, update the repository with:
sudo apt update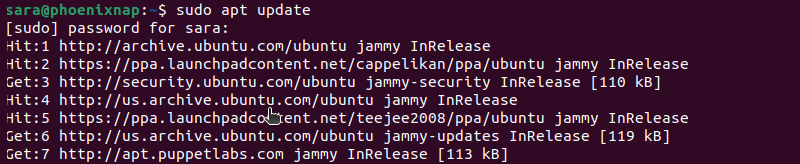
Next, install the tool on Ubuntu or Debian releases with:
sudo apt install wget
Install wget on CentOS/Fedora
To install wget on CentOS or Fedora, type the following command:
sudo yum install wget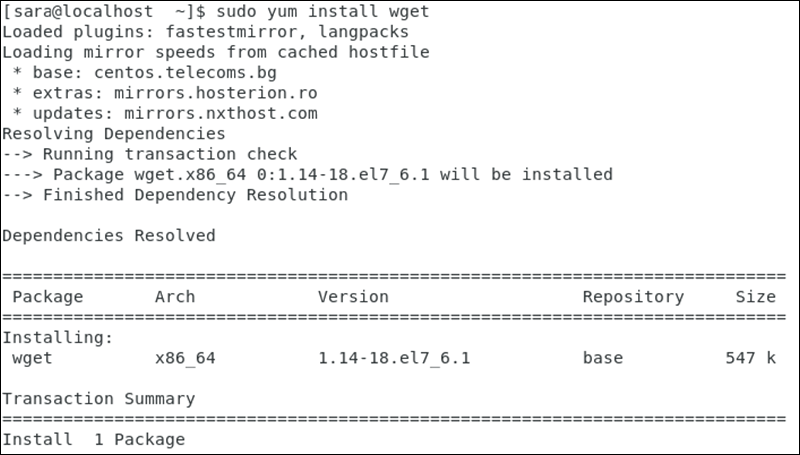
Install wget on Windows
To install and configure wget on Windows:
1. Download wget for Windows and install the package.
2. Copy and paste the wget.exe file to the system32 folder.

3. Run wget in CMD.
The output shows wget is installed.
Install wget on MacOS
To install wget on macOS, first install Homebrew, a package manager for macOS. The tool doesn't come with the system by default.
After successful Homebrew installation, install wget with:
wget -V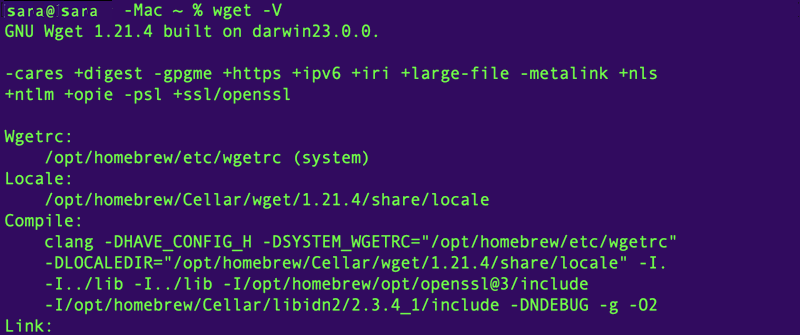
wget Syntax
The wget syntax has the following pattern:
wget [option] [url]wget can run with no options as long as the URL is provided. The command performs a basic download of the resource at the URL, using the default download settings. However, using options allows users to modify the download process.
wget Options
The wget arguments specify how to download content from the URL. The most common wget options are in the table below.
| Option | Description |
|---|---|
-b, --background | Goes to background immediately after startup. |
-q, --quiet | Runs wget in quiet mode, suppressing output except for errors and essential messages. |
-d, --debug | Turns on debug output. |
-O, --output-document=[file] | Specifies the output file name. |
-e [command], --execute [command] | Executes a command after the download completes. This is useful for performing additional actions, such as running a script. |
-v, --verbose | Turns on verbose output with all the available data. The default output is verbose. |
-nv, --no-verbose | Turns on verbose output with all the available data. The default output is verbose. |
-c, --continue | Resumes downloading a partially downloaded file. |
-r, --recursive | Enables recursive downloading. |
-P, --directory-prefix=[prefix] | Specifies the directory where downloaded files are to be saved. |
-l, --level=[depth] | Limits the recursion depth when downloading recursively. |
--limit-rate=[rate] | Limits the download rate to the specified value. |
-R, --reject=[list] | Specifies a comma-separated list of file extensions to reject during recursive downloads. |
-A, --accept=[list] | Specifies a comma-separated list of file extensions to accept during recursive downloads. |
-i, --input-file | Specifies a file containing a list of URLs wget downloads. |
-m, --mirror | Downloads all of the website's content recursively, including directories, subdirectories, and linked pages, while preserving the original directory structure. |
--tries=[number_of_tries] | Sets the maximum number of retries for failed downloads when using wget. |
--no-check-certificate | Disables SSL certificate verification when making HTTPS connections. |
U, --user-agent="user-agent-here" | Allows users to specify a custom user agent string for HTTP requests. |
wget Examples
Due to an abundance of available options, wget has plenty of use-case scenarios. The following text presents some common wget practical examples.
Download File from Web
To download a file from the web, use:
wget [URL]For example, to download the file to install the Puppet server package on Ubuntu, enter:
wget https://apt.puppetlabs.com/puppet8-release-jammy.deb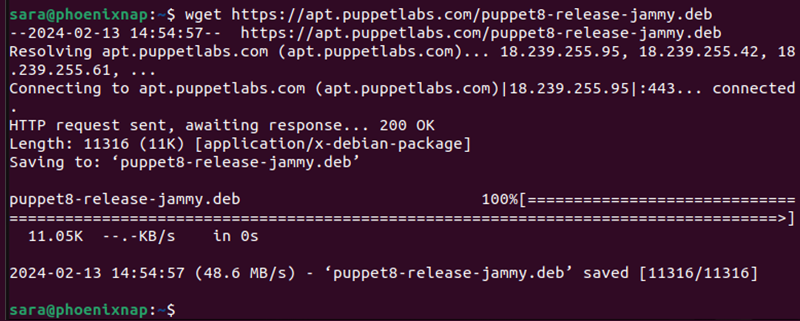
Download File and Specify a Name
To download a file and save it under a specified name, run:
wget -O [file_name] [URL]The wget command allows users to rename files before downloading them.
For example:
wget -O PuppetServer https://apt.puppetlabs.com/puppet8-release-jammy.deb
The command instructed to download the specified file and name it PupperServer.
Download File to Specific Directory
By default, wget downloads a file from the user's current directory. To save the file in a different location, use:
wget -P [target_directory] [URL]For example, download the Puppet server to ./Documents with the following command:
wget -P ./Documents https://apt.puppetlabs.com/puppet8-release-jammy.deb
Set Download Speed
Set the download speed when downloading a big file so it does not use the full available bandwidth. Download speed is measured in kilobytes (kB) and megabytes (MB). Use the command:
wget --limit-rate [maximum_speed] [URL]For example, to get Python3 on Linux and limit the download speed to 1 megabyte, use the command:
wget --limit-rate 1m https://www.python.org/ftp/python/3.12.1/Python-3.12.1.tgz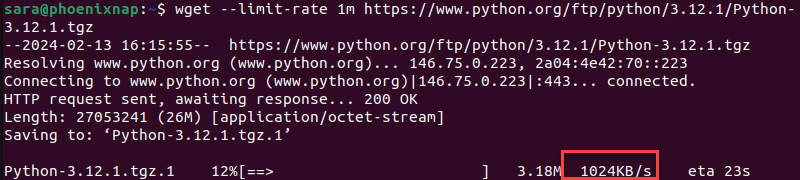
Continue Download After Interruption
Instead of having to start from scratch, wget is able to resume downloading from where it left off before the interruption. This is a useful feature if a connection is lost while downloading a file.
The syntax is:
wget -c [URL]For instance, the download of the script for Pip installation has stopped:
wget https://raw.githubusercontent.com/nvm-sh/nvm/v0.39.7/install.sh | bash
To resume installation, run:
wget -c https://raw.githubusercontent.com/nvm-sh/nvm/v0.39.7/install.sh | bash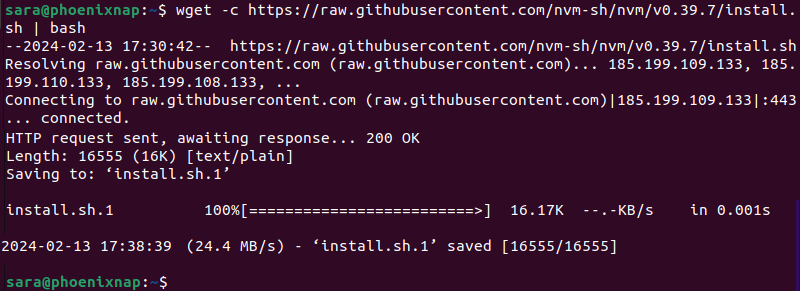
Download Multiple Files
wget allows downloading multiple files at the same time using the command:
wget -i [file_name]To do so, follow the steps outlined below:
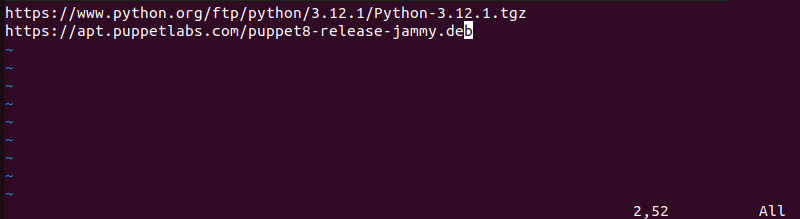
1. First, create and open a file under the name MultipleDownloads.txt (or a name of your choice) using a text editor. In this case, we used Vim:
vim MultipleDownloads.txt2. Once in the editor, add the URLs of the packages you want to download, one per line.
3. Save and exit the file.
4. Run the wget command in the terminal window:
wget -i MultipleDownloads.txt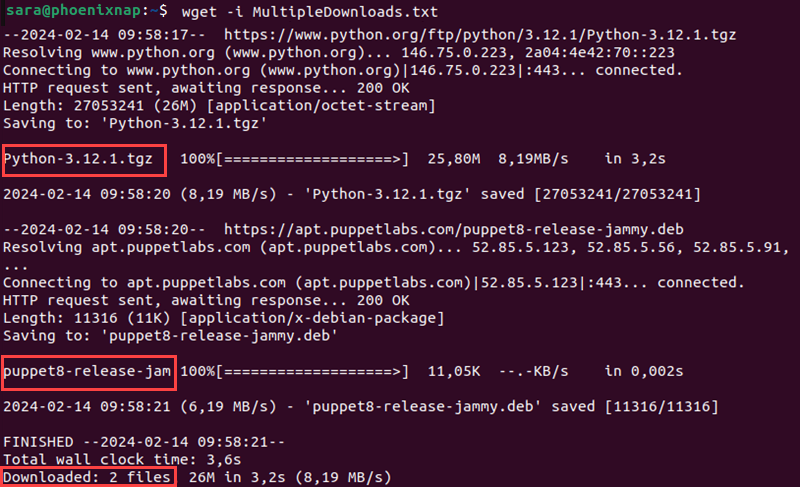
This prompts wget to download from each URL specified in the text file.
Download Web Page (Mirror Web page)
wget is able to download an entire website using the -m option. It prompts wget to create a specified website mirror. The basic command for doing so is:
wget -m [URL]For example:
wget -m https://phoenixnap.com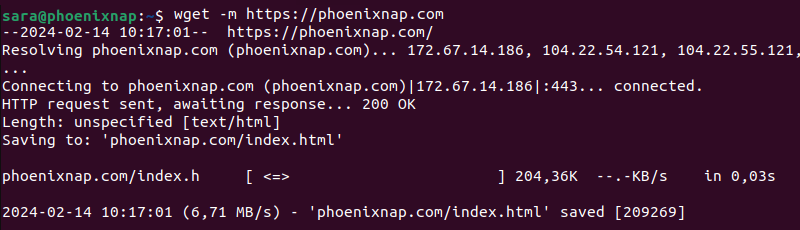
Download in Background
wget allows users to download in the background, a practical feature when dealing with a large file. The syntax is:
wget -b [URL]For instance, download Puppet in the background with:
wget-b https://apt.puppetlabs.com/puppet8-release-jammy.deb
Check the download status with the tail command:
tail -f wget-log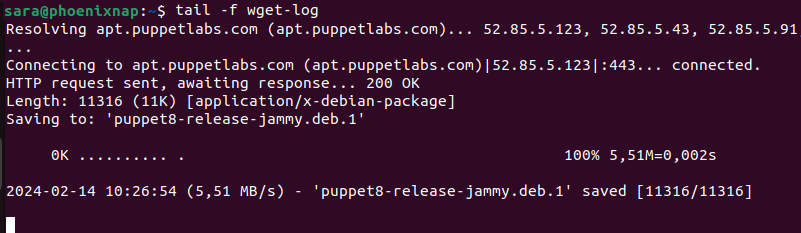
Increase Retry Attempts
Set how many times wget attempts to download a file after being interrupted by a network issue with this command:
wget --tries=[number_of_tries] [URL]By default, the number of retry attempts is set to 20.
Another option is to set the number to infinity with the values 0 or inf, as in the following example:
wget --tries=inf http://download.virtualbox.org/virtualbox/rpm/rhel/virtualbox.repo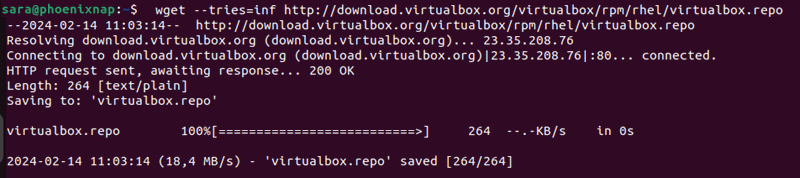
Skip Certificate Check
By default, wget checks whether the server has a valid SSL/TLS certificate. If it does not identify an authentic certificate, it refuses to download.
The --no-check-certificate option avoids certificate authorities checking for a server certificate. However, use it only when you are assured of the website’s credibility. The syntax is:
wget --no-check-certificate [URL]If http://enteratonerisk.com has an untrusted certificate but doesn't harm the system, download it with:
wget --no-check-certificate http://example.com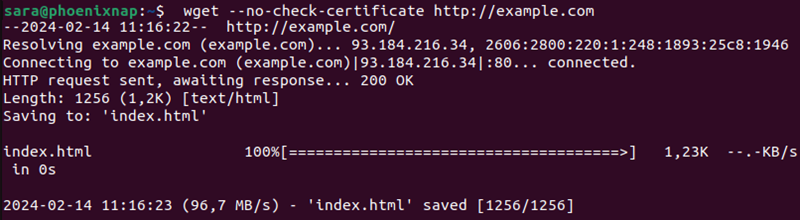
Change User Agent
When downloading a webpage, wget essentially emulates a browser. In some cases, the output shows a lack of permission to access the server, or the connection is forbidden. This is likely because a website blocks client browsers with a specific "User-Agent".
"User-Agent" is a header field the browser sends to the server it wants to access. Therefore, to download from a server refusing to connect, try to modify the user agent.
Find a database of all user agents online, find the one needed, and run the command:
wget --user-agent="User-Agent-Here" "[URL]"or
wget -U "User-Agent-Here" "[URL]"For example, to emulate Chrome (version 100), change the user agent with the command:
wget --user-agent=" Mozilla/5.0 (Windows NT 10.0; Win64; x64) AppleWebKit/537.36 (KHTML, like Gecko) Chrome/100.0.4884.135 Safari/537.36" "https://phoenixnap.com"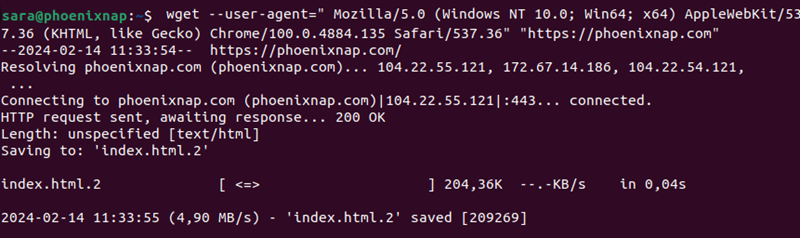
Note: Make sure to always download from a trusted source because wget can instruct a download of a script from a malicious source. We outline this and many other dangerous commands in our article Dangerous Linux Terminal Commands.
Conclusion
This article explained what the wget tool is and how to install nit on Different systems. It also explained how to use the tool through practical examples.
Next, learn how to fix the wget: command not found error.