Ruby is a popular open-source programming language that emphasizes simplicity and efficiency. It is the basis of the Ruby on Rails framework and is used for general-purpose programming, data analysis, and web applications.
In this tutorial, we provide a step-by-step guide for installing Ruby using the official repositories and third-party tools.

Prerequisites
- A system running Ubuntu (if you are a Windows user, see how to install Ruby on Windows).
- A user account with sudo privileges.
- Access to the terminal or command line.
Installing Ruby on Ubuntu
There are multiple ways to install Ruby on Ubuntu:
- From the official Ubuntu repository.
- Using Rbenv, a version management tool for Ruby.
- With RVM, a command-line tool for installing and managing multiple Ruby environments.
The sections below cover each method so you can choose the one that best suits your needs. In this tutorial, we will use Ubuntu 26.
Note: Learn also how to check Ubuntu version.
Install Ruby via Ubuntu Repository
apt, Ubuntu's built-in package manager, is the fastest and easiest way to install Ruby on Ubuntu. Follow the steps below:
Note: Learn more about using the apt package manager and the difference between apt and apt-get.
1. Update the system package repository information:
sudo apt update2. Use the following command to install Ruby:
sudo apt install ruby-full -y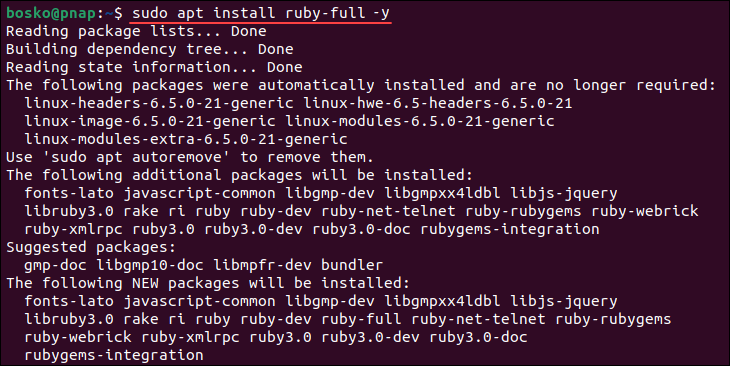
3. Once the installation completes, verify it by checking the current Ruby version:
ruby --version
Install Ruby on Ubuntu Using Rbenv
Rbenv is a command-line tool that lets you switch between installed Ruby versions. It can also install new program versions using the ruby-build plugin. Follow the steps below:
Step 1: Download Updates and Dependencies
1. Start by updating the system repositories:
sudo apt update2. Download and install the libraries and compilers Ruby needs to run:
sudo apt install git curl autoconf bison build-essential libssl-dev libyaml-dev libreadline6-dev zlib1g-dev libncurses5-dev libffi-dev libgdbm6 libgdbm-dev libdb-dev -yWait until the process finishes.
Step 2: Install Rbenv
1. Download and run the shell script used to install Rbenv:
curl -fsSL https://github.com/rbenv/rbenv-installer/raw/HEAD/bin/rbenv-installer | bash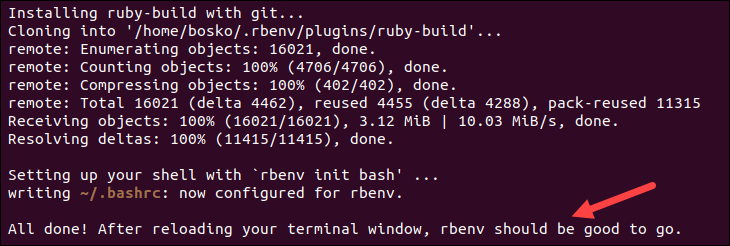
The command downloads and executes a script for installing Rbenv.
2. Add $HOME/.rbenv/bin to your PATH environment variable to start using Rbenv. Depending on which shell you are using, run one of the commands below:
Note: Learn how to set environment variables in Linux.
- Run the following command if you are using the Bash shell:
echo 'export PATH="$HOME/.rbenv/bin:$PATH"' >> ~/.bashrc
echo 'eval "$(rbenv init -)"' >> ~/.bashrc
source ~/.bashrc- For the Zsh shell, use:
echo 'export PATH="$HOME/.rbenv/bin:$PATH"' >> ~/.zshrc
echo 'eval "$(rbenv init -)"' >> ~/.zshrc
source ~/.zshrc
3. Verify the installation by checking the program version:
rbenv -v
Step 3: Install Ruby
1. List all the available Ruby versions for installation through Rbenv with:
rbenv install -l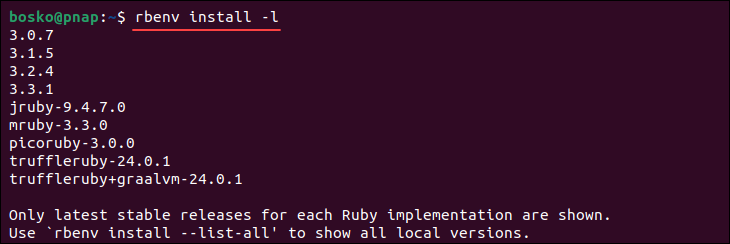
2. Select a version of Ruby and install it using:
rbenv install [version number]In this example, we are installing Ruby 3.0.7:
rbenv install 3.0.7
Note: Installing Ruby with Rbenv might take some time. If you want the command output to list each step of the installation process, enable verbose mode by adding the --verbose flag:
rbenv install --verbose [version number]3. Set the newly installed version of Ruby as the global version:
rbenv global [version number]In our example, the command is:
rbenv global 3.0.74. Verify the installation by checking the current version of Ruby:
ruby --versionInstall Ruby on Ubuntu Using RVM
RVM is a command-line tool that helps you install and manage multiple Ruby environments on the same system. Follow the steps below to install Ruby with RVM:
Step 1: Download Updates and Dependencies
1. Update the system package repository information with:
sudo apt update2. Download and install the dependencies Ruby needs to run properly:
sudo apt install curl g++ gcc autoconf automake bison libc6-dev libffi-dev libgdbm-dev libncurses5-dev libsqlite3-dev libtool libyaml-dev make pkg-config sqlite3 zlib1g-dev libgmp-dev libreadline-dev libssl-dev -yWait for the installation to complete.
Step 2: Install RVM
1. Add the GPG key used to verify the RVM installation file:
gpg --keyserver keyserver.ubuntu.com --recv-keys 409B6B1796C275462A1703113804BB82D39DC0E3 7D2BAF1CF37B13E2069D6956105BD0E739499BDB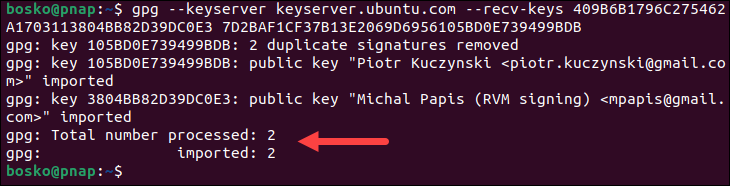
2. Download and install RVM using the installation script:
curl -sSL https://get.rvm.io | bash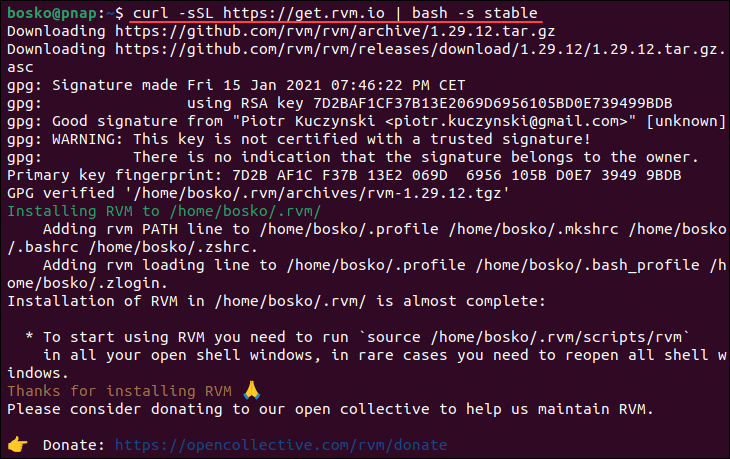
3. Load the RVM script environment variables using the source command:
source ~/.rvm/scripts/rvmStep 3: Install Ruby
1. List all versions of Ruby available through RVM:
rvm list known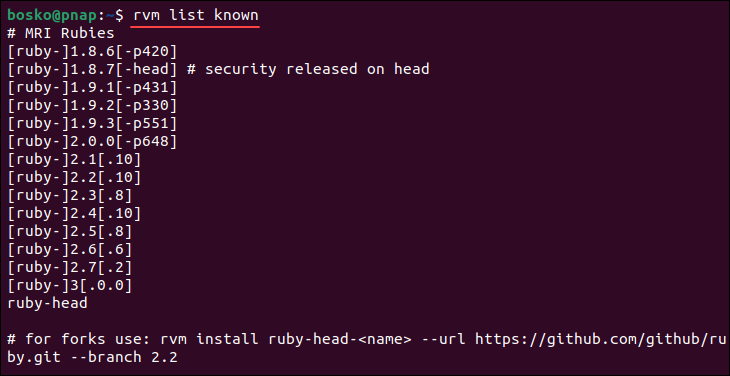
2. Select a version of Ruby and install it using the following syntax:
rvm install ruby-[version number]Omitting the version number installs the latest stable version of Ruby:
rvm install rubyImportant: Ubuntu 22.04 comes with OpenSSL 3.0, which is supported only by Ruby versions 3.1+. Older Ruby versions require OpenSSL 1.1, which needs to be installed manually. To avoid incompatibility issues, check your OpenSSL version.
3. When prompted, enter your administrator password and press Enter to proceed.
4. Set the new version of Ruby as the default:
rvm --default use ruby-[version number]In this example, we are using the default option without the version number:
rvm --default use ruby5. Verify the Ruby installation by checking the current version:
ruby --versionInstalling Ruby on Rails on Ubuntu
Ruby on Rails is a web application framework written in the Ruby programming language. It facilitates web application development by providing default structures for databases, web services, and web pages.
The prerequisites for installing Ruby on Rails are a working web server, such as Apache, and a database management service, such as MySQL.
Note: You may find the following guides useful:
After installing and configuring a web server and database service, follow the steps below to install Ruby on Rails.
Step 1: Update Package Repository Information
Before installing, update the package repository information to ensure you get the latest version available. Run the command below:
sudo apt updateStep 2: Install Rails
Run the following command to install Ruby on Rails:
sudo apt install rails -y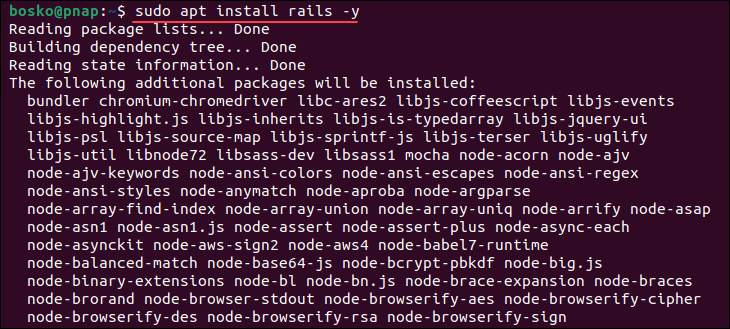
The command installs the Ruby base packages and Ruby on Rails.
Step 3: Configure Web Server
The next step is to configure your web server to work with Rails. If you are using Apache, open the /etc/apache2/sites-available/000-default.conf Apache configuration file with a text editor and modify it to set up your domains.
We will use nano:
sudo nano /etc/apache2/sites-available/000-default.conf1. Find the DocumentRoot directive and change it as follows:
DocumentRoot /[path_to_rails_app]/publicReplace [path_to_rails_app] with the full path to the Rails app. For example:
DocumentRoot /usr/bin/rails/publicNote: If you don't know the path to the Rails app on your system, use the which command to see where it is installed:
which rails2. Next, add or find the <Directory> directive and change it to:
<Directory "/[path_to_rails_app]/public">
        Options Indexes FollowSymLinks MultiViews ExecCGI
        AllowOverride All
        Order allow,deny
        allow from all
        AddHandler cgi-script .cgi
</Directory>
Make sure to specify the path to the Rails app on your system.
Save and close the file.
3. Enable the mod_rewrite module for Apache by running the following command:
sudo a2enmod rewrite4. Restart the Apache daemon for the changes to take effect:
sudo systemctl restart apache25. Lastly, change the ownership of the /public and /tmp Rails directories to the user you want to run the Apache process. Use the syntax below:
sudo chown -R www-data:www-data /[path_to_rails_app]/publicsudo chown -R www-data:www-data /[path_to_rails_app]/tmpAgain, specify the path to your Rails app installation in both commands.
Step 4: Configure Database
After configuring the web server, you also need to ensure your database is correctly configured. If you are using MySQL, follow the steps below to configure the database app:
1. Open the config/database.yml file:
sudo nano config/database.yml2. Paste the following configuration:
# Mysql
production:
  adapter: mysql2
  username: user
  password: password
  host: 127.0.0.1
  database: app
Replace the user and password with your own credentials.
3. Save and exit the file.
4. To create the application database and apply the migrations, run the following commands from your app directory:
RAILS_ENV=production rake db:createRAILS_ENV=production rake db:migrateConclusion
After following this tutorial, you should have a copy of Ruby and Ruby on Rails installed and ready to use on your Ubuntu system.
Next, see how to install Node.js on Ubuntu. Node.js is a runtime environment that allows JavaScript to run on the server side. It's often used alongside Ruby on Rails for real-time features and front-end development.