Helm is a package manager that simplifies Kubernetes application deployment by packaging all the necessary deployment information into a single Helm chart. Charts are Kubernetes manifest bundles that facilitate the management of complex applications across multiple Kubernetes clusters.
In this step-by-step tutorial, you will learn how to install Helm on Ubuntu, Mac, and Windows.
Prerequisites
- A system running Ubuntu, macOS, or Windows.
- Command-line access.
- Access to a Kubernetes cluster.
Note: If you do not have a Kubernetes cluster installed, find instructions in our tutorials:
How to Install Helm on Ubuntu
To install Helm on Ubuntu, download the latest compatible binary and add it to the system path. Follow the steps below to complete this procedure:
Note: The instructions for Ubuntu can also be used to install Helm on other popular Linux distributions.
1. Use curl to download the latest version of Helm. The download links for all supported architectures are available on the official website. For example, if your system uses the x64 architecture, type the following command to download the 3.16.2 version of Helm:
curl -O https://get.helm.sh/helm-v3.16.2-linux-amd64.tar.gzWait for the download to finish.

2. Unpack the file using the Linux tar command:
tar xvf helm-v3.16.2-linux-amd64.tar.gzThe output displays four unpacked files.

3. Move the linux-amd64/helm file to the /usr/local/bin directory:
sudo mv linux-amd64/helm /usr/local/binThere is no output if the command is executed correctly.
4. Remove the downloaded file using the following command:
rm helm-v3.16.2-linux-amd64.tar.gz5. Remove the linux-amd64 directory to clean up space:
rm -rf linux-amd646. Finally, verify you installed Helm by checking the version of the software:
helm versionThe terminal prints out the Helm version number.

Note: Upgrading your Helm release can sometimes produce the “helm has no deployed releases” error.
How to Install Helm on Mac
The steps described in the Ubuntu section of this article can also be used to install Helm on macOS. However, the simplest installation method on macOS involves using the Helm formula available in the Homebrew package manager. The steps below describe this procedure.
Note: For instructions on how to install Homebrew, read How to Install Homebrew on Mac.
1. Update the Homebrew formulae:
brew update2. Install Helm using the following command:
brew install helm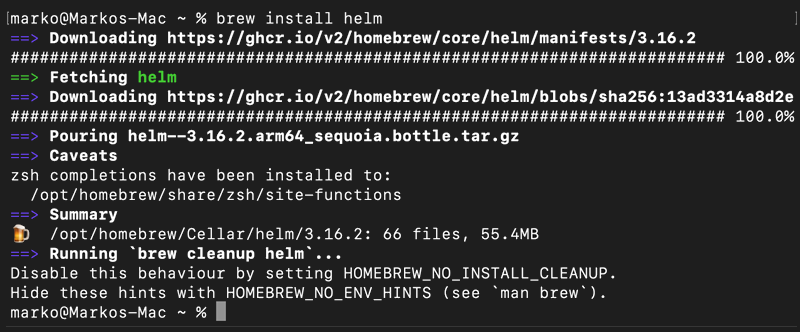
3. Confirm the installation success by checking the Helm version:
helm version
Note: Learn more about Helm repository management by referring to our article How To Add, Update Or Remove Helm Repositories or download our Helm Cheat Sheet of basic Helm commands for further reference.
How to Install Helm on Windows
Follow the procedure below to download and install Helm on Windows:
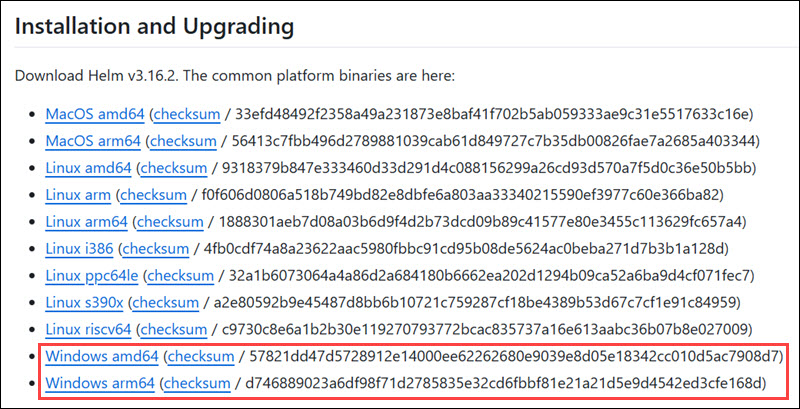
1. Visit the official Helm releases page on GitHub.
2. Select the Windows download link corresponding to your system's architecture. Wait for the download to finish.
3. Extract the ZIP file to the preferred location.
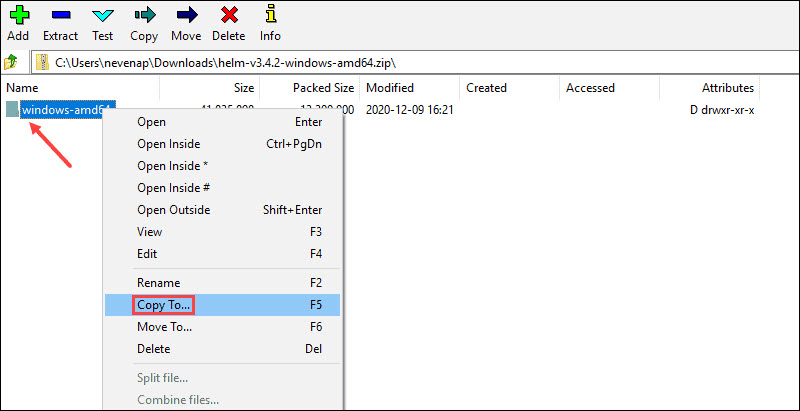
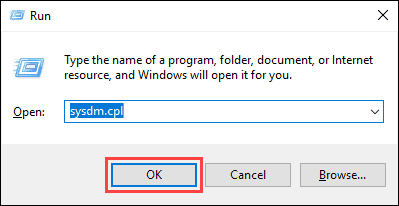
4. In the Run prompt (Win+r), type sysdm.cpl and click OK.
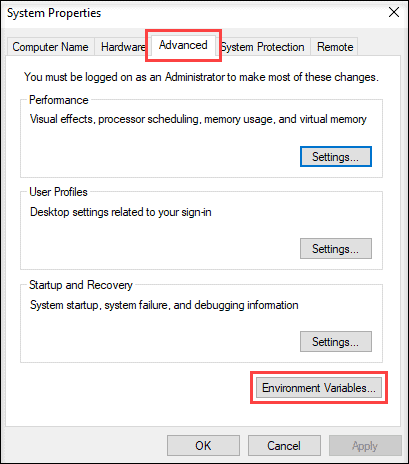
5. In the Advanced tab of the System Properties, select Environment Variables.
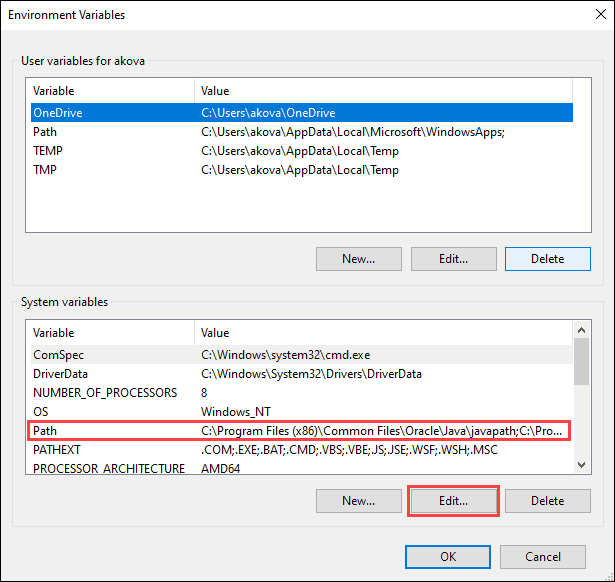
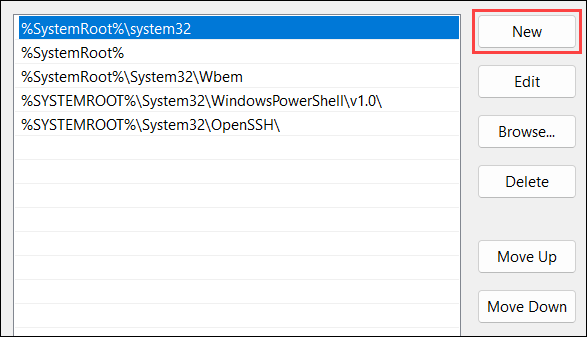
6. Select the Path variable and click Edit.
7. Select New and input the location of the Helm binary. Press Enter to confirm.
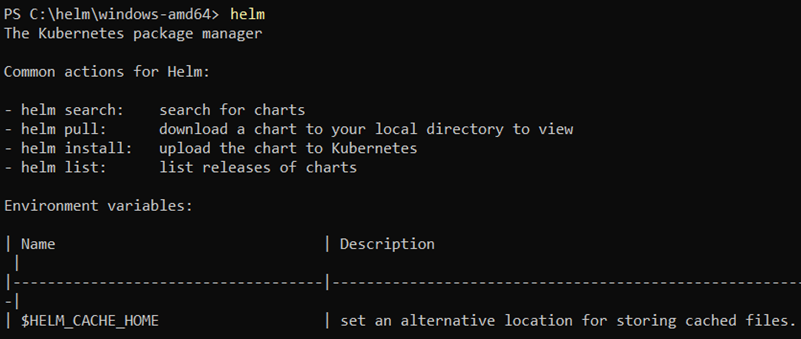
8. Open the command line window and enter the helm command to verify that you have access to Helm.
Note: Helm packages are available for all popular Windows package managers. Below are the installation commands for Chocolatey, Scoop, and Winget:
- Chocolatey:
choco install kubernetes-helm - Scoop:
scoop install helm - Winget:
winget install Helm.Helm
Conclusion
After following this step-by-step tutorial, you should have successfully installed Helm on Ubuntu, Mac, or Windows. Helm is a tool that simplifies the complexity of Kubernetes, and it is an excellent start for beginners.
Next, we recommend our articles on How to Create Helm Charts or How to Use Environment Variables With Helm Charts.


