MySQL is an open-source relational database management system that uses SQL to manage and manipulate data. This essential part of the LAMP stack is known for its speed, simplicity, and scalability, making it a popular choice for a wide range of applications and websites.
The following tutorial explains how to install MySQL on Ubuntu 22.04 in five steps.
Prerequisites
- Ubuntu system.
- Access to the terminal.
- Sudo privileges.
Install MySQL on Ubuntu 22.04
The MySQL installation process on Ubuntu 22.04 involves five steps to ensure a secure, well-configured setup. Follow the instructions below to install MySQL and enhance the functionality of the Ubuntu system.
Step 1: Update/Upgrade Package Repository
To ensure the latest MySQL version is installed, update the package repository. Run the following command:
sudo apt update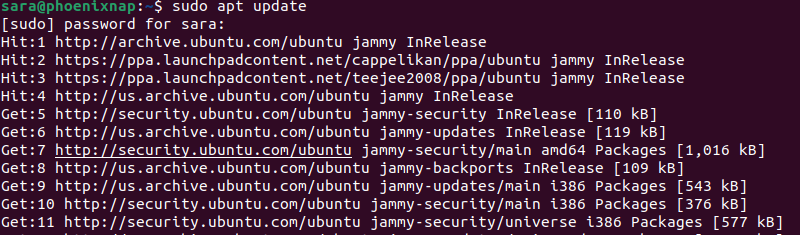
Next, upgrade the installed packages to the latest versions:
sudo apt upgrade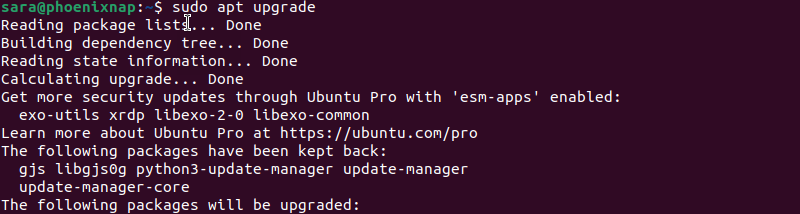
Step 2: Install MySQL
Once the repository is updated, install MySQL with the following command:
sudo apt install mysql-server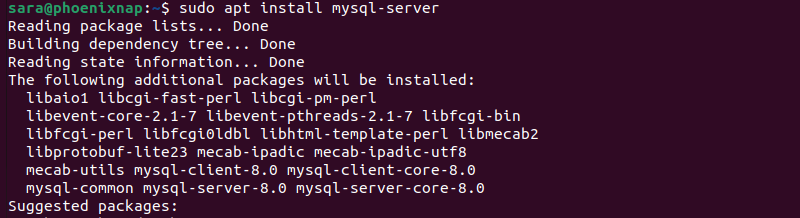
Verify the installation with:
mysqld --version
The output confirms that MySQL 8.0.35 is successfully installed on Ubuntu.
Step 3: Securing MySQL
After installing MySQL, the next step is to perform an initial security setup. Securing includes setting a strong password, removing unnecessary accounts and databases, and restricting access to enhance overall security.
To secure the installation, run the following command:
sudo mysql_secure_installation
The output shows the command establishes a connection to MySQL without a password. Depending on the system, users might be prompted to provide a root password in this step.
The rest of the configuration consists of several parts.
Part 1: Password Validation
The first part is password validation. Press the y key to confirm password validation.

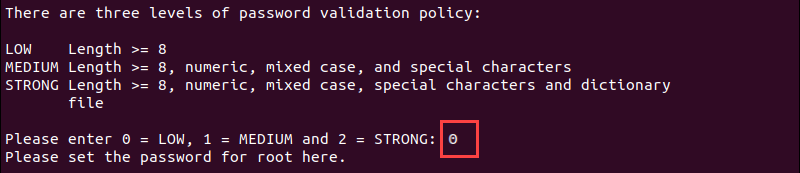
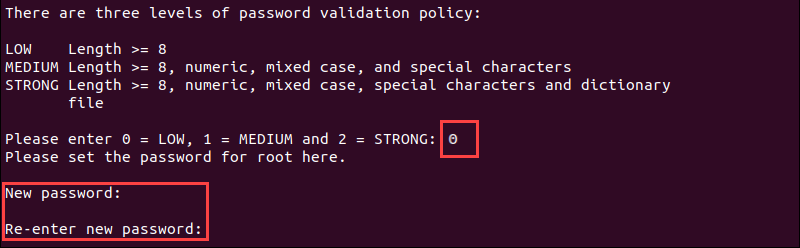
Users have three options for password policy:
- 0 - low.
- 1 - medium.
- 2 - strong.
Select one option and hit Enter.
Depending on the system, the next step either prompts you to set a password or is skipped entirely.
In the first case, set a new password by typing it once, then again to confirm. Finally, press Enter to confirm the change.
Another scenario is that the command skips setting the password where the operating system credentials are used for authentication.
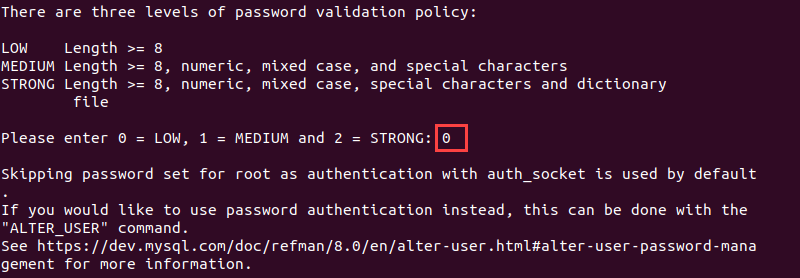
The root user logs in without providing a password. In this case, the authentication method auth_socket is used by default.
Note: In case auth_socket is used, users still have the option to set the password after logging in to the MySQL server. The command is ALTER USER root@localhost IDENTIFIED BY [password]. The command produces no output.
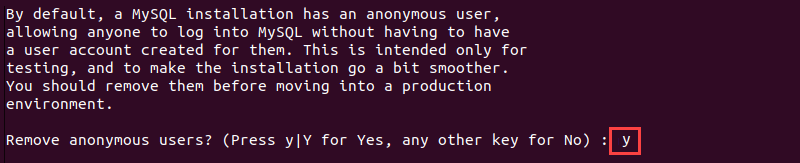
Part 2: Remove Anonymous Users
Upon installation, MySQL automatically incorporates an anonymous user, permitting unrestricted access without a dedicated user account. While initially designed for testing and streamlined installations, it is advisable to remove this user for security reasons.
Users can revisit this step by running the sudo mysql_secure_installation command and responding with y to ensure a more secure MySQL setup.
Part 3: Disallow Root Login Remotely
The following action involves preventing remote login for the root user. By default, limiting the root user's connection to the local machine (localhost) is advisable to mitigate potential security risks, such as credential brute-force attacks.

While you can skip this step during the initial setup, it is widely considered a crucial security practice for production environments. This precaution ensures that even if an unauthorized user gains network access, they would need physical machine access or authorized network privileges to attempt to log in as the root user.
Part 4: Remove Test Database
Having a test database accessible to anyone poses a security risk. The safest way is to remove it. Once prompted, type y.

Part 5: Reload Privilege Tables
The privilege tables in MySQL store information about user privileges and access rights. Reloading the privilege tables is necessary to apply the changes made throughout the mysql_secure_installation process.

Reloading privilege tables was the last step in securing the MySQL installation.
Step 4: Check if MySQL Service Is Running
After the installation, the MySQL service starts automatically. To verify that the server is working, run the following command:
sudo systemctl status mysql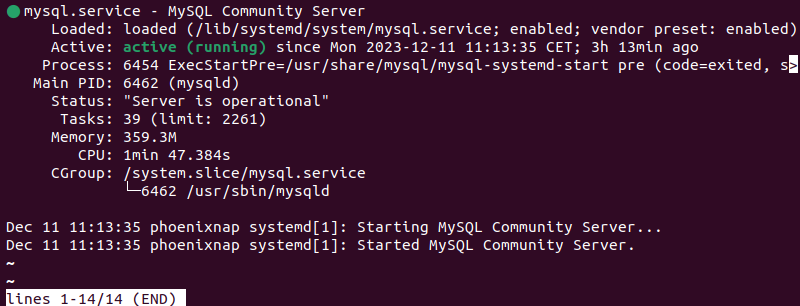
The output shows that the service is active and running.
Step 5: Log in to MySQL Server
The final step is to log in to the MySQL server:
sudo mysql -u root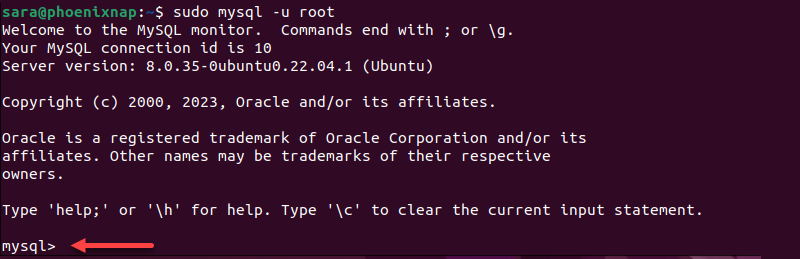
When executed, the command gives the root user access to the MySQL command-line interface and the ability to interact with the MySQL database server using SQL commands and queries. If the user has set a password for the root, the command prompts for the root user's password. Once provided, the user gets full access.
Conclusion
This article explained how to install MySQL on Ubuntu using five steps.
Next, learn how to start, stop, and restart the MySQL server.