Apache Spark is a unified analytics engine for large-scale data processing. Due to its fast in-memory processing speeds, the platform is popular in distributed computing environments.
Spark supports various data sources and formats and can run on standalone clusters or be integrated with Hadoop, Kubernetes, and cloud services. As an open-source framework, it supports various programming languages, including Java, Scala, Python, and R.
In this tutorial, you will learn how to install and set up Spark on Ubuntu.

Prerequisites
- An Ubuntu system.
- Command line access.
- A user with sudo or root permissions.
Installing Spark on Ubuntu
The examples in this tutorial are presented using Ubuntu 24.04 and Spark 3.5.3.
Update System Package List
To ensure that the Ubuntu dependencies are up to date, open a terminal window and update the repository package list on your system:
sudo apt update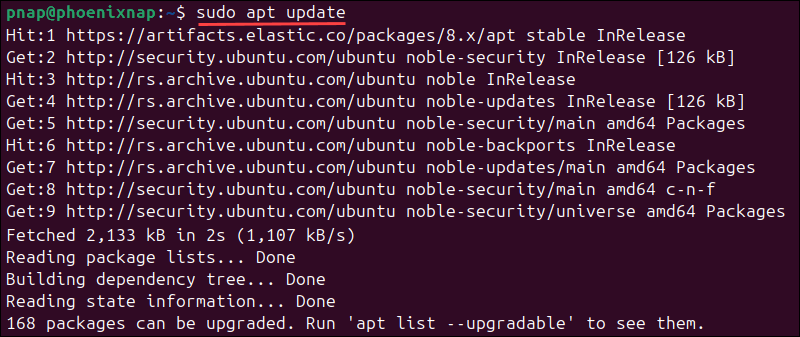
Install Spark Dependencies (Git, Java, Scala)
Before downloading and setting up Spark, install the necessary dependencies. This includes the following packages:
- JDK (Java Development Kit)
- Scala
- Git
Enter the following command to install all three packages:
sudo apt install default-jdk scala git -y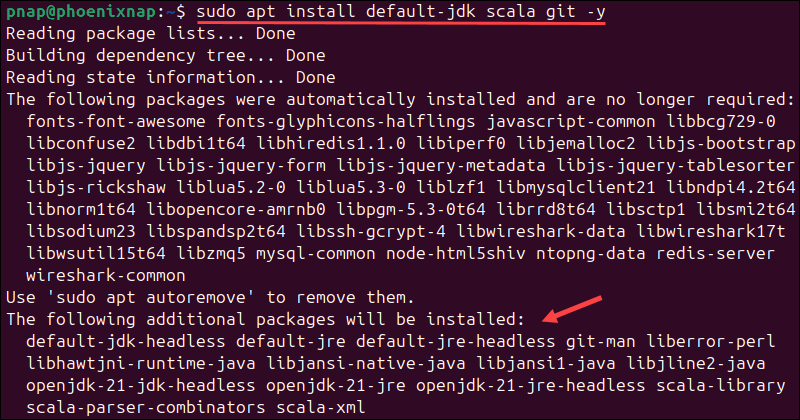
Use the following command to verify the installed dependencies:
java -version; javac -version; scala -version; git --version
The output displays the OpenJDK, Scala, and Git versions.
Download Apache Spark on Ubuntu
Download the latest version of Spark from the Apache website. This tutorial uses Spark 3.5.3 with Hadoop 3, the latest version at the time of writing this article.
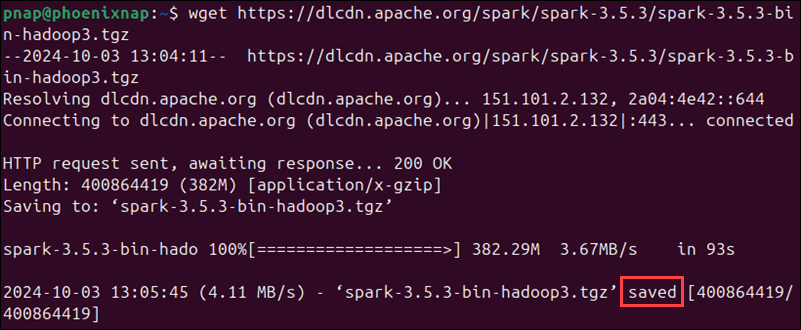
Use the wget command and the direct link to download the Spark archive:
wget https://dlcdn.apache.org/spark/spark-3.5.3/spark-3.5.3-bin-hadoop3.tgzOnce the download is complete, you will see the saved message.
Note: If you download a different Apache Spark version, replace the Spark version number in the subsequent commands.
To verify the integrity of the downloaded file, retrieve the corresponding SHA-512 checksum:
wget https://downloads.apache.org/spark/spark-3.5.3/spark-3.5.3-bin-hadoop3.tgz.sha512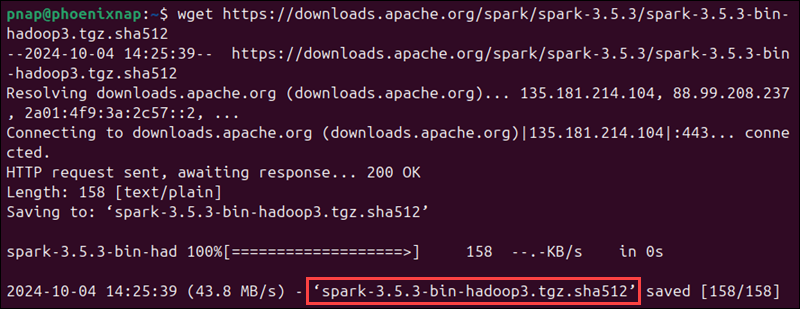
Check if the downloaded checksum matches the checksum of the Spark tarball:
shasum -a 512 -c spark-3.5.3-bin-hadoop3.tgz.sha512
The OK message indicates that the file is legitimate.
Extract the Apache Spark Package
Extract the downloaded archive using the tar command:
tar xvf spark-*.tgzThe output shows the files that are being unpacked from the archive. Use the mv command to move the unpacked directory spark-3.5.3-bin-hadoop3 to the opt/spark directory:
sudo mv spark-3.5.3-bin-hadoop3 /opt/sparkThis command places Spark in a proper location for system-wide access. The terminal returns no response if the process is successful.
Verify Spark Installation
At this point, Spark is installed. You can verify the installation by checking the Spark version:
/opt/spark/bin/spark-shell --version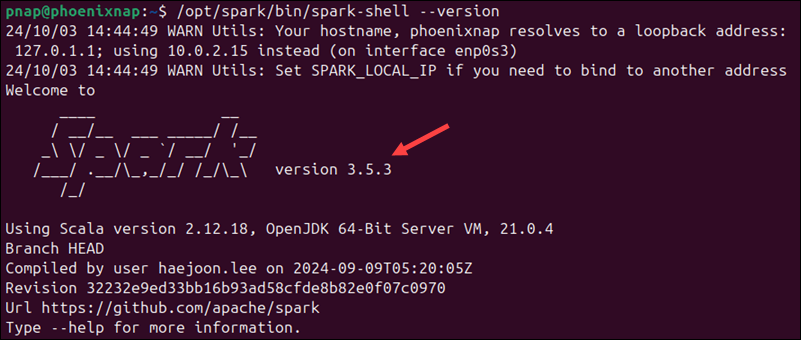
The command displays the Spark version number and other general information.
How to Set Up Spark on Ubuntu
This section explains how to configure Spark on Ubuntu and start a driver (master) and worker server.
Set Environment Variables
Before starting the master server, you need to configure environment variables. Use the echo command to add the following lines to the .bashrc file:
echo "export SPARK_HOME=/opt/spark" >> ~/.bashrc
echo "export PATH=$PATH:$SPARK_HOME/bin:$SPARK_HOME/sbin" >> ~/.bashrc
echo "export PYSPARK_PYTHON=/usr/bin/python3" >> ~/.bashrc
Alternatively, you can manually edit the .bashrc file using a text editor like Nano or Vim. For example, to open the file using Nano, enter:
nano ~/.bashrcWhen the profile loads, scroll to the bottom and add these three lines:
export SPARK_HOME=/opt/spark
export PATH=$PATH:$SPARK_HOME/bin:$SPARK_HOME/sbin
export PYSPARK_PYTHON=/usr/bin/python3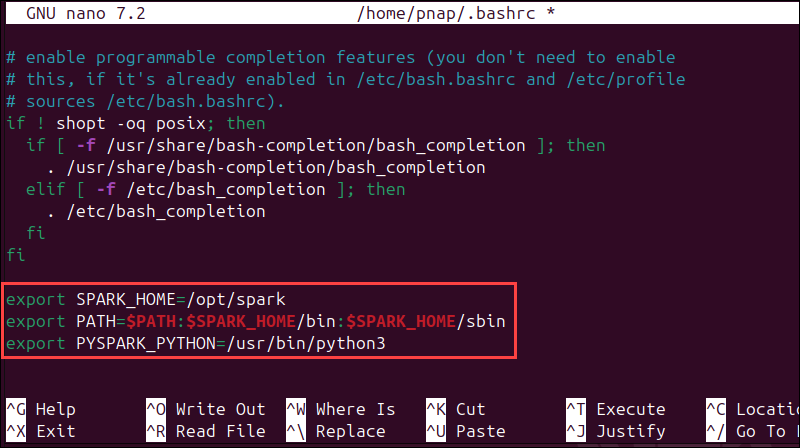
Save the changes and exit the file.
Load the updated profile by typing:
source ~/.bashrcThe system does not provide an output.
Start Standalone Spark Master Server
Enter the following command to start the Spark driver (master) server:
start-master.sh
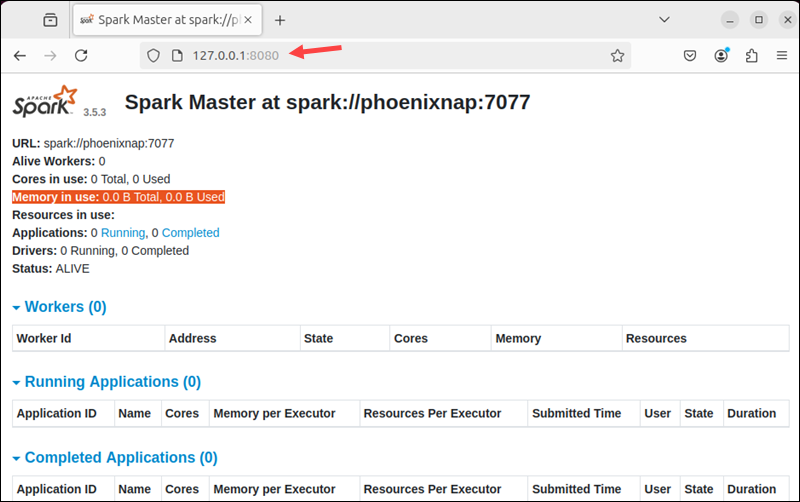
The URL for the Spark master server is the name of your device on port 8080. To view the Spark Web user interface, open a web browser and enter the name of your device or the localhost IP address on port 8080:
http://127.0.0.1:8080/The page shows your Spark URL, worker status information, hardware resource utilization, etc.
Note: Learn how to automate the deployment of Spark clusters on Ubuntu servers by reading our Automated Deployment Of Spark Cluster On Bare Metal Cloud article.
Start Spark Worker Server (Start a Worker Process)
Use the following command format to start a worker server in a single-server setup:
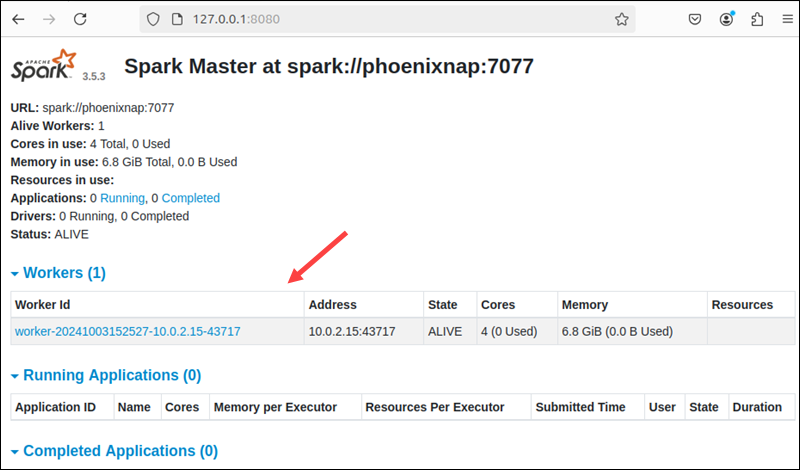
start-worker.sh spark://master_server:portThe command starts one worker server alongside the master server. The master_server command can contain an IP or hostname. In this case, the hostname is phoenixnap:
start-worker.sh spark://phoenixnap:7077
Restart the Spark Master's Web UI to see the new worker on the list.
Specify Resource Allocation for Workers
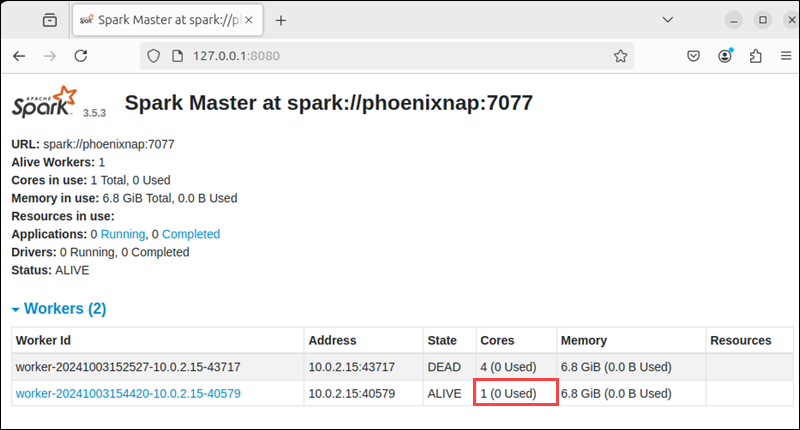
By default, a worker is allocated all available CPU cores. You can limit the number of allocated cores using the -c option in the start-worker command.
For example, enter the following command to allocate one CPU core to the worker:
start-worker.sh -c 1 spark://phoenixnap:7077Reload the Spark Web UI to confirm the worker's configuration.
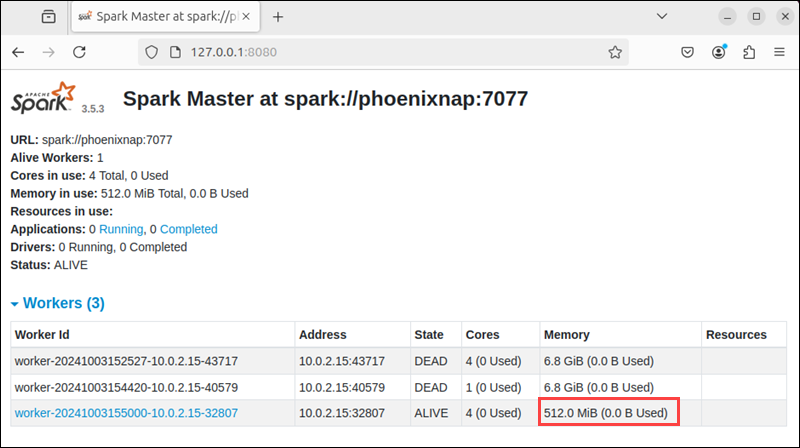
You can also specify the amount of allocated memory. By default, Spark allocates all available RAM minus 1GB.
Use the -m option to start a worker and assign it a specific amount of memory. For example, to start a worker with 512MB of memory, enter:
start-worker.sh -m 512M spark://phoenixnap:7077Note: Use G for gigabytes and M for megabytes when specifying memory size.
Reload the Web UI again to check the worker's status and memory allocation.
Getting Started With Spark on Ubuntu
After starting the driver (master) and worker server, you can load the Spark shell and start issuing commands.
Test Spark Shell
The default shell in Spark uses Scala, Spark's native language. Scala is strongly integrated with Java libraries, other JVM-based big data tools, and the broader JVM ecosystem.
To load the Scala shell, enter:
spark-shellThis command opens an interactive shell interface with Spark notifications and information. The output includes details about the Spark version, configuration, and available resources.
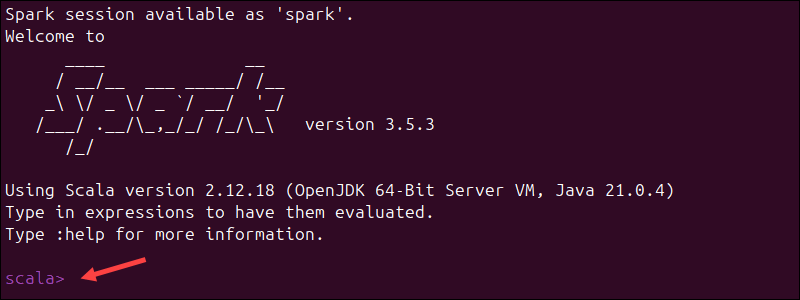
Type :q and press Enter to exit Scala.
Test Python in Spark
Developers who prefer Python can use PySpark, the Python API for Spark, instead of Scala. Data science workflows that blend data engineering and machine learning benefit from the tight integration with Python tools such as pandas, NumPy, and TensorFlow.
Enter the following command to start the PySpark shell:
pysparkThe output displays general information about Spark, the Python version, and other details.
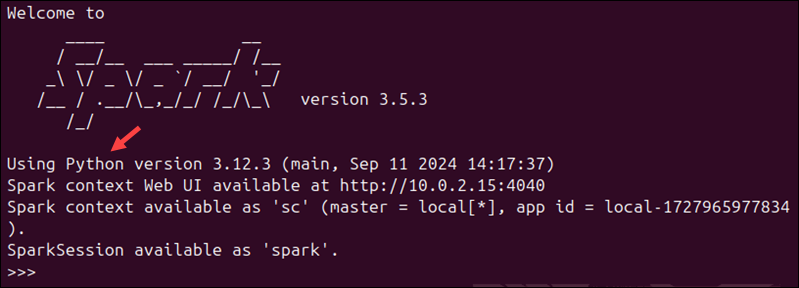
To exit the PySpark shell, type quit() and press Enter.
Basic Commands to Start and Stop Master Server and Workers
The following table lists the basic commands for starting and stopping the Apache Spark (driver) master server and workers in a single-machine setup.
| Command | Description |
|---|---|
start-master.sh | Start the driver (master) server instance on the current machine. |
stop-master.sh | Stop the driver (master) server instance on the current machine. |
start-worker.sh spark://master_server:port | Start a worker process and connect it to the master server (use the master's IP or hostname). |
stop-worker.sh | Stop a running worker process. |
start-all.sh | Start both the driver (master) and worker instances. |
stop-all.sh | Stop all the driver (master) and worker instances. |
The start-all.sh and stop-all.sh commands work for single-node setups, but in multi-node clusters, you must configure passwordless SSH login on each node. This allows the master server to remotely control the worker nodes.
Note: Try running PySpark on Jupyter Notebook for more powerful data processing and an interactive experience.
Conclusion
After reading this tutorial, you have installed Spark on an Ubuntu machine and set up the necessary dependencies.
This setup enables you to run basic tests before moving on to advanced tasks, such as configuring a multi-node Spark cluster or working with Spark DataFrames.
