Network Time Protocol (NTP) is a crucial service that synchronizes the system clock with internet-based time servers or internal network sources.
On AlmaLinux, a stable open-source enterprise Linux distribution, the traditional ntp package is replaced by chrony. This package provides faster and more reliable time synchronization and functions as an NTP client and server.
This guide will explain how to install, configure, and manage an NTP server on AlmaLinux with chrony.

Prerequisites
- AlmaLinux system.
- Access to the terminal.
- Sudo or root privileges.
Configuring NTP Server on AlmaLinux
To set up an NTP server on AlmaLinux, you must install and configure chrony, enable the service, and verify synchronization.
The steps below show how to install and configure the NTP server on AlmaLinux.
Install the NTP Package
AlmaLinux uses chrony for NTP functionality instead of the old ntp package. To install chrony, take the following steps:
1. Update the system packages and repository metadata with dnf:
sudo dnf update -y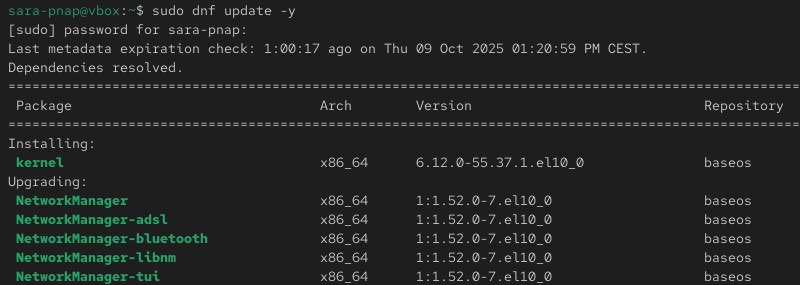
2. Install the package:
sudo dnf install chrony -y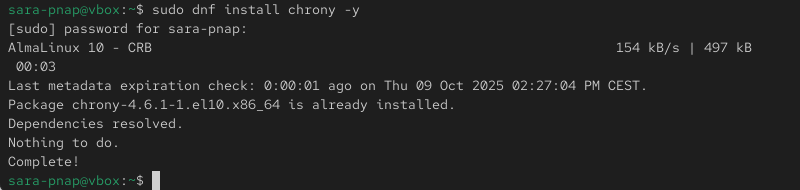
This ensures the system is up to date and downloads chrony with all required dependencies.
Note: On AlmaLinux 10, chrony may already be installed by default. If the system reports the package is already present, proceed to enable and configure the service.
Enable and Start the NTP Service
Enable the service to start automatically at boot, and start it immediately with systemctl:
sudo systemctl enable --now chronydThis command has no output, but ensures the chrony daemon runs continuously and keeps the system clock synchronized.
Check the service status with:
sudo systemctl status chronyd
Configure NTP Servers
The chrony configuration file is located at /etc/chrony.conf. By default, it includes a set of public NTP servers. Modify this file to use custom upstream servers or internal network sources:
1. Open the configuration file with a text editor. For example, to do it in Nano, run:
sudo nano /etc/chrony.conf2. Locate the lines starting with Use public servers... and update or add your preferred NTP servers.
For example:
server 0.pool.ntp.org iburst
server 1.pool.ntp.org iburst
server 2.pool.ntp.org iburst
Note: For extra security, add allow 192.168.1.0/24 to the file to restrict which clients can query your server.
3. Save the changes and exit the editor.
4. Restart the chrony service to apply the new configuration:
sudo systemctl restart chronydThe command has no output.
This process configures your system to synchronize with the specified NTP servers and ensures accurate timekeeping.
Allow NTP Through the Firewall
To allow other systems on your network to synchronize their clocks with this server, open UDP port 123 in the firewall.
AlmaLinux 10 uses firewalld by default. To allow traffic, take the following steps:
1. Run the following command:
sudo firewall-cmd --permanent --add-service=ntp
2. Reload the firewall:
sudo firewall-cmd --reload
This ensures the server is able to respond to incoming NTP requests. Systems that only synchronize their own clock do not need this step.
Verify NTP Synchronization
After you configure chrony, verify the system clock is synchronized and the service is communicating with the configured NTP sources.
1. Check the chrony service status to confirm it is running and enabled at boot:
sudo systemctl status chronyd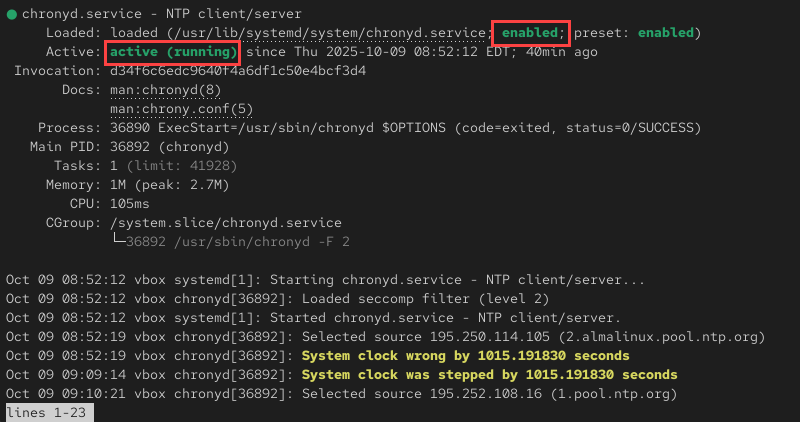
If the synchronization is functioning correctly, the output shows the service is active (running) and enabled. This means chrony is managing the system clock and maintaining synchronization.
However, if the service appears as inactive, failed, or disabled, start and enable it manually with:
sudo systemctl start chronyd
sudo systemctl enable chronyd
2. Verify communication with the configured time sources:
chronyc sources -v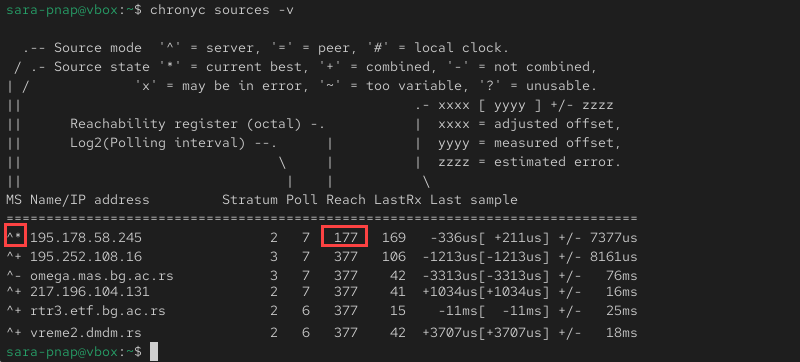
If the server is synchronized, one of the listed sources includes a * symbol in the first column that indicates the currently selected reference source. The Reach value is nonzero (for example, 177), which confirms the connection to the NTP server is stable.
If no source is marked with * or all sources show ?, the system is not communicating with any NTP server. This issue usually points to network connectivity or firewall restrictions.
To resolve the issue, ensure outbound UDP port 123 is open and the system has internet access. Then restart the chrony service:
sudo systemctl restart chronyd3. Confirm overall time synchronization and service status:
timedatectl status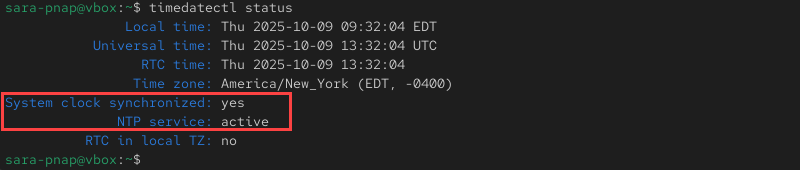
When the system clock is synchronized, the output includes System clock synchronized: yes and NTP service: active.
If the synchronization is still inactive or the time offset remains large, force chrony to update the clock:
sudo chronyc makestep
The output confirms chrony has successfully adjusted the system clock to match the NTP source.
Uninstall or Remove NTP Server from AlmaLinux
If you no longer need the NTP server, remove chrony from your system. Take the following steps to accomplish that:
1. Stop the chrony service:
sudo systemctl stop chronydThe command has no output.
2. Disable the service so it does not start at boot:
sudo systemctl disable chronyd
3. Remove the chrony package with dnf:
sudo dnf remove chrony -y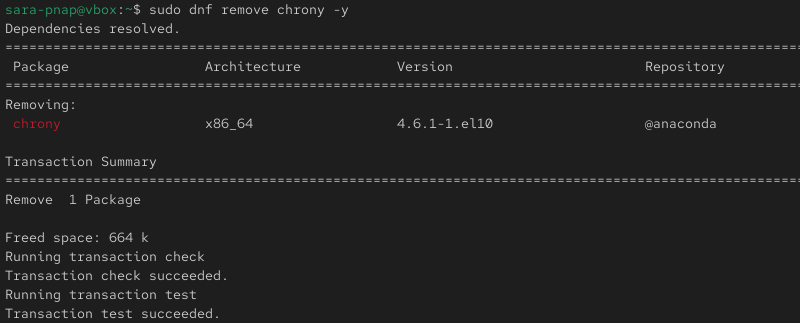
This command removes chrony and its dependencies. If you previously configured the firewall for NTP, remove the NTP rule:
sudo firewall-cmd --permanent --remove-service=ntp
Reload the firewall:
sudo firewall-cmd --reload
After these steps, the system no longer acts as an NTP server.
Conclusion
This tutorial explained how to install and configure the chrony package on AlmaLinux. The package serves as a replacement for the old ntp package and provides time synchronization functions. The text shows how to remove chrony from your system.
Next, learn how to display and set the system date and time in Linux with the time command.