NumPy (Numerical Python) is a powerful Python library for numerical computing. The library supports working with arrays, matrices, and various mathematical functions. NumPy is used for scientific computing, engineering, data science, and machine learning projects.
This guide shows how to install NumPy on various systems using different methods.
Prerequisites
- Access to the terminal.
- Python 3 installed and added to PATH.
- Either Conda or PIP installed for package management.
Note: This guide uses Ubuntu 22.04. The installation steps are similar accross different operating systems (Linux, macOS, and Windows). Windows users use the command prompt instead of the terminal and require administrator privileges to perform any installation.
How to Install NumPy via Terminal
The simplest way to install NumPy is via the terminal. Depending on the system requirements, you can use PIP or Conda to install the library.
The sections below show how to install it using each method.
Install NumPy with PIP
To install NumPy using PIP, follow the steps below:
1. Open the terminal window.
2. Check if PIP is installed. Run the following command:
pip --version
The command shows the PIP version if the package manager is installed. If the version number does not show, run the following command to install PIP:
python -m ensurepipThe command automatically runs a PIP installation script. Alternatively, see one of our OS-specific installation guides:
3. Use PIP to install NumPy. Run the following command:
pip install numpyWait for the installation to complete.
Note: This method installs NumPy globally. You can also use PIP to install NumPy inside a virtual environment or a Conda environment.
4. Test the installation with the following example code:
python3 -c "import numpy; print(numpy.__version__)"
The command runs the Python code in quotation marks. If the installation succeeds, the code imports the library and prints the NumPy version.
Install NumPy Using Conda
When using Conda to manage Python libraries, follow the steps below to install NumPy:
1. Open the terminal.
2. Check that Conda is installed:
conda --version
The command prints the Conda version. If not, download and install Anaconda or Miniconda.
3. Create a Conda environment:
conda create -n [environment_name]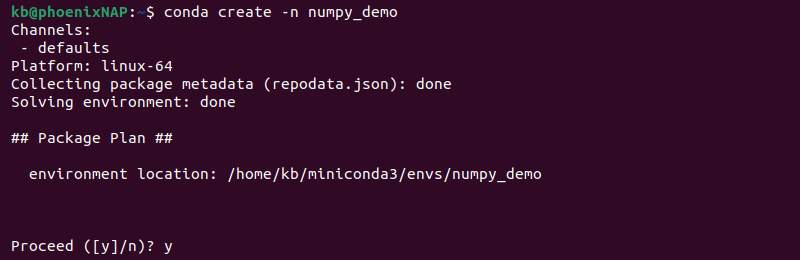
Replace [environment_name] with the actual environment name. Enter y when prompted to proceed.
Note: The installation does not require creating an evnironment, but it's considered best practice to isolate Python projects for simpler dependency management.
4. Activate the environment with:
conda activate [environment_name]
Use the environment name from the previous step. The terminal window changes to the environment.
5. Install NumPy with the following command:
conda install numpy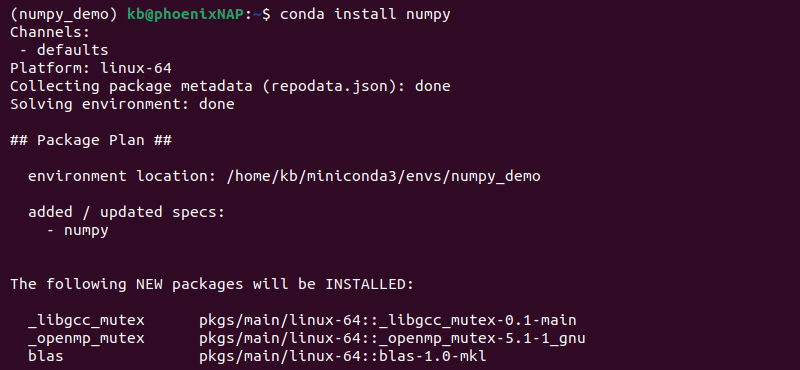
Enter y to confirm the installation when prompted.
6. Test the installation with:
python3 -c "import numpy; print(numpy.__version__)"
The command runs Python code that imports the NumPy library and prints the version number.
Build NumPy From Source
An advanced way to install NumPy is to build it from source. The method is meant for users with specific requirements and developers looking to contribute to the project.
Follow the steps below to build NumPy from source:
1. Clone the NumPy Git repository locally:
git clone https://github.com/numpy/numpy.git
The command clones the project into the numpy directory.
2. Navigate to the project directory:
cd numpy3. Initialize and update submodules with git submodule update:
git submodule update --init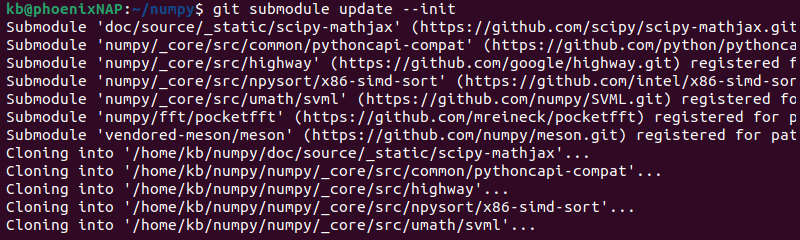
After this step, the submodule directories are fully functional.
4. Install the NumPy package from the current directory with:
pip install .
Wait for the installation to complete.
5. Navigate to the home directory, as running Python code from the installation directory will not work.
cd ..Alternatively, navigate to your project directory or any other location.
6. Test the NumPy installation:
python3 -c "import numpy; print(numpy.__version__)"
The command prints the NumPy dev version, indicating a successful installation.
How to Update NumPy
Update NumPy with PIP or Conda, depending on the Python environment setup. See the examples below:
- PIP:
pip install --upgrade numpy
- Conda:
conda update numpyChoose a method that best aligns with your current environment and NumPy installation method.
Conclusion
This guide showed how to install NumPy on your system using two different methods: PIP and Conda.
Next, check out our introduction to Python Pandas. It is an open-source Python library built on top of NumPy and primarily used for data analysis.