Vim (Vi Improved) is an enhanced version of the original Vi text editor. With features such as syntax highlighting and new editing commands, like multiple undo levels, visual mode, and block operations, Vim is one of the best text editors for the development environment.
Vim is preinstalled in most Linux distributions, but if you want the latest version with the newest features, you may need to compile it from source using Git.
In this tutorial, you will learn how to install the latest Vim editor on the Ubuntu operating system.

Prerequisites
- A user with sudo or root privileges.
- A Ubuntu system.
- Access to the terminal.
Steps for Installing Vim on Ubuntu
To install the latest Vim version on Ubuntu, get the required prerequisite packages. Then, clone the latest source code from GitHub.
Follow the steps below to complete the installation on your Ubuntu system.
Step 1: Install Necessary Tools
Before installing Vim from GitHub, ensure your system has the necessary tools. Take the following steps:
1. Install required development libraries with:
sudo apt install libncurses-dev
This installs the ncurses development libraries, which Vim uses for terminal-based text display, cursor movement, and keyboard input.
2. Install Git with this command:
sudo apt install git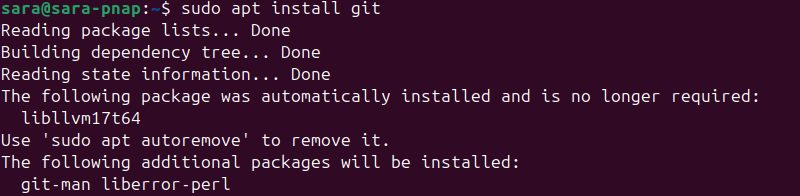
3. Install the make command with:
sudo apt install make
The tool builds and installs packages.
Note: In the newest Ubuntu versions, make is already installed.
4. Install the build-essential package, which contains the necessary compiler:
sudo apt install build-essential
Step 2: Install Vi Improved (Vim) Text Editor
To download and install Vim, take the following steps:
1. Download Vim from the GitHub repository:
git clone https://github.com/vim/vim.git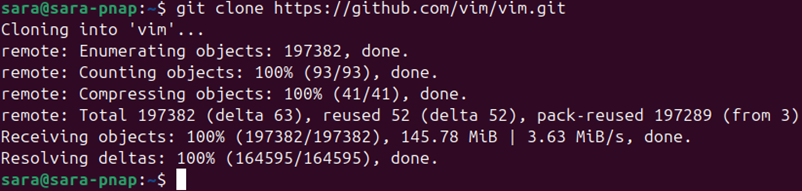
2. Navigate to the Vim source directory using the cd command:
cd vim3. Configure the build environment with:
./configure --with-features=huge --enable-multibyte --enable-python3interp=yes --enable-cscope --prefix=/usr/local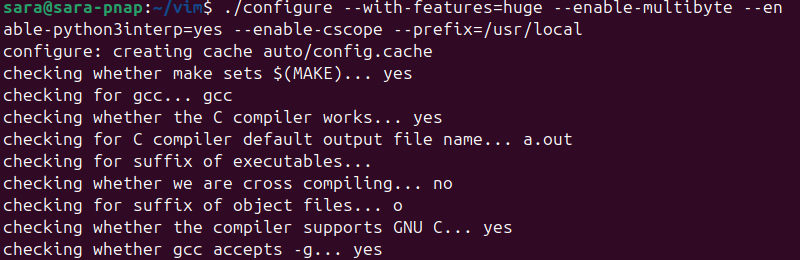
4. Build the software with the make tool. Run the following:
make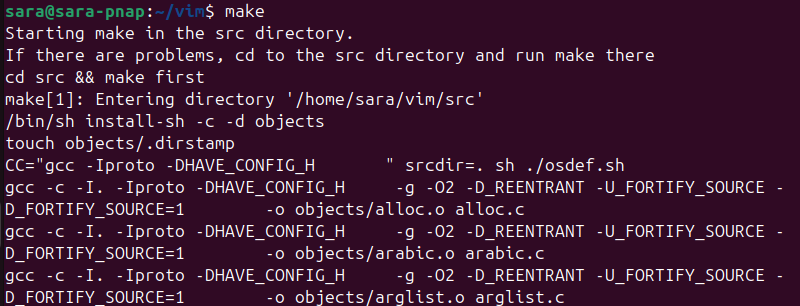
5. Install Vim with:
sudo make install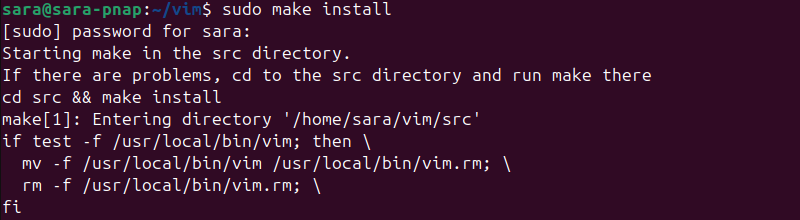
Step 3: Verify Vim Installation
To verify that the installation process has completed successfully, check the version of Vim on your system.
Run the following command:
vim -v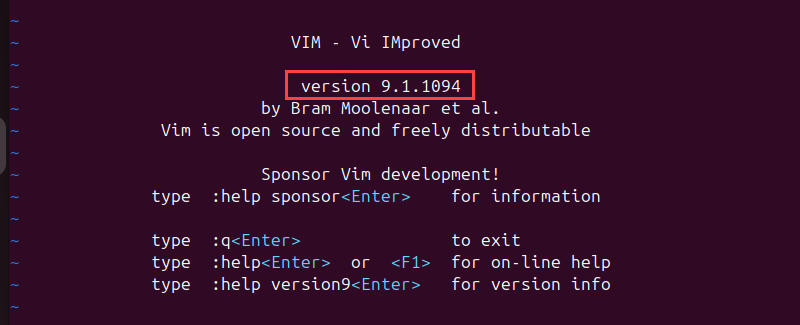
The editor opens and shows you the current version of Vim.
How to Uninstall Vim
To uninstall Vim, navigate to the Vim source directory and run:
sudo make uninstall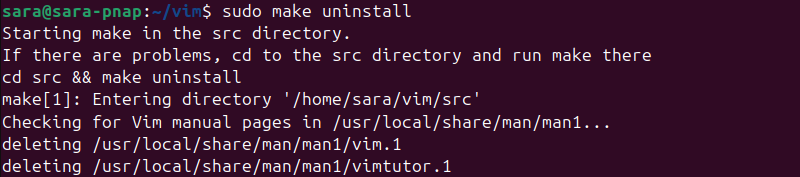
This removes all installed Vim binaries, libraries, and related files. If you no longer need the downloaded Vim source code, delete it with:
rm -rf ~/vimThe command has no output.
Conclusion
This guide explained how to install the latest version of Vim on Ubuntu. Make sure you have all the tools available before you start building and installing Vim from the repository.
Next, learn how to save and exit a file in Vim or check out our Vim commands cheat sheet.