Nginx (engine X) is one of the most popular HTTP web servers and an Apache alternative. Compared to Apache, Nginx consumes fewer resources and improves server responsiveness. Its event-driven design makes it resource-friendly.
Nginx allows admins to set up advanced configurations, and it can handle many concurrent connections. Besides being a good fit for a web server, Nginx works as a reverse proxy, load balancer, and a standard mail server.
In this article, you will learn how to install and configure Nginx on CentOS and Rocky Linux.

Prerequisites
- A Rocky Linux or CentOS machine.
- Root or sudo privileges.
- Access to the terminal.
How to Install Nginx on CentOS and Rocky Linux
The procedure below shows the steps to set up Nginx on CentOS or Rocky Linux. The installation steps for both OSes are similar.
Note: For CentOS 8 instructions, see our guide on how to install Nginx on CentOS 8.
Step 1: Update Repository Package Lists
Update the repository list with the following command:
sudo yum updateIf there are updates, confirm the installation when prompted and wait for the updates to complete.
Note: Rocky uses DNF, but the yum command also works as an alias for the dnf command. Read more about the differences between DNF vs. YUM.
Step 2: Install Extra Packages for Enterprise Linux (EPEL)
EPEL is a free package repository that provides numerous open-source packages to install, including Nginx. To install EPEL, run:
sudo yum install epel-release
The package ensures Nginx is available to install.
Step 3: Install Nginx
Nginx is now present in the repositories. Install Nginx with:
sudo yum install nginx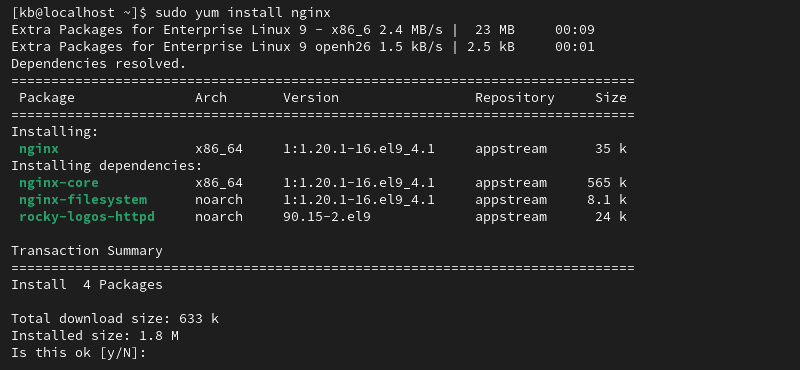
The command installs Nginx and its dependencies.
Step 4: Start Nginx Service
Although Nginx is installed, the service does not start automatically. To start Nginx, enter:
sudo systemctl start nginxThe command does not produce an output. To see the Nginx status, use:
sudo systemctl status nginx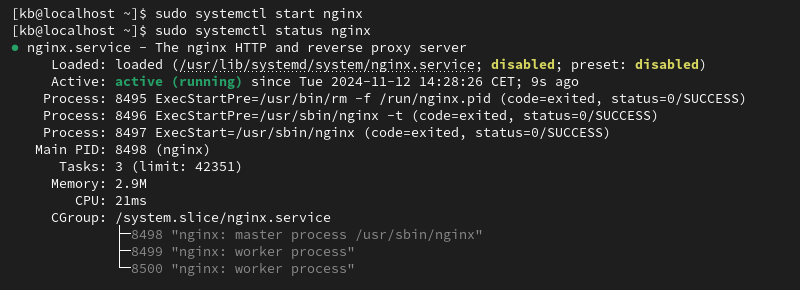
The status shows as active (running).
Note: If you have an Apache server running, stop it before starting Nginx: sudo service httpd stop. To disable automatic starts, run sudo systemctl disable httpd. Stopping Apache brings down any currently hosted website on that server.
Step 5: Configure Nginx to Start on Boot
To enable Nginx on startup, run:
sudo systemctl enable nginx
The command creates a symlink, and the service automatically starts after the system reboots.
Step 6: Configure Firewall to Allow Traffic
CentOS and Rocky Linux use firewalld as the default firewall, which may block access to ports 80 (HTTP) and 443 (HTTPS). To open these ports, run the following commands:
firewall-cmd --zone=public --permanent --add-service=httpfirewall-cmd --zone=public --permanent --add-service=httpsfirewall-cmd --reload
Each command changes the firewall settings and prints success, indicating that they were executed correctly.
Note: Alternatively, disable firewalld on CentOS or Rocky and use a different firewall service.
Step 7: Verify Nginx Install
The easiest way to check whether Nginx is running is by visiting your server's public IP address through a web browser. Find your server's IP address with the ip command:
ip a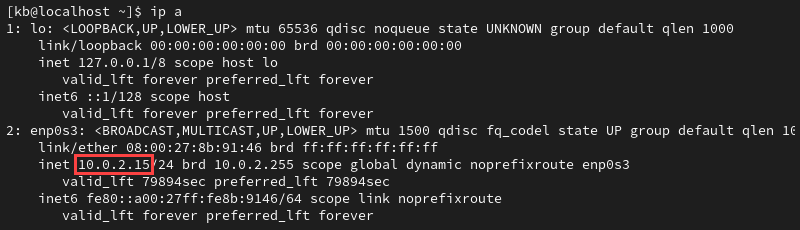
Copy the address and paste it into your browser.
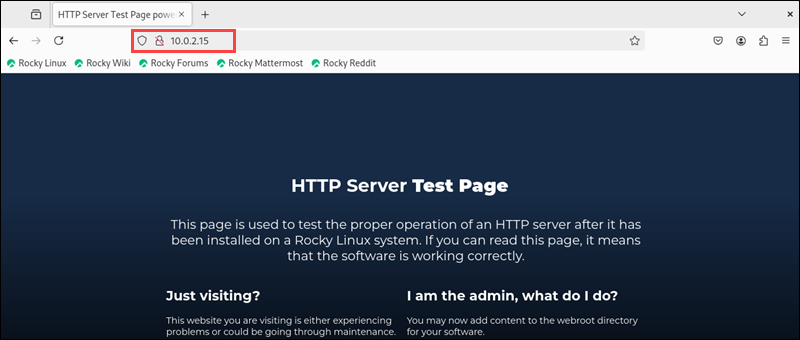
The page shows the Nginx landing page or the default server test page, indicating the installation worked and that the service is working.
How to Resolve the "test failed" Error
If you receive a "test failed" error message for the nginx.conf file, there is an IP address issue that is simple to resolve. The Nginx service listens to IPv4 and IPv6 by default, and the test fails if your server doesn't support IPv6.
Fix it by modifying the main configuration file:
1. Open the main configuration file /etc/nginx/nginx.conf with a text editor:
sudo nano /etc/nginx/nginx.conf2. Find and comment the following line in the server context:
# listen [::]:80;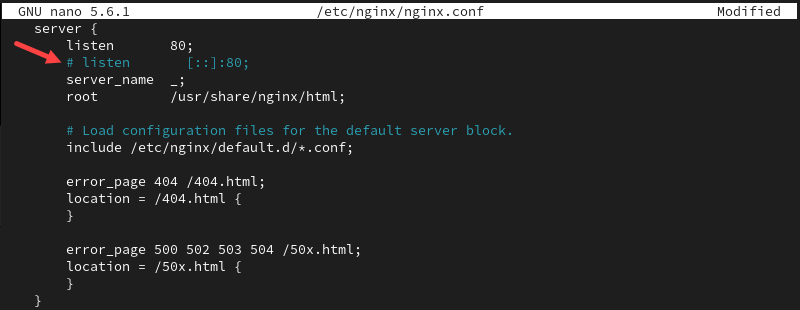
3. Save the changes and reload the Nginx service:
sudo systemctl reload nginx4. Access the page via browser. You should see the default Nginx test page.
Nginx Configuration Files and Root
Nginx configuration files are located in the Nginx root directory. The sections below show how Nginx uses configuration files and settings to customize Nginx behavior.
Additional Server Blocks
Nginx uses server blocks to run multiple websites on a single server. To add blocks, create new configuration files with a .conf extension in the /etc/nginx/conf.d or /etc/nginx/sites-avaliable directory, and they will load each time Nginx starts.
Default Nginx Server Root
The Nginx server root directory is /usr/share/nginx. This is specified in the default server block configuration file (typically /etc/nginx/conf.d/default.conf).
The default server document root directory, which contains web page files, is /usr/share/nginx/html. It contains the webpages when testing an Nginx connection.
Global Configuration
The main Nginx configuration file at /etc/nginx/nginx.conf contains global configurations organized into contexts. By default, there are three contexts:
- Events. Global settings that define how Nginx handles all connections.
- HTTP. Defines how the server handles HTTP and HTTPS connections specifically.
- Server. Nested in the HTTP context. It specifies server ports, document root, etc.
Add more contexts to change a server's functionality, such as mail (handles email protocols) or stream (TCP/UDP).
Managing Nginx - Common Tasks
Nginx runs as a Linux service in the background, and it serves one or more websites simultaneously. The sections below show how to start, stop, and restart Nginx when troubleshooting and how to create separate webpage instances.
Stop Nginx
To stop an Nginx server, run:
sudo systemctl stop nginxThe service stops immediately, and its status changes to inactive.
Restart Nginx
To restart the Nginx service, run:
sudo systemctl restart nginxThe command restarts the Nginx service, switching its status to active.
Reload Nginx
After modifying the Nginx main configuration, reload the server to propagate the changes:
sudo systemctl reload nginxThe command reads from the configuration files and applies any changes made.
Disable Automatic Start on Boot
To turn off Nginx automatically starting on boot, run:
sudo systemctl disable nginxIt prevents Nginx from automatically starting at boot.
Configuring a New Directory
Create a new directory to separate pages and create a multi-website environment. Follow the steps below:
1. Use the mkdir command to create a directory:
sudo mkdir -p /var/www/[domain]/public_htmlReplace [domain] with the actual website domain. This is the location for the website files using the typical web hosting structure.
2. Create an index page:
sudo nano /var/www/[domain]/public_html/index.htmlThe page will help test the configuration.
3. Add the following code to the index.html file:
<!DOCTYPE html>
<html>
<head>
    <title>Welcome to Nginx</title>
</head>
<body>
    <h1>Welcome!</h1>
    <p>If you are seeing this page, your Nginx web server is working.</p>
    <p>Server Status: Online</p>
    <p>To customize this page, edit the <em>index.html</em> file located in the server's document root directory.</p>
</body>
</html>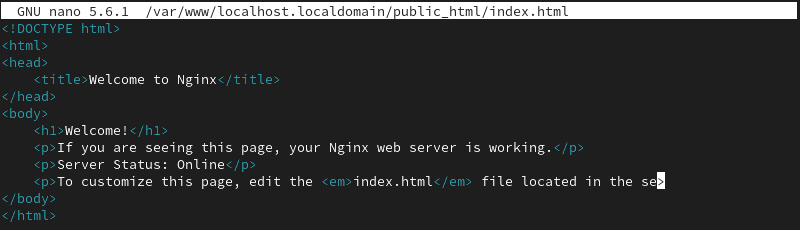
Save and close the file.
4. Change the file's permissions so Nginx can access it:
sudo chmod -R 644 /var/www/[domain]/public_html/index.htmlThe permissions allow Nginx to access the file.
5. Edit the default nginx.conf file:
sudo nano /etc/nginx/nginx.conf6. Change the following configuration in the server context:
server {
    server_name [domain];
    root /var/www/[domain]/public_html;
    index index.html;
}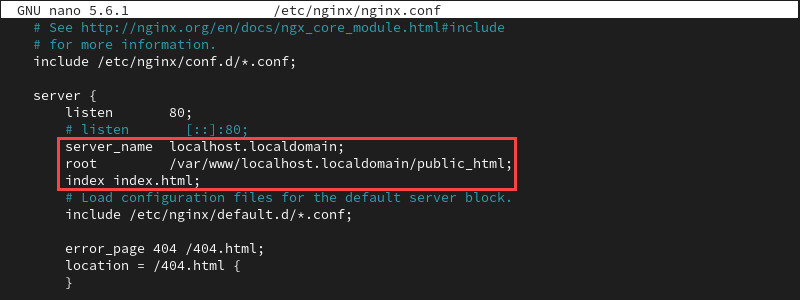
The server name, root directory, and landing page should match your configuration.
7. Save and close the file. Test the configuration file syntax:
sudo nginx -t8. Reload Nginx:
sudo systemctl reload nginx9. Open the page using a browser:
http://[domain]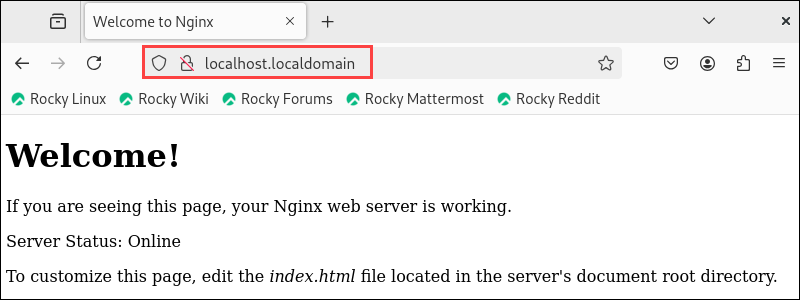
The landing test page appears to indicate the test worked. If not, recheck the configuration file settings and restart the server to apply changes.
Note: If the page shows the 403 forbidden error, SELinux may be blocking access to the new website directory. Disable SELinux temporarily with sudo setenforce 0 and retry accessing the page.
Conclusion
This guide showed how to install and set up Nginx on CentOS and Rocky Linux. Nginx is a web server and a great alternative to Apache.
For an in-depth comparison between the two web servers, see our detailed Nginx vs. Apache comparison.