Microsoft's Visual Studio Code (VS Code) is a source-code editor developed for Windows, Linux, and macOS. The editor supports debugging, syntax highlighting, automatic code completion, snippets, embedded Git integration, and more.
VS Code is based on the open source. Code - OSS project, and it includes built-in Git integration for version control workflows
In this tutorial, you will learn to install, uninstall, and start VS Code on Ubuntu.
Prerequisites
- A system running Ubuntu (this guide uses Ubuntu 26.04).
- An account with sudo or root privileges.
- Access to the terminal.
How to Install Visual Studio Code on Ubuntu
There are three ways to install VS Code on Ubuntu:
- With the snap package.
- Using the apt package manager.
- Via the Ubuntu Software GUI app.
Choose an installation method and follow the steps below to install VS Code.
Method 1: Install Visual Studio Code on Ubuntu with Snap
Snap packages are containerized applications. Run the following command to install the VS Code self-contained snap package with the required dependencies:
sudo snap install --classic code
Verify the installation by checking the program version:
code --version
Method 2: Install Visual Studio Code on Ubuntu with apt
Another way to install VS Code is via the APT package manager. Follow the steps below to install VS Code using the apt command:
Note: Read our Snap vs. APT article to see how the Snap packaging system compares to the APT package manager.
1. Update the system repository and ensure you get the latest VS Code version with:
sudo apt update2. For proper operation, VS Code requires package dependencies. Run the following command to resolve package dependencies, including downloading necessary files with the wget command:
sudo apt install software-properties-common apt-transport-https wget -y
The command automatically installs any VS Code dependencies.
3. To verify the VS Code package integrity, import Microsoft's GPG key and store it in the proper location:
wget -qO- https://packages.microsoft.com/keys/microsoft.asc | gpg --dearmor > packages.microsoft.gpg
sudo install -D -o root -g root -m 644 packages.microsoft.gpg /etc/apt/keyrings/packages.microsoft.gpg
The command has no output.
4. Run the following command to add the Visual Studio Code repository to your system:
sudo sh -c 'echo "deb [arch=amd64 signed-by=/etc/apt/keyrings/packages.microsoft.gpg] https://packages.microsoft.com/repos/code stable main" > /etc/apt/sources.list.d/vscode.list'The command has no output.
Note: See how to troubleshoot the add-apt-repository command not found error.
5. To ensure you have the latest VS Code version, update the package repositories again:
sudo apt update6. Install VS Code with:
sudo apt install code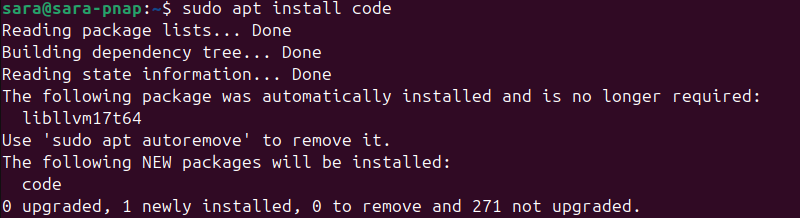
7. Verify VS Code installation by running:
code --versionIf the installation is successful, the output shows the program version.
Note: Learn how to use Docker for Visual Studio Code.
Method 3: Install Visual Studio Code on Ubuntu Using the GUI
Follow the steps below to install VS Code using the Ubuntu App Center:
1. Click the Show Applications button and open the Ubuntu App Center app.
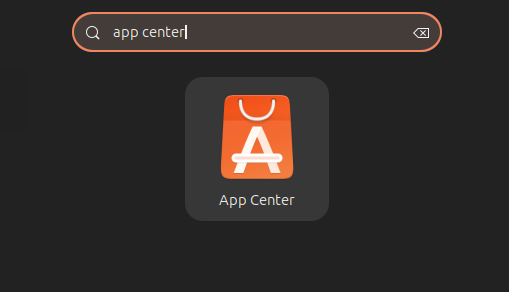
Note: The Show Applications button opens the app drawer and shows installed app icons. See how to list installed apps using the terminal.
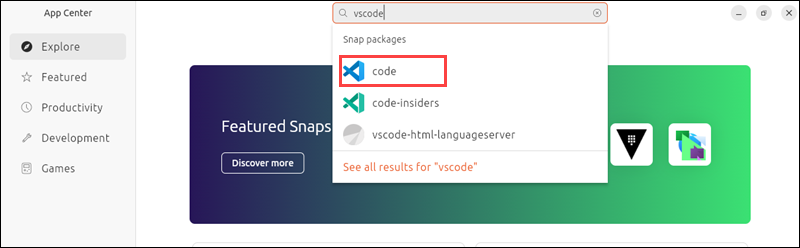
2. Click the Search button and type vscode in the search bar.
3. Click code on the list to open the app page.
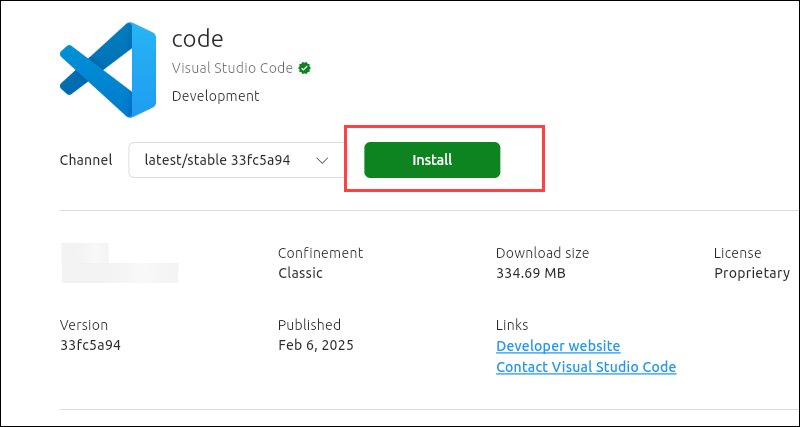
4. Click the Install button and, when prompted, type in your administrator password to start the installation.
How to Start Visual Studio Code on Ubuntu
To start the program, take the following steps:
1. Click the Show Apps button and locate Visual Studio Code in the app list.
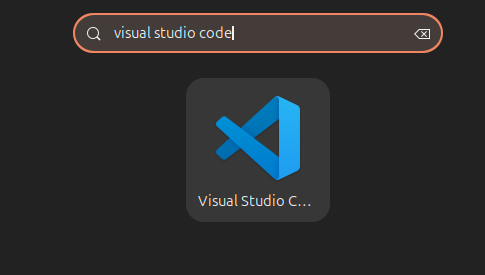
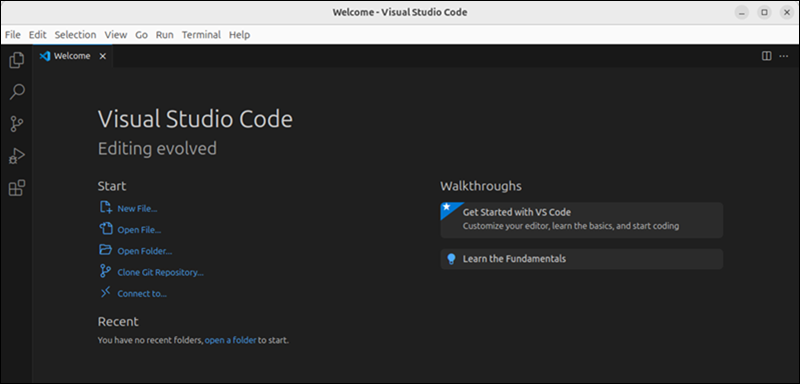
2. Click the app to open it.
3. Start customizing the appearance, adding extensions for the programming languages you need, etc.
Uninstall Visual Studio Code
Depending on the installation method, use one of three ways to uninstall VS Code:
- Remove the VS Code snap app by running the following command:
sudo snap remove code
The command removes VS Code and notifies you of the result.
- If you installed VS Code via apt, uninstall the program by running:
sudo apt remove code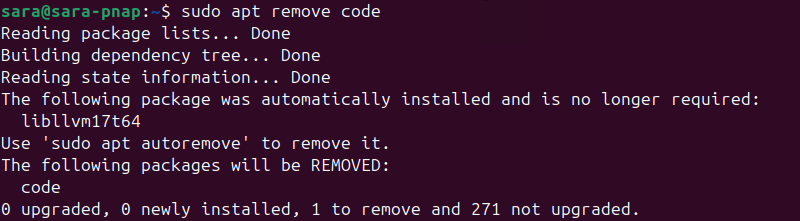
- If you installed VS Code via the Ubuntu App Center, open the Ubuntu App Center and locate the code app. Click the three dots, and then Uninstall.

Conclusion
This guide explained how to install and uninstall VS Code on Ubuntu using three methods. It also showed how to launch the app.
Next, read about the best Python IDEs and code editors, or see our list of 22 best Linux text editors for coding.