SQLAlchemy is a Python SQL toolkit and Object Relational Mapper (ORM) that provides a complete set of persistence patterns for efficient and high-performance database access. The users of SQLAlchemy can work with relational databases using Python objects and classes, instead of writing raw SQL queries.
This guide provides instructions for installing SQLAlchemy on Linux, Windows, and macOS.

Prerequisites
- Python (3.6 or newer) installed (check out our Python installation guides for Windows, Ubuntu, macOS, and Rocky Linux).
- pip installed (check out our pip installation guides for Windows, Ubuntu, Debian, Rocky Linux, and macOS).
- Git installed (check out our Git installation guides for Windows, Ubuntu, and macOS).
Install SQLAlchemy Using pip
The most common and recommended method for obtaining SQLAlchemy is through the Python Package Index using the pip tool. This method automatically resolves dependencies and installs the stable version of the library.
The sections below contain instructions for installing SQLAlchemy on Linux, macOS, and Windows.
Linux and macOS
Use the following steps to install SQLAlchemy on Linux and macOS via the system's terminal:
1. Create a Python virtual environment:
python3 -m venv sqlalchemy2. Go to the project directory:
cd sqlalchemy3. Activate the environment:
source bin/activateIf the environment activates properly, its name appears before the terminal shell prompt.

4. Ensure pip is up-to-date:
python3 -m pip install --upgrade pip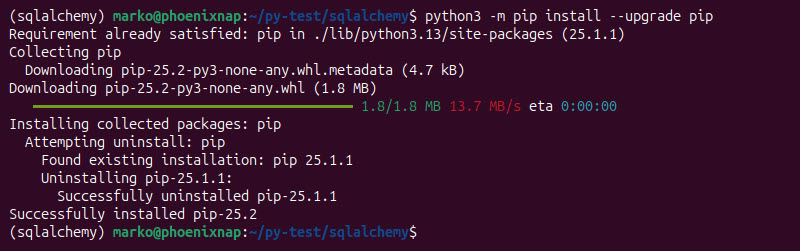
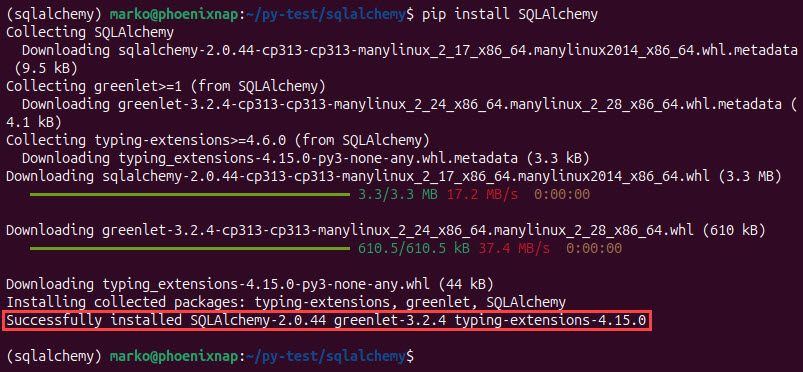
5. Install SQLAlchemy:
pip install SQLAlchemyThe output confirms that SQLAlchemy has been installed successfully.
Windows
On Windows, the installation is executed via PowerShell or Command Prompt, and follows the standard Python package installation procedure:
1. Create a Python virtual environment:
python -m venv sqlalchemy2. Go to the virtual environment directory:
cd '.\sqlalchemy\'3. Activate the environment using the correct script. In PowerShell, type the following command:
.\Scripts\Activate.ps1If you use Command Prompt, execute the command below:
.\Scripts\activate.bat4. Ensure pip is up to date:
python -m pip install --upgrade pip
5. Install SQLAlchemy:
pip install SQLAlchemy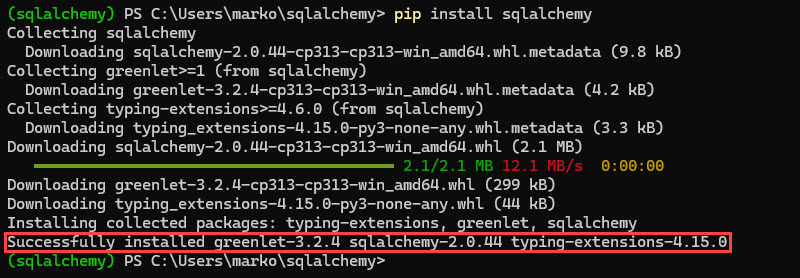
Verify Installation
Use the following two steps to confirm that SQLAlchemy has been successfully installed and can be imported within a Python environment:
1. Use the pip show command to see details about the SQLAlchemy version installed on the system:
pip show sqlalchemy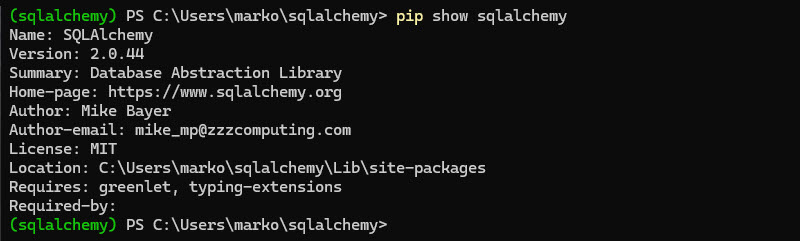
2. Start a Python interpreter:
python3. Import the library and print the version number:
import sqlalchemy
print(sqlalchemy.__version__)
If the version number is displayed without errors, the installation is complete.

Install SQLAlchemy Using Git
Installing from the Git repository allows access to the latest development version or specific branches for testing and contribution. The process involves cloning the source code and installing it locally.
Follow the steps below to install SQLAlchemy using Git:
1. Clone the SQLAlchemy repository using the git clone command:
git clone https://github.com/sqlalchemy/sqlalchemy.git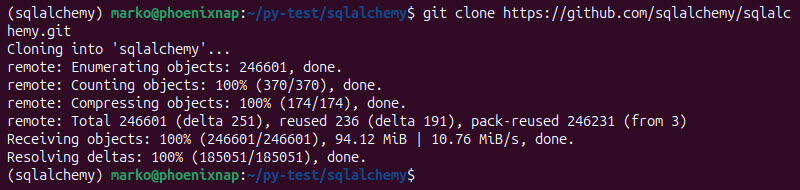
2. Change the current directory to the newly cloned sqlalchemy directory:
cd sqlalchemy3. Use pip to install the package. The -e flag installs the package in editable mode, which is helpful for development.
pip install -e .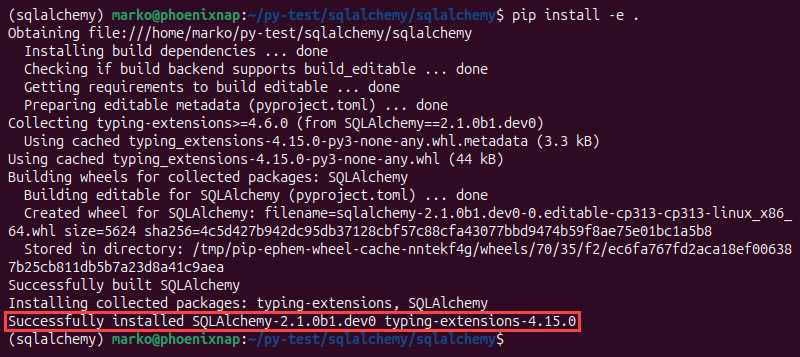
SQLAlchemy Setup and Basic Usage
The core SQLAlchemy library is database-agnostic, meaning additional packages, known as DBAPI drivers, must be installed to enable connectivity to specific database backends.
The sections below explain how to install DBAPI drivers for popular database solutions, and provide some basic usage tips.
Installing DBAPI Drivers
Choose and install the appropriate driver based on the database system that will be used with SQLAlchemy. These drivers provide the low-level communication interface.
SQLite
No additional driver is typically needed, as the standard library's sqlite3 module is used.
PostgreSQL
Install a driver such as Psycopg2:
pip install psycopg2-binary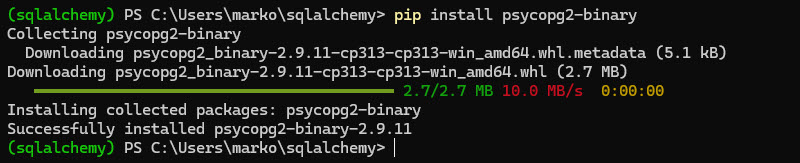
MySQL/MariaDB
Install a driver such as mysqlclient:
pip install mysqlclientOracle
Install the cx_Oracle driver:
pip install cx_OracleMicrosoft SQL Server (MSSQL)
Install the pyodbc driver:
pip install pyodbcCreate Engine
The Engine is the starting point for working with SQLAlchemy, acting as a home base for the database connection and managing the DBAPI driver.
Configure it using a database URL string:
from sqlalchemy import create_engine
engine = create_engine("[database_url]", echo=True)
Replace [database_url] with the relevant database URL from the table below:
| Database | URL format |
|---|---|
| SQLite (file-based) | sqlite:///my_database.db |
| SQLite (in-memory) | sqlite:///:memory: |
| PostgreSQL | postgresql+psycopg2://user:pass@host/db_name |
| MySQL/MariaDB | mysql+mysqlclient://user:pass@host/db_name |
| Oracle | oracle+cx_oracle://user:pass@host:port/?service_name=servicename |
| Microsoft SQL Server | mssql+pyodbc://user:pass@host/db_name?driver=ODBC+Driver+17+for+SQL+Server |
Define Table Metadata
Use MetaData objects to store information about your database schema and Table objects to represent tables. For example:
from sqlalchemy import MetaData, Table, Column, Integer, String, ForeignKey

metadata_obj = MetaData()

user_table = Table(
    "user_account",
    metadata_obj,
    Column('id', Integer, primary_key=True),
    Column('name', String(30), nullable=False),
    Column('fullname', String)
)

metadata_obj.create_all(engine)
Insert Data
To insert data into tables using SQLAlchemy, construct an insert() statement and execute it using a connection established from the engine. For example:
from sqlalchemy import insert

stmt = insert(user_table).values(
    name='spongebob',
    fullname='Spongebob Squarepants'
)

with engine.connect() as conn:
    result = conn.execute(stmt)
    conn.commit()
To insert multiple rows, pass a list of dictionaries to execute:
with engine.connect() as conn:
    conn.execute(
        insert(user_table),
        [
            {"name": "sandy", "fullname": "Sandy Cheeks"},
            {"name": "patrick", "fullname": "Patrick Star"},
        ]
    )
    conn.commit()
Select Data
To select data from tables, construct a select() statement and iterate over the results:
from sqlalchemy import select

stmt = select(user_table)

with engine.connect() as conn:
    result = conn.execute(stmt)

    for row in result:
        print(f"ID: {row.id}, Name: {row.name}, Fullname: {row.fullname}")
Conclusion
After reading this article, you will be able to install SQLAlchemy on all major operating systems. The guide covered installation using the pip package manager and the official Git repository, and provided some basic setup instructions.
Next, read our complete guide on Python dictionaries.