n8n is an open-source workflow automation tool that allows users to connect different apps, services, and APIs to automate tasks without heavy coding. It supports over 1,000 integrations and lets you create complex workflows using a visual, drag-and-drop interface.
The tool saves time, reduces manual work, and streamlines processes, making it ideal for developers, businesses, and individuals who want to eliminate repetitive tasks.
In this tutorial, you will learn to install n8n on Windows using three different methods.
Prerequisites
- A machine running Windows (this tutorial uses Windows 11).
- A user account with administrator privileges.
Why Run n8n Locally on Windows?
n8n offers a fully managed cloud version and a self-hosted option. This guide focuses on self-hosting, which enables users to gain complete control over their workflows, data, and environment.
A local installation allows the creation of development, testing, and customization automations without relying on external servers or cloud instances. Additionally, running n8n locally avoids usage limits from hosted plans and keeps sensitive data secure.
The user also gains the flexibility to integrate with local applications, databases, and files that may not be accessible through a cloud setup. This setup is ideal for developers and businesses who want to experiment with custom nodes, debug workflows, or test new features before deploying them to a production environment.
Additionally, since n8n is open-source, running it locally makes it easier to self-host, customize, and scale an automation environment without depending on third-party infrastructure or subscription costs.
Note: The n8n Desktop App was previously available as an easy way to run n8n locally without using Node.js or Docker. However, it is deprecated and has been removed from the official website. If you are currently using it, we recommend migrating to either the Node.js or Docker installation methods for continued updates and security patches.
Install n8n on Windows with npm (Node.js)
The Node.js (npm) installation method provides the best control over an n8n setup. It installs n8n globally through Node.js and allows users to manage dependencies directly on their system. This approach is suitable for a flexible and lightweight setup that does not rely on containers or additional tools.
Choose this method for direct control over n8n. It is best suited for developers and advanced users, offering complete control over the installation and configuration. It is also easy to update to a new version via npm.
Follow the steps below:
2. Open the Command Prompt or PowerShell.
3. Run the following command to install n8n globally:
npm install n8n -g4. Start n8n with:
n8n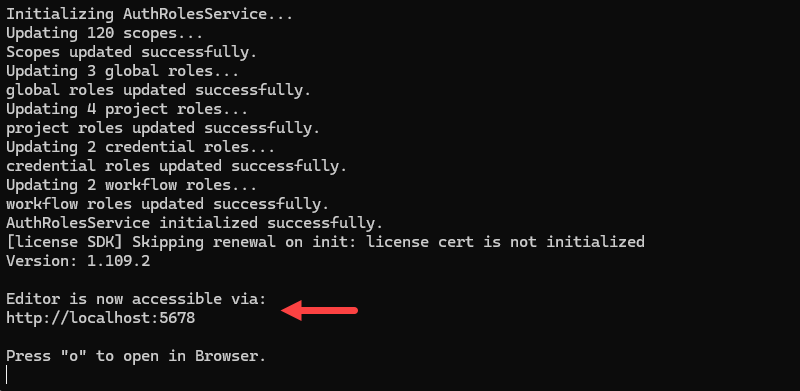
Run n8n on Windows with Docker
Using Docker to run n8n is one of the most popular and recommended approaches, especially for production environments. Docker isolates n8n in a container, ensuring a consistent setup regardless of your system configuration.
This installation type makes it easier to manage, upgrade, and roll back different versions, and it is ideal for scaling and running n8n reliably.
Follow the steps below to run n8n on Windows via Docker:
1. Install Docker Desktop on your system.
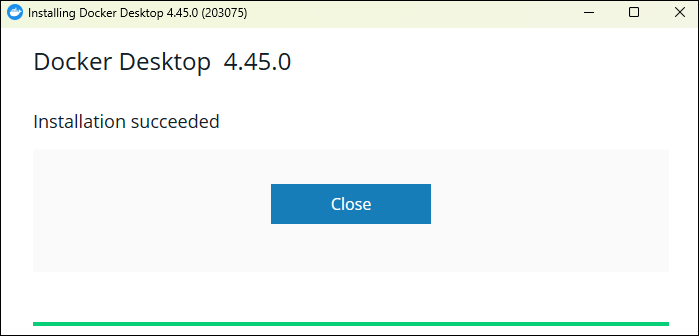
Run Docker Desktop after installation to start the Docker daemon.
2. Open the PowerShell or Command Prompt as an administrator and pull the official n8n Docker image:
docker pull n8nio/n8n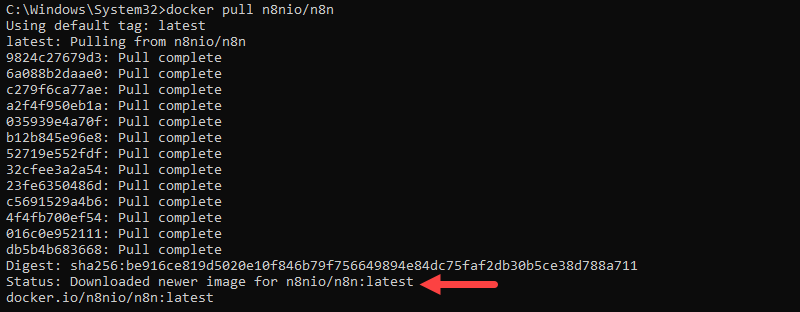
3. Run n8n in a container:
docker run -it --rm -p 5678:5678 n8nio/n8n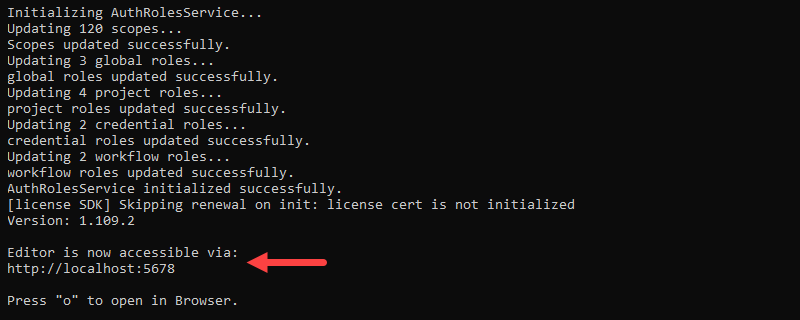
Note: phoenixNAP Knowledge Base also features a step-by-step guide for installing n8n locally and installing n8n on Mac.
Install n8n on WSL
If you want a Linux-like environment on Windows, install n8n on Windows Subsystem for Linux (WSL 2 is recommended). This method provides a more consistent experience when following Linux-based n8n guides.
This option is helpful if you are used to Linux-based n8n commands and prefer Linux tools. However, the setup is slightly more complex and has a higher resource usage since it runs a full Linux subsystem.
Follow the steps below to install n8n on WSL:
1. First, enable WSL 2 on your system or upgrade WSL to WSL 2. Open PowerShell and run the following command to install WSL 2:
wsl --installThe command installs WSL 2, the VM Platform, and downloads and installs Ubuntu 24 by default.
2. Open the WSL terminal.
3. Follow the steps outlined in our tutorial for installing n8n on Ubuntu - choose your preferred installation method - via Docker or via Node.js. We recommend using Node.js, as there would be no point in installing Docker on WSL when it is available for Windows as well.
4. Start n8n with:
n8n
Conclusion
This tutorial showed you how to install and run n8n on Windows using npm, Docker, or WSL, giving you complete control over your workflows and environment. Next, learn about Dockerfiles and how to use them, or see how to set Docker environment variables.