n8n is an open-source workflow automation tool that helps users connect and automate a wide range of web applications, platforms, and APIs. While a cloud-based version is available, self-hosting n8n on a local machine, such as a Mac, provides greater control over data and offers more flexibility.
This guide will show you how to install n8n on a Mac using Docker and NPM (Node.js).
Prerequisites
- A system running macOS (Intel or Apple Silicon).
- Docker installed (for deploying with Docker).
- Homebrew installed (for deploying with NPM).
Why Self-Host n8n Locally on Mac?
Self-hosting n8n on Mac offers several key benefits for developers, automation enthusiasts, and those concerned with data privacy.
The most important advantages include:
- Data privacy. Local n8n installations ensure the user's data remains on the local machine. This feature is essential for workflows that handle sensitive or proprietary information.
- Full control. The user has complete control over their instance, allowing for customization, advanced configurations, and the ability to run as many workflows as needed without the limitations of a paid cloud plan.
- Cost-effectiveness. The self-hosted version of n8n is free to use for both personal and non-commercial purposes, eliminating the need for a subscription.
- Offline accessibility. A local installation allows users to build and run workflows without an internet connection (if the relevant apps/services are also available offline).
Install n8n on Mac via Docker
Using Docker is the recommended method for installing n8n, especially for production environments. It provides an isolated, consistent, and easily manageable environment.
Install n8n with Docker by following the steps below:
1. Create a Docker volume:
docker volume create n8n_data
The volume ensures n8n data (workflows, credentials, etc.) is saved permanently, even if the container is removed.
2. Use the following command to run an n8n container:
docker run -it --rm --name n8n -p 5678:5678 -v n8n_data:/home/node/.n8n docker.n8n.io/n8nio/n8n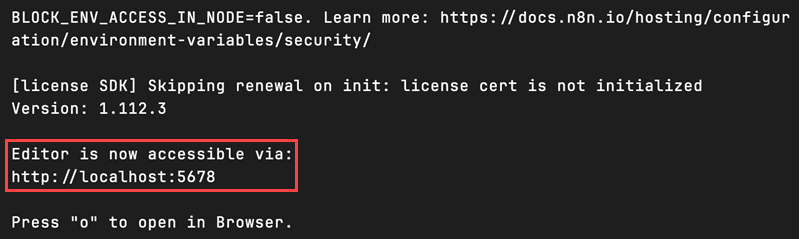
The command downloads the official n8n image, starts a new container, and maps the local port 5678 to the container's port. It also links to the persistent volume created in the first step.
Note: If you are planning to use n8n on Safari, set the environment variable N8N_SECURE_COOKIE to false by adding the following flag to the command above: -e N8N_SECURE_COOKIE=false
Alternatively, read how to set up a reverse proxy and HTTPS using Docker Compose.
3. Open a web browser and navigate to the following address:
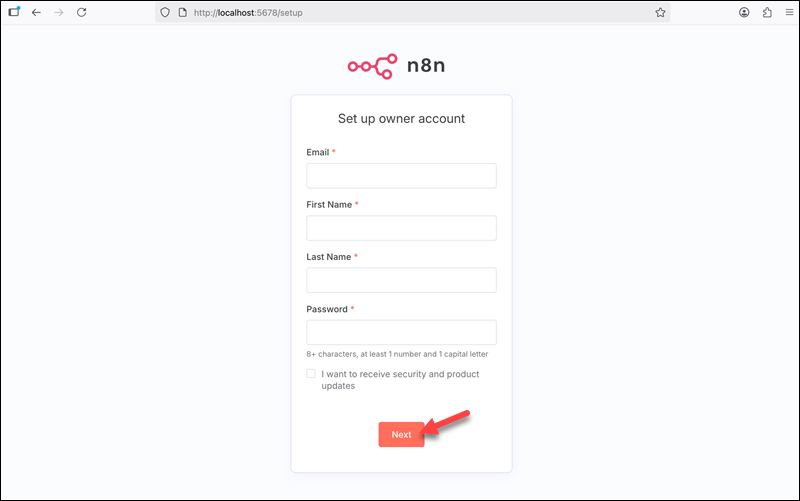
http://localhost:56784. Set up the owner account and select Next.
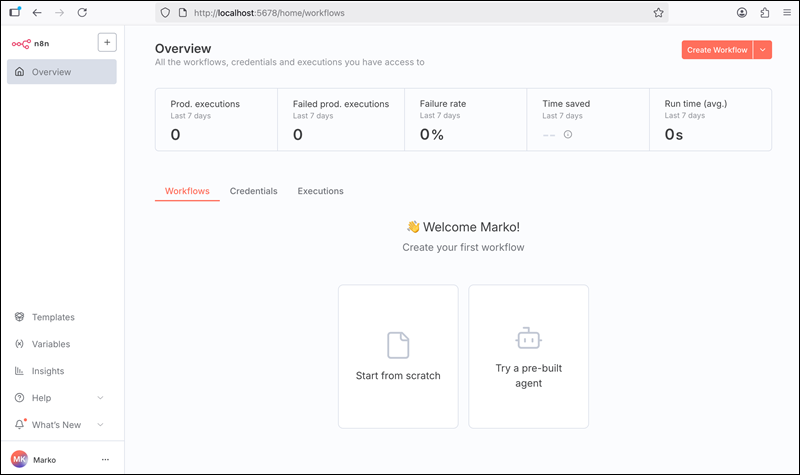
The editor appears, and n8n is ready to create workflows.
Install n8n on Mac via npm (Node.js)
Follow the steps below to install n8n directly using NPM, the Node.js package manager:
1. Install Node.js using Homebrew:
brew install node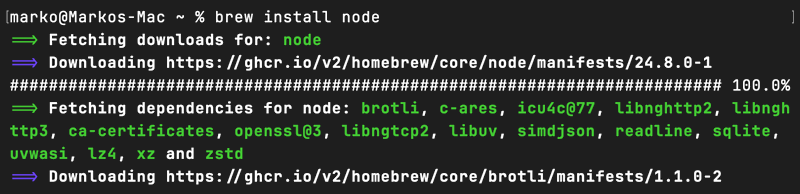
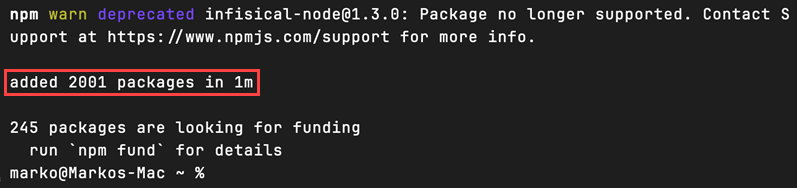
2. Use NPM to install n8n globally on the system:
sudo npm install n8n -gWait for the installation to finish.
3. Start an n8n instance:
n8n startWait for the output to show the URL for accessing the editor.
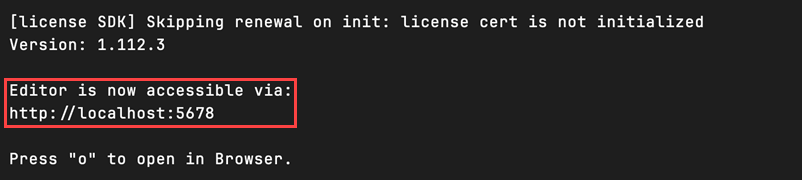
4. Access the instance in a web browser by navigating to the following address:
http://localhost:5678Conclusion
This article showed you how to install the n8n workflow automation tool on your Mac. The installation methods included using Docker and NPM, the Node.js package manager.
Next, learn about test automation frameworks that enable faster and more reliable automated testing.