Apache Hive is a data warehousing tool for analyzing structured data in Apache Hadoop. It uses an SQL-like language called HiveQL to simplify querying data.
Creating a table in Hive is a foundational step when structuring data. Mastering table creation in Hive is essential when working with databases in the Hadoop environment.
This guide shows how to create a table in Hive, load external data, and display data.

Prerequisites
- A system running Linux.
- A user account with sudo or root privileges.
- Access to a terminal window/command line.
- Working Hadoop installation.
- Working Hive installation.
Step 1: Start Hadoop and Hive
Before starting, ensure that Hive is running on the system. To launch Hive locally:
1. Initialize the HDFS services:
start-dfs.sh
The script starts the NameNode, DataNode, and Secondary NameNode components.
2. Start the YARN ReosurceManager and NodeManager:
start-yarn.sh
The services are essential for allocating resources and job scheduling.
Note: The services and nodes in the previous two steps are essential components in the Hadoop architecture. Learn more about Apache Hadoop architecture.
3. Start the Hive CLI with:
hive
The command switches to the Hive shell.
Step 2: Create a Database
Start by creating a database. Open the Hive CLI and follow the steps below:
1. Use the CREATE DATABASE statement to create a new database:
CREATE DATABASE [database_name];
The output confirms the creation and shows the time it took.
2. Verify the database is present:
SHOW DATABASES;
The command lists all available databases, including the newly created one.
3. Switch to the new database:
USE [database_name];
The command sets the currently active database.
Step 3: Create a Table in Hive
A database does not contain any tables after creation. To create a table, use the following reference:
CREATE TABLE [table_name] (
    [column_1] [type],
    [column_2] [type],
    ...
    [column_n] [type]
);
Adjust the table properties to create a desired schema. Replace the table and column names and provide data types for each column. If importing data from an external file, ensure the data matches the external file's properties and add appropriate delimiters.
The table is further customizable through table format, partitioning, clustering, and other properties as required.
Step 4: Add Data
There are two ways to add data to a table in Hive:
- Insert data directly into the table using a query.
- Load data from an external file.
The sections below outline both methods.
Option 1: Insert Data
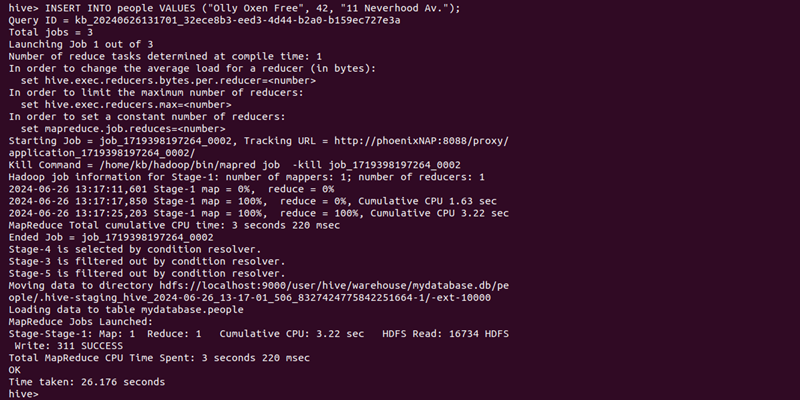
Use the INSERT INTO statement to add data to a table. The syntax is:
INSERT INTO [table_name] VALUES ([value_1], [value_2],...,[value_n]);
Replace the table name and values with the appropriate data.
Option 2: Load Data From a File
Another way to add data to a table is from an external file. Run the LOAD DATA INPATH command:
LOAD DATA INPATH '[file_path]' OVERWRITE INTO TABLE [table_name];
Replace the file path and table name. Ensure the file is accessible in the Hive environment and the file data matches the table schema.
Step 4: List Hive Tables and Data
To show all tables in a selected database, use the following statement:
SHOW TABLES;
The command lists all table names that are in the currently selected database.
To show table column names and data types, run:
DESC [table_name];
The command shows column names and types.
To display table data, use a SELECT statement. For example, to select everything in a table, run:
SELECT * FROM [table_name];
Alternatively, filter by column names:
SELECT [column_1, column_2] FROM [table_name];
Conclusion
This guide showed how to create a table in Hive and load data. There are also various ways to query and view the data from Hive.
An alternate method is to create an external table in Hive. External tables are not managed with Hive, which enables data imports from an external file into the metastore.
Working in Hive and Hadoop is beneficial for manipulating big data. Next, learn more about Hadoop architecture.


