Wireshark is a powerful, open-source network protocol analyzer used for packet capture, inspection, and troubleshooting. It allows system administrators, network engineers, and security professionals to view network traffic in real time and analyze it at the packet level.
The tool helps identify connectivity issues, analyze suspicious traffic, and verify network configurations.
This guide will explain how to install Wireshark on Ubuntu, verify the installation, resolve common issues, and start using the tool effectively.

Prerequisites
- An Ubuntu system (this tutorial uses Ubuntu 26.04 LTS).
- Access to the terminal.
- Sudo or root permission.
Installing Wireshark on Ubuntu
Wireshark provides a stable, secure environment for network analysis on Ubuntu, whether for diagnostics, security audits, or protocol research. The system's flexibility allows you to choose between the stable release from Ubuntu's repositories or the latest version from the official Wireshark personal package archive (PPA).
The following sections show the steps to install Wireshark on Ubuntu using different methods.
Step 1: Update Package Repository
Before any software installation, update your system's package list to ensure access to the latest versions and security patches. Run the apt command to update the package repository:
sudo apt update
Step 2: Install Wireshark
There are two ways to install Wireshark on Ubuntu. One is to get the stable version from Ubuntu's repositories, and the other is to install the latest release from the official Wireshark PPA. The repository version is fully tested and stable, while the PPA version offers newer features and protocol support.
To install the stable version with the APT package manager, run:
sudo apt install wireshark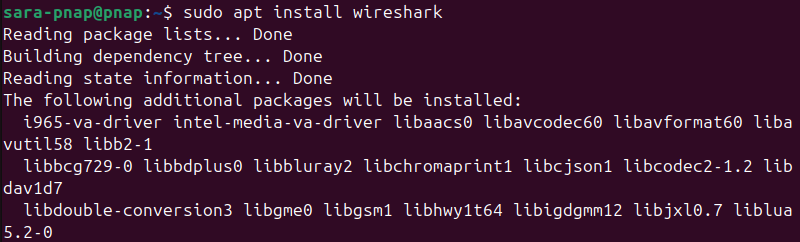
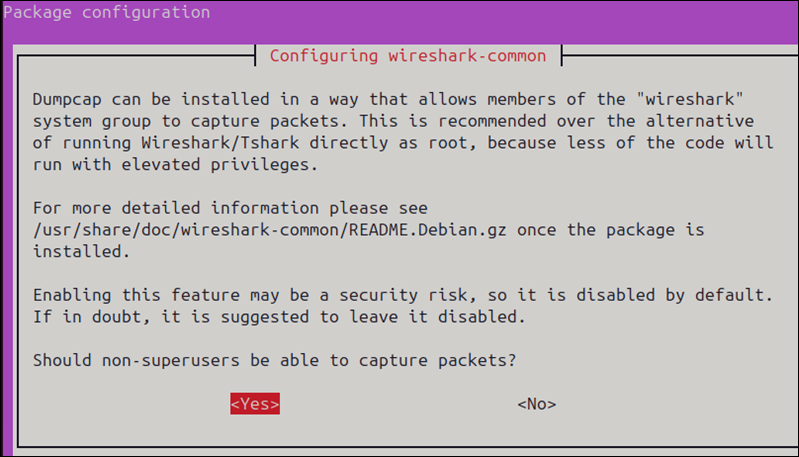
During the installation, you may be prompted to allow non-root users to capture packets. Select Yes if you want regular users to use Wireshark without root privileges.
Another option is to install the latest version from the official Wireshark PPA. To accomplish that:
1. Add the PPA:
sudo add-apt-repository ppa:wireshark-dev/stable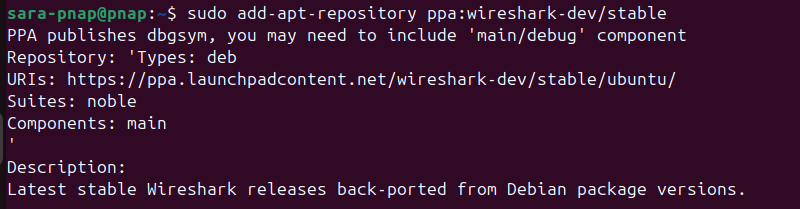
2. Update your package list with:
sudo apt update3. Install Wireshark:
sudo apt install wireshark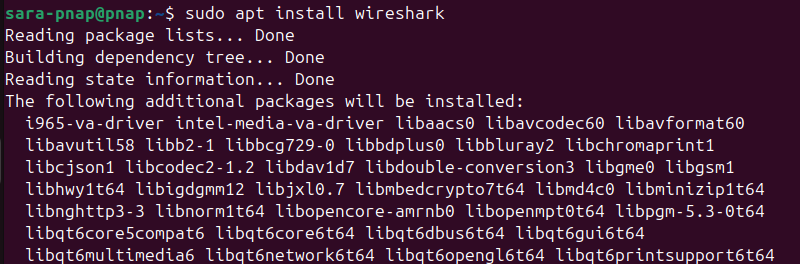
This method ensures you have access to the newest Wireshark features, useful when you want to analyze newer protocols or test upcoming capabilities.
After installation, the same prompt for non-root user access may appear again.
Step 3: Configure Wireshark Permissions
During installation, some versions of Wireshark prompt you to allow non-root users to capture network packets. If you did not receive this prompt, configure permissions manually so you do not have to run Wireshark with elevated privileges.
To accomplish that, add your user to the wireshark group with the usermod command:
sudo usermod -aG wireshark $USERThe command has no output. Therefore, verify the group was assigned correctly with:
groups $USER
If wireshark is not listed yet, log out and back in, or reboot the system to apply the group changes. Then run the command again to confirm the update.
This configuration allows you to capture packets securely without sudo.
Step 4: Verify the Installation
After the installation, verify Wireshark is correctly installed and check the installed version.
Use the following command:
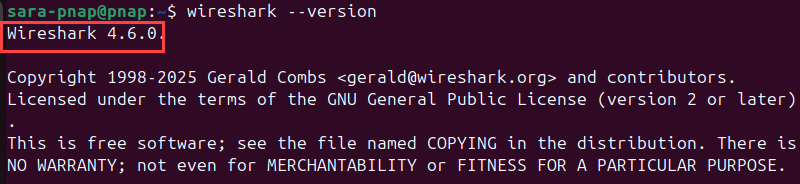
wireshark --version
The output shows the installed version and additional details. The example above shows Wireshark installed from Ubuntu's default repository.
When installed from the official Wireshark PPA, the version number is higher. For instance, in this case, the version is 4.6.0, instead of 4.2.2, which is the version installed from the repository provided:
To verify the graphical interface launches correctly, run:
wireshark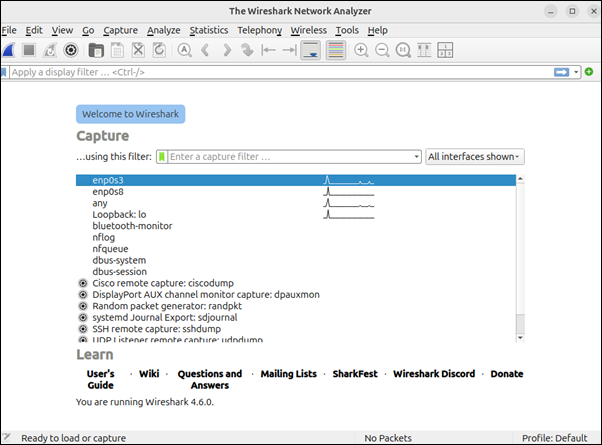
If the Wireshark graphical user interface (GUI) opens without errors, the installation is complete.
Troubleshooting Wireshark Installation
During or after any installation, Wireshark sometimes encounters common issues on Ubuntu. The following list explains each problem, its likely cause, and how to fix it.
- Permission denied or "You don’t have permission to capture packets". Occurs when the user is not part of the
wiresharkgroup, which is required to capture packets without root privileges. To resolve this, add your user to the group and log out and back in:
sudo usermod -aG wireshark $USERVerify the change took effect with:
groups $USER- Wireshark GUI fails to launch. Happens if there are missing dependencies or broken packages from a previous installation. To fix this, repair broken dependencies and then launch Wireshark again:
sudo apt install -f<br>wireshark- No capture interfaces found. Wireshark only displays active and properly configured interfaces. Ensure the interfaces you want to capture from are active:
ip link show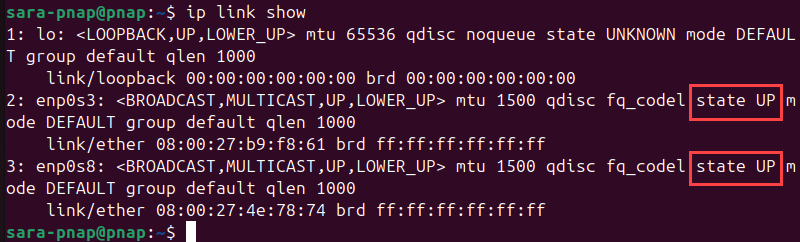
The ip command lists all interfaces along with their status. For example, active interfaces will show state UP in the command output. If the interface you want to capture from is not active (state DOWN), activate it with:
sudo ip link set [interface name] up- PPA repository errors. Occur when the PPA is misconfigured or missing. To fix this, remove the old PPA and re-add it, then update your package list:
sudo add-apt-repository --remove ppa:wireshark-dev/stable<br>sudo add-apt-repository ppa:wireshark-dev/stable<br>sudo apt update- Broken installation or dependency conflict. Installations fail or become corrupted due to incompatible packages or interrupted installs. The solution is first to remove Wireshark:
sudo apt remove --purge wireshark -y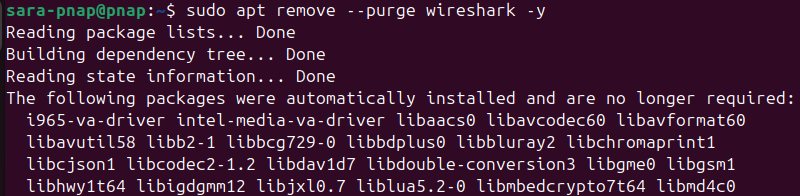
Next, remove unused dependencies to clean up any packages installed with Wireshark but no longer needed:
sudo apt autoremove -y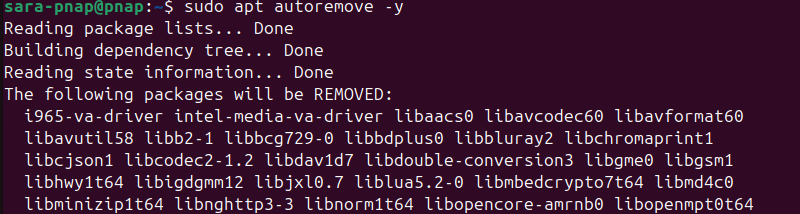
To get Wireshark back, reinstall with either APT or PPA.
Using Wireshark on Ubuntu
Once installed, Wireshark allows you to capture, inspect, and analyze network traffic in real time. It is a versatile tool used for troubleshooting, security monitoring, and understanding network behavior.
Key use cases include:
- Network troubleshooting. Identifies connectivity issues, packet loss, and unusual latency by inspecting live traffic.
- Security analysis. Detects suspicious activity, unauthorized connections, or potential intrusions in the network.
- Performance monitoring. Analyzes bandwidth usage, application behavior, and protocol efficiency.
- Protocol research and learning. Examines how protocols such as HTTP, DNS, and TCP operate at the packet level.
- Testing network configurations. Validates firewall rules, routing, and VPN configurations by observing actual traffic.
For example, if you want to analyze TCP traffic on your network, Wireshark identifies which devices are communicating, detects dropped packets, and troubleshoots application connectivity. This helps diagnose network performance issues and monitor data transfers.
To test this process, take the following steps:
1. Launch Wireshark from the terminal:
wiresharkThe command opens Wireshark's main screen.
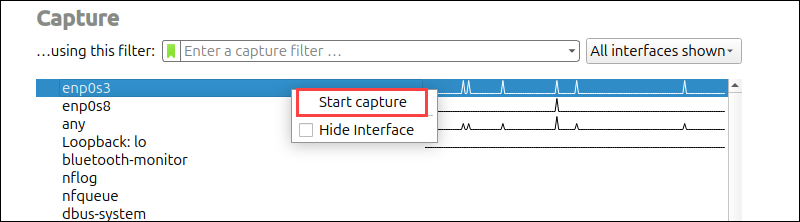
2. Select the network interface you want to capture from. Only interfaces with active connections appear. In this case, we choose the enp0s3 interface:

3. Click Start from the top menu or right-click the interface and choose Start capture to begin capturing packets:
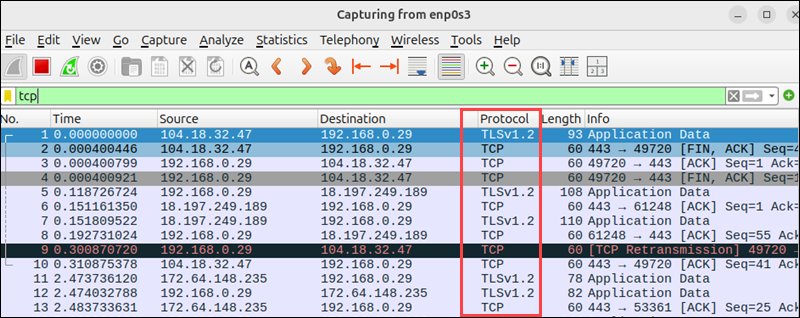
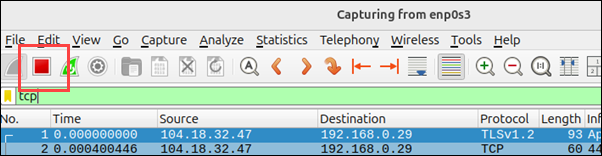
4. Apply a filter to focus on TCP traffic. To do that, type tcp in the filter bar and press Enter.
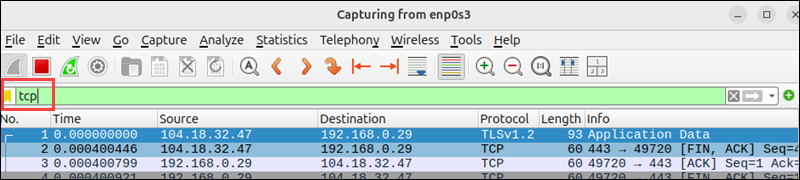
Wireshark now displays only packets that use the TCP protocol.
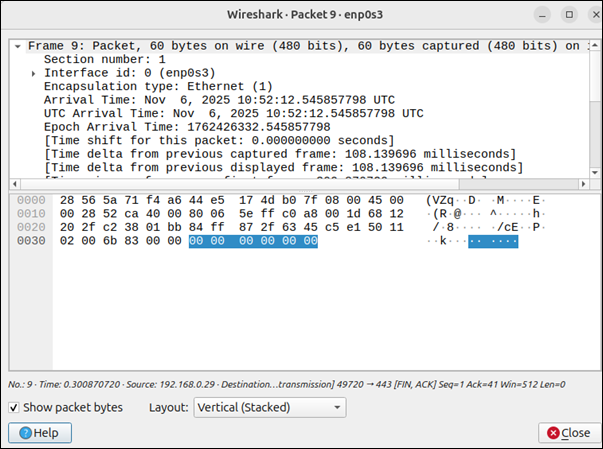
5. Expand any packet to view additional details.
6. Click the red square Stop button from the top menu to stop capturing. Analyze the captured packets or save them for later.
Conclusion
This article explained how to install Wireshark on Ubuntu with two different methods. It also presented common Wireshark installation issues and their solutions. Moreover, the tutorial elaborated on common Wireshark use cases and explored a practical example of using the software on Ubuntu.
Next, learn about other network monitoring tools for Linux.