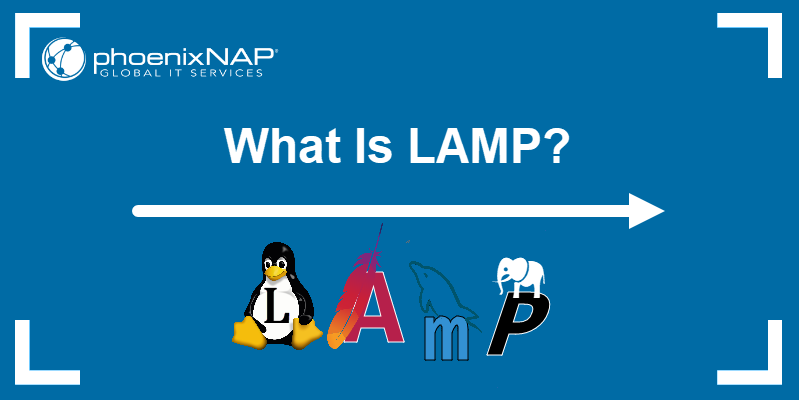
The LAMP stack is a web development stack consisting of a Linux operating system, an Apache web server, a MySQL (or MariaDB) database, and the PHP programming language. Each layer is an open-source tool that contributes to developing web applications.
This guide will teach you how to install the LAMP stack on CentOS and Rocky Linux.
Note: If you are running CentOS 8, refer to LAMP stack CentOS 8 instalation guide.
Prerequisites
- A user account with sudo or root privileges.
- A terminal window or command line.
Step 1: Update Package Repository Cache
Before you start building the stack, update the package repository:
sudo yum updateIf there are updates, confirm the installation with y and wait for the update to complete.
Note: By default, Rocky Linux uses the DNF package manager. However, the yum command is an alias for dnf in newer Rocky versions. Read more about the differences between DNF vs. YUM.
Step 2: Install the Apache Web Server
Install the Apache web server first. The simplest way is via the package manager:
1. Install Apache on Rocky Linux or CentOS with:
sudo yum install httpd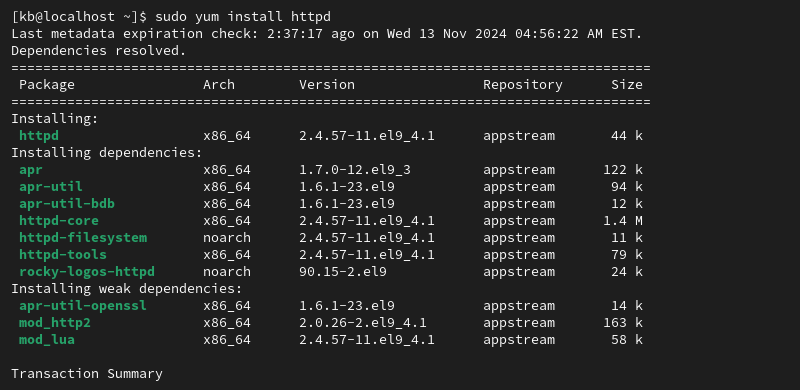
Confirm the installation when prompted.
2. Start Apache with:
sudo systemctl start httpd.service3. Check whether the service is running by accessing the server's public IP through a web browser.
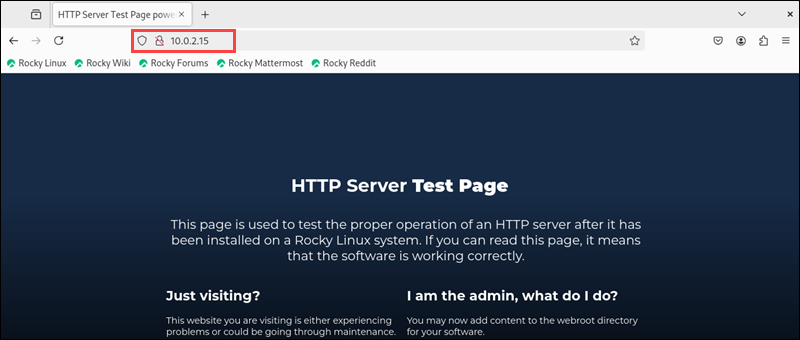
Alternatively, check via the terminal with:
sudo systemctl status httpd.service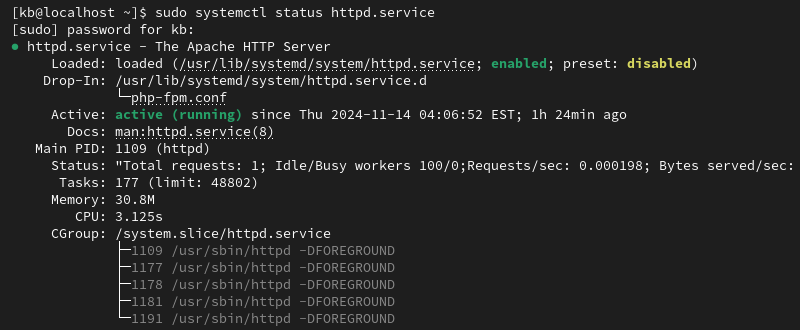
The service shows as active (running).
4. Set up Apache to start at boot:
sudo systemctl enable httpd.service
The command creates a symlink, and the service automatically starts when rebooted. In case of restarts, the web server also automatically boots.
Step 3: Install MySQL (h)
To organize and store data in a database, install MariaDB or MySQL. The section below shows how to install MariaDB, which is an open-source fork of the MySQL DBMS. It is a backward-compatible and binary drop-in replacement for the original MySQL.
Follow these steps:
1. Install MariaDB with the command:
sudo yum install mariadb-server mariadb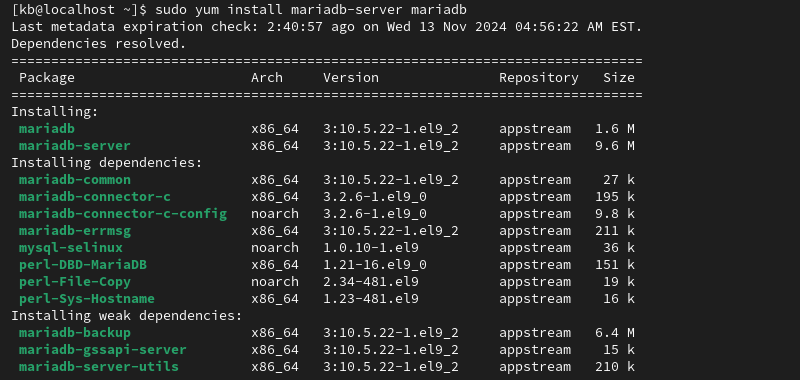
Confirm with y when prompted.
2. Start the MariaDB service:
sudo systemctl start mariadbThe command runs the service and changes its status to active.
Step 4: Run MySQL Security Script
MariaDB does not have secure settings by default. Configure the settings before getting started with the database:
1. Run the MySQL secure installation script:
sudo mysql_secure_installation2. Since the password is not set yet, press Enter to continue the configuration without a password.

3. The script asks a series of questions. To ensure your database is protected, answer the questions as follows:
- Set root password - press Y. Provide a secure password and re-enter it.
- Remove anonymous users - press Y.
- Disallow root login remotely - press Y.
- Remove the test database and access to it - press Y.
- Reload privilege tables now - press Y.
4. After answering the questions, the script applies the set configuration.

5. Enable MariaDB:
sudo systemctl enable mariadb.service
The command enables MariaDB to start up when the system boots.
Step 5: Install PHP
PHP is a server-side scripting language that is part of the LAMP stack. It processes code for showing content dynamically. Once connected to the database, PHP helps retrieve information from it, processes it, and sends it to Apache.
To install PHP on CentOS or Rocky Linux:
1. Install PHP from the repository with:
sudo yum install php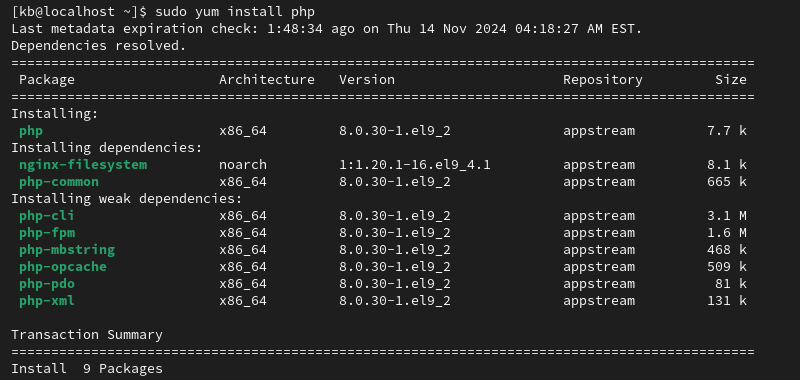
Confirm the installation with y and wait for it to finish.
2. For Apache to register the installed PHP, restart the service:
sudo systemctl restart httpd.service This resets the web server.
Step 6: Test PHP Processing
Apache reads files from the root directory ( /var/www/html/ by default) to locate and serve web pages. Use the nano editor to create a test script for PHP on the CentOS or Rocky server.
1. Create a PHP script using nano:
sudo nano /var/www/html/index.php2. Copy and paste the following code:
<?php
phpinfo ();
?>
The function phpinfo (); generates the default PHP info page.
3. Save the changes and close nano.
4. Check whether PHP is working by visiting the page via browser:
http://[IP_address]/index.php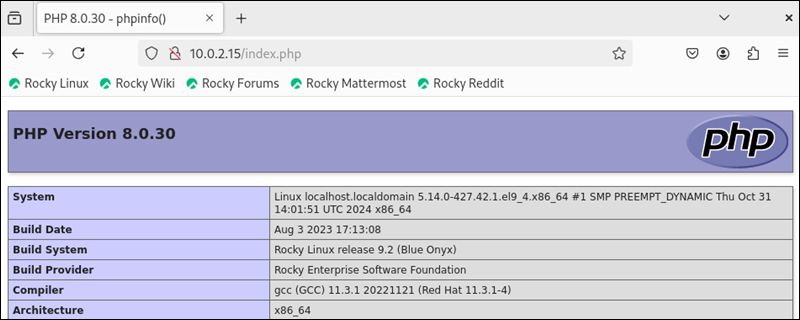
The PHP info page shows.
6. If firewalld is enabled, allow HTTP and HTTPS traffic. Use the following commands to open the ports and reload the firewalld service:
sudo firewall-cmd --permanent --zone=public --add-service=httpsudo firewall-cmd --permanent --zone=public --add-service=httpssudo firewall-cmd --reload
Alternatively, disable firewalld and use a different firewall to protect the web server.
Step 7: Install PHP Modules
To enhance PHP's capabilities, use optional modules. Search for modules with the command:
yum search php-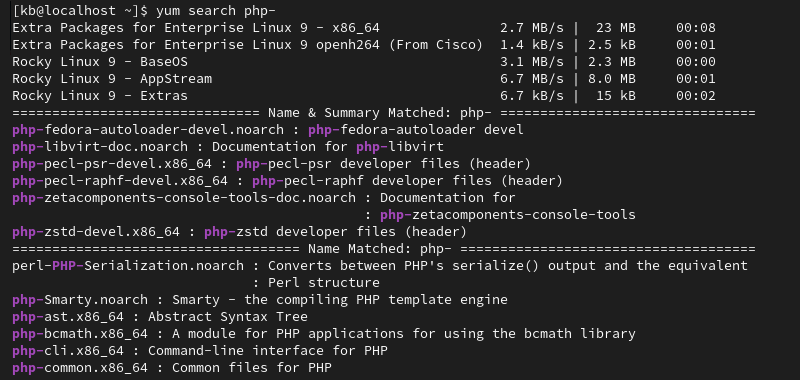
To get detailed, plain-language information about what each module does, use:
yum info [module_name]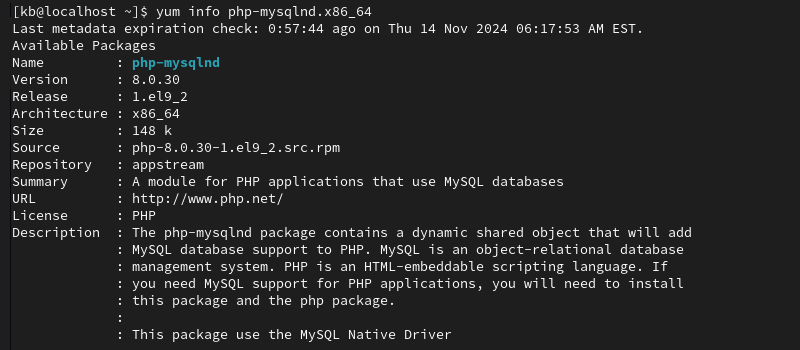
To install an optional package, run:
sudo yum install [module_name]The command adds the PHP module to the system and is ready to use.
Step 8: Restart Apache
When making changes to the server, the changes only apply once the Apache service is restarted. To restart the Apache service, use:
sudo systemctl restart httpd.serviceIf there are any new configurations, they apply during the restart.
Conclusion
This guide showed how to install the LAMP stack on CentOS and Rocky Linux. The LAMP stack enables open-source web development on various Linux distributions.
Next, see how to set up and configure ModSecurity on Apache to monitor and secure the server. For an alternate stack, compare MEAN vs. LAMP.
