ModSecurity is a plug-in module for Apache that works like a firewall. It functions through rule sets, which allow you to customize and configure your server security.
ModSecurity can also monitor web traffic in real time and help you detect and respond to intrusions. It can be used with Apache, Nginx, and IIF and is compatible with Debian, Ubuntu, and CentOS.
This tutorial explains how to install and configure ModSecurity on Apache web servers.
Prerequisites
- The LAMP stack (Linux, Apache, MySQL, PHP) installed and configured
- Access to a user account with sudo or root privileges
- A package manager (APT or YUM), included by default
- A command line/terminal window (Ctrl-Alt-T, Ctrl-Alt-F1)
- A text editor, like nano
Step 1: Update Software Repositories
Open a terminal window, and enter the following:
On Debian / Ubuntu
sudo apt update -y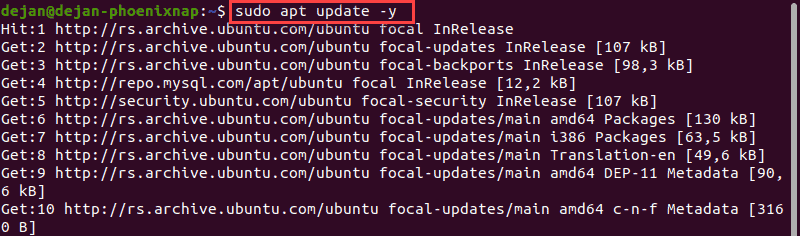
On CentOS
sudo yum update -yStep 2: Installing ModSecurity On Apache
Install ModSecurity on Debian
1. In a terminal window, enter the following:
sudo apt install libapache2-modsecurityIf prompted, pres y and hit Enter to allow the process to complete.
2. Restart the Apache service:
sudo systemctl restart apache2There will be no output if Apache was restarted successfully.
3. Check the software version (it should be 2.8.0 or later):
apt-cache show libapache2-modsecurityNote: Ubuntu has a slightly different syntax for the ModSecurity package.
Install ModSecurity on Ubuntu 18.04
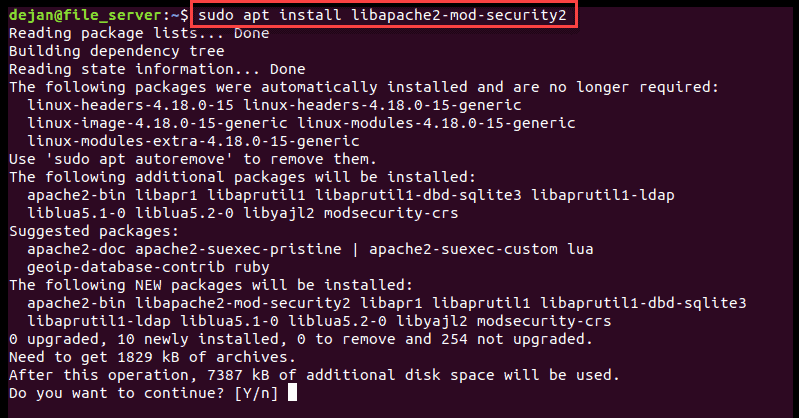
1. In a terminal window, enter:
sudo apt install libapache2-mod-security2If prompted, pres y and hit Enter to allow the process to complete.
2. Restart the Apache service:
sudo systemctl restart apache2There will be no output if Apache was restarted successfully.
3. Check the software version (should be 2.8.0 or later):
apt-cache show libapache2-mod-security2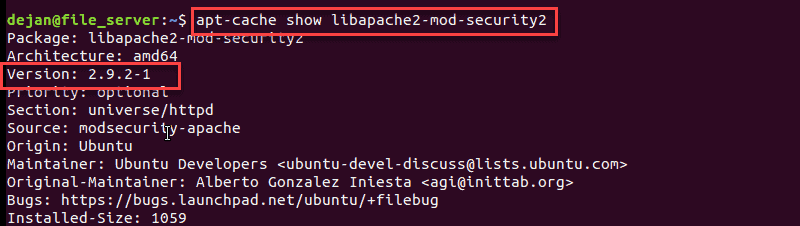
Install ModSecurity on CentOS 7
1. Enter the following into a terminal window:
sudo yum install mod_securityIf prompted, pres y and hit Enter to allow the process to complete.
2. Restart the Apache service:
sudo systemctl restart httpd.service3. Check the software version (should be 2.8.0 or later):
yum info mod_securityStep: 3 Configure ModSecurity
Upon installation, ModSecurity is set to log events according to default rules. You’ll need to edit the configuration file to adjust the rules to detect and block traffic.
The default configuration file is /etc/modsecurity/modsecurity.conf-recommended.
1. Copy and rename the file:
sudo cp /etc/modsecurity/modsecurity.conf-recommended /etc/modsecurity/modsecurity.conf2. Next, change the ModSecurity detection mode. First, move into the /etc/modsecurity folder:
sudo cd /etc/modsecurity3. Open the configuration file in a text editor (we will be using nano):
sudo nano modsecurity.confNear the top, you should see an entry labeled:
SecRuleEngine DetectionOnlyChange this to read as follows:
SecRuleEngine On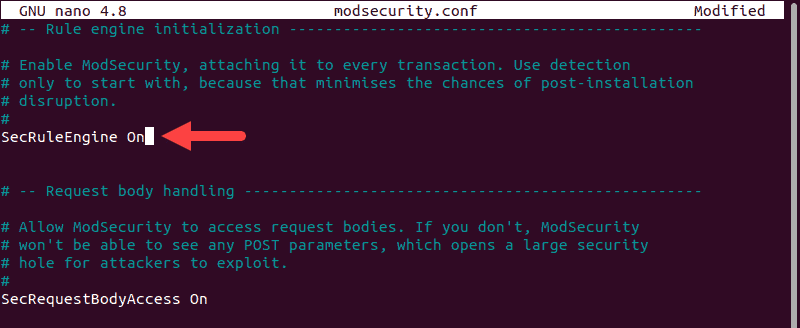
4. Use CTRL+X to exit, then press y then Enter to save the changes.
5. Navigate away from the /etc/modsecurity folder:
cd6. Restart Apache:
On Debian/Ubuntu
sudo systemctl restart apache2
On CentOS
sudo systemctl restart httpd.serviceThis will turn on ModSecurity using the basic default rules. In some versions of Linux, this includes the OWASP Core Rule Set. However, this might differ from the latest version maintained by the developers.
Step 4: Download Latest OWASP ModSecurity Rules
The latest Core Rule Set (CRS) for ModSecurity is maintained on GitHub.
1. Install Git if it’s not already included on your system.
sudo apt install gitsudo yum install git2. Download a copy of the CRS:
git clone https://github.com/SpiderLabs/owasp-modsecurity-crs.git
This places a copy of the directory as a subdirectory of your current working location.
3. Open a new directory:
cd owasp-modsecurity-crs4. Move the crs-setup file:
sudo mv crs-setup.conf.example /etc/modsecurity/crs-setup.conf
5. Then move the rules/ directory:
sudo mv rules/ /etc/modsecurityIf you encounter an error trying to move this directory, enter:
sudo mkdir /etc/modsecurity/rules
cd rules
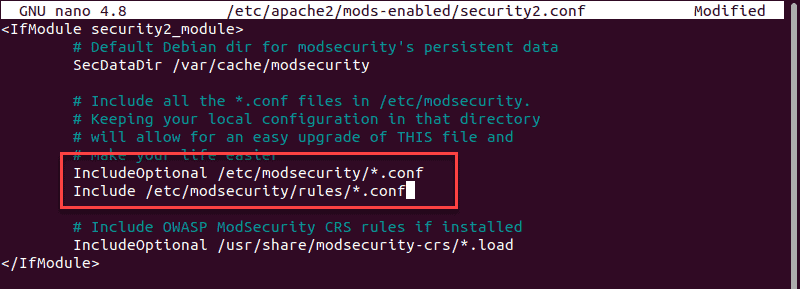
sudo cp *.* /etc/modsecurity/rules6. Next, check your security2.conf file to verify it’s set to load the ModSecurity rules:
sudo nano /etc/apache2/mods-enabled/security2.conf
Verify you have the following lines included and uncommented:
IncludeOptional /etc/modsecurity/*.conf
Include /etc/modsecurity/rules/*.conf
If they are not there, add them. Do not duplicate them, or you risk disabling your Apache service.
7. Restart the Apache service:
On Debian/Ubuntu
sudo systemctl restart apache2On CentOS
sudo systemctl restart httpd.serviceStep 5: Test Apache Configuration
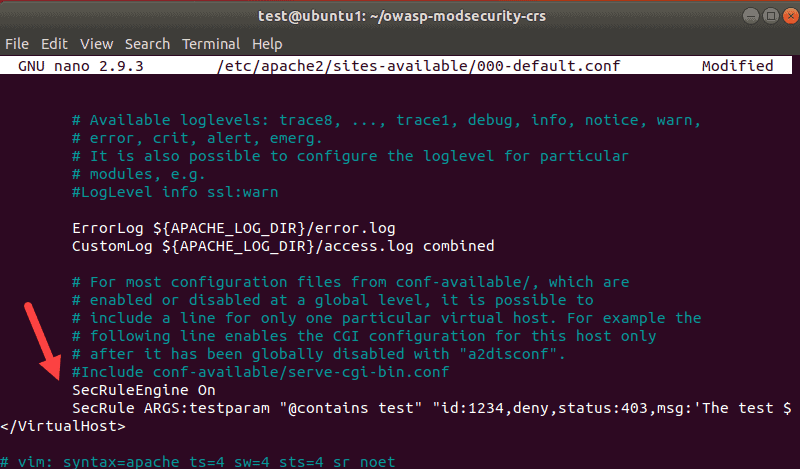
1. Open the default Apache configuration file:
sudo nano /etc/apache2/sites-available/000-default.conf2. Locate the </VirtualHost> tag at the bottom and add the following lines:
SecRuleEngine On
SecRule ARGS:testparam "@contains test" "id:1234,deny,status:403,msg:'phoenixNAP test rule was triggered'"
You can change the msg to whatever you prefer.
Save and quit the file (CTRL+X > y > Enter).
3. Restart the Apache service:
On Debian/Ubuntu
sudo systemctl restart apache2On CentOS
sudo systemctl restart httpd.service4. Then, enter the following command:
curl localhost/index.html?testparam=testThe system responds by attempting to display the default webpage. Instead of the content, it generates error codes and messages inside the tags:
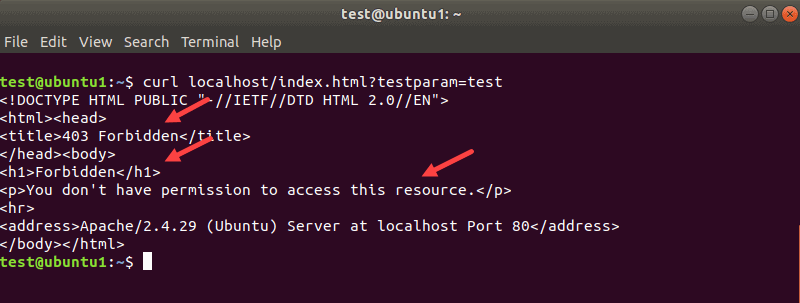
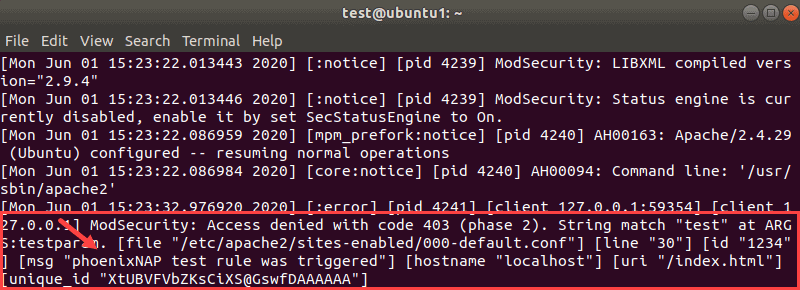
5. You can confirm that ModSecurity worked by looking for code 403 at the Apache error logs with the command:
sudo tail -f /var/log/apache2/error.logOne of the entries towards the bottom should be the ModSecurity error code:
Test ModSecurity and OWASP CRS With Bash Script
Another method you can use to test ModSecurity is to use a Bash script.
1. Enter the following command in the terminal:
curl localhost/index.html?exec=/bin/bashThe output shows the same error messages as the last time.
2. View the Apache error.log file again and you will find that the the rule kicked in:
sudo tail -f /var/log/apache2/error.log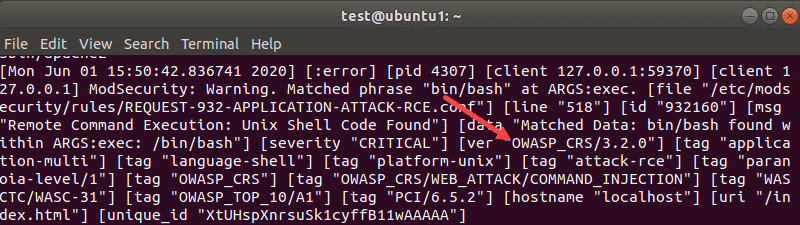
The output displays the OWASP-related ModSecurity error message.
Step 6: Create ModSecurity Rules
Below is a test example how you can use ModSecurity to block specific keywords on a PHP form.
1. Create a PHP file inside the html directory with the command:
sudo nano /var/www//html/test.php2. Enter the following code into the file:
<html>
<body>
<?php
if(isset($_POST['data']))
echo $_POST['data'];
else
{
?>
<form method="post" action="">
Enter text here:<textarea name="data"></textarea>
<input type="submit"/>
</form>
<?php
}
?>
</body>
</html>
Save the file and exit.
3. Next, create a new ModSecurity custom rules file:
sudo nano /etc/modsecurity/modsecurity_custom_rules.confAdd the following lines:
SecRule REQUEST_FILENAME "test.php" "id:'400001',chain,deny,log,msg:'Spam detected'"
SecRule REQUEST_METHOD "POST" chain
SecRule REQUEST_BODY "@rx (?i:(enlarge|Nigerian|gold))"
Of course, change the keywords in the last line to anything you want.
Save the file and exit.
4. Reload the Apache service:
On Debian/Ubuntu
sudo systemctl restart apache2On CentOS
sudo systemctl restart httpd.service5. Launch the form in a web browser
localhost/test.php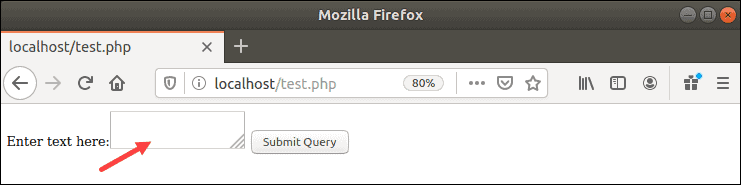
6. Type one of the keywords from the rule into the form. In this example: enlarge, Nigerian, or gold.
You should receive a 403 Forbidden error message.
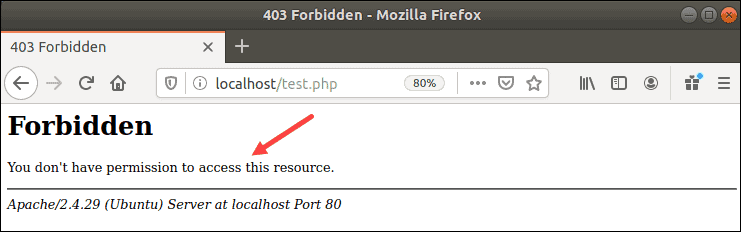
You can also check the /var/log/apache2/error.log file to verify ModSecurity’s action.
Note: We don’t need to add this custom_rules file to the security2.conf file, because we specified a wildcard (IncludeOptional /etc/modsecurity/*.conf). If we had specified an individual .conf file, we would need to add this custom_rules file to the security2.conf file.
Conclusion
You should now have a solid understanding of how to install, set up, and configure ModSecurity on Apache. Make sure you installed the LAMP stack properly before following the steps in this guide.