A Virtual Private Network (VPN) encrypts all network traffic, masking and protecting users from untrusted networks. It provides a secure connection to a company network, bypasses geo-restrictions, and lets you surf the web on public Wi-Fi while keeping your data private.
OpenVPN is a fully featured, open-source Secure Socket Layer (SSL) VPN solution.
In this tutorial, you will learn how to set up OpenVPN on CentOS and Rocky Linux and connect to OpenVPN from a client machine.
Prerequisites
- A CentOS or Rocky Linux server.
- A user account with root or sudo access.
- A domain or subdomain that points to your server.
- A client machine to connect to the OpenVPN server.
- Command-line access.
Step 1: Install OpenVPN
To install OpenVPN on CentOS and Rocky Linux, take the following steps:
1. Update the repositories with:
sudo yum update -yNote: In newer CentOS and Rocky Linux installations, you can also use dnf instead of yum.
2. You cannot download the OpenVPN package from the default CentOS repositories. However, OpenVPN is available in the Extra Packages for Enterprise Linux (EPEL) repository. To enable the EPEL repository, run:
sudo yum install epel-release -y
In this example, the EPEL repository is already installed.
3. Update the repositories again:
sudo yum update -y4. Install OpenVPN with the command:
sudo yum install -y openvpn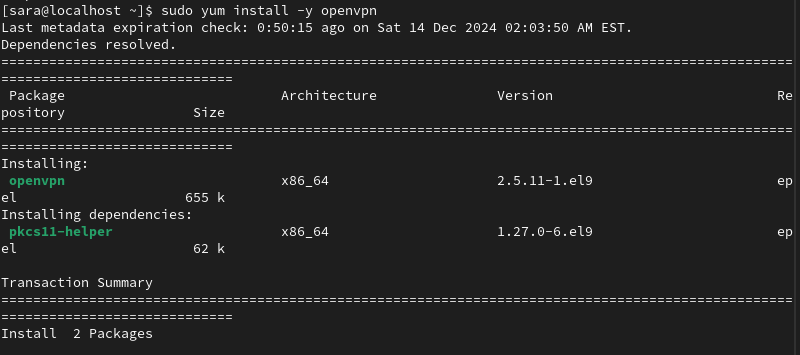
Step 2: Install Easy RSA
Build a Public Key Infrastructure (PKI) with easy RSA, a CLI utility for creating and managing a PKI Certificate Authority (CA). Easy RSA helps you set up an internal certificate authority (CA) and generate SSL key pairs to secure the VPN connections.
Follow the steps below:
1. Download the easy RSA package with the wget command. At the time of writing, the latest CLI utility version is 3.2.1. To use another version, check out easy RSA's release page on GitHub.
wget https://github.com/OpenVPN/easy-rsa/releases/download/v3.2.1/EasyRSA-3.2.1.tgz
2. Use the tar command to extract the downloaded archive:
tar -xf EasyRSA-3.2.1.tgzThe command has no output.
3. Create a directory easy-rsa under the path /etc/openvpn using the mkdir command:
sudo mkdir /etc/openvpn/easy-rsaThe command has no output.
4. Use the mv command to move the extracted directory into /etc/openvpn/easy-rsa:
sudo mv EasyRSA-3.2.1 /etc/openvpn/easy-rsa5. Navigate to the target directory using the cd command:
cd /etc/openvpn/easy-rsa
6. Use ls to verify the file is there:
ls
Step 3: Configure OpenVPN
Once you have installed OpenVPN and Easy RSA, configure the OpenVPN server. Before running any commands, make sure to navigate to the root directory with the cd command.
Next, follow these steps:
1. Copy the sample server.conf file from OpenVPN's documentation directory using the cp command. If you cannot find the OpenVPN sample configuration file, search for its location using the find command:
sudo find / -name server.conf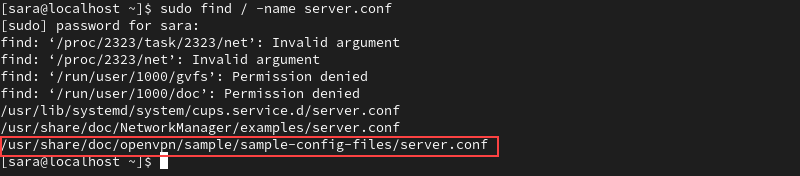
The output shows the correct server.conf file for OpenVPN is located at /usr/share/doc/openvpn/sample/sample-config-files/server.conf.
To copy this file to /etc/openvpn, run:
sudo cp /usr/share/doc/openvpn/sample/sample-config-files/server.conf /etc/openvpnThe command has no output.
2. Open the copied configuration file with a text editor of your choice, in this case Vim:
sudo vim /etc/openvpn/server.conf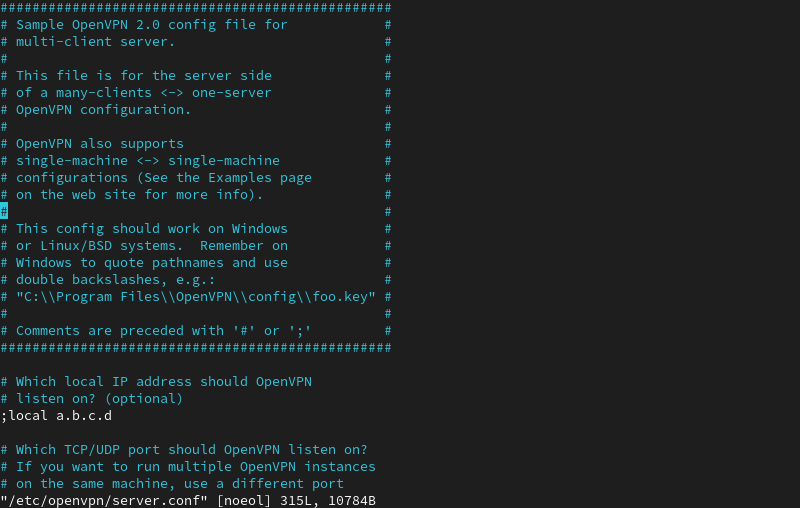
The command opens the sample OpenVPN config file. The comments in the file begin with a hashtag # or a semicolon.
3. To set up the basic configuration, uncomment the following lines by removing the hashtags or semicolons:
topology subnet. Makes the OpenVPN installation function as a subnetwork.push "redirect-gateway def1 bypass-dhcp". Instructs the client to redirect traffic through the OpenVPN server.push "dhcp-option DNS 208.67.222.222". Uses an OpenDNS resolver to connect to OpenVPN.push "dhcp-option DNS 208.67.220.220". Uses an OpenDNS resolver to connect to OpenVPN.user nobody. Runs OpenVPN with no privileges.group nobody. Runs OpenVPN with no privileges.
4. Generate a static encryption key to enable TLS authentication. To do that, locate the line tls-auth ta.key 0 and comment on it by adding ; in front of it.
Then, add a new line under it:
tls-crypt /etc/openvpn/myvpn.tlsauth
Note: The configuration file specifies which DNS servers to use to connect to OpenVPN. By default, it is set to use OpenDNS resolvers, which is how we left it. Alternatively, change it to different DNS resolvers by modifying the push "dhcp-option DNS 208.67.222.222" and push "dhcp-option DNS 208.67.220.220" lines.
6. Generate the static encryption key specified in the file with the command:
sudo openvpn --genkey --secret /etc/openvpn/myvpn.tlsauthThe command has no output.
Note: Check out our guide on how to install OpenVPN on Docker.
Step 4: Generate Keys and Certificates
Generating keys and certificates is crucial for establishing a secure OpenVPN connection. The keys ensure the data exchanged between the server and clients is encrypted, protecting it from unauthorized access. Certificates authenticate both the server and clients, preventing impersonation and ensuring only authorized entities connect.
To accomplish that, take the following steps:
1. Create a vars configuration file using vars.example stored in the /easy-rsa/easyrsa3 directory. Change the working directory into the mentioned directory with:
cd /etc/openvpn/easy-rsa/EasyRSA-3.2.1
2. List the contents using the ls command to check whether you have the vars.example file:
ls
3. Copy the sample file vars.example under the name vars:
cp vars.example varsThe command has no output. However, if you list the files in the directory again, you will have a separate vars file to use to configure Easy RSA.
ls
4. Open the vars file in a text editor of your choice:
vim vars5. Scroll through the file and find the lines listed below.
#set_var EASYRSA_REQ_COUNTRY "US"
#set_var EASYRSA_REQ_PROVINCE "California"
#set_var EASYRSA_REQ_CITY "San Francisco"
#set_var EASYRSA_REQ_ORG "Copyleft Certificate Co"
#set_var EASYRSA_REQ_EMAIL "me@example.net"
#set_var EASYRSA_REQ_OU "My Organizational Unit"
Uncomment the lines by removing # and replace the default values with your information.
6. Set the common name (CN) for the certificate being generated to "server." This identifies the certificate as belonging to the server, a requirement for distinguishing it from client certificates during the OpenVPN setup. Add or modify this line:
set_var EASYRSA_REQ_CN "server"7. Customize the certificate's common name to match the server's domain or subdomain. This ensures the certificate aligns with the domain clients use to connect, preventing SSL/TLS mismatches. Add or modify this line:
set_var EASYRSA_REQ_CN "openvpn.yourdomain.com"8. Save and close the file.
9. Clean up any previous keys:
./easyrsa clean-all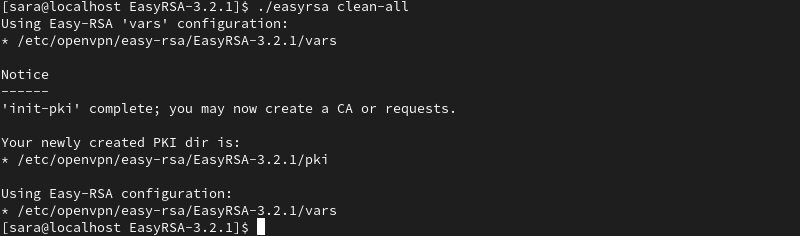
10. Build the certificate authority with the <em>build-ca</em> script. Run the command:
./easyrsa build-caThe system prompts you to set a CA Key Passphrase and a common name for your CA.
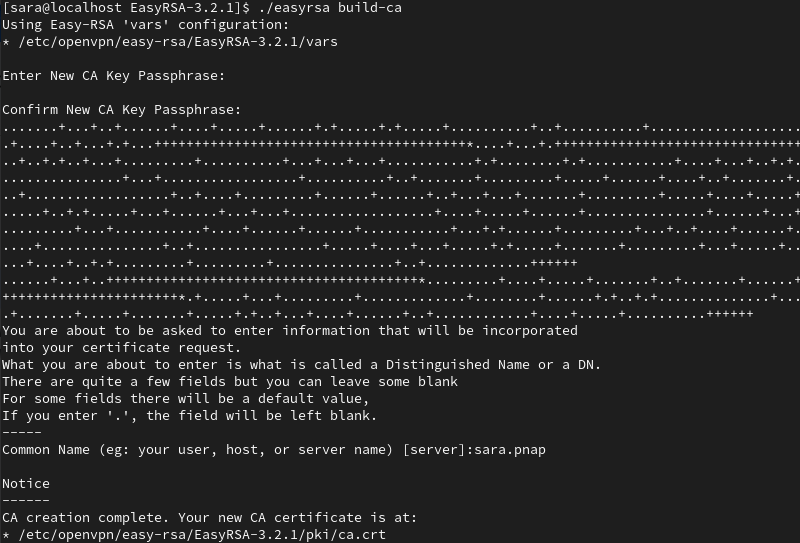
Note: To skip password authentication each time you sign your certificates, use the ./easyrsa build-ca nopass command.
11. Create a key and certificate for the server:
./easyrsa build-server-full server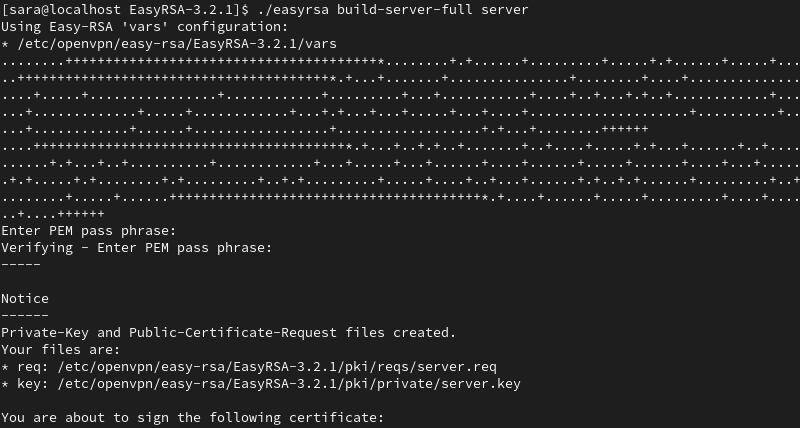
12. Generate a Diffie-Hellman key exchange file by running:
./easyrsa gen-dh
13. You also need a certificate for each client. Generate them on the server and then copy them on the client machine.
With the following command, create a certificate and key for client1. Modify the command by using a name of your choice.
./easyrsa build-client-full client1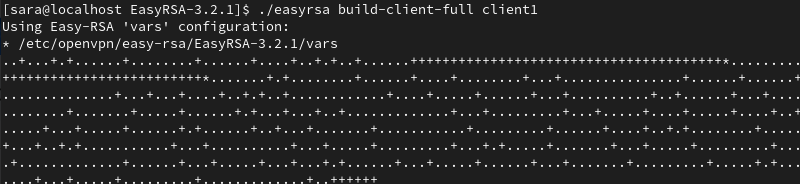
14. After generating the keys and certificates, copy them into the OpenVPN directory. Navigate to the pki directory where the files were generated by running:
cd /etc/openvpn/easy-rsa/EasyRSA-3.2.1/pki
You must copy four files in total:
- ca.crt.
- dh.pem.
- ca.key.
- server.key.
The first two files (ca.crt and dh.pem) are stored directly in the pki directory, while the other two (ca.key and server.key) are located in the pki/private subdirectory.
To copy the ca.crt and dh.pem files to the OpenVPN directory, use the following command:
sudo cp ca.crt dh.pem /etc/openvpnThe command has no output. Next, navigate to the private subdirectory:
cd private
Copy ca.key and server.key:
sudo cp ca.key server.key /etc/openvpnThis places the necessary certificate and key files into the OpenVPN directory.
Step 5: Firewall and Routing Configuration
Firewall and routing configuration ensure your server can handle OpenVPN traffic and allows clients to connect securely. The following text explains how to accomplish that.
Set Firewall Rules
1. Check your active firewalld zone:
firewall-cmd --get-active-zones
The output shows your firewalld zone. In this example, it is public.
2. Add the OpenVPN service to the list of services firewalld allows within the active zone.
sudo firewall-cmd --zone=public --add-service openvpn
3. Make the settings above permanent by running the command:
sudo firewall-cmd --zone=public --add-service openvpn --permanent
4. To check whether the OpenVPN service was added, use:
sudo firewall-cmd --list-services --zone=public
5. Add a masquerade to the runtime instance to enable Network Address Translation (NAT) for your server. This allows clients connected to your OpenVPN server to access the Internet through the server's IP address. Run the following:
sudo firewall-cmd --add-masquerade
6. Make it permanent:
sudo firewall-cmd --add-masquerade --permanent
7. Verify the masquerade was added by running:
sudo firewall-cmd --query-masquerade
The output responds with yes.
Routing the Configuration
Once you have completed the steps above, proceed to the routing section for your OpenVPN subnet. To accomplish that, take the following steps:
1. Create a variable that represents the primary network interface used by your server. In the command below, the variable is named VAR. However, you can create a variable under the name of your choice.
Run the following:
VAR=$(ip route get 208.67.222.222 | awk 'NR==1 {print $4}')2. Permanently add the routing rule using the variable created above:
sudo firewall-cmd --permanent --direct --passthrough ipv4 -t nat -A POSTROUTING -s 10.8.0.0/24 -o $VAR -j MASQUERADE
3. Reload firewalld for the changes to take place:
sudo firewall-cmd --reload
4. Route all web traffic from the client to the server’s IP address by enabling IP forwarding. Open the sysctl.conf file:
sudo vim /etc/sysctl.conf5. Add the following line at the top of the file:
net.ipv4.ip_forward = 1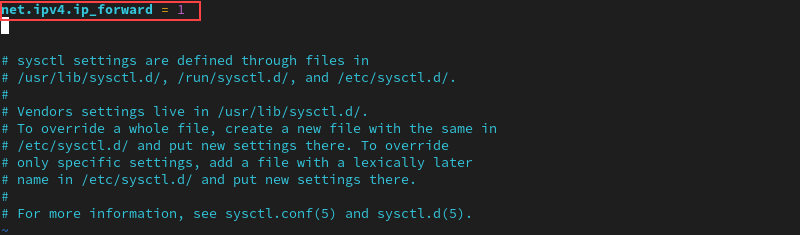
6. Save and exit the file.
7. Apply the sysctl changes:
sudo sysctl -p
Step 6: Start OpenVPN
Start the OpenVPN service on your server to establish secure connections with client devices. This ensures the OpenVPN server is running and ready to handle incoming VPN traffic.
Take the following steps:
1. Start the OpenVPN service with:
sudo systemctl -f start openvpn-server@server.service2. Enable the service to start up at boot by running:
sudo systemctl -f enable openvpn-server@server.service3. Verify the service is active with:
sudo systemctl status openvpn-server@server.service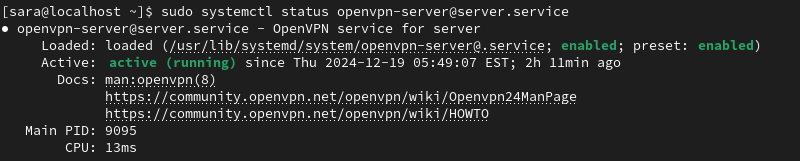
The output responds that the OpenVPN service for the server is active (running).
Step 7: Configure an OpenVPN Client
With everything set up on the OpenVPN server, configure your client machine and connect it to the server.
As mentioned in Step 4, each client machine needs to have local CA certificate copies, client key, SSL certificate, and the encryption key.
Take the following steps:
1. Find and copy the following files from the server to the client machine:
- /etc/openvpn/easy-rsa/easyrsa3/pki/ca.crt.
- /etc/openvpn/easy-rsa/easyrsa3/pki/client.crt.
- /etc/openvpn/easy-rsa/easyrsa3/pki/private/client.key.
- /etc/openvpn/myvpn.tlsauth.
2. Create a configuration file for the OpenVPN client under the name client.ovpn on the client machine:
vim client.ovpn3. Add the following content to the file:
client
tls-client
ca /path/to/ca.crt
cert /path/to/client.crt
key /path/to/client.key
tls-crypt /path/to/myvpn.tlsauth
remote-cert-eku "TLS Web Client Authentication"
proto udp
remote your_server_ip 1194 udp
dev tun
topology subnet
pull
user nobody
group nobody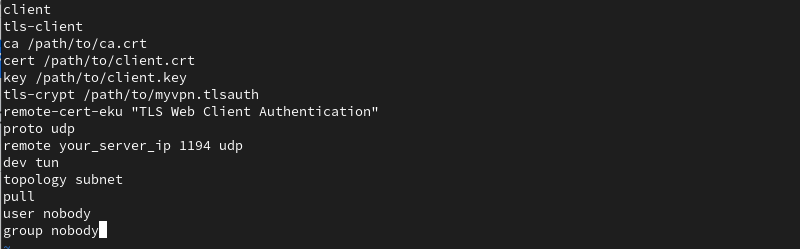
Make sure to replace the default values with your own.
4. Save and close the file.
Step 8: Connect a Client to OpenVPN
The instructions for connecting to OpenVPN depend on your client machine's operating system. Once set up, the client can tunnel traffic through the OpenVPN server, ensuring secure communication over the Internet.
For Linux Users
To connect to OpenVPN, run the command on Linux, run:
sudo openvpn --config /path/to/client.ovpnFor Windows Users
To connect to OpenVPN on Windows, take the following steps:
1. Copy the client.ovpn configuration file in the C:Program FilesOpenVPNconfig directory.
2. Download and install the OpenVPN application. Find the latest build on the OpenVPN Community Downloads page. Once you have installed the application, launch OpenVPN.
3. Right-click the OpenVPN system tray icon and select Connect. To perform this task, you need administrative privileges.
For macOS Users
Connect to OpenVPN from a macOS system using Tunnelblick (an open-source graphical user interface for OpenVPN on OS X and macOS).
Before launching Tunnelblick, make sure to store the client.ovpn configuration file in the ~/Library/Application Support/Tunnelblick/Configurations directory.
Conclusion
This tutorial explained how to set up and configure OpenVPN on CentOS or Rocky Linux. Additionally, it elaborated on how to access the OpenVPN server from a Linux, Windows, or macOS client machine.
Next, learn how to install and configure OpenVPN Access Server.