
Ubuntu 26.04 Long-Term Support (LTS), called Resolute Raccoon, is the latest stable release designed for reliability and long-term use. LTS versions receive updates and security fixes for several years, which makes them suitable for production systems.
Ubuntu is available in several editions, which include Desktop and Server. This article will focus on Ubuntu Server, which provides a minimal environment optimized for services such as web servers, databases, and containers.
This guide will explain how to install Ubuntu 26.04 LTS Server step by step.
Ubuntu 26.04 System Requirements
Ubuntu Server 26.04 LTS runs efficiently on a range of hardware. However, the specific requirements depend on the workload and services you plan to run. For example, lightweight services such as web servers require fewer resources, while containerized workloads, databases, and virtualization require significantly more memory and storage.
Minimum recommended requirements for a basic Ubuntu Server installation are:
- CPU. 1 GHz or faster 64-bit processor. Multi-core CPUs improve performance for simultaneous workloads.
- Memory (RAM). 2 GB minimum. At least 2 GB is recommended for stable operation.
- Storage. 4 GB to 5 GB minimum of available disk space. Allocate at least 20–25 GB for logs, applications, and data.
- Network. Internet access is required for updates and package installation.
- Installation media. A USB drive (4 GB or larger) or a virtual ISO mount.
Ubuntu Server does not include a graphical interface by default, which reduces resource usage and allows the system to dedicate more capacity to services. You can install a graphical interface later if required, but it increases resource usage and is not necessary for most server environments.
Note: Ubuntu Desktop has higher system requirements due to the graphical environment, which includes additional services and a user interface. Ubuntu Server uses a minimal setup without a GUI, which reduces resource usage and makes it more suitable for running services.
Install Ubuntu 26.04
Installing Ubuntu 26.04 LTS Server requires you to download the installation image, create bootable media, start the installer, and complete the installation step by step.
The following sections explain every step.
Download Ubuntu 26.04 LTS Desktop ISO
To install Ubuntu 26.04 LTS Server, download the official installation image:
1. Open a web browser and browse to the official Ubuntu releases page.
2. Locate Ubuntu 26.04 LTS (Resolute Raccoon).
3. Download the Server install image (file name is ubuntu-26.04-live-server-amd64.iso).
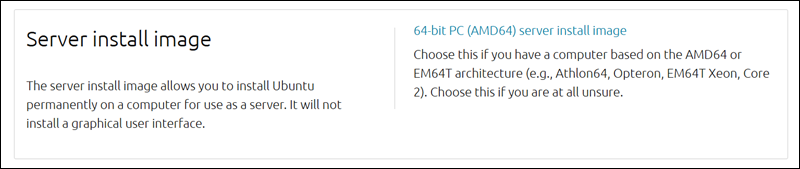
The ISO file contains the installer and all required components to set up the system.
Create Bootable USB
To install Ubuntu 26.04 LTS Server on a physical machine, create a bootable USB drive with the downloaded ISO file:
1. Insert a USB drive (at least 4 GB in size).
2. Download and install a tool such as Rufus if you are on a Windows machine.
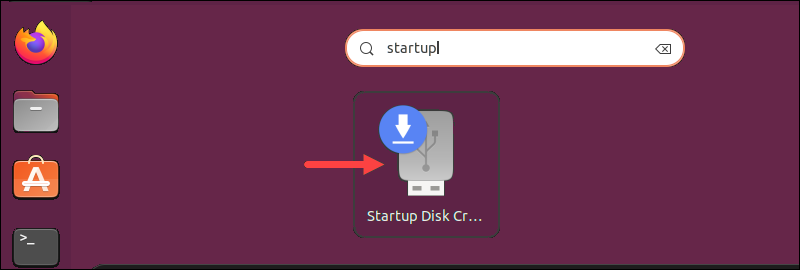
In Linux, use the built-in tools like Startup Disk Creator.
3. Open the tool and select the Ubuntu 26.04 Server ISO file.
4. Choose the USB drive as the target device.
5. Start the process and wait for it to complete.
Once finished, the USB drive is ready to boot and install Ubuntu Server.
Boot the Installer
To start the Ubuntu 26.04 LTS Server installation, boot the system from the installation media. Take the following steps:
1. Insert the bootable USB drive into the target machine.
2. Restart the system.
3. Open the boot menu (F2, F10, F12, ESC, or DEL, depending on the system).
4. Select the USB drive as the boot device. After booting, the Ubuntu boot menu appears.
5. Select Try or Install Ubuntu Server and press Enter.
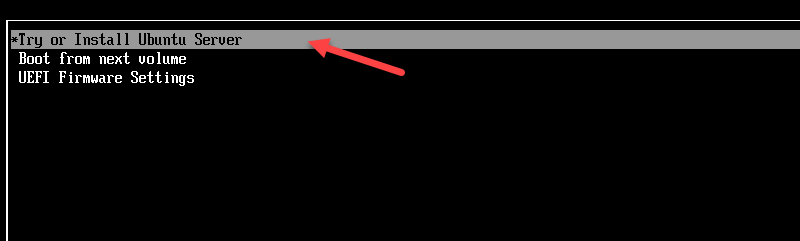
The system loads the installer environment.
Ubuntu 26.04 Installation Step-by-step
After you boot into the installer, Ubuntu Server uses a text-based interface to guide you through the installation. The process includes system settings configuration, such as language, keyboard layout, network, storage, and user account details.
Each step appears as a separate screen. Use the keyboard to navigate, select options, and confirm choices.
Choose Language
The first screen prompts you to select the installation language. This setting determines the language used during the installation process and the default system locale.
Use the arrow keys to navigate through the list and select your preferred language. Press Enter to confirm.
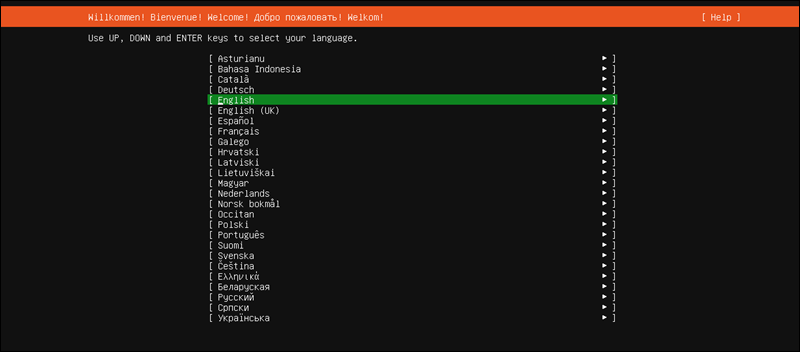
For this guide, select English and continue.
Configure Keyboard
The installer prompts you to select the keyboard layout. This ensures the system correctly interprets key input.
You have two options to choose from:
- Select a layout manually from the list.
- Choose Identify Keyboard to detect the layout automatically.
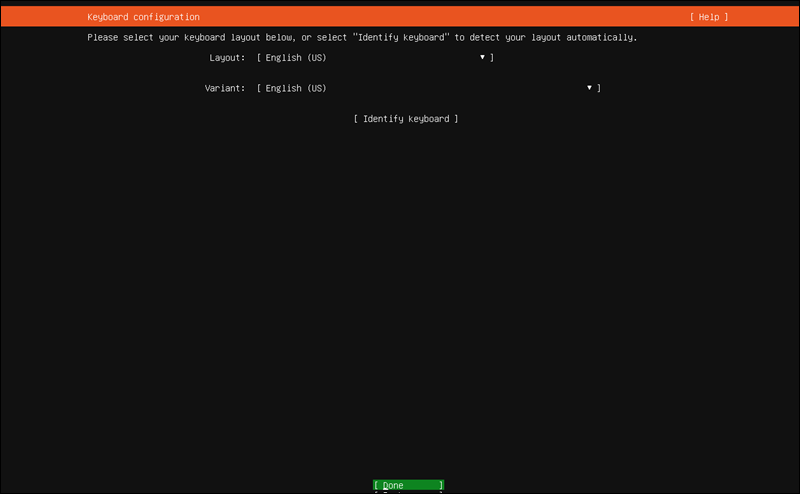
Use the arrow keys to navigate and press Enter to confirm your selection. Move to Done and press Enter to continue.
In this case, keep the default layout English (US) and proceed.
Choose Installation Type
The installer prompts you to select the base installation type. This determines which packages and services are included in the initial setup.
Available options include:
- Ubuntu Server. Standard installation with common server components.
- Ubuntu Server (minimized). A smaller installation with fewer preinstalled packages, suitable for highly customized environments.
Another option is to enable Search for third-party drivers if required for specific hardware.
Use the arrow keys to select an option. Move to Done and press Enter to continue.
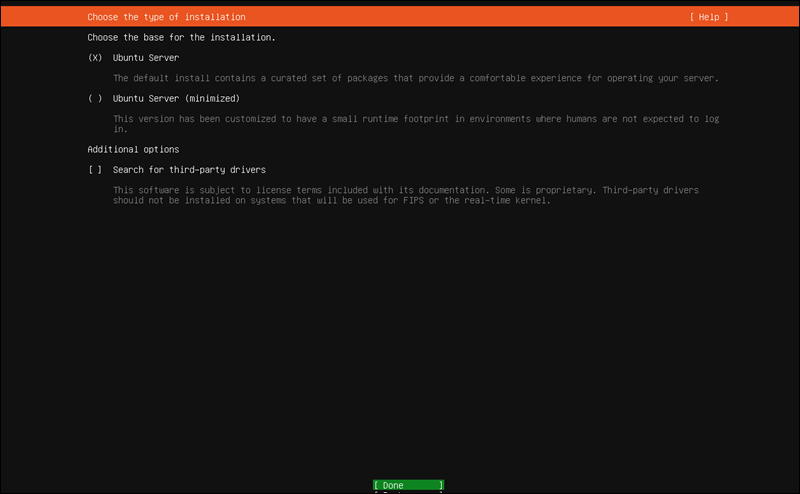
For this example, keep the default selection (Ubuntu Server) and proceed.
Configure Network
The installer displays available network interfaces and prompts you to select at least one interface for connectivity.
Each interface is listed with its name and type. In most cases, the primary interface (for example, enp0s3) is selected by default and configured automatically with DHCP.
Use the arrow keys to review the available interfaces. If the primary interface is already selected, no changes are required.
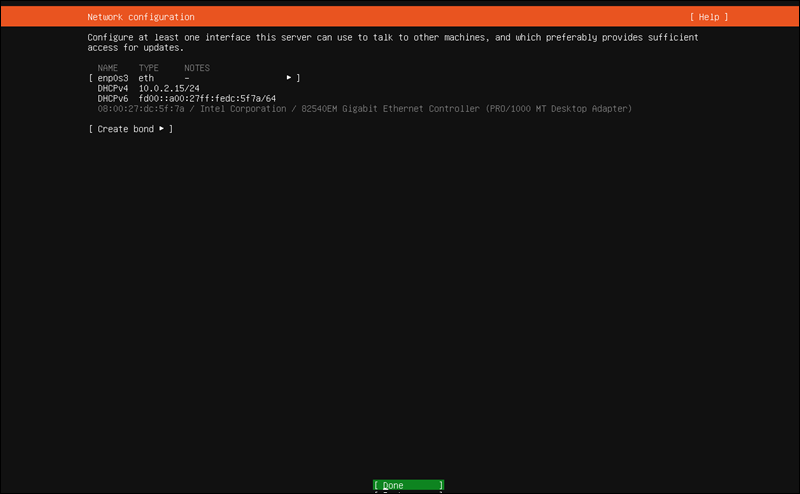
Move to Done and press Enter to continue.
Configure Proxy
The installer allows you to configure a proxy server for network access. This is used in corporate or restricted network environments.
If you are not using a proxy, leave this field empty.
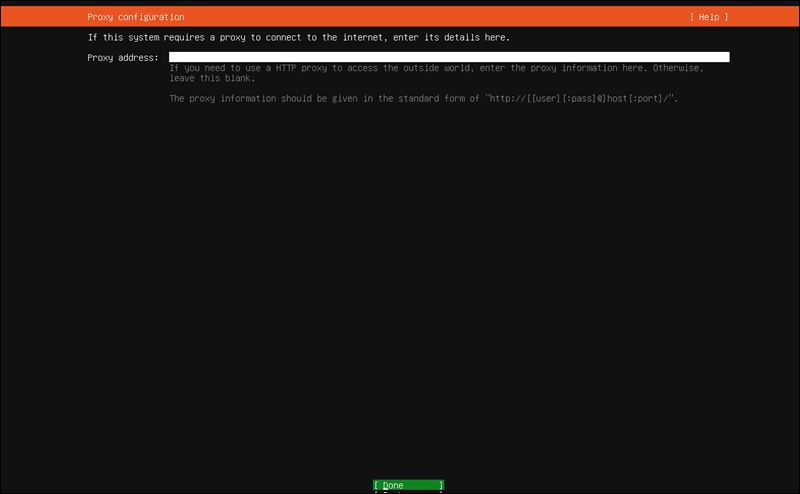
If a proxy is required, enter its address in the following format:
http://username:password@proxy-address:portMove to Done and press Enter to continue.
Configure Mirror
The installer configures the Ubuntu archive mirror used to download packages during and after installation.
By default, the installer selects an official mirror (for example, archive.ubuntu.com) and automatically tests the connection.
If the mirror is reachable, a confirmation message appears, which indicates the mirror passed validation.

If you use a custom or local mirror, enter its address in the provided field.
Move to Done and press Enter to continue.
Configure Storage
The installer allows you to choose how disk space is allocated.
There are two main options:
- Use an entire disk. Automatically partitions the selected disk. This option includes additional settings:
- Set up this disk as an LVM group. Enables flexible volume management.
- Encrypt the LVM group with LUKS. Adds disk encryption for improved security.
- Custom storage layout. Allows manual partitioning and advanced configuration.
Use the arrow keys to review the options. Move to Done and press Enter to continue.
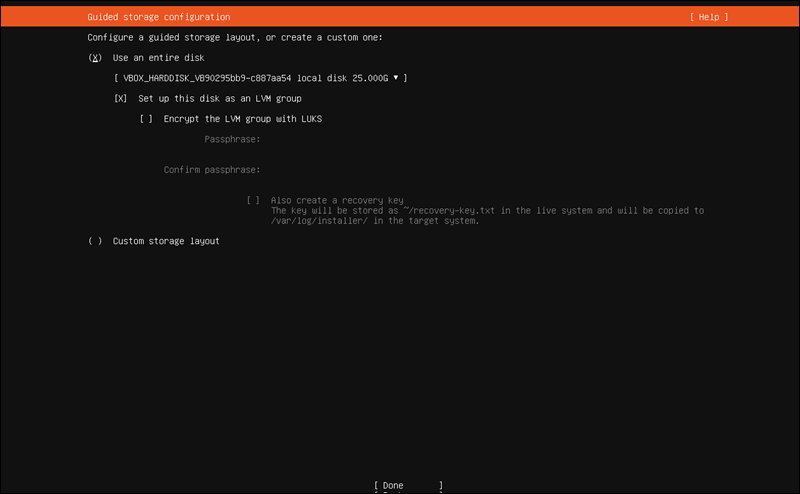
For this guide, do the following:
1. Select Use an entire disk.
2. Keep Set up this disk as an LVM group enabled.
3. Leave encryption disabled.
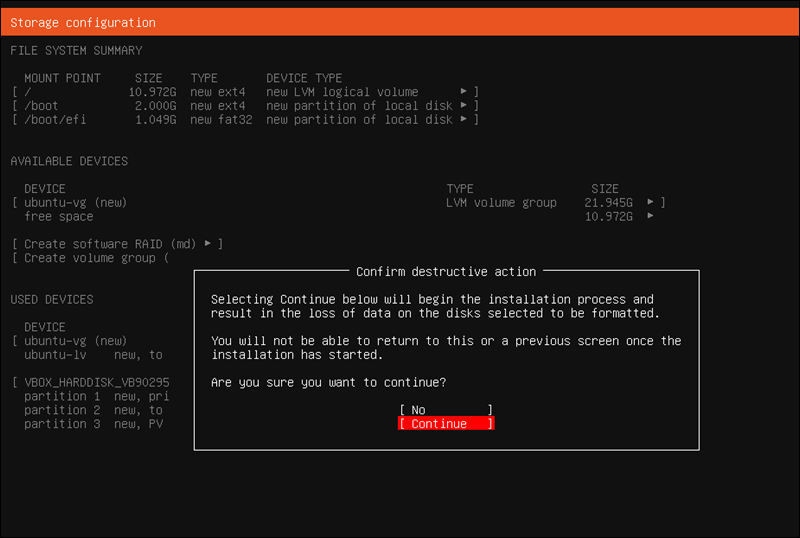
Confirm Storage Configuration
The installer displays a summary of the selected storage configuration, which includes partition layout and disk usage.
Review the details. This step confirms how the installer will partition and format the disk.
If the configuration is correct, move to Done and press Enter.
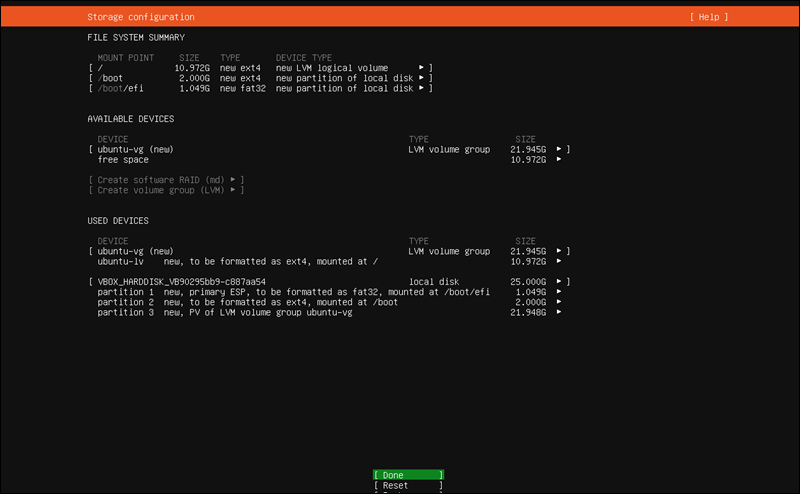
If changes are needed, select Reset to return to the previous storage configuration screen and adjust the settings.
A warning prompt appears that indicates all data on the selected disk will be erased. Select Continue to proceed with the installation.
Configure Profile
The installer prompts you to create a user account and define system identity settings.
Enter the following details:
- Your name. Full name for the user account.
- Your server's name. Hostname used to identify the system on the network.
- Pick a username. The account name used to log in.
- Choose a password. Password for the user account.
- Confirm password. Re-enter the password to confirm.
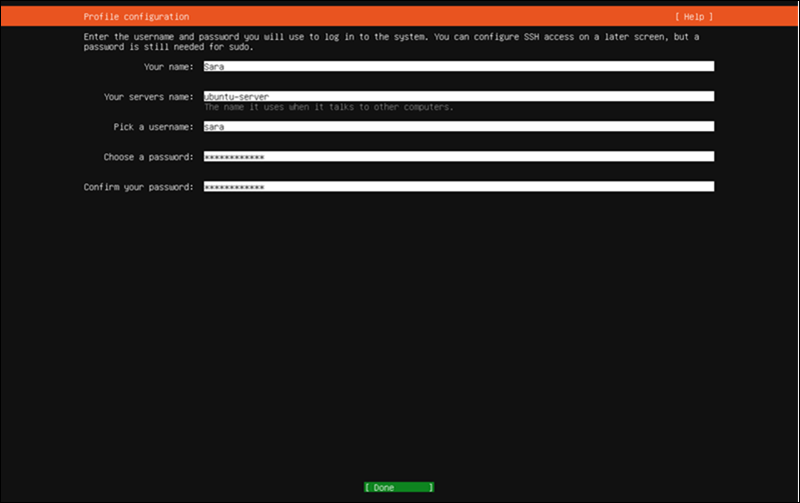
Use the arrow keys to navigate between fields. After you enter all required information, select Done, then press Enter to continue.
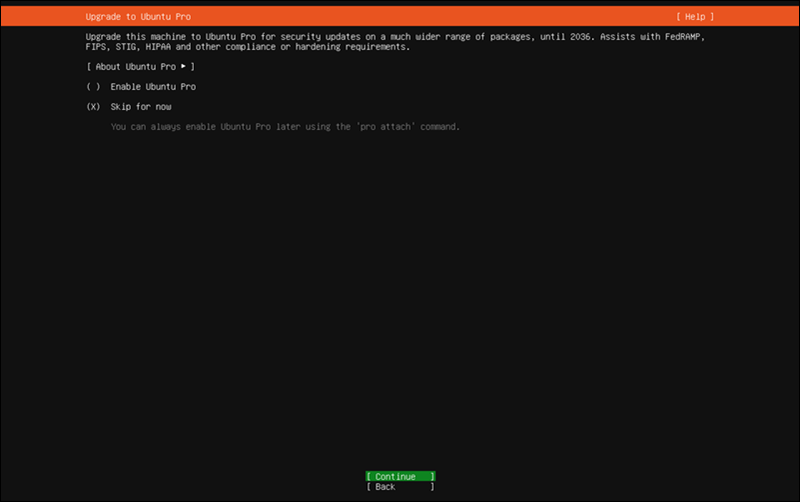
Upgrade to Ubuntu Pro (Optional)
The installer offers the option to upgrade to Ubuntu Pro, which provides additional security updates, compliance features, and extended support.
Choose whether to enable Ubuntu Pro by attaching a subscription or skip this step.
Configure SSH
The installer allows you to enable Secure Shell (SSH) access for remote server management.
The installer offers you to:
- Install OpenSSH server. Installs the SSH service, which allows remote connections to the system.
- Allow password authentication over SSH. Permits login with a username and password. This option is enabled only if OpenSSH is installed.
- Import SSH key. Adds a public key for secure, key-based authentication.
Use the arrow keys to navigate and the space bar to toggle options.
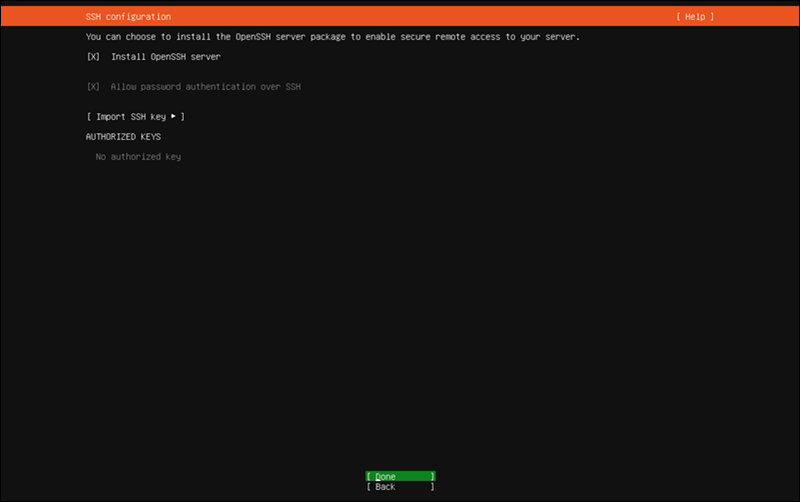
In this example, choose the following:
1. Select Install OpenSSH server.
2. Keep password authentication enabled.
3. Do not import an SSH key.
Move to Done and press Enter to continue.
Consider Featured Server Snaps
The installer provides a list of optional server applications to be installed during setup, such as container runtimes and orchestration tools.
These components are not required for a basic installation and can be installed later as needed.
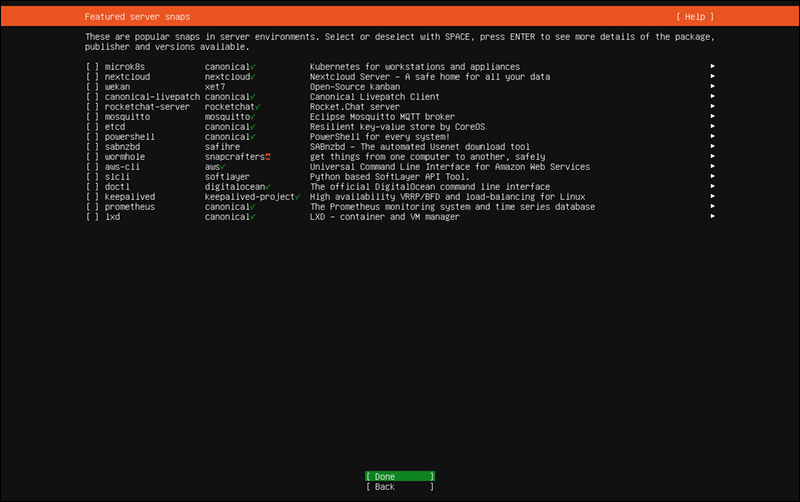
For this guide, leave all options unselected. Move to Done and press Enter to continue.
Install the System
The installer copies files and installs the base system. This process includes setting up packages, configuring services, and applying the selected options.
A progress screen shows installation status and log output.
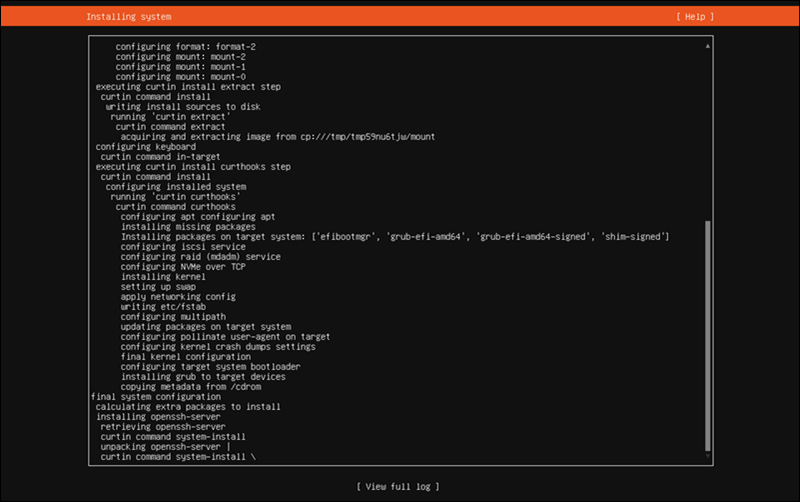
Wait for the installation to complete. No input is required during this step.
Complete Installation
Once the installation finishes, the installer displays a completion screen with options to review logs or restart the system.
Select Reboot Now and press Enter to restart the system.
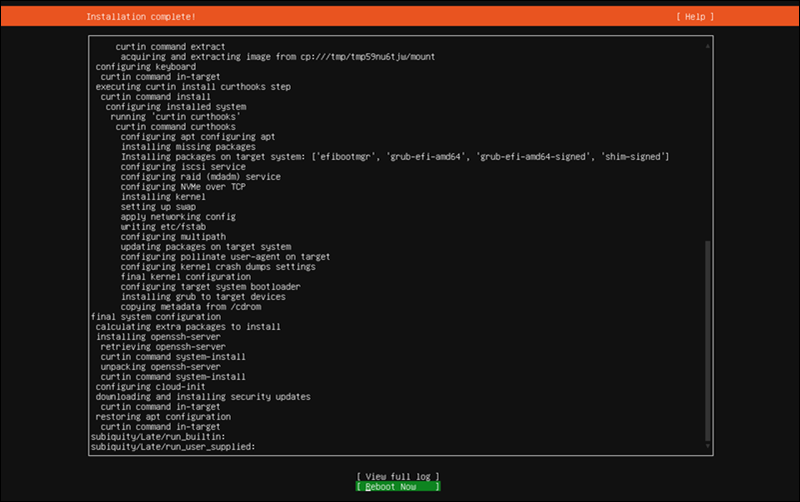
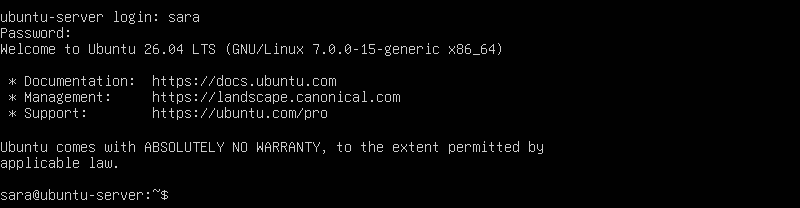
After you reboot, remove the installation media if prompted. The system then boots into the newly installed Ubuntu Server environment.
Ubuntu 26.04 Overview and Features
Ubuntu 26.04 LTS (Resolute Raccoon) introduces several improvements focused on security, performance, and modern workloads. This release builds on previous LTS versions with updates across the kernel, system tools, and enterprise features.
Key features include:
- Long-Term Support (LTS). Provides five years of standard support, with extended support available through Ubuntu Pro.
- Linux kernel 7.0. Improves hardware support, performance, and system stability across modern platforms.
- Enhanced security features. Includes TPM-backed full-disk encryption and improved permission controls.
- Rust-based system utilities. Introduces memory-safe replacements for core tools to improve reliability and security.
- Livepatch support improvements. Enables critical updates without rebooting, which includes support for Arm-based servers.
- AI and machine learning readiness. Native support for platforms such as NVIDIA CUDA and AMD ROCm simplifies AI workloads.
- Improved installer and deployment tools. Updated Subiquity installer and better automation support streamline server setup.
- Scalable server performance. Optimized for cloud, containerized, and enterprise environments.
Conclusion
This tutorial showed you how to install Ubuntu 26.04, listed the required prerequisites, and provided detailed step-by-step instructions. It also included a system overview and described its main features.
Next, learn how to upgrade your existing Ubuntu version to 26.04.