Rancher is a container management platform that helps manage Kubernetes at scale. It makes it simple to deploy and run Kubernetes everywhere. The software is especially useful as most cloud virtualization vendors include Kubernetes as standard infrastructure.
In this tutorial, you will learn how to install Rancher on Ubuntu.

Note: Find out what makes Kubernetes a fundamental tool for managing and deploying containers in this Complete Kubernetes Guide.
Prerequisites
- A system running Ubuntu (this tutorial uses Ubuntu 26.04).
- Access to a command-line/terminal.
- A user account with sudo or root privileges.
- Multiple nodes you can use for your cluster.
Step 1: Install Docker
To install Docker:
1. Update your system:
sudo apt update2. Uninstall any old Docker versions by running the command:
sudo apt remove docker docker-engine docker.io containerd runcNote: If you encounter the "Unable to locate package docker-engine" error, remove the docker-engine package from the command and repeat step 2.
3. Now you can install Docker with:
sudo apt install docker.io4. Verify the installation was successful:
docker --version
5. Start the Docker service:
sudo systemctl start docker6. Set it to run at startup:
sudo systemctl enable docker7. Finally, check the status of Docker:
sudo systemctl status docker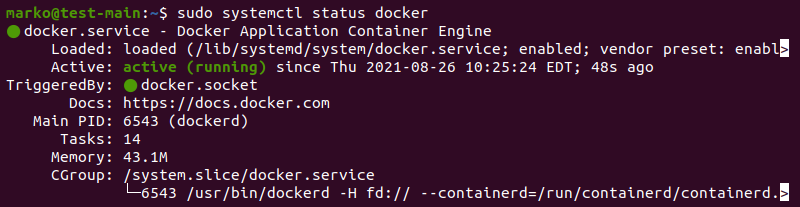
The output should display that the service is active (running). Exit the status output by pressing Ctrl + C.
Note: As an alternative, you can Install Docker from Official Repository.
Step 2: Install Rancher
Once you have set up Docker, use it to create a container where to run the Rancher server.
1. Create a new Rancher server container using the following command:
sudo docker run -d --restart=unless-stopped -p 8080:8080 rancher/server:stable
The command above instructs Docker to run the container in detached mode and to keep it running (unless it is manually stopped). The server container is configured to listen on port 8080; you can modify the port number as needed.
Docker should pull the latest Rancher image and launch the container.
2. To access the Rancher user interface, open a web browser and type the server IP number and port in the URL bar:
https://[server_ip]:[port]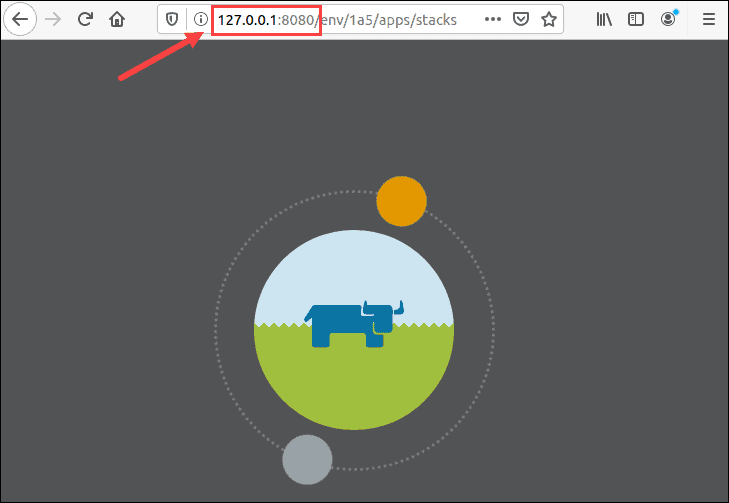
Step 3: Configure Rancher
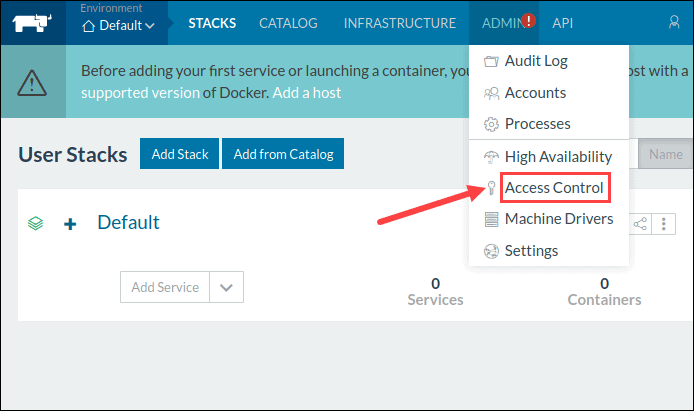
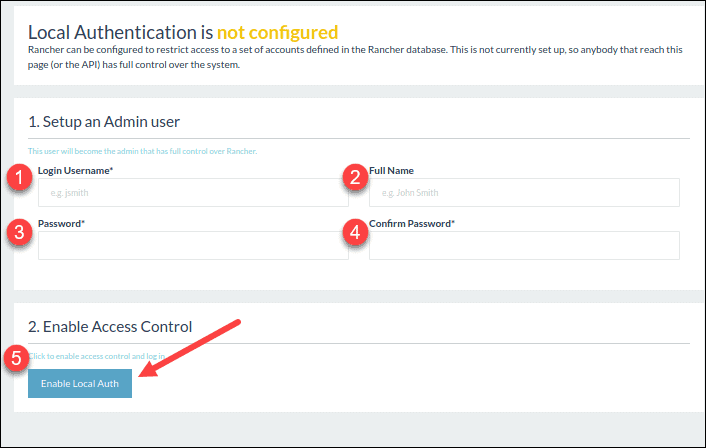
Once you have accessed the platform, Rancher instructs you to set up the Admin user (with full control over Rancher).
1. Open the ADMIN drop-down menu and click Access Control.
2. Click the LOCAL button in the menu to move to the Local Authentication window.
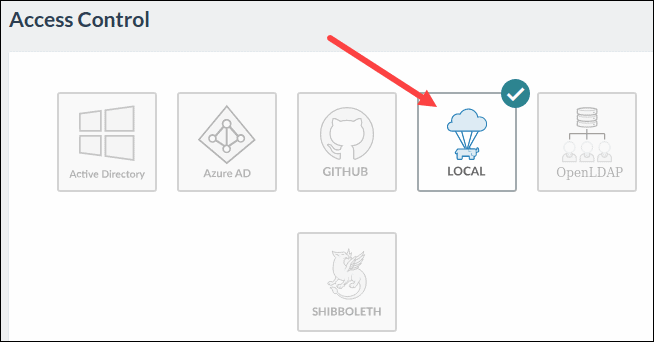
3. Provide the required information to set up an Admin user and click Enable Local Auth to confirm.
Step 4: Create a Custom Cluster
When creating a custom Kubernetes cluster on Rancher, you need to provision a Linux host (an on-premises virtual machine, cloud-hosted VM, or bare metal server). Then, you can create your custom Kubernetes cluster.
Provision a Host
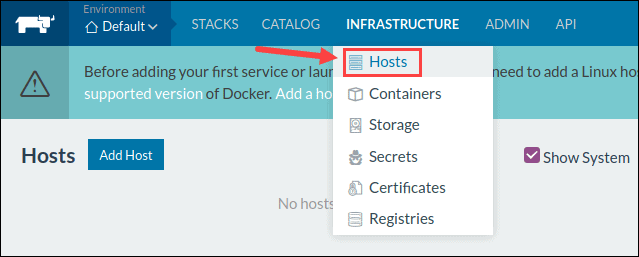
1. Open the INFRASTRUCTURE drop-down menu and select HOSTS.
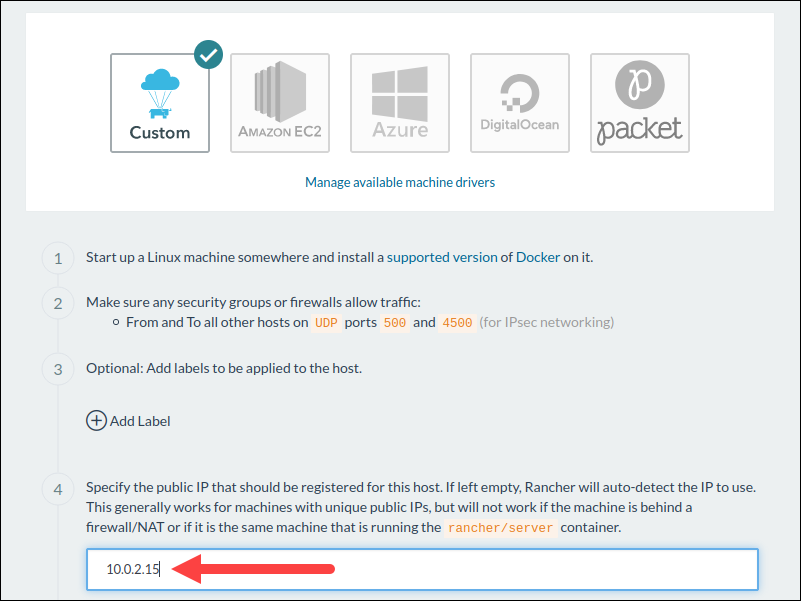
2. The instructions inform you that the host needs to have a supported version of Docker and allow traffic to and from hosts on ports 500 and 4500. Start up the machine, ensuring it meets all the specified prerequisites.
3. Rancher gives you an option to add a label to the host.
4. Provide the IP address that should be registered for this host.
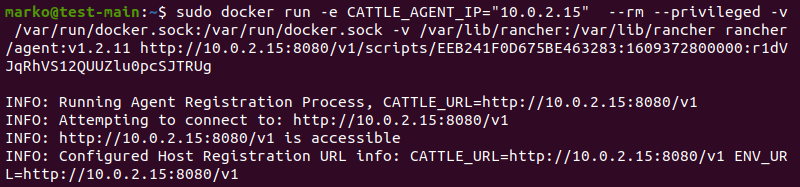
5. Doing so generated a unique command that should be run on the specified host.

6. Copy and paste the command in the terminal window.
7. Click Close and wait for the new host to appear on the Host screen.
Create a Custom Kubernetes Cluster
With the Linux host assigned, move on to creating a custom cluster.
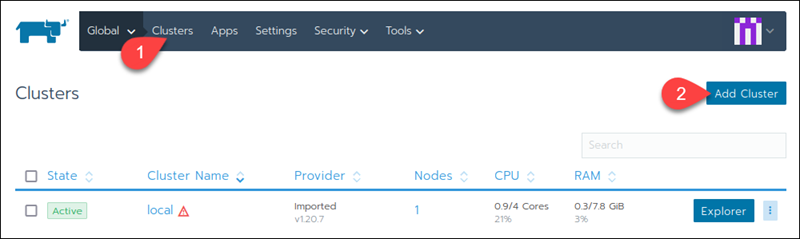
1. Navigate to the Clusters page and click Add Cluster.
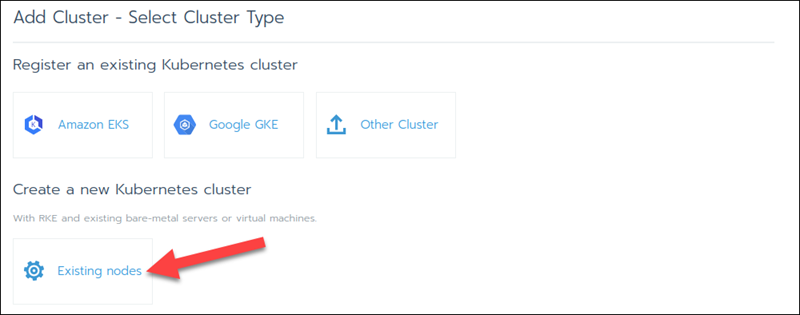
2. Select Existing Nodes.
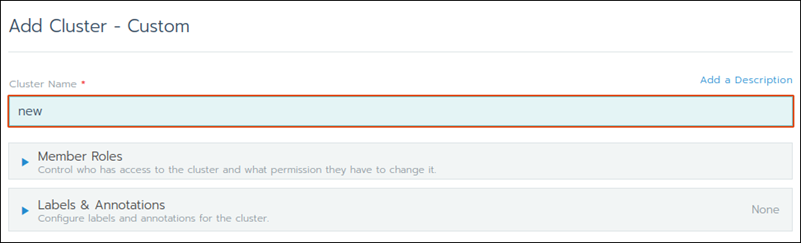
3. Type a Cluster Name, and click Next.
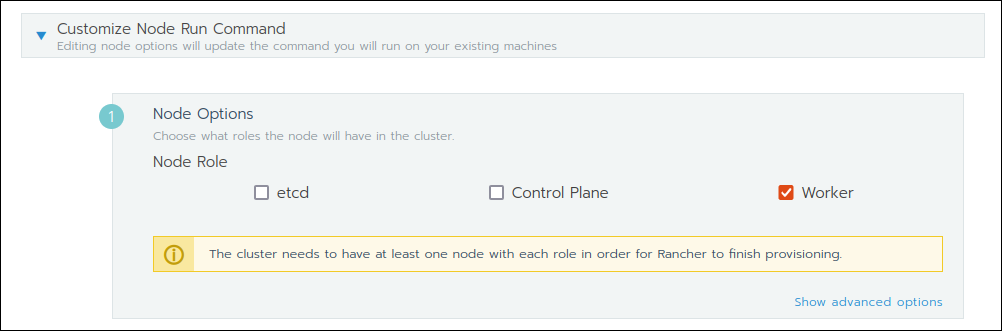
4. Under Node Options, choose what roles you want the nodes to have (etcd, Control Plane, and/or Worker).
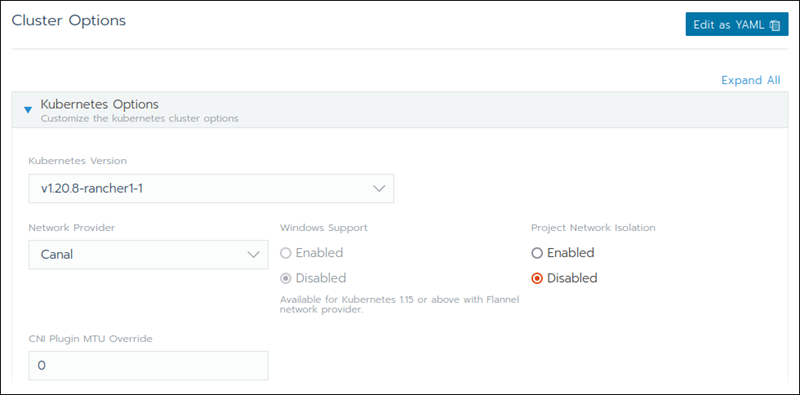
5. In Cluster Options, choose the Kubernetes Version and the Network Provider:
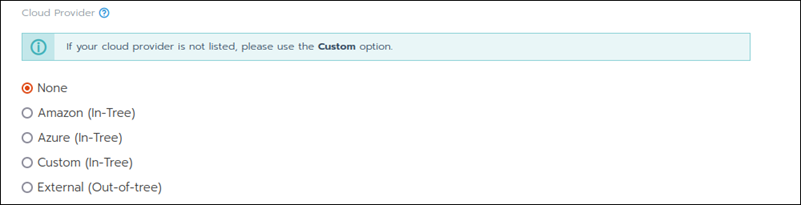
6. Choose the cloud provider. If you do not have one, select None.
5. Copy and paste the generated command on each worker node machine and wait for the cluster to start up.
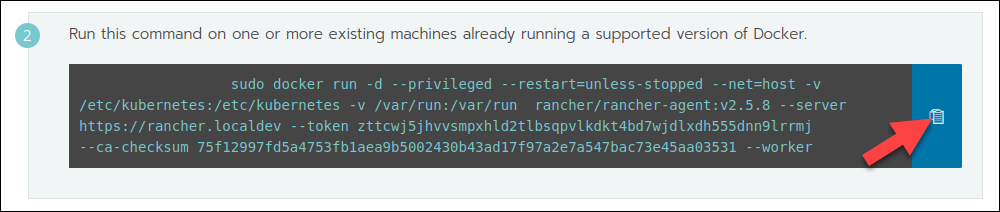
Note: Bear in mind that each machine within the cluster needs a supported version of Docker installed.
Conclusion
After reading this article, you should have learned how to install Rancher on Ubuntu and set up the platform to start creating Kubernetes clusters.
You might also want to check out our guide on how to install Rancher on CentOS 7 and get started with the basics.