Rancher is a container management platform used by virtualization vendors with Kubernetes in their standard infrastructure. The software simplifies deploying, running, and managing Kubernetes at scale.
In this tutorial, you will learn how to install Rancher on CentOS and Rocky Linux and get started with the basic configuration.
Prerequisites
- A machine running CentOS or Rocky Linux.
- Access to a command line/terminal.
- A user account with sudo or root privileges.
- Multiple nodes you can use for your cluster.
Install Rancher on CentOS and Rocky Linux
Rancher is not available in the default CentOS or Rocky Linux repositories. Therefore, to install Rancher, we will use Docker as a container orchestration platform and deploy Rancher as a container. Follow the steps in the sections below.
Step 1: Installing Docker
Ensure Docker is installed on your system since Rancher runs as a container.
1. Update the system package index with:
sudo yum check-update2. Uninstall old Docker versions with:
sudo yum remove docker docker-engine docker.io3. Download the dependencies:
sudo yum install -y yum-utils device-mapper-persistent-data lvm2Wait until the dependencies are installed.
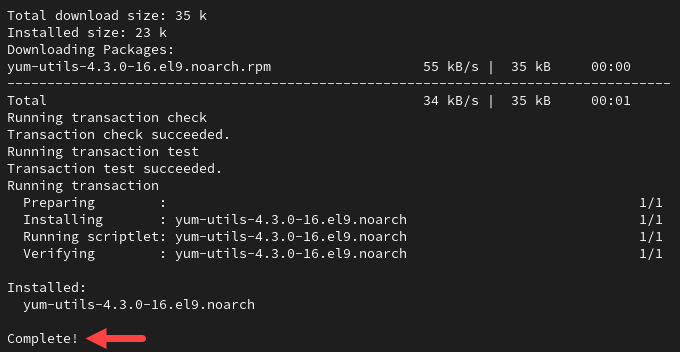
4. Add the official Docker repository:
sudo yum-config-manager --add-repo https://download.docker.com/linux/centos/docker-ce.repo5. Now install Docker by running:
sudo yum install docker-ce -y
Wait for the process to complete.
How to Solve Docker Installation Error on CentOS & Rocky Linux
You may get an ERROR saying the system cannot install docker-ce because it requires containerd.io.
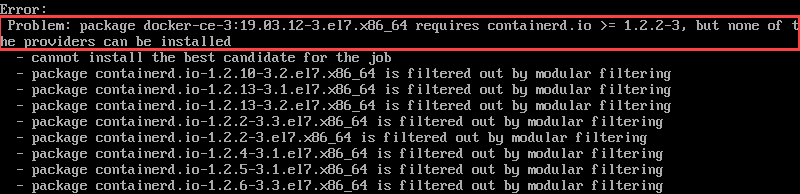
To solve this problem, install containerd.io manually with the command below:
yum install -y https://download.docker.com/linux/centos/7/x86_64/stable/Packages/containerd.io-1.2.6-3.3.el7.x86_64.rpmNow, repeat the Docker installation command:
sudo yum install docker-ce -yStep 2: Enable the Docker Service
After the installation, make sure that the Docker service is running.
1. Start the Docker service and enable it to run on boot:
sudo systemctl start dockersudo systemctl enable docker2. Check the service status with:
sudo systemctl status dockerThe output should display the service is active (running).
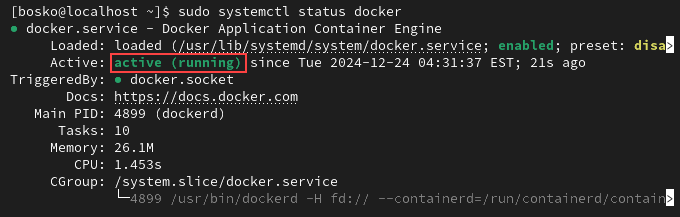
Press q to return to the terminal.
Step 3: Install Rancher
Now that Docker is up and running, you can deploy Rancher as a container.
1. Launch the Rancher server inside a Docker container with the docker run command:
sudo docker run -d --restart=always -p 8080:8080 rancher/server:stableDocker pulls the latest stable Rancher image and launches the container. The command above runs the container in detached mode (-d), keeps it running, (--restart=always) and maps port 8080 on your host machine to port 8080 inside the container.
2. List existing docker containers in running state to check whether the Rancher server is running:
sudo docker psYou should see the Rancher container listed in the output.

3. Navigate to the server IP number and port in the URL bar to open the Rancher user interface. Since we are working locally, our IP is localhost (127.0.0.1), and the port is 8080:
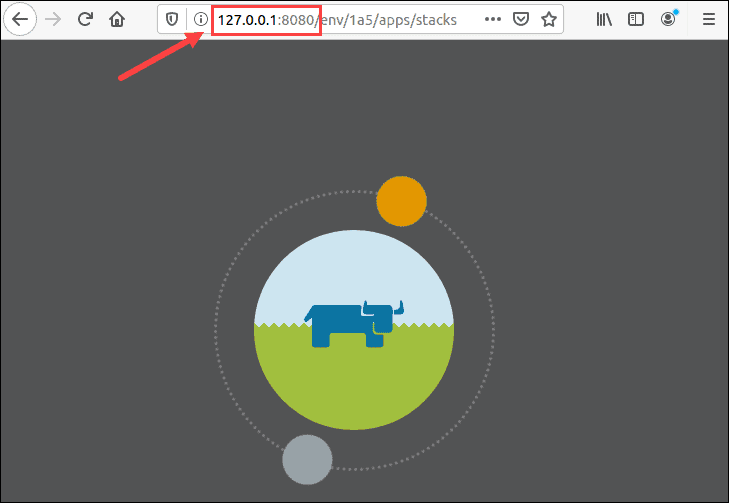
Configure Rancher on CentOS and Rocky Linux
The basic Rancher configuration outlined in the steps below will help you create an admin user and launch a Kubernetes cluster.
Step 1: Set Up Admin User
The first thing to do after you launch Rancher is to set up the Admin user. To do so:
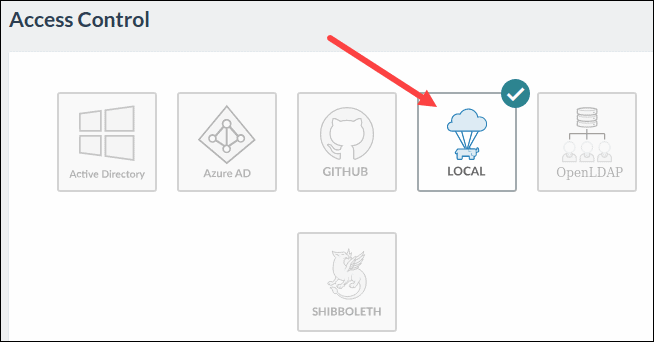
1. Click the ADMIN drop-down menu and select Access Control.
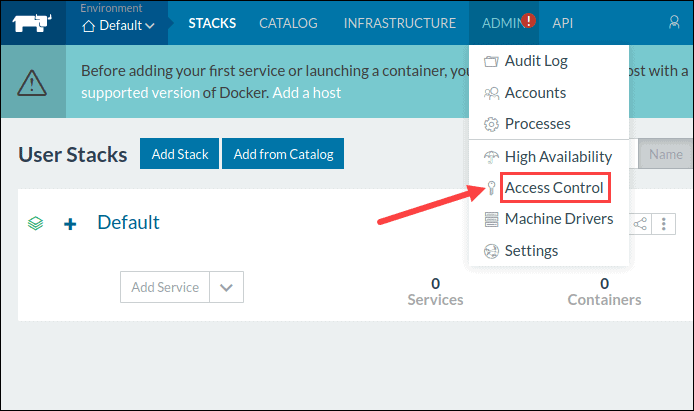
2. Select LOCAL configuration to move to the Local Authentication window.
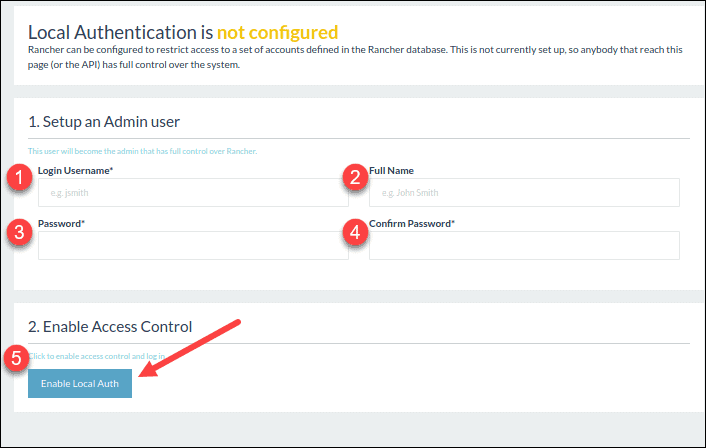
3. Fill in the required information to set up an Admin user. Then, click Enable Local Auth to confirm.
Step 2: Provision a Host
1. Select the INFRASTRUCTURE drop-down menu and click HOSTS.
2. Start up the machine and make sure it has a supported version of Docker and allows traffic to and from hosts on ports 500 and 4500.
3. Add the IP address of the host.
4. Copy and paste the generated command into the terminal window.
5. Close and wait for the new host to appear on the Host screen.
Step 3: Create Custom Kubernetes Cluster
A custom Kubernetes cluster is a user-defined Kubernetes environment where nodes are manually provisioned and configured. It is tailored to specific requirements instead of relying on a managed service or predefined setup.
1. Open the Clusters page and select Add Cluster.
2. Choose Custom, provide a Cluster Name, and click Next.
3. Choose what roles you want the nodes to have (etcd, Control Plane, and/or Worker) from the Node Options.
4. Copy and paste the generated command on each worker node machine. Each machine within the cluster must have a supported version of Docker installed. Finally, wait for the cluster to start up.
Note: Refer to our in-depth guide How to Set Up a Kubernetes Cluster with Rancher for more details on managing clusters with Rancher.
Conclusion
After reading this article, you should have successfully installed a Rancher server within a Docker container.
When you set up Kubernetes clusters, make sure to secure your workloads. To learn more about how to do so, refer to Kubernetes Security Best Practices.