Ubuntu Server is a server-focused operating system that conserves resources by not providing a graphical user interface (GUI) in the default installation. However, users can install a desktop environment (DE) and graphical tools as needed.
This guide will teach you to install a GUI on an Ubuntu server.

Prerequisites
- A server running Ubuntu (this guide uses Ubuntu 26.04).
- A user with administrative privileges.
Update Repositories and Packages
Before starting the installation, refresh the local package index with the sudo apt update command:
sudo apt updateIf the system needs an upgrade, perform it by entering:
sudo apt upgradeInstall and Set Up Display Manager
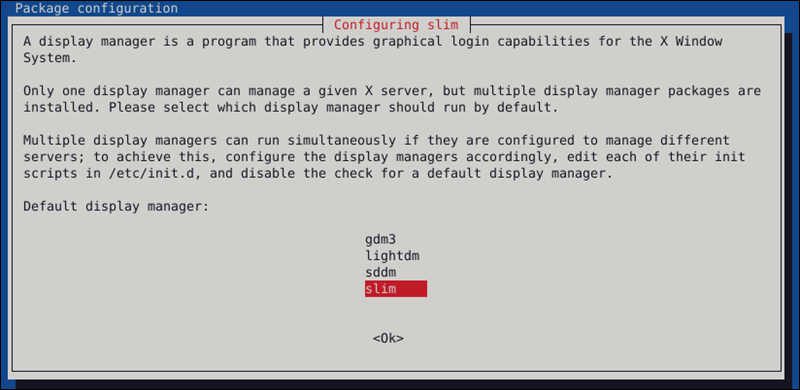
Display managers are tools that control the display server, desktop, and user authentication. While Ubuntu's default GDM3 is included with DE packages, lighter alternatives like Slim or LightDM can help conserve resources.
This guide uses Slim to illustrate the rest of the GUI installation process. To install Slim, type:
sudo apt install slim
Type Y and press Enter to start the installation procedure.
Note: If you prefer to install the LightDM display manager instead, type sudo apt install lightdm.
Install GUI on Ubuntu Server
With a display manager installed, proceed to install a GUI. The sections below contain instructions for the most common Linux desktop environments.
Install Default Ubuntu Desktop
The default Ubuntu Desktop is a version of the GNOME desktop environment customized to integrate well with Ubuntu's ecosystem. Follow the steps below to install and run it on an Ubuntu server:
1. Use the APT package manager to install the desktop package:
sudo apt install ubuntu-desktop2. When prompted to decide on the display manager, select Slim and press Enter to proceed.
3. Reboot the system when the installation finishes:
sudo rebootNote: If you do not wish to reboot immediately, type the following command to start the display manager: sudo service slim start.
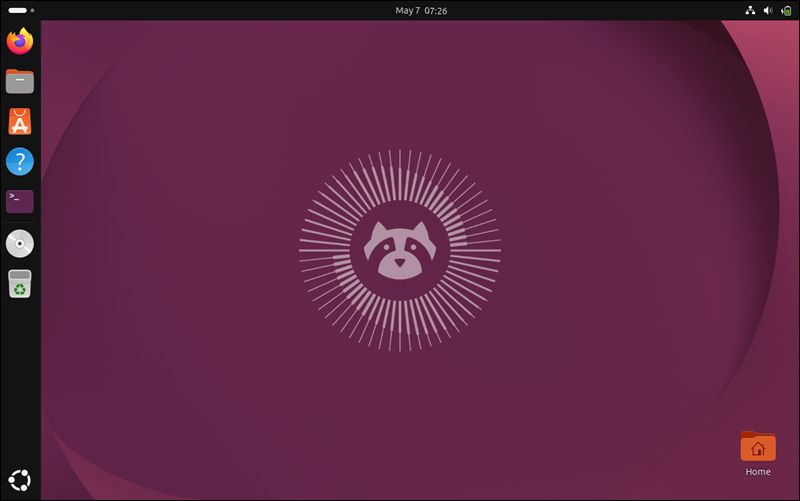
4. Enter user credentials on the graphical login screen. Entering a username reveals a password field.
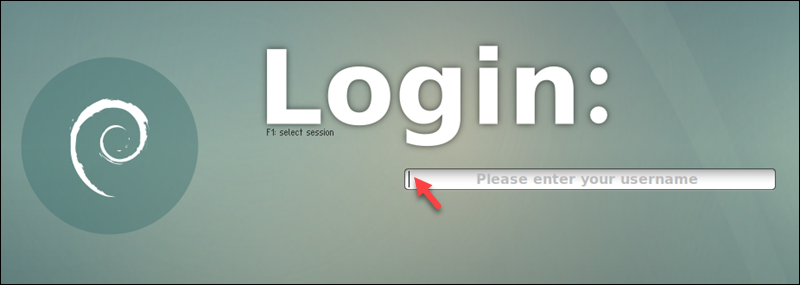
The default Ubuntu desktop environment appears.
Note: To experience the default GNOME installation on Ubuntu, install the following packages: sudo apt install vanilla-gnome-desktop vanilla-gnome-default-settings.
Install KDE Plasma on Ubuntu Server
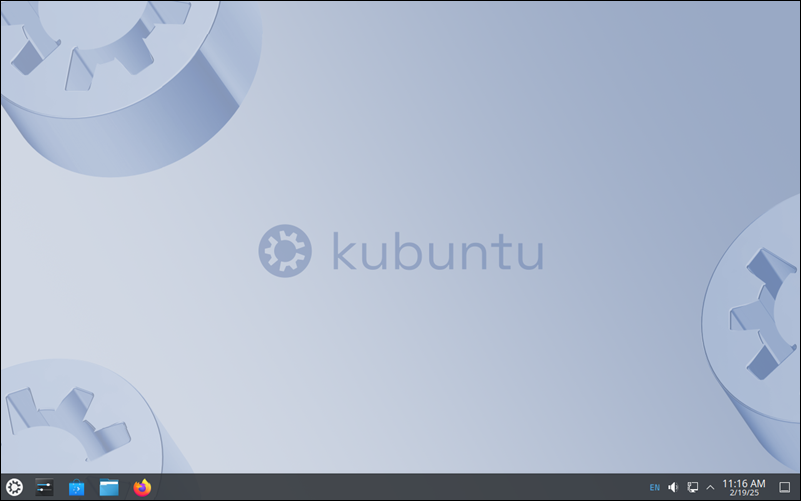
KDE Plasma is a flexible, Qt-based desktop environment that provides visual consistency and style while remaining fast and responsive. Plasma is the default DE of Kubuntu, a popular Ubuntu flavor.
To install KDE Plasma, use the following command:
sudo apt install kubuntu-desktopReboot the system and log in to access the KDE environment.
Install XFCE on Ubuntu Server
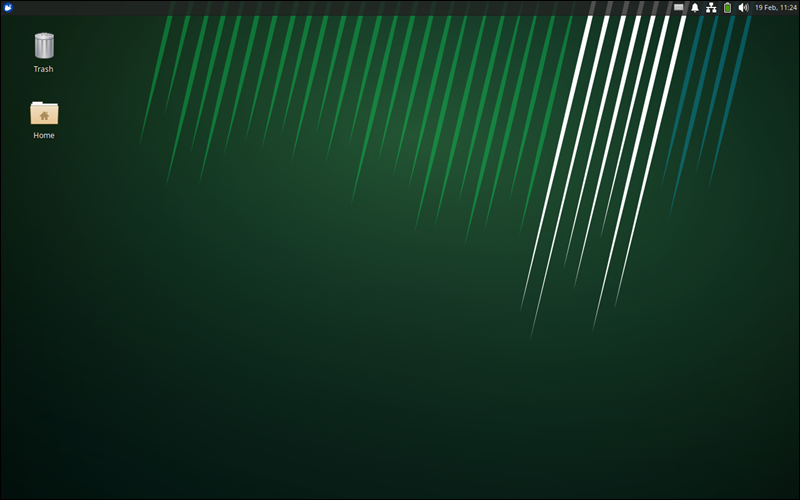
XFCE is a lightweight desktop environment known for its speed and efficient resource usage. It is the default DE in Xubuntu, an official Ubuntu flavor designed for older, less powerful hardware.
Install XFCE by installing the xubuntu-desktop package:
sudo apt install xubuntu-desktopAfter you reboot the system and log in, the XFCE desktop appears.
Install MATE on Ubuntu Server
MATE is a fork of GNOME 2 and a popular graphical interface designed to be light on resource consumption. Install it by executing the following command:
sudo apt install ubuntu-mate-desktop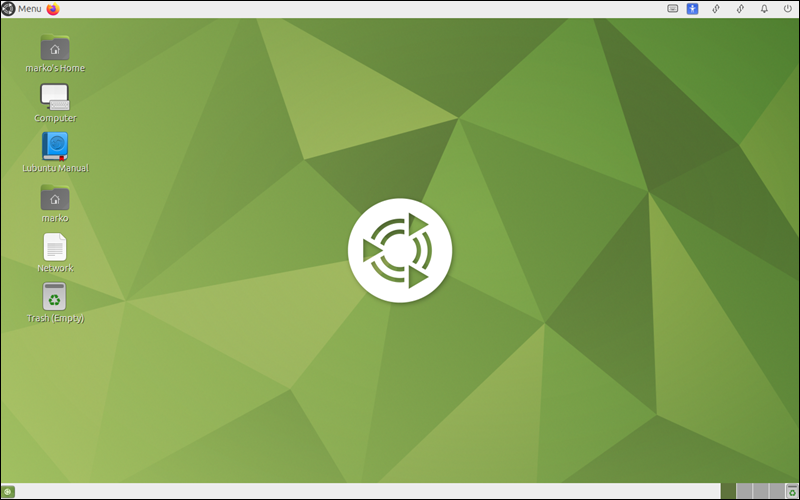
Note: KDE Plasma and GNOME are the two most popular desktop environments for Linux. Check out our KDE vs. GNOME comparison to choose the best desktop environment for your needs.
Install LXQt on Ubuntu Server
LXQt is another Qt-based desktop environment featuring a lightweight GUI that minimizes system memory and CPU usage. The official Ubuntu flavor featuring this DE is called Lubuntu.
To install LXQt on an Ubuntu server, use the following command:
sudo apt install lubuntu-desktop
Switching between GUIs on Ubuntu Server
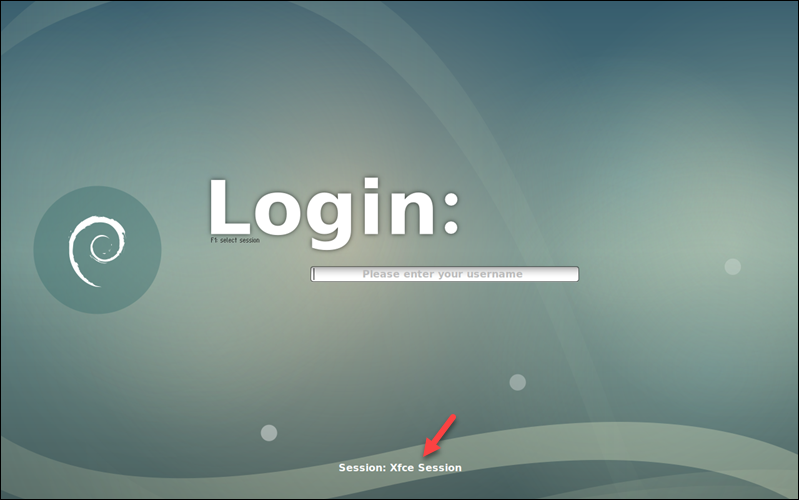
If the server has more than one desktop environment installed, switch between different GUIs from the display manager screen.
The Slim display manager, for example, allows cycling through the installed environments by repeatedly pressing F1. The name of the currently toggled environment is visible at the bottom of the screen.
Removing the GUI and Display Manager from Ubuntu Server
To revert to the command line interface and remove the packages related to the display manager and the desktop environments:
1. Open the terminal, and enter:
sudo apt remove [display-manager] [desktop-environment]For example, to remove Slim and LXQt, type:
sudo apt remove slim lubuntu-desktop2. Reboot the system and log back in.
3. Finish by removing orphaned or unnecessary dependencies with autoremove:
sudo apt autoremoveNote: Deploy and manage physical servers in a cloud-like environment with Bare Metal Cloud. To find out more, read about phoenixNAP's cloud-native dedicated servers.
Conclusion
After completing this tutorial, you should know how to install a display manager and a desktop environment on your Ubuntu server. The article introduced the most popular desktop environments and showed how to switch between them.
Next, read Debian vs. Ubuntu Server to learn the differences and choose the optimal distro for your infrastructure.