Java is one of the most popular programming languages. It is used to develop everything from lightweight mobile applications to large enterprise-level applications, web servers, and desktop applications.
Understanding how to install Java on your Ubuntu system is the first step to running and developing Java applications.
This step-by-step guide will show you how to install Java on Ubuntu.

Prerequisites
- A user account with sudo or root privileges.
- Access to the terminal.
- An Ubuntu Linux system.
Java Versions
Java is a versatile, high-level programming language for building applications across various platforms. To accommodate different use cases, Java is divided into four main Java platforms:
- Java Standard Edition (Java SE). The core Java platform that provides essential libraries and APIs for general-purpose programming. It includes features like networking, concurrency, and database access.
- Jakarta EE. Formerly known as Java Micro Editions (Java ME), this version builds on Java SE and includes additional tools for large-scale enterprise applications, such as web services, distributed computing, and security.
- Java Enterprise Edition (Java EE). A lightweight version of Java designed for mobile devices, embedded systems, and Internet of Things (IoT) applications. It is optimized for environments with limited resources.
- JavaFX. A framework for building modern, visually rich graphical user interfaces (GUIs) in Java. It is commonly used for desktop and embedded applications.
In this tutorial, we look at different packages within the Java SE.
Installing Java on Ubuntu
Java Standard Edition (Java SE) is available through two main implementations: OpenJDK and Oracle JDK.
Both provide the core functionality needed to run and develop Java applications:
- OpenJDK (Java Development Kit - JDK). Develops and compiles Java applications. It is open source.
- OpenJRE (Java Runtime Environment - JRE). Runs Java applications but does not include development tools. Requires a commercial license for production use, but can be used for personal and development purposes free of charge.
Oracle JDK, another Java SE implementation with additional commercial features, is also available.
On older Linux distributions, it can be installed from a third-party repository, while on newer ones, you can download it as a .deb package from Oracle's official website. However, its license only permits non-commercial use, requiring a paid commercial license for production environments.
Install one or several Java packages on your system, or choose a specific version by specifying the version number. By default, Ubuntu includes OpenJDK as the Java Development Kit (JDK) and Java Runtime Environment (JRE).
The following text explains how to install different applications.
Install OpenJDK
OpenJDK helps users run and develop Java applications since it provides the core tools and libraries required for Java programming. To install OpenJDK, update the package repository and run:
sudo apt install default-jdk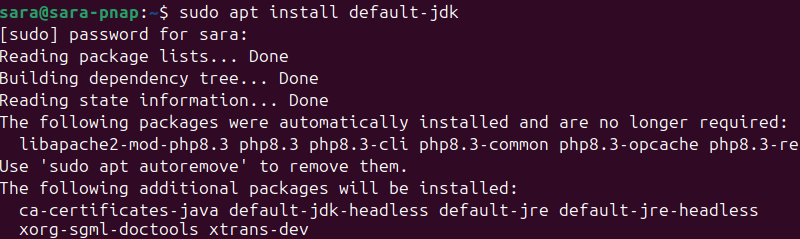
Install OpenJRE 11
Installing the OpenJDK package also installs the default JRE package. However, in case the package doesn't install or the installation files are corrupted, reinstall the JRE package with the following command:
sudo apt install default-jreInstall Oracle Java
The official Oracle JDK is available in third-party repositories or through a manual installation.
The upside of installing from a third-party repository is there is no need to upgrade the packages manually since it is done automatically during system upgrades. However, the downside is there is no way to know when the Personal Package Archive (PPA) maintainer will abandon it.
Note: The PPA method for installing Oracle Java was used in older versions of Ubuntu but has become less reliable and is not recommended as of Ubuntu 22.04 and onwards.
The sections below provide instructions for installing JDK from a third-party repository or by downloading and installing a .deb file.
Option 1: Download Oracle Java from Third-Party Repository
This process allows you to add a third-party repository to your system, which simplifies installation and provides automatic updates. Take the following steps:
1. Install the required dependencies with:
sudo apt install software-properties-common
In some cases, like the example above, the dependencies come preinstalled on the system.
2. Add the required package repository:
sudo add-apt-repository ppa:linuxuprising/java -y
3. Update the system's package list to include the newly added repository with:
sudo apt update4. Install Java 17, the latest LTS version:
sudo apt install oracle-java17-installer
Note: For newer versions of Java (such as Java 21), replace oracle-java17-installer with oracle-java21-installer, but note Java 21 is a non-LTS release.
5. During the installation, the Java configuration wizard appears. Press TAB to select <Ok> and press Enter to confirm your agreement with the license agreement terms.
6. The wizard prompts you to accept the Oracle license terms to continue the installation. Press TAB to select <Yes> and Enter to confirm.

Option 2: Install Oracle Java from Deb File
The .deb files are available on the official Oracle website. Download and manually install the .deb files using a web browser or the wget command. This tutorial uses the latter one.
Follow the steps below:
1. Install the required dependencies:
sudo apt install libc6-i386 libc6-x32 libxi6 libxtst6 -y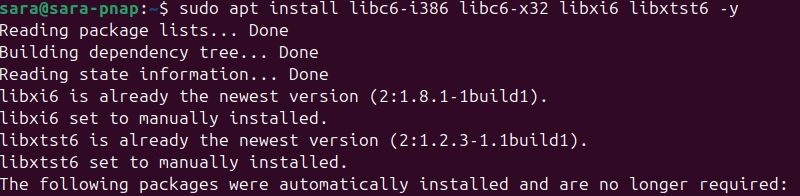
2. Download the Java .deb package with the following command:
wget https://download.oracle.com/java/21/latest/jdk-21_linux-x64_bin.deb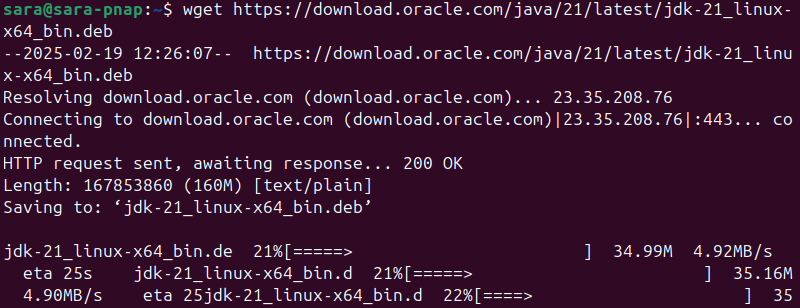
3. After the download completes, install Java with dpkg:
sudo dpkg -i jdk-21_linux-x64_bin.deb
Verify Java Is Installed on Your System
Verify whether the software is part of your system. Check the Java version with the following command:
java -version
Install Specific Version of Java
If you do not want to install the default or latest version of Java, specify the version number you prefer.
Install Specific Version of OpenJDK
To use an earlier version of OpenJDK, instead of the default OpenJDK 20, use the following syntax:
sudo apt install openjdk-#-jdkReplace # with your preferred version number. For example:
sudo apt install openjdk-8-jdk
Install Specific Version of Oracle Java
When installing Oracle Java, you must specify the version number to ensure the correct version is installed. If you want to install a different version of Oracle Java, simply replace the version number in the command with the one you require.
The syntax for installing Oracle JDK is:
sudo apt install oracle-java#-installerThe symbol # represents the Java version.
For instance, if you want to install Java 17, run the following command:
sudo apt install oracle-java17-installerHow to Set Default Java Version
With multiple versions of Java installed on your system, you can decide which is the default.
Run a command that shows all the installed versions on your computer:
sudo update-alternatives --config java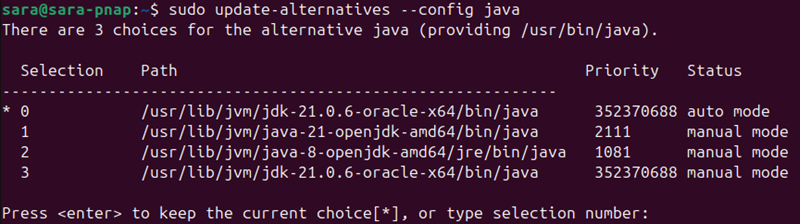
The image above shows there are four alternatives on the system. An asterisk marks the current default version (*). Change the default version by typing its associated number and press Enter.
How to Set JAVA_HOME Environment Variable
The JAVA_HOME environment variable determines the location of your Java installation. The variable helps applications locate the Java installation path.
To set up the JAVA_HOME variable, take the following steps:
1. Find where Java is installed. Use the following command to locate it:
sudo update-alternatives --config java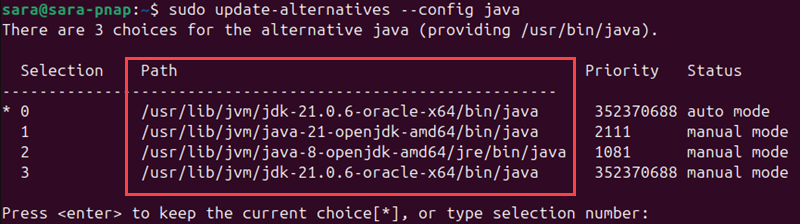
The Path section shows the locations of each installed Java version.
2. Copy the path to your preferred Java version.
3. Open the /etc/environment file using any text editor. In this example, we use nano:
sudo nano /etc/environment4. At the end of the file, add a line that specifies the JAVA_HOME location in the following manner:
JAVA_HOME="/your/installation/path/"For example, if we copied the installation path for Java in the previous step, the added line in the text code editor is:
JAVA_HOME="/usr/lib/jvm/jdk-21.0.6-oracle-x64/bin/java"
How to Uninstall Java on Ubuntu
To remove any installed Java packages, use the apt remove command.
Remove the default version of OpenJDK by running this command:
sudo apt remove default-jdk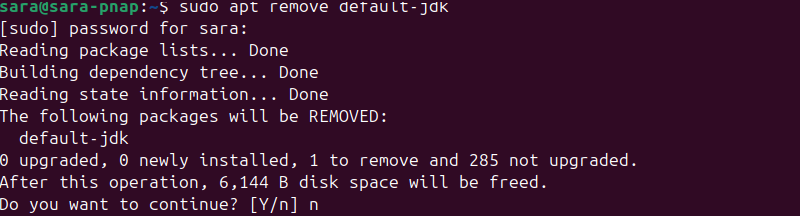
To uninstall a specific version of OpenJDK:
sudo apt remove openjdk-#-jdkReplace # with the number of the version you wish to remove. For example, run the following:
sudo apt remove openjdk-21-jdk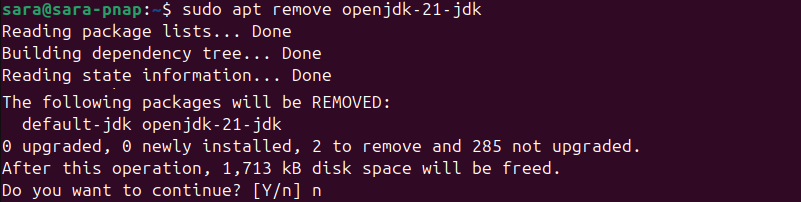
Note: Refer to our comprehensive breakdown of Best Java IDEs to find the best one for your needs.
Conclusion
This guide explained how to install Java on Ubuntu using different methods. It also explained how to change the default version and set the HOME environment variable, as well as how to remove Java from your system.
For more tutorials on how to install Java on other systems, make sure to read our article on how to install Java on Windows.