Yarn is a JavaScript package manager that helps developers install, manage, and update project dependencies efficiently. It uses Node.js to track libraries and dependencies, offering faster installs, better dependency resolution, and improved security compared to other package managers like NPM.
This tutorial shows you how to install the latest version and the classic 1.x Yarn version on Ubuntu, and provides basic commands to get started.

Prerequisites
- A machine running Ubuntu (this tutorial uses Ubuntu 26.04, but it also works for earlier versions).
- A user account with sudo privileges.
- Access to a terminal window.
- Node.js and NPM installed.
Install Latest Yarn Version
The recommended way to install and manage the latest Yarn version is through Corepack. Corepack is a lightweight Node.js script that acts as a bridge between Node.js projects and the Yarn package manager. This binary is included in the newer Node.js releases.
Follow the steps below to install Yarn using Corepack:
1. Ensure your Node.js version is up-to-date.
node -vCorepack requires Node.js 16.10 or later. If the output shows an older version, update Node.js.

2. Start Corepack by typing:
corepack enableIf Corepack does not exist on your system, it returns the following error:

To install Corepack, run:
sudo npm install -g corepack
3. Install the latest version of Yarn with the command below:
corepack prepare yarn@stable --activate
4. Run the following command to test the installation and check the Yarn version:
yarn --version
This process installs the latest stable version of Yarn. Run the following command to update the binary to the latest version:
yarn set version stableInstall Classic Yarn Version
The classic versions of Yarn prior to 2.0 are in maintenance mode, and support will end soon. However, you can still install Yarn 1.x using the repositories and NPM.
Follow the steps in the sections below.
Option 1: Install Yarn Classic Via Repository
Yarn developers maintain a repository that simplifies installing older versions. For detailed instructions, follow the steps below.
1. Add the GPG key:
curl -sS https://dl.yarnpkg.com/debian/pubkey.gpg | gpg --dearmor | sudo tee /etc/apt/trusted.gpg.d/yarn.gpgThe GPG key ensures that you are installing authentic software.
2. Add the Yarn repository:
echo "deb [signed-by=/etc/apt/trusted.gpg.d/yarn.gpg] https://dl.yarnpkg.com/debian/ stable main" | sudo tee /etc/apt/sources.list.d/yarn.listThe command adds the Yarn repository to the master repository list, allowing the package manager to access and manage Yarn.
3. Update your repository package index:
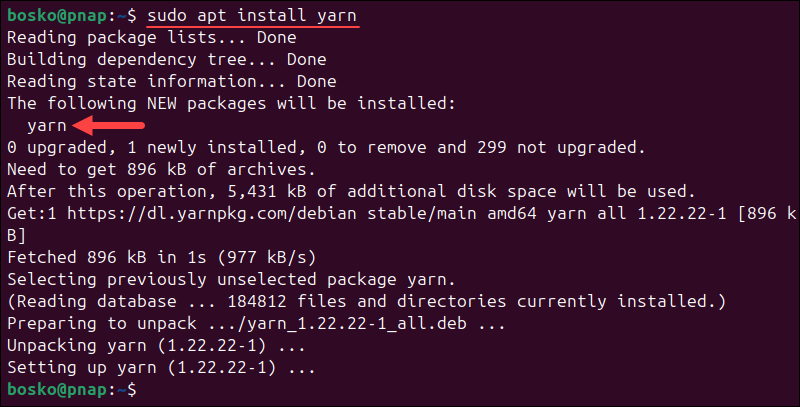
sudo apt update4. Install Yarn with:
sudo apt install yarnThis command installs Yarn on your system. If you don't already have Node.js installed, your package manager installs it automatically.
To verify the installation, check the Yarn version:
yarn --version
Option 2: Install Yarn Classic Using NPM
NPM stands for Node Package Manager. It’s commonly used to develop and share JavaScript code. Use NPM to install the classic Yarn version by following the steps below:
1. Check the version to see if NPM is installed:
npm --versionIf NPM isn't installed, install it by running:
sudo apt install npm2. To install Yarn with NPM, enter:
sudo npm install -g yarn
Yarn is similar to NPM in many ways. Like NPM, Yarn helps manage dependencies, but it uses a yarn.lock file to ensure package versions remain consistent, maintaining a stable development environment.
Note: Check out our article to learn the differences between Yarn vs. NPM.
Upgrade Yarn from Classic to Latest
Follow the below procedure to upgrade Yarn from the classic to the latest version:
1. Run the command below to ensure that the classic Yarn is updated to the latest 1.x version:
sudo npm install -g yarn2. Switch to the modern Yarn version with the following command:
yarn set version berry
Basic Yarn Usage
Now that you have Yarn installed, the sections below dive into basic Yarn commands.
Create New Yarn Project
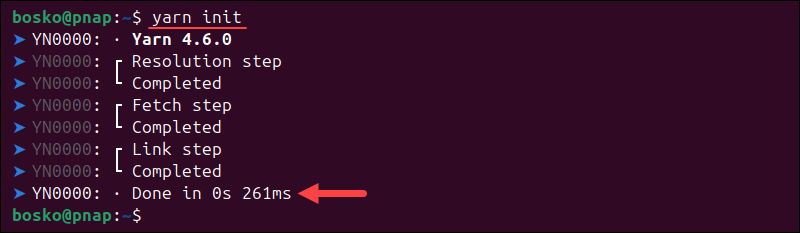
To create a new project, go to the project directory and enter:
yarn initYarn initializes the project directory by creating two files. One is a package.json file that contains the project configuration, and the other is a yarn.lock file that stores dependency information.
Add a Dependency to Your Project
A package (sometimes called a module) is a self-contained piece of code. To function correctly, a package may rely on other packages called dependencies.
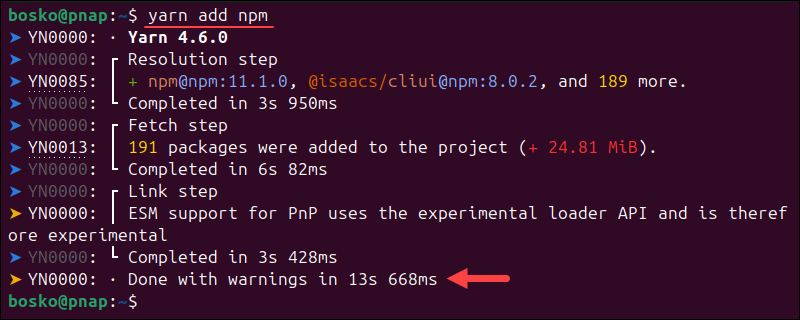
To install a dependency, use the following syntax:
yarn add [package_name]The command above adds the latest version of the specified package.
To install a specific version, use the following syntax:
yarn add [package_name]@versionIf the package has a tag, substitute version with tag:
yarn add [package_name]@tagThis process automatically updates the package.json file. It also updates the yarn.lock file and ensures that everyone using the package is working with the same software.
Upgrade a Yarn Dependency
To upgrade a dependency, use the command:
yarn upgrade [package_name]Like the add command above, Yarn can be upgraded by specifying a version or tag:
yarn upgrade [package_name]@versionOr:
yarn upgrade [package_name]@tagRemove Yarn Dependency
Remove a dependency with the syntax below:
yarn remove [package_name]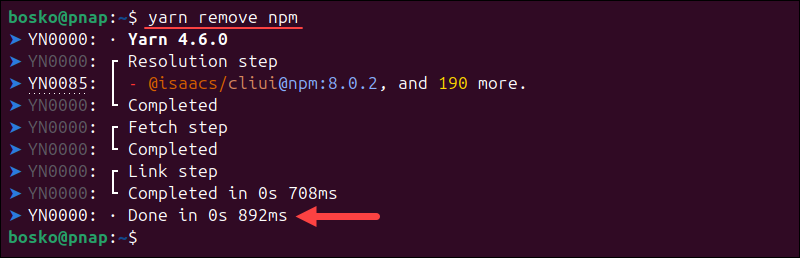
The command uninstalls the specified package and removes its entry from the package.json and yarn.lock files.
Install Additional Dependencies
Yarn works through the package.json configuration file. This file keeps a record of all the packages required for your project. When working on a code project, you may add a package with additional dependencies.
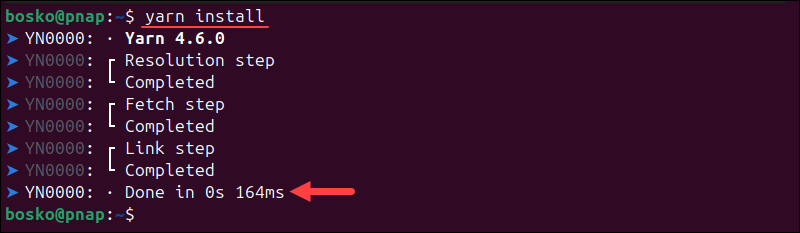
To install these dependencies, enter the following:
yarn installThis will update and load all the dependencies for your project configuration.
Yarn is set up to allow multiple users and control versions. Sometimes, a different developer may add a package to the master package.json file. If that’s the case, run the yarn install command as soon as possible. This updates the project version and ensures that you are working in the same environment.
Note: If you are a Windows user, see how to install Yarn on Windows.
Conclusion
This tutorial showed how to install Yarn on a Ubuntu system and how to use the basic commands to get you started with Yarn projects.
Next, see how to build a Node.js app with Docker or install and set up the MEAN stack on Ubuntu.