Yarn is a package manager developed by Facebook as an alternative to the NPM client. It allows teams to develop JavaScript code and share it through software packages.
Yarn offers a host of improvements over NPM, including higher speed, greater reliability, and broader compatibility. There are several methods for installing Yarn, including using the MSI installer, using other package managers, and installing it from Windows PowerShell.
In this tutorial, we will outline a step-by-step process for installing Yarn on Windows using different methods.
Prerequisites
- A system running Windows
- Access to a user account with administrator privileges
- Access to the PowerShell
- A copy of Node.js installed
Note: Bare Metal Cloud was build by a DevOps team for DevOps teams. It supports IaC tools and automated server provisioning via API and CLI. Launch a Windows-powered Bare Metal Cloud server and follow this guide to configure Yarn on it.
Get a development sandbox environment for as low as $0.10/hour!
Install Yarn on Windows via MSI Installer
1. Download the Yarn installation file from GitHub.
2. Run the installation file and click Next to proceed.

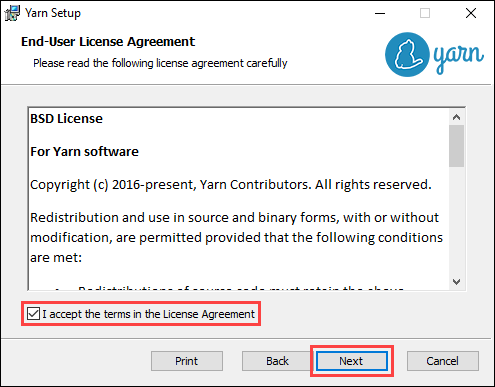
3. Check the box to accept the license agreement and click Next to continue.
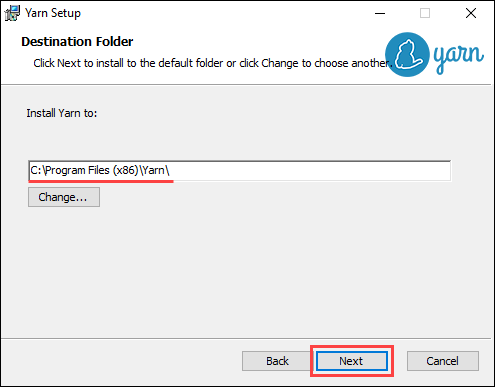
4. Select the destination where you want to install Yarn and click Next to proceed.
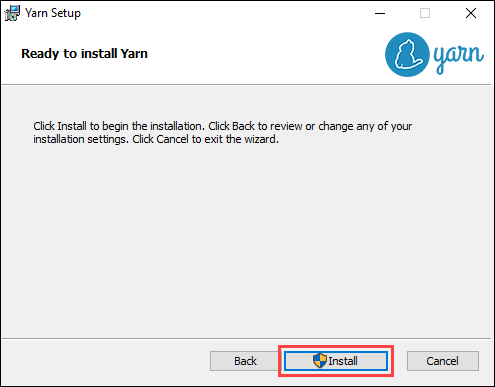
5. Click Install to start the installation process.
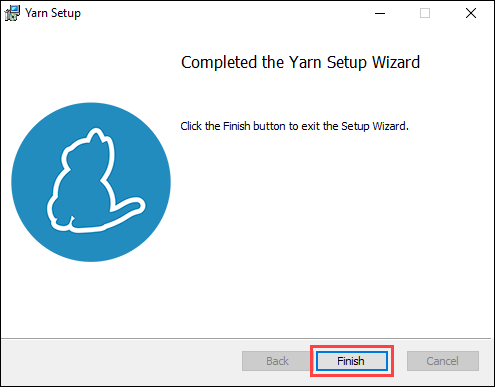
6. Once the installation is complete, click Finish to exit the installation wizard.
7. Run the following command in PowerShell to verify the installation:
yarn --version
Install Yarn on Windows via Chocolatey Package Manager
Another method is to use the Chocolatey package manager to install Yarn. Using Chocolatey also helps resolve dependencies since it automatically installs Node.js:
1. Open PowerShell as an administrator.
2. Check the status of the execution policy with:
Get-ExecutionPolicy
3. If the execution policy status is Restricted, set it to AllSigned using:
Set-ExecutionPolicy AllSigned4. When prompted, type Y and press Enter to confirm.

5. Install the Chocolatey package manager by using:
Set-ExecutionPolicy Bypass -Scope Process -Force; [System.Net.ServicePointManager]::SecurityProtocol = [System.Net.ServicePointManager]::SecurityProtocol -bor 3072; iex ((New-Object System.Net.WebClient).DownloadString('https://community.chocolatey.org/install.ps1'))6. Run the following command to install Yarn:
choco install yarn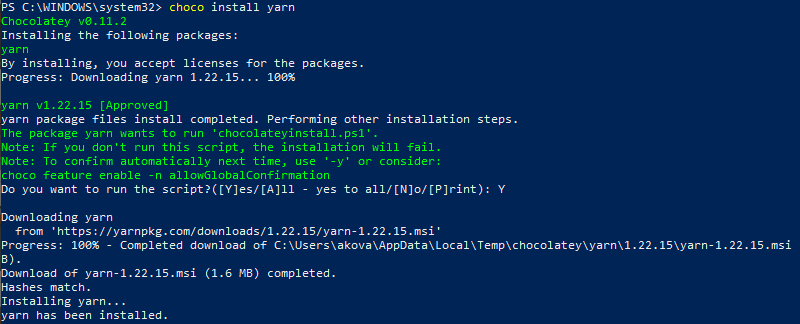
7. Type Y and press Enter when prompted to confirm the install.
8. Restart the PowerShell for the changes to take effect. Verify the installation with:
yarn --version
Install Yarn on Windows via Scoop CLI
The Scoop CLI (command-line installer) works similarly to Chocolatey, with the main difference being that Scoop does not automatically install Node.js.
1. Open PowerShell as an administrator.
2. Set the execution policy to allow PowerShell to run local scripts:
set-executionpolicy remotesigned -scope currentuser3. When prompted, type Y and press Enter to confirm.

4. Install Scoop CLI by using:
iwr -useb get.scoop.sh | iex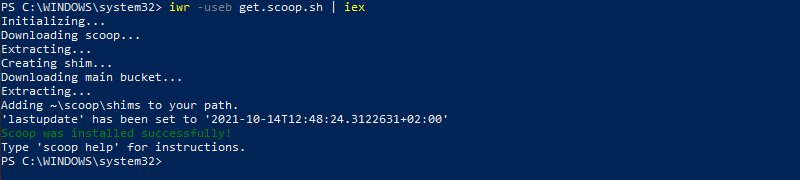
5. Start the Yarn installation with:
scoop install yarn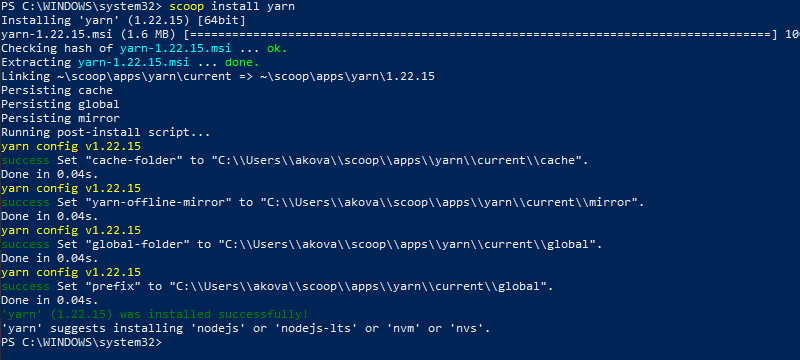
6. Verify the installation using:
yarn --version
Install Yarn on Windows via NPM
NPM (Node Package Manager) is a package manager included with Node.js. It is used for developing and sharing JavaScript code, but it also provides another method of installing Yarn:
1. Open PowerShell as an administrator.
2. Install Yarn by running the following command:
npm install --global yarn
3. Verify the Yarn installation with:
yarn --version
Conclusion
After following this tutorial, Yarn is installed and ready to use.
If you are interested in using Yarn on a Linux system, check out our guide to installing Yarn on Ubuntu 18.04.