Samba is an open-source implementation of the Server Message Block (SMB) protocol that enables file and printer sharing between Linux and other systems with that protocol, including Windows. It allows Linux distributions such as Ubuntu to communicate with Windows networks that use the same protocol Windows uses natively.
Windows 11 does not require a Samba installation package because the SMB support is built in. Instead of installing software, you configure existing SMB features to access or provide Samba shares across the network.
This guide will explain how to prepare and configure Windows 11 to connect to and work with Samba shares hosted on Ubuntu systems.
Installing Samba on Windows
Windows 11 includes native support for the Server Message Block (SMB) protocol and does not require a separate installation of Samba. Instead of installing additional software, you configure the operating system to communicate with an existing Samba server that runs on a Linux system.
Note: Before proceeding, ensure Samba is installed and properly configured on Ubuntu.
The following steps show how to configure Windows 11 to connect to Samba shares hosted on Ubuntu.
Step 1: Enable Network Discovery and File and Printer Sharing
Network Discovery allows Windows to detect other devices on the local network, while File and Printer Sharing enables SMB-based resource access. Both must be enabled for Windows to connect to a Samba share:
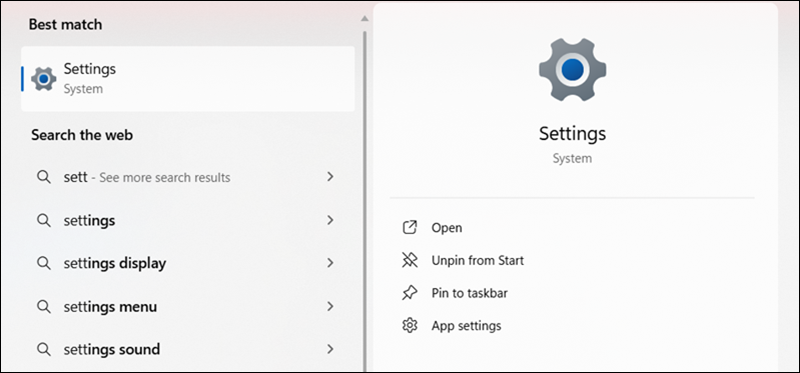
1. Open Settings.
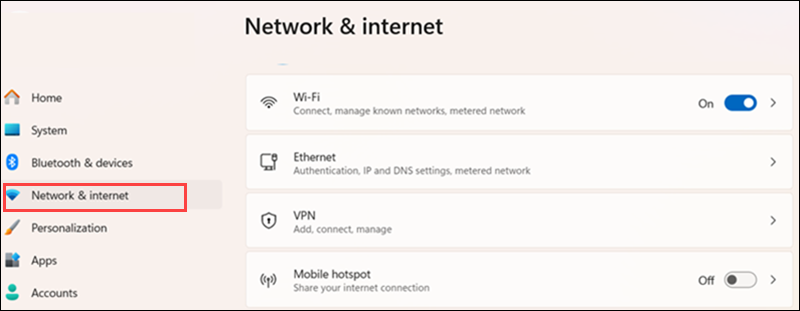
2. Select Network & internet.
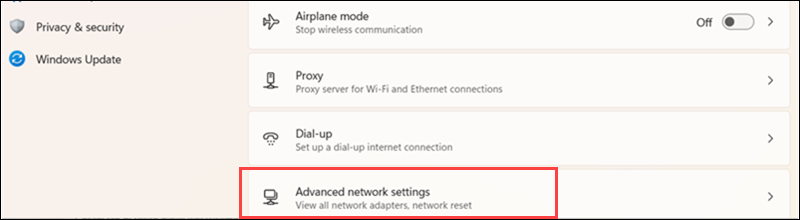
3. Click Advanced network settings.
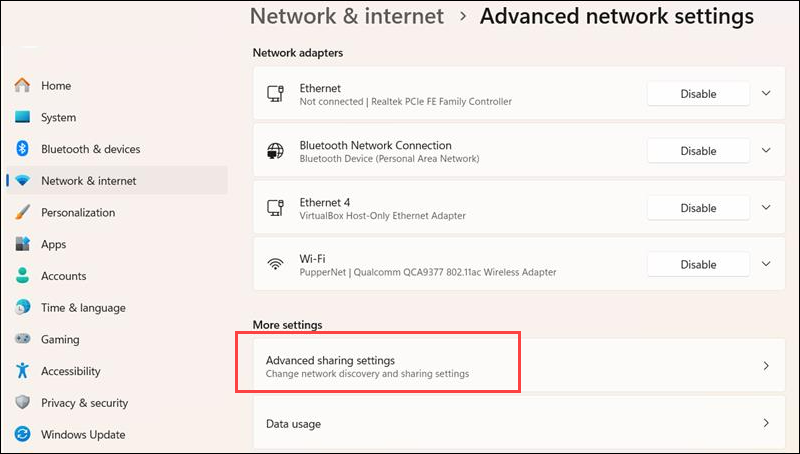
4. Under More settings, select Advanced sharing settings.
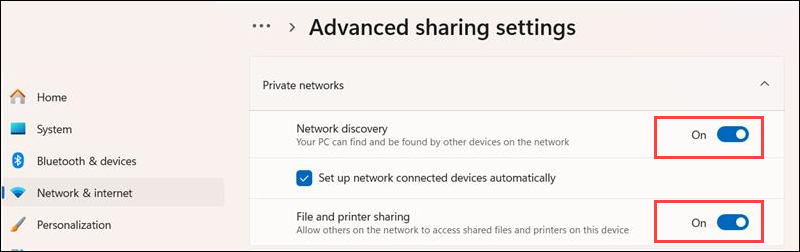
5. Expand the Private network profile.
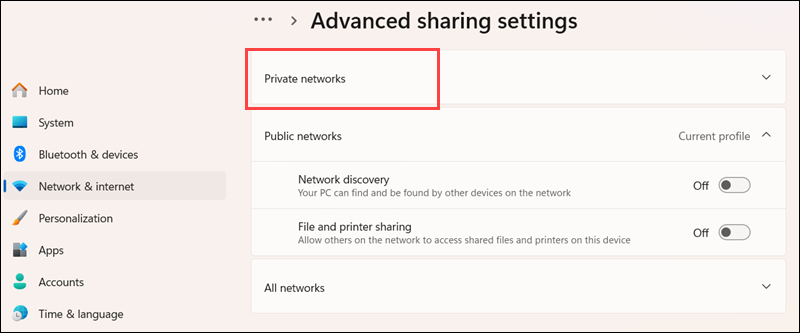
6. Turn on Network discovery and File and printer sharing.
Ensure your active network profile is set to Private, not Public. SMB discovery and sharing are restricted on Public networks for security reasons.
Step 2: Verify SMB Client Features
Windows 11 includes SMB client components by default. However, verify the required features are enabled to ensure compatibility with a Samba server that runs on Ubuntu.
Follow these steps:
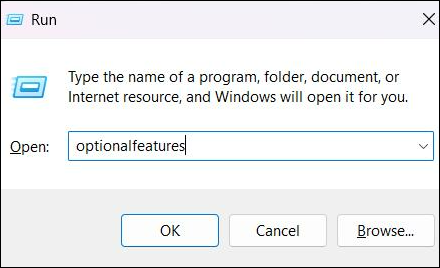
1. Press Win + R, type optionalfeatures, and press Enter.
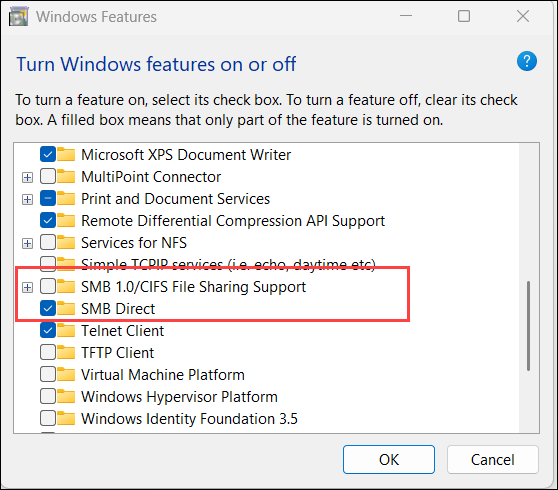
2. In the Windows Features window, locate SMB 1.0/CIFS File Sharing Support.
3. Ensure the SMB 1.0/CIFS Client is not enabled unless your environment explicitly requires it. SMB1 is an outdated protocol version with known security vulnerabilities and lacks modern encryption and signing capabilities. Windows 11 disables it by default because SMB2 and SMB3 provide improved performance and significantly stronger security.
Also, confirm SMB Direct is enabled if available. This feature improves performance in environments that support it.
4. Click OK if you make changes and restart the system if prompted.
Windows 11 uses SMB 2 and SMB 3 by default, which are fully compatible with current versions of Samba. No protocol downgrade is required in standard configurations.
Step 3: Confirm SMB Protocol Configuration
Verify the current SMB client configuration to ensure the secure protocol versions are enabled, and no legacy settings interfere with communication with a Samba server.
Use PowerShell to review the SMB client settings:
1. Run PowerShell as administrator.
2. Run the following to display the current SMB client configuration:
Get-SmbClientConfiguration3. Review the output to confirm the modern SMB protocol versions are enabled.
If the system still has SMB1 installed, disable it with:
Set-SmbClientConfiguration -EnableSMB1Protocol $false4. Restart the system to ensure the new configuration takes effect.
Modern versions of Samba fully support SMB3, including encryption and signing, so Windows 11 communicates securely without additional protocol changes.
Configuring Samba on Windows
After you prepare Windows 11 for SMB communication, connect to and manage Samba shares hosted on a Linux system.
These steps demonstrate how to access the share directly, map it as a network drive, manage authentication credentials, and adjust firewall settings if necessary. In these examples, the share is hosted on an Ubuntu system.
Step 1: Connect to Samba Share Using the UNC Path
Windows accesses network shares using the Universal Naming Convention (UNC) path format. A Samba share hosted on Ubuntu follows this structure:
\\server-ip\share-nameIn this case, the ip and shared folder name are:
\\192.168.0.37\sharingFollow these steps to connect to the Samba share:
1. Open File Explorer.
2. Click the address bar.
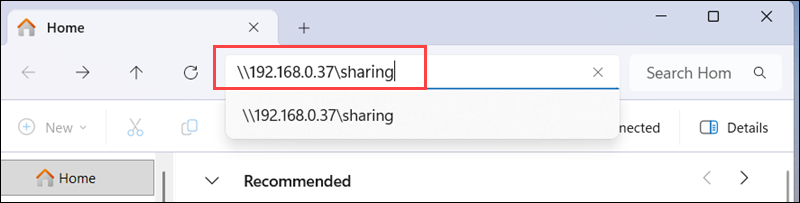
3. Enter the UNC path using the IP address or hostname of the Ubuntu system and press Enter. In this case:
\\192.168.0.37\sharing4. When prompted, enter the Samba username and password configured on the Ubuntu system.
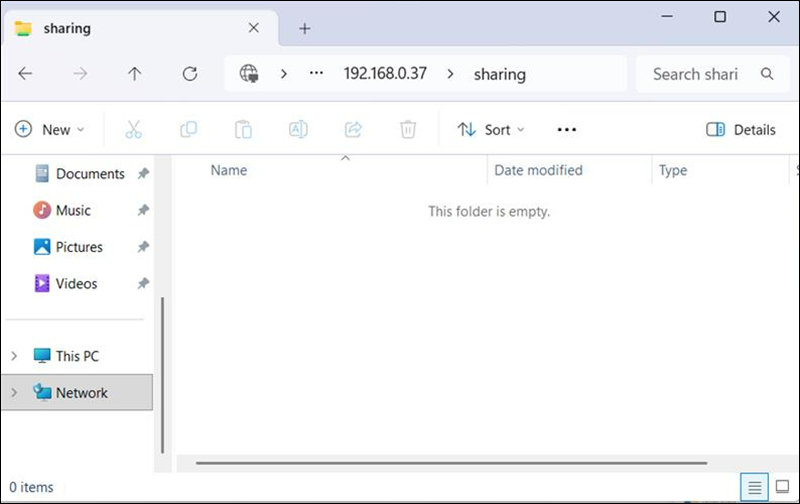
If authentication succeeds, the Samba share contents appear in File Explorer.
If the connection fails, verify that:
- The Ubuntu system is powered on and connected to the same network.
- The Samba service is running on Ubuntu.
- The Windows network profile is set to Private.
- The firewall allows SMB traffic.
When you successfully access the share, it confirms that Windows 11 communicates correctly with the Samba server.
Step 2: Map Samba Share as a Network Drive
When you map a Samba share as a network drive, Windows assigns a drive letter to the shared directory. This provides continuous access to the share and allows it to appear alongside local drives in File Explorer.
Follow these steps:
1. Open File Explorer.
2. Click This PC in the left sidebar.
3. Select Map network drive from the toolbar.

4. Choose a drive letter from the Drive dropdown menu.
5. In the Folder field, enter the UNC path of the Samba share, for example:
\\192.168.0.37\sharing6. Enable Reconnect at sign-in if you want Windows to automatically reconnect to the share when you log in.
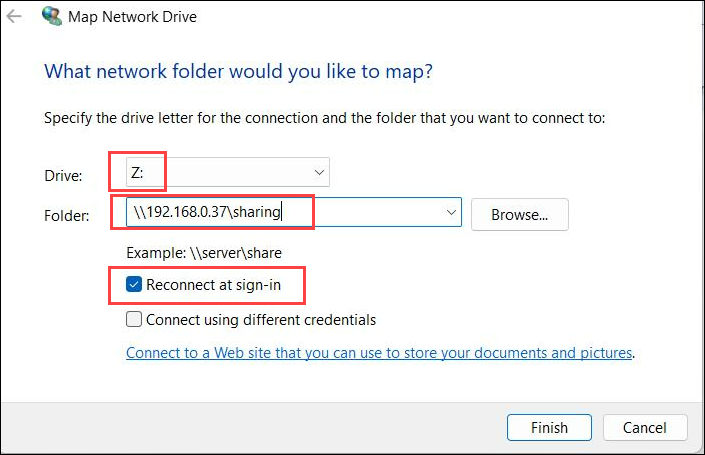
7. Click Finish.
8. When prompted, enter the Samba username and password configured on the Ubuntu system.
After authentication succeeds, the mapped drive appears in File Explorer under Network locations and behaves like a local drive.
Step 3: Manage and Save Credentials
Windows stores network authentication details in Credential Manager. When you manage these credentials, it prevents repeated login prompts and resolves authentication issues caused by cached incorrect credentials.
Follow these steps:
1. Open Control Panel.
2. Select User Accounts.
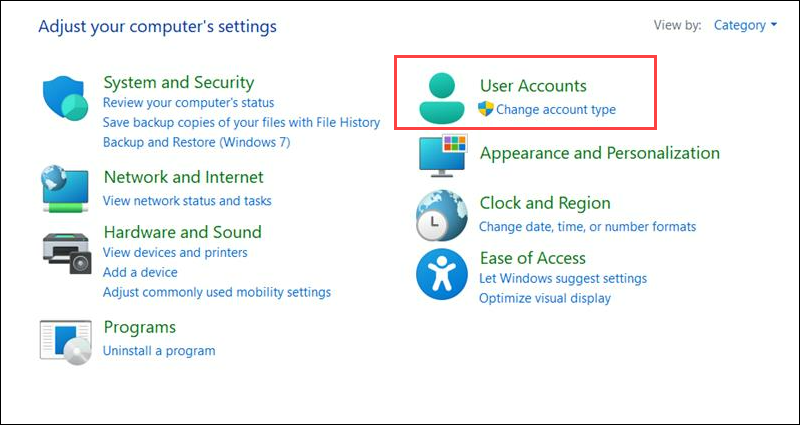
3. Click Credential Manager.
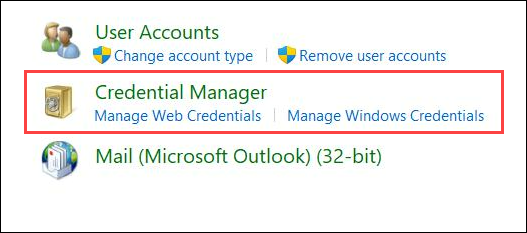
4. Open Windows Credentials.
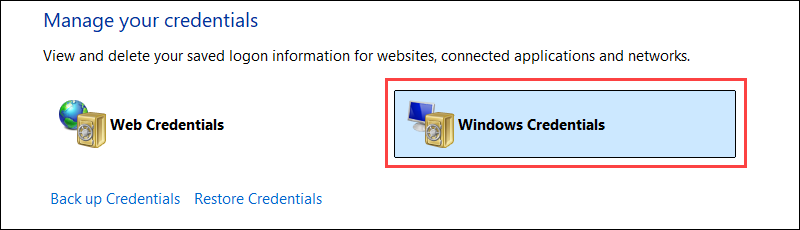
5. Locate the entry associated with the Samba server. In this example, it is 192.168.0.37
If credentials were previously saved, the entry appears in the Windows Credentials list. Select the entry to update or remove the stored username and password.
If no entry appears, Windows did not store credentials for the connection. In this case, reconnect to the Samba share and enable Remember my credentials when prompted to save the authentication details.
If authentication issues occur, select Remove to delete the stored credentials, then reconnect to the Samba share.
6. When Windows prompts for authentication again, enter the correct Samba username and password.
When you save valid credentials, Windows is able to automatically authenticate when it reconnects to the Samba share.
Step 4: Adjust Windows Defender Firewall If Connection Fails
In some environments, firewall rules prevent Windows from communicating with a Samba server. If the connection fails even though the share is configured correctly, verify that the firewall allows SMB-related traffic.
Follow these steps:
1. Open Control Panel.
2. Select System and Security.
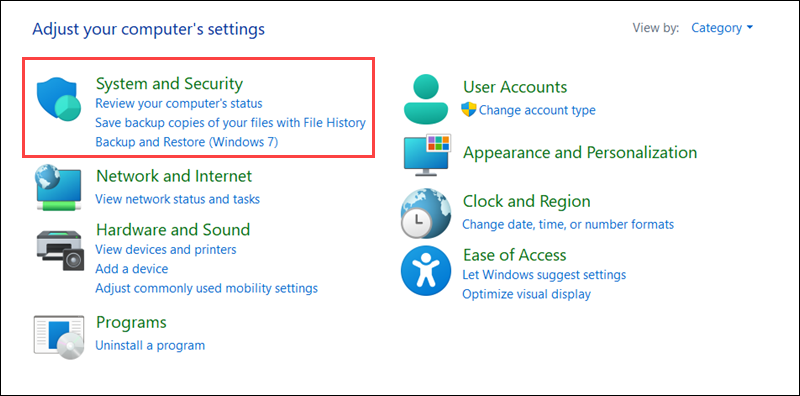
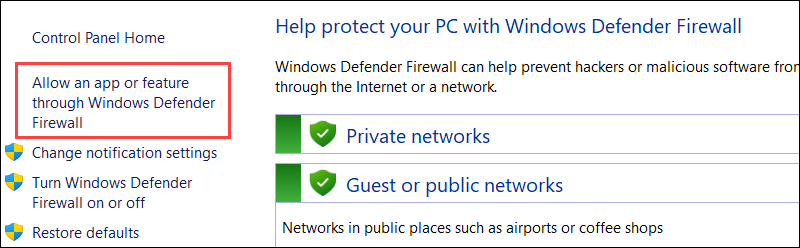
3. Click Windows Defender Firewall.
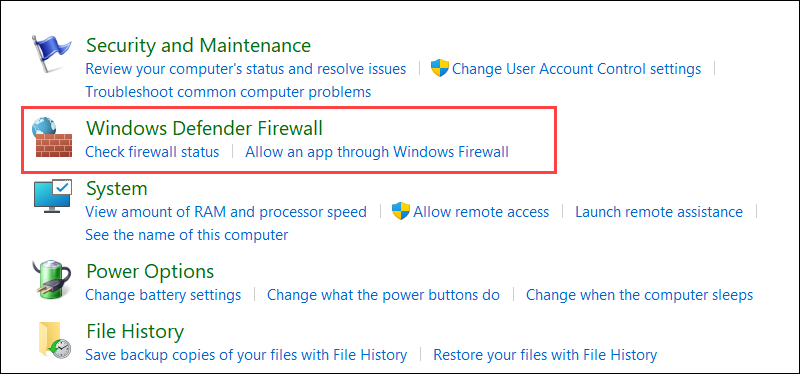
4. Select Allow an app or feature through Windows Defender Firewall.
5. Click Change settings.
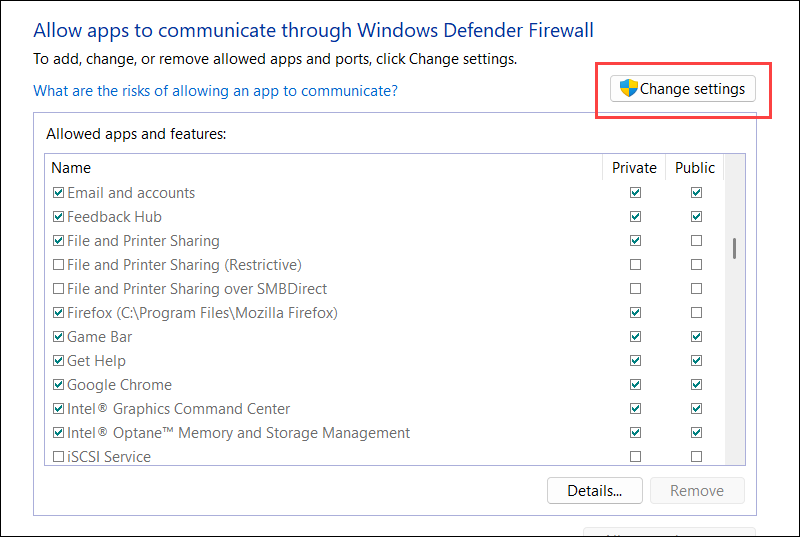
6. Locate File and Printer Sharing in the list.
7. Ensure the Private network checkbox is enabled.
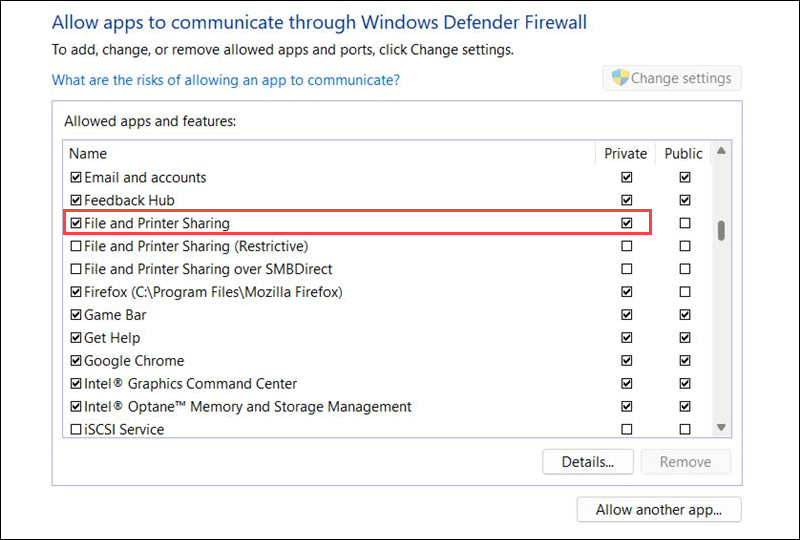
8. Click OK to apply the changes.
Step 5: Share a Windows Folder for Access from Ubuntu
Windows systems can also share folders using the SMB protocol, which allows Linux systems that run Samba to access them. This enables bidirectional file sharing between Windows and Linux systems on the same network.
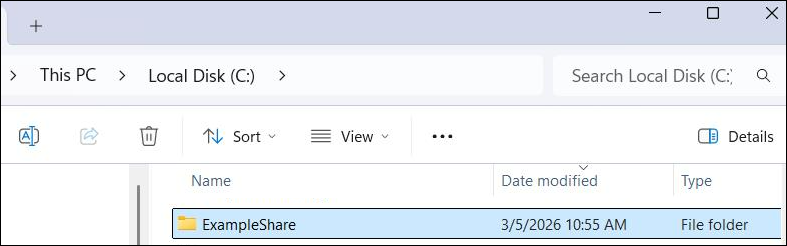
In this example, create a folder and make it accessible from the Ubuntu system with these steps:
1. Create a folder. For example, ExampleShare:
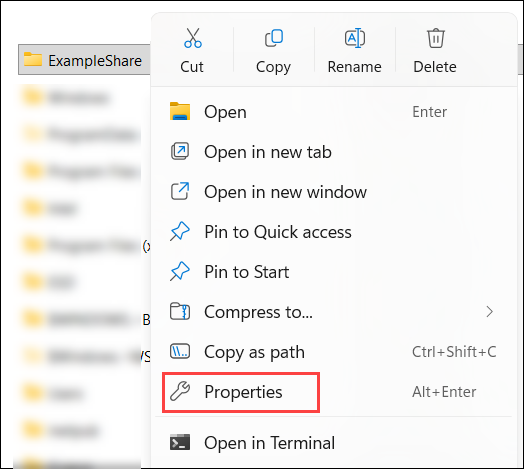
2. Right-click the folder you created and select Properties.
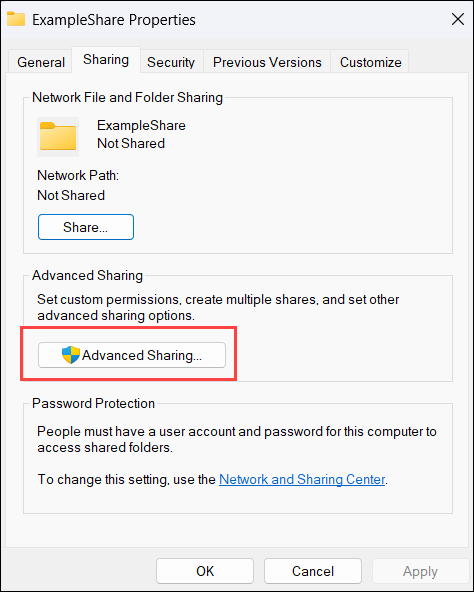
3. Open the Sharing tab.
4. Click Advanced Sharing.
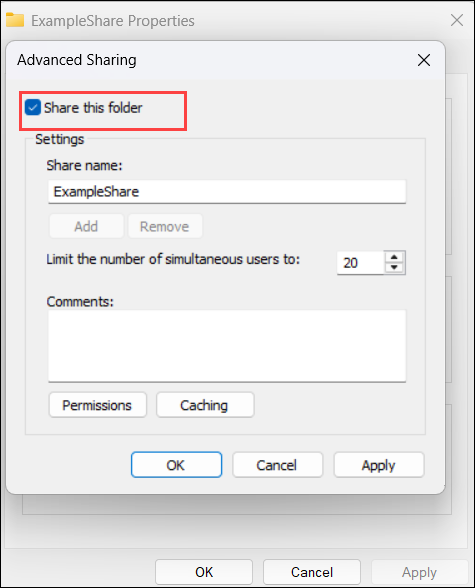
5. Enable Share this folder.
6. Click Permissions.
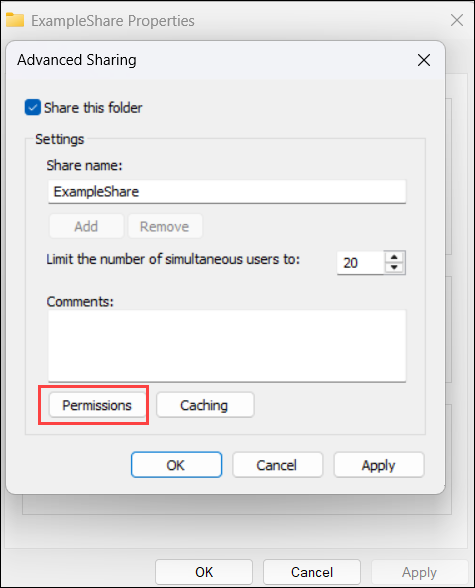
7. Select Everyone and enable the following permissions:
• Read. Allows users to view files.
• Change. Allows users to modify files.
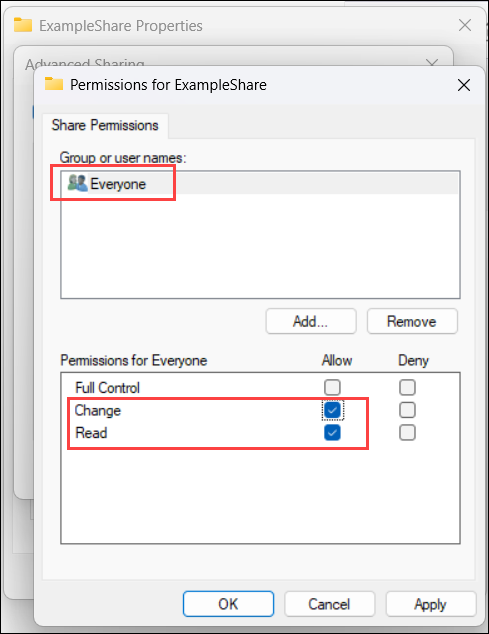
8. Click OK, then click Apply to save the configuration.
The folder is now shared on the network.
Ubuntu systems can access the Windows share with the Windows hostname or IP address. For example, to access the share using the hostname, go to the file explorer on your Ubuntu system and type:
smb://DESKTOP-HTV10O8/ExampleShareUninstall Samba on Windows
Windows systems do not require installing Samba because support for the Server Message Block (SMB) protocol is built into the operating system. Therefore, there is no Samba package to uninstall on Windows.
To revert the configuration created in this guide, remove any mapped network drives and disable the network discovery or file-sharing settings that were enabled during setup.
Conclusion
This tutorial showed you how Samba works on Windows and how to install and configure it. The guide also explained why it's not possible to uninstall SMB and what to do instead.
Next, learn how to do Linux to Linux file transfer.