PostgreSQL is an open-source, object-relational database system with a strong reputation for robust features, extensibility, and compliance with technical standards. When combined with Ubuntu, it provides a dependable and high-performance platform for your database needs.
This tutorial will provide two ways to install PostgreSQL on Ubuntu using the Ubuntu and PostgreSQL repositories.

Prerequisites
- A machine running Ubuntu.
- Access to the terminal.
- A user account with root privileges.
How to Install PostgreSQL on Ubuntu
There are two ways to install PostgreSQL on Ubuntu:
- From the PostgreSQL repository.
- From the default Ubuntu repository.
Installing PostgreSQL from the Ubuntu repository provides the officially packaged and maintained version. On the other hand, installing from the PostgreSQL repository lets you get the latest version directly from the PostgreSQL project, which provides newer features and bug fixes not yet available in the Ubuntu repositories.
The sections below provide the steps for each installation method.
Method 1: Install PostgreSQL from the PostgreSQL Apt Repository
The PostgreSQL Apt Repository, also known as the PostgreSQL Global Development Group (PGDG) repository, provides newer PostgreSQL versions, extensions, and modules directly from the PostgreSQL project. Having the latest version provides access to newer features, performance improvements, and bug fixes before they become available in the Ubuntu repositories.
However, note that while installing from the PostgreSQL repository provides access to the latest PostgreSQL releases, it may require more manual effort and attention to security updates.
Step 1: Create the PostgreSQL Repository Keyring
Use the mkdir -p command to create the keyring directory for third-party repositories:
sudo mkdir -p /etc/apt/keyringsThe command has no output, but creates the necessary directory. You can verify the key was created with ls:
ls -l /etc/apt/keyrings/postgresql.gpg
Step 2: Add the Repository Signing Key
Fetch the repository's GPG key and add it to APT's trusted keyring. This allows APT to verify the authenticity of packages downloaded from the PostgreSQL repository.
Run the curl command:
curl -fsSL https://www.postgresql.org/media/keys/ACCC4CF8.asc | sudo gpg --dearmor -o /etc/apt/keyrings/postgresql.gpgThe command has no output, but stores the repository signing key in the /etc/apt/keyrings/ directory, which is the recommended approach on modern Ubuntu releases.
Step 3: Add PostgreSQL Repository
Use echo to add the official PostgreSQL repository to the APT sources list:
echo "deb [signed-by=/etc/apt/keyrings/postgresql.gpg] https://apt.postgresql.org/pub/repos/apt $(lsb_release -cs)-pgdg main" | sudo tee /etc/apt/sources.list.d/pgdg.list > /dev/nullThe command adds the PostgreSQL repository to the system's apt package manager, instructing it to use it for package management.
Verify the repository was added correctly with cat:
cat /etc/apt/sources.list.d/pgdg.list
Step 4: Update the Package List
After adding the official PostgreSQL repository, update the package list to ensure you install the latest PostgreSQL package.
sudo apt updateStep 5: Install PostgreSQL
To install PostgreSQL, run the apt command:
sudo apt install postgresql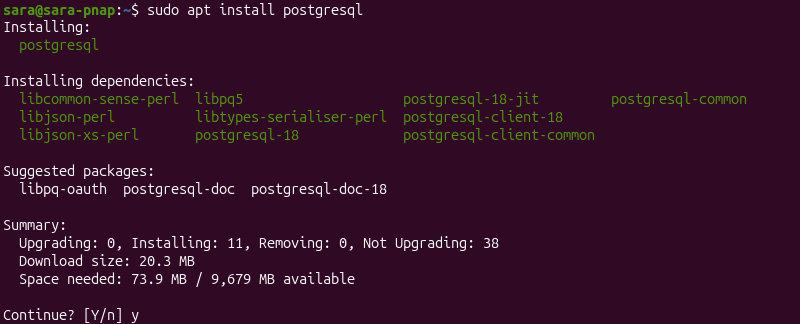
After the installation completes, PostgreSQL automatically creates the default postgres system user and initializes a database cluster.
Note: On Ubuntu 26.04 with PostgreSQL 18, common extensions such as pgcrypto, uuid-ossp, and pg_stat_statements are available without installing the separate postgresql-contrib package. Older PostgreSQL and Ubuntu releases may still require the contrib package for additional extensions and utilities.
Method 2: Install PostgreSQL from Local Ubuntu Repository
The PostgreSQL packages provided by the Ubuntu repositories are maintained and supported by the Ubuntu developers. This ensures compatibility with Ubuntu and adherence to its packaging standards.
The PostgreSQL versions available in the Ubuntu repositories are tested and maintained by Ubuntu. Depending on the Ubuntu release, newer PostgreSQL versions may become available in the PostgreSQL APT repository before they are packaged for Ubuntu.
Follow the steps below to install PostgreSQL from the default Ubuntu repository.
Step 1: Check Available PostgreSQL Version
Before you decide whether to install PostgreSQL from the Ubuntu repository, verify which versions are available.
Update the repository and then run the command:
apt policy postgresql
The output provides all the necessary information about the package, including the release number and size.
Step 2: Install PostgreSQL Package
To install the PostgreSQL version accessible from the local repository, use the following command:
sudo apt install postgresql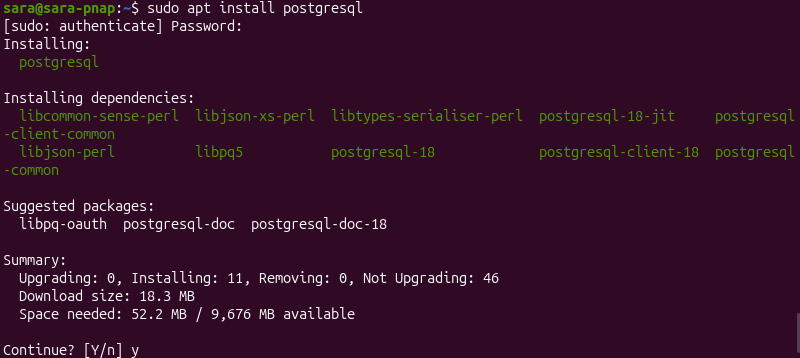
Wait for the process to finish, and you have successfully installed PostgreSQL on Ubuntu. After the installation completes, PostgreSQL automatically creates the default postgres system user and initializes a database cluster.
Note: As with the PostgreSQL Apt Repository installation method, the current Ubuntu version with PostgreSQL 18 does not require the separate postgresql-contrib package for common PostgreSQL extensions. Older PostgreSQL and Ubuntu releases may still require it.
Verify PostgreSQL Installation
Verify that PostgreSQL has been installed and running by checking the PostgreSQL service status. Run the command below:
sudo systemctl status postgresql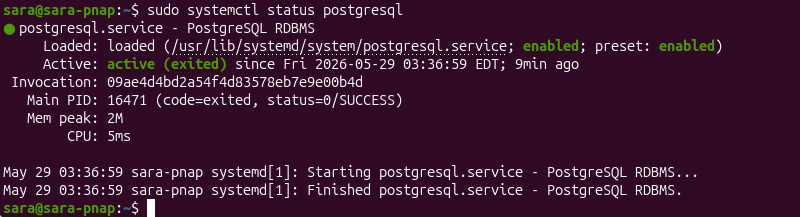
If everything is installed correctly, the output shows the PostgreSQL service status as active.
Connect to PostgreSQL
To establish a connection with the database, use the following command to connect to the PostgreSQL shell as the postgres user:
sudo -u postgres psql
The command opens the PostgreSQL interactive shell, where you can run SQL statements and administrative commands.
Create a New User on PostgreSQL
PostgreSQL includes a client utility that allows you to create a new user from the terminal without connecting to the database. The syntax for creating a new user is:
sudo -u postgres createuser -e [username]Replace [username] with the actual user name of the user you want to create. For example:
sudo -u postgres createuser -e testuser
Note: For additional user management options and security best practices, refer to our in-depth tutorial for creating a PostgreSQL user.
Create a New Database on PostgreSQL
There are two ways of creating a new database in PostgreSQ: from the PostgreSQL shell or by using command-line utilities. This tutorial uses the CREATE DATABASEL statement.
Follow the steps below:
1. Connect to the PostgreSQL shell as a user with permission to create database. We will log in as postgres:
sudo su - postgres psql2. Use the following syntax to create a database:
CREATE DATABASE [dbname];Replace [dbname] with the database name. For example:
CREATE DATABASE testdb;
Note: See how to delete a database in PostgreSQL.
Check Connection Information
If you are connected to PostgreSQL and want to see details of the connection, use the command:
\conninfo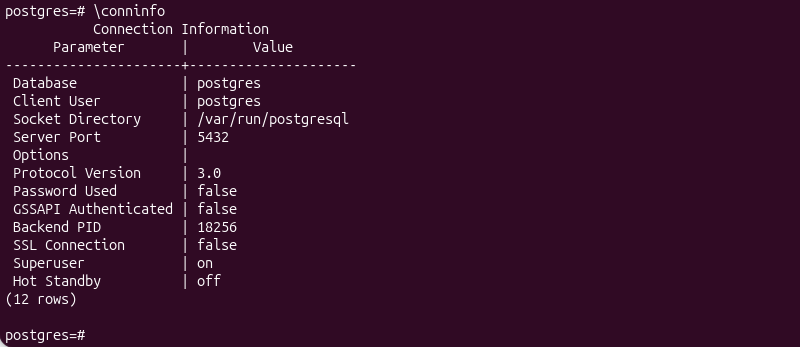
The output displays information about the current connection, including the database name, user account, socket directory, p
Conclusion
This article explained how to set up PostgreSQL. Whether you install from the PostgreSQL repository or the local Ubuntu repository, the process is simple and straightforward.
Next, see how to set up and connect to PostgreSQL with SQL Workbench or how to install PostgreSQL on Windows.