Hyper-V offers a built-in way to create and manage virtual machines on Windows. It allows you to install a virtual machine using a Windows-native hypervisor.
This guide will explain how to install Ubuntu on a Hyper-V virtual machine in Windows.
Prerequisites
- A system running Windows 10 or Windows 11 Pro, Enterprise, or Education.
- An account with administrator-level privileges.
- An Ubuntu ISO image (this guide uses Ubuntu 26.04 LTS).
Hyper-V Ubuntu Installation Guide
Hyper-V is not installed and enabled by default on Windows systems. The steps below outline how to enable Hyper-V and start using it to create an Ubuntu virtual machine.
Note: If you'd like to find out more about virtual desktop solutions, check our guide to VDI environments.
Step 1: Enable Virtualization in BIOS
Using Hyper-V requires virtualization enabled in the system's BIOS or UEFI firmware. The exact steps vary depending on the motherboard and firmware interface:
1. Open the BIOS or UEFI firmware by restarting the computer and pressing the appropriate key during startup (F1, F2, F10, F12, or Delete, depending on the manufacturer).
2. Locate the virtualization setting, which is often listed under CPU, Advanced, Security, or System Configuration settings.
Note: The virtualization settings have different names on different systems. Look for items like Intel Virtualization Technology (VT-x), AMD-V, SVM Mode, or similar virtualization settings.
3. Once you enable the appropriate settings, select the Save and Exit option to confirm the changes.
Step 2: Enable Hyper-V
Before creating a virtual machine, enable Hyper-V in Windows:
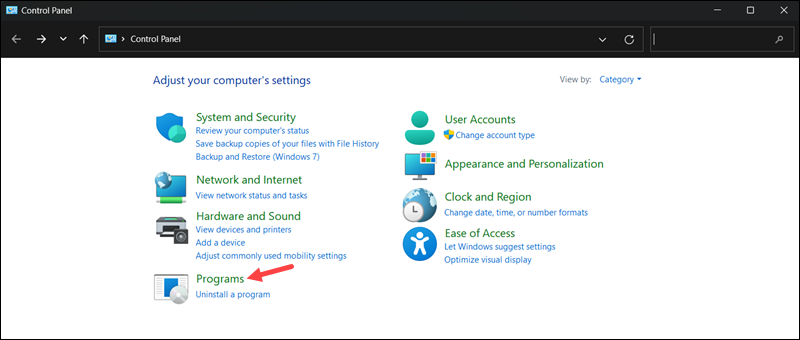
1. Open the Windows Start menu and search for Control Panel.
2. Select Programs. If the Control Panel is in Large icons or Small icons view, select Programs and Features.
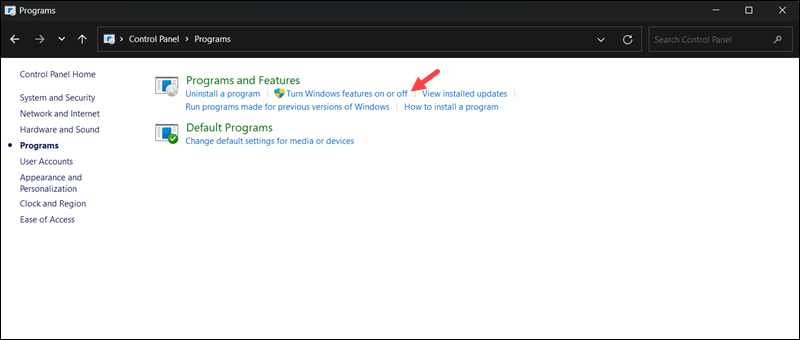
3. Click Turn Windows features on or off.
4. Select Hyper-V and all associated components, then click OK to apply the changes.
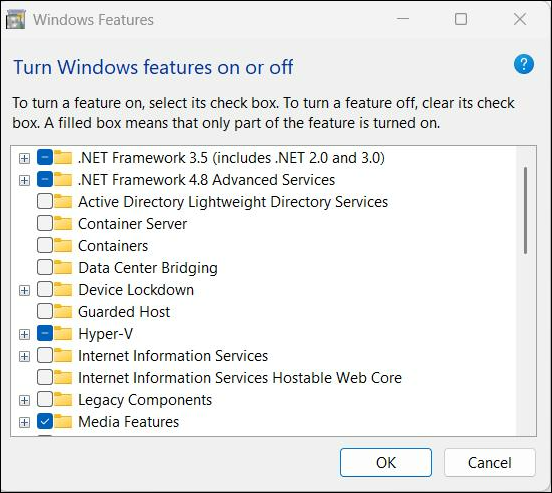
5. Wait for the installation process to complete before proceeding.
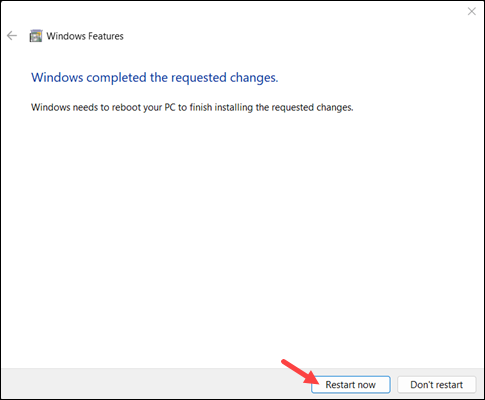
6. Click Restart Now to reboot your PC and apply the changes immediately.
Step 3: Create Virtual Switch
After enabling Hyper-V, create a virtual network switch for the virtual machine to use:
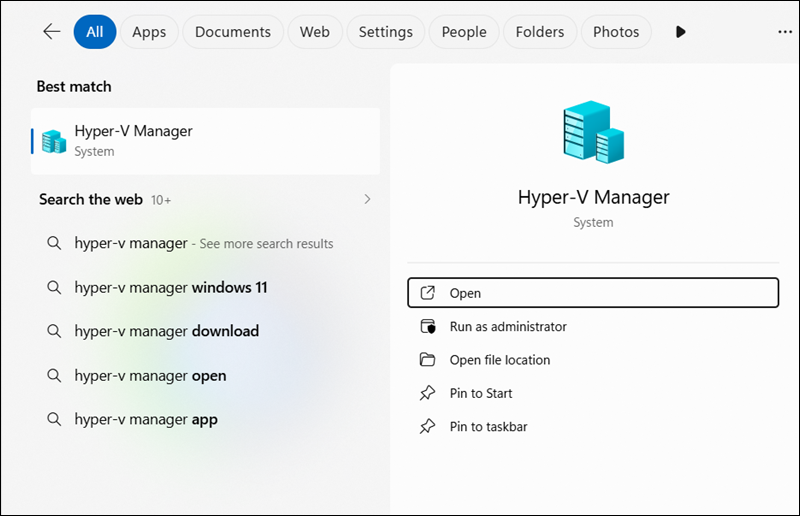
1. In the Start menu, search for and open Hyper-V Manager.
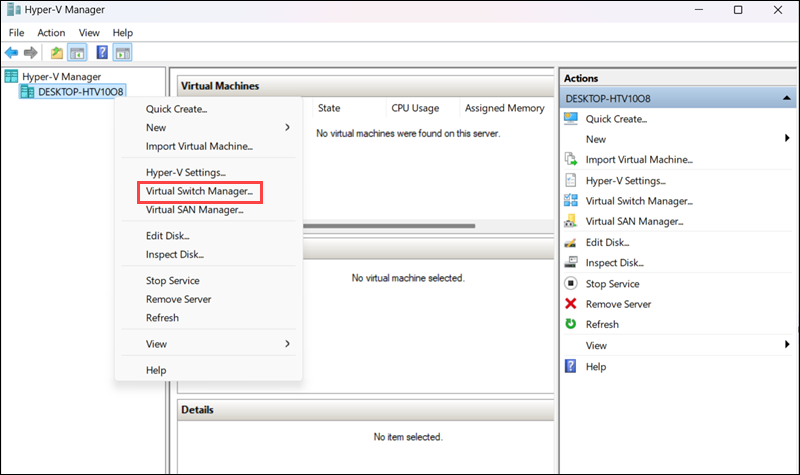
2. Right-click the system name on the left-hand side of the window, and select Virtual Switch Manager.
3. Select the New virtual network switch option on the side of the screen. Set the virtual switch type to External and click Create Virtual Switch.
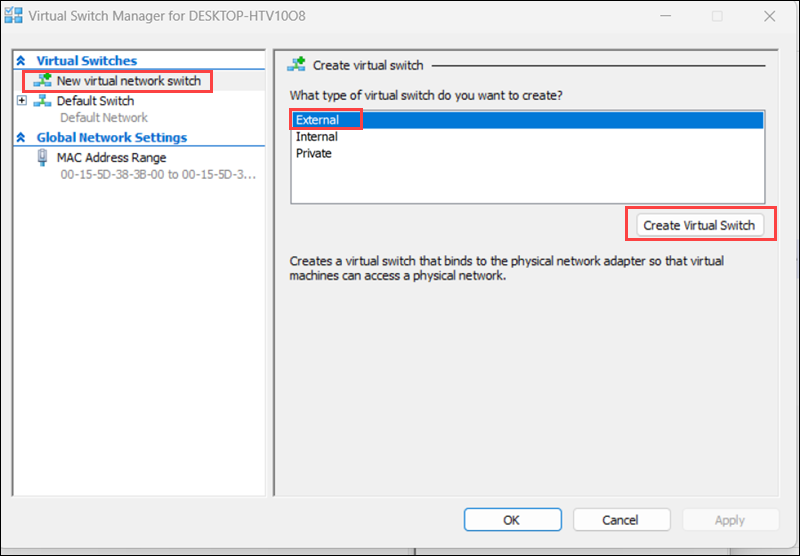
An external switch allows the virtual machine to access the physical network and internet connection.
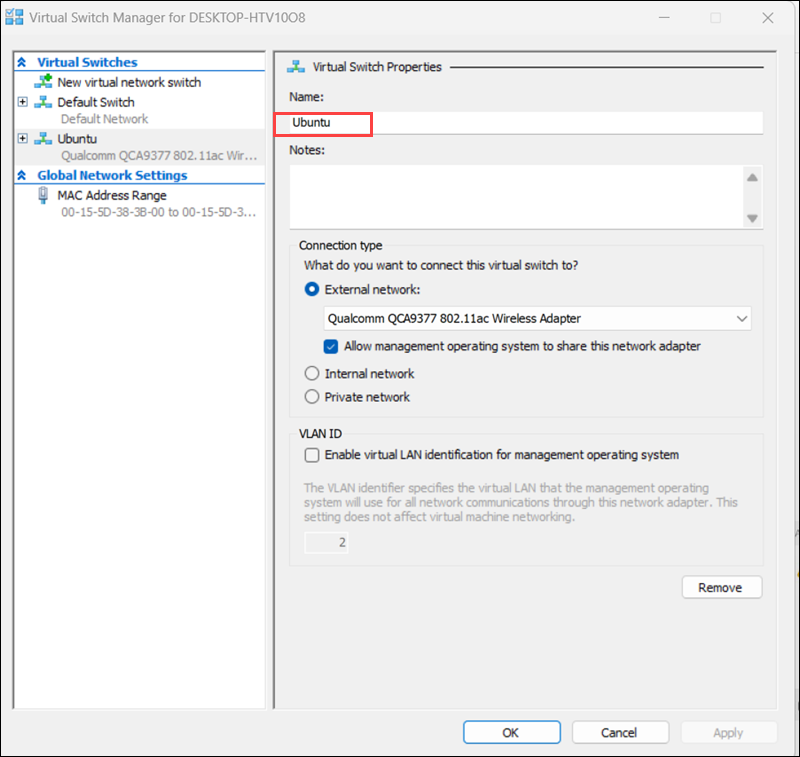
4. Enter a name for the new virtual switch. In this example, we use Ubuntu, but you can choose any name. Click OK to finish setting it up.
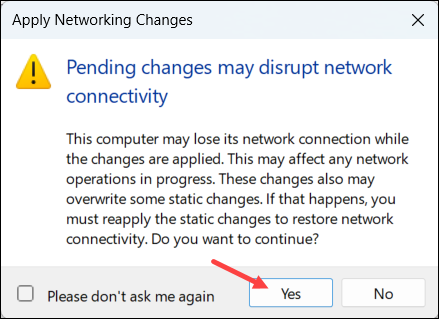
5. A new window appears, prompting you to apply network changes. Applying the changes can temporarily affect the network connection. Click Yes to confirm.
Note: Learn how to create a Windows 11 virtual machine using Microsoft Hyper-V.
Step 4: Install Ubuntu
Hyper-V provides two methods for creating an Ubuntu virtual machine:
- The Quick Create option uses a simplified setup process and automatically configures the virtual machine using default settings. You can also use a local Ubuntu ISO image as the installation source.
- The Manual Create option allows you to configure the virtual machine settings yourself before installing Ubuntu from an ISO image.
The sections below explain how to install Ubuntu using both methods.
Option 1: Quick Create
To use the Quick Create option, do the following:
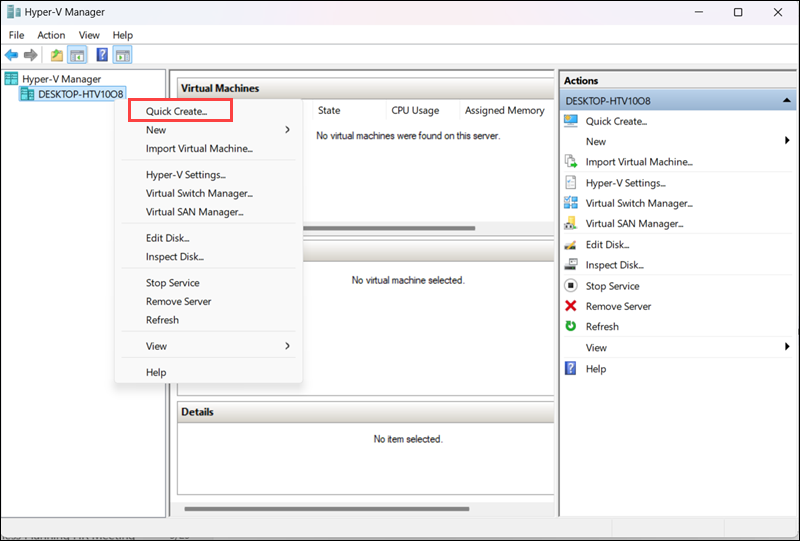
1. In the Action drop-down menu, click Quick Create to start the wizard.
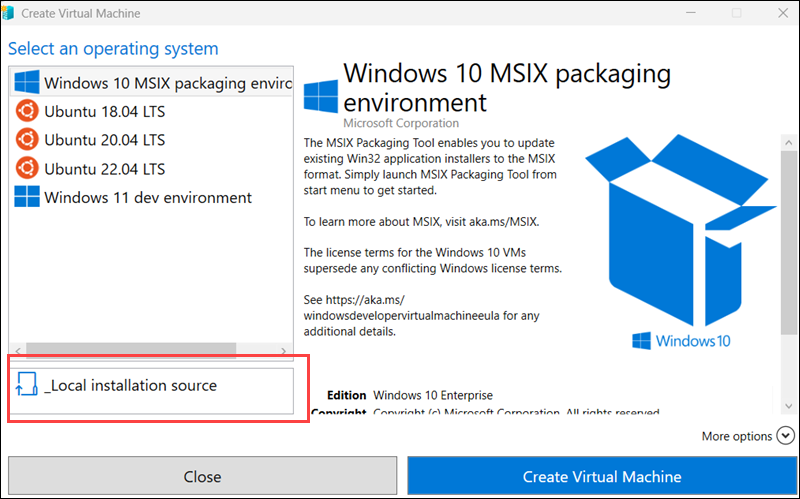
2. Select Local installation source.
3. Click Change installation source, and then browse to and select the Ubuntu 26.04 ISO image.
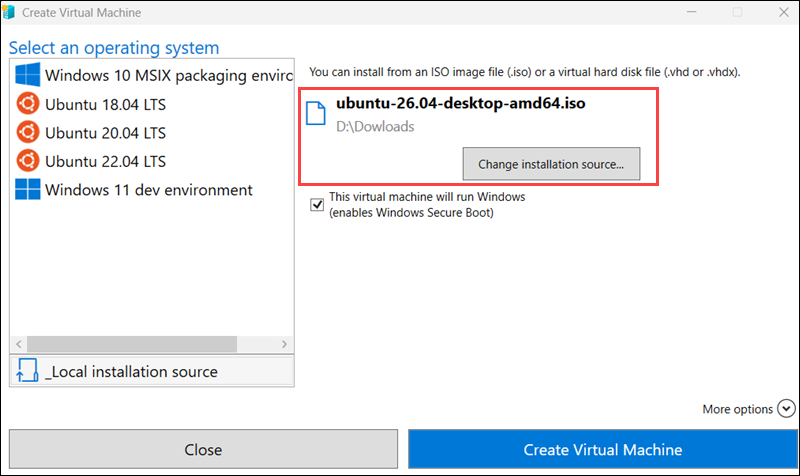
4. Clear the Windows Secure Boot checkbox to allow the Ubuntu installation media to boot correctly.

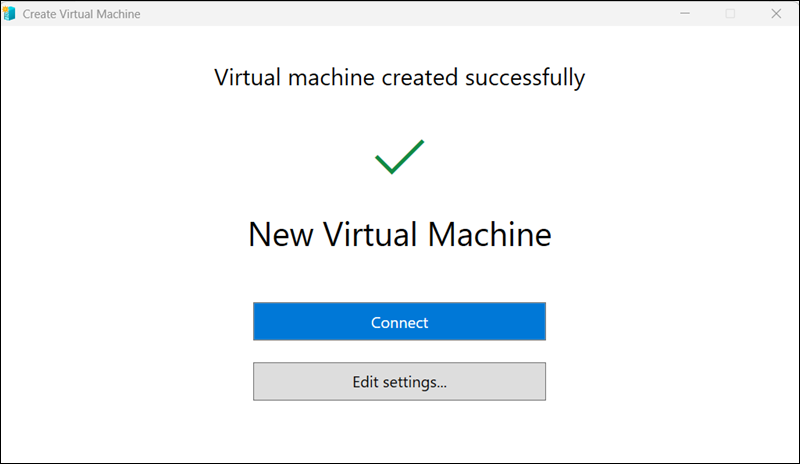
5. Click Create Virtual Machine to start the setup process. Hyper-V creates the virtual machine and boots from the selected Ubuntu ISO image.
6. After the virtual machine is created, use the Connect button to start your virtual machine or the Edit settings button to change settings.
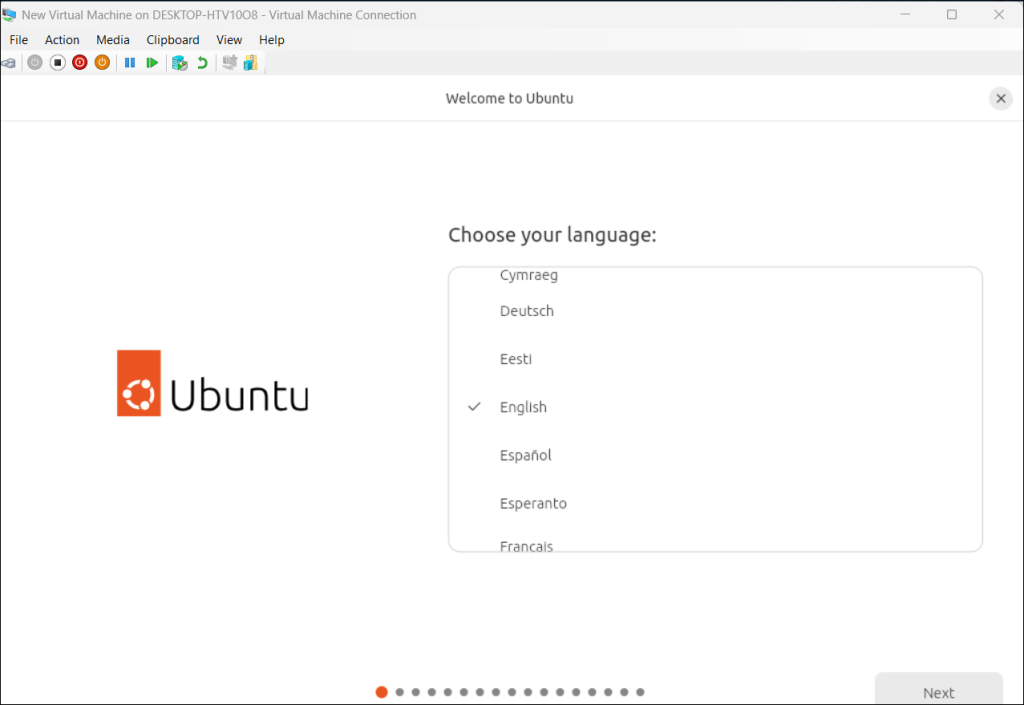
The Ubuntu installer starts automatically. Follow the on-screen instructions to complete the installation.
Option 2: Manual Create
To manually create a virtual machine and install Ubuntu in Hyper-V, follow the steps below:
1. Before creating a new virtual machine, download the Ubuntu 26.04 ISO image from the official Ubuntu website.
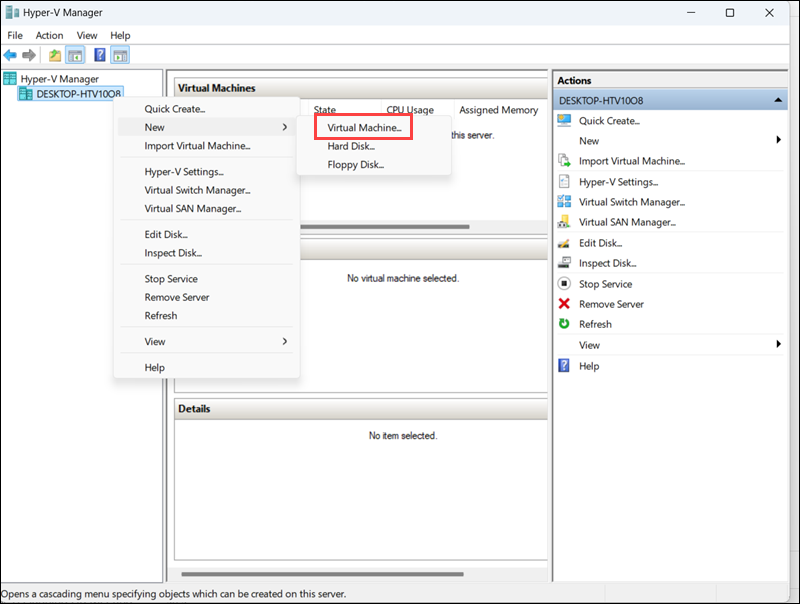
2. In the Action drop-down menu, select New and click Virtual Machine.
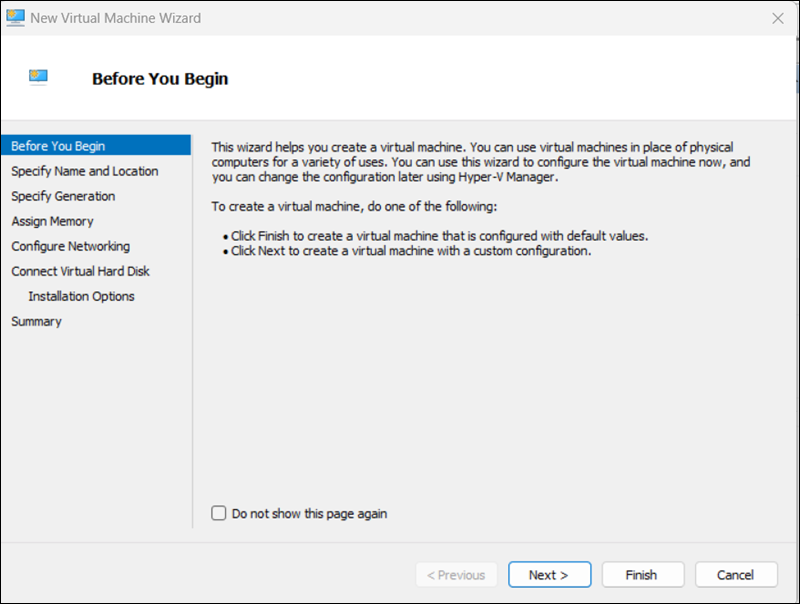
3. In the New Virtual Machine Wizard, click Next to start setting up the new virtual machine.
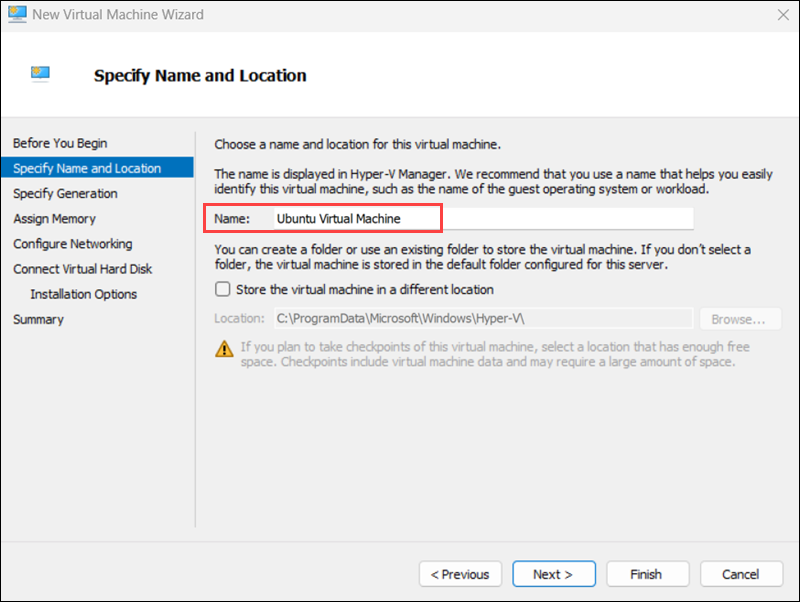
4. Specify a name and optionally change the default install location for the new virtual machine. Click Next to proceed.
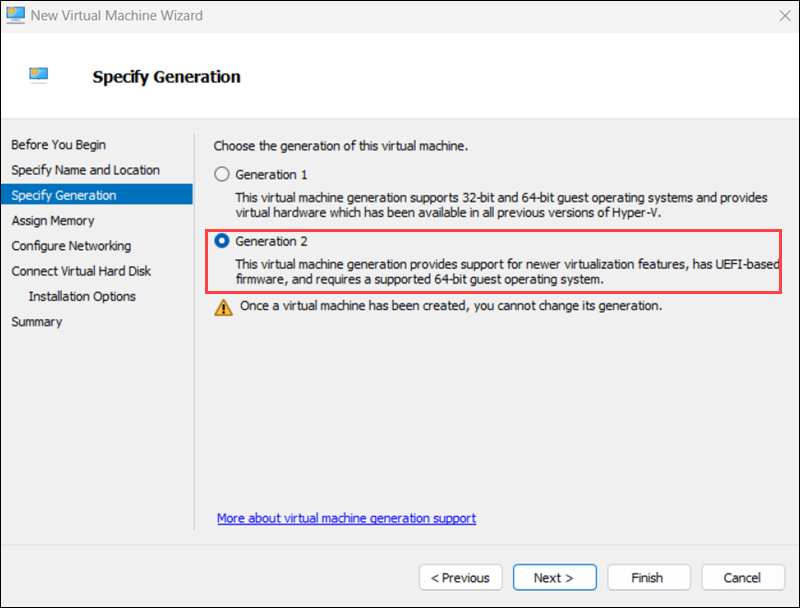
5. Choose the generation for the new virtual machine, then click Next.
6. Assign the amount of memory to allocate to the virtual machine.
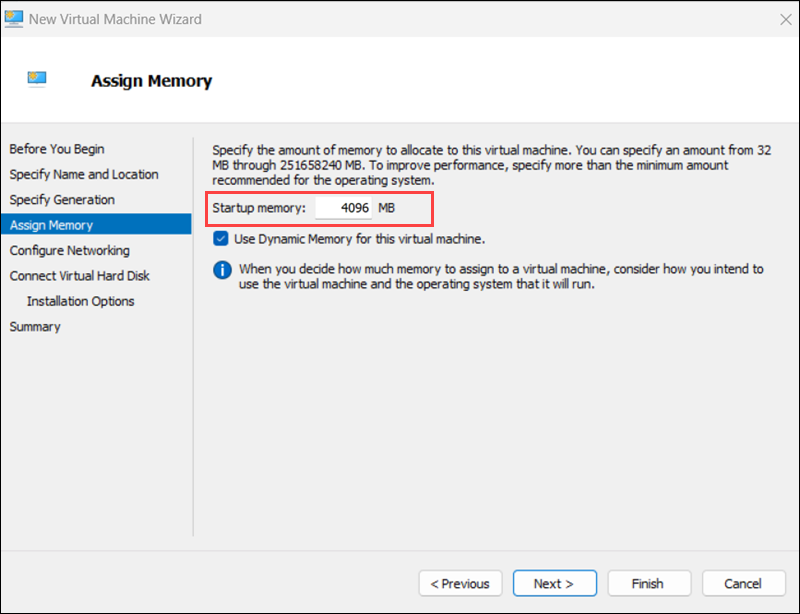
Ubuntu Desktop benefits from at least 4 GB of memory, but systems with limited host memory may require a lower allocation. Enable Dynamic Memory, and click Next to continue.
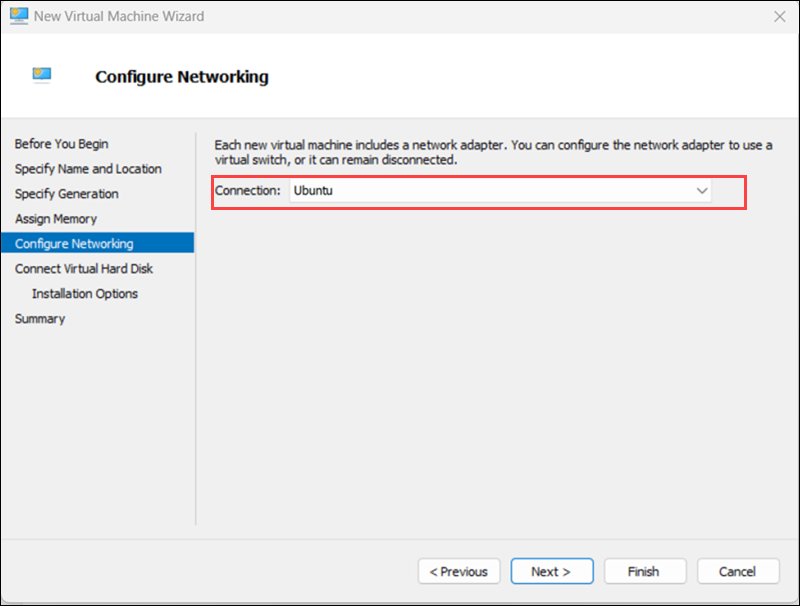
7. Choose the virtual switch created earlier, then click Next.
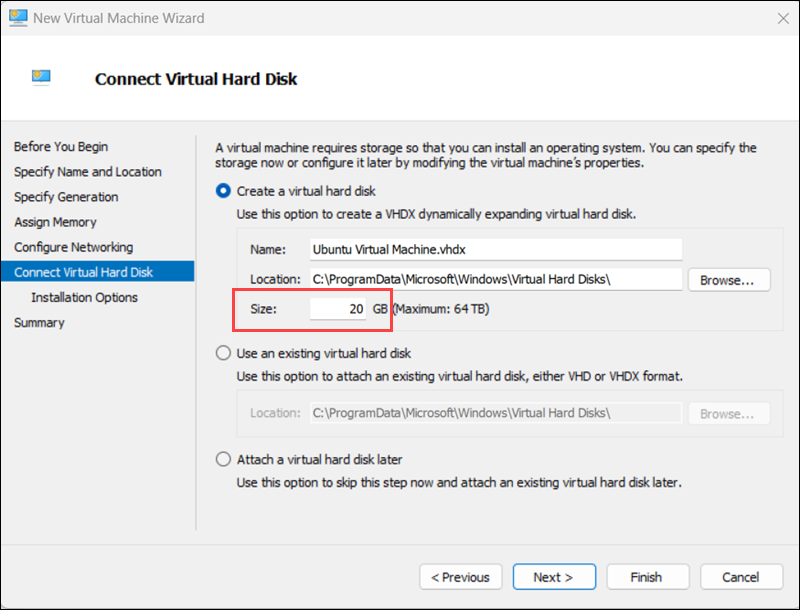
8. Use the Create a virtual hard disk option to create a new hard disk for the virtual machine. Assign at least 20GB of hard disk space and click Next to continue.
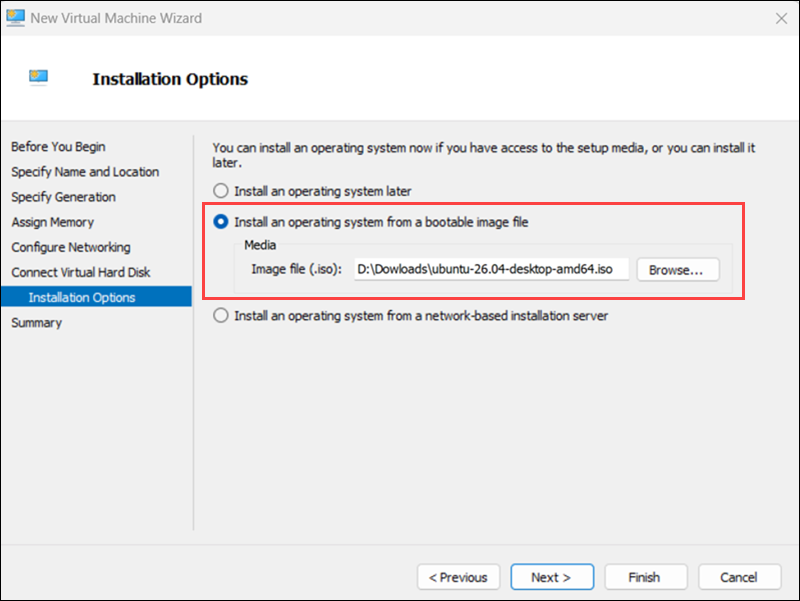
9. Under the Install an operating system from a bootable CD/DVD-ROM option, select Image file (.iso) and browse to the Ubuntu 26.04 ISO image downloaded earlier. Click Next to continue.
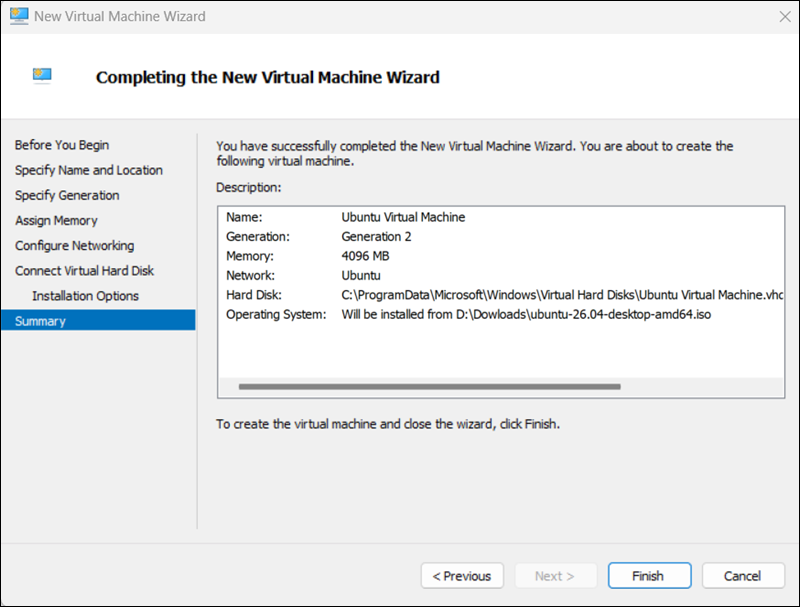
10. The final step summarizes the new virtual machine setup. Click Previous to make changes, or click Finish to create the virtual machine.
Step 5: Start the Virtual Machine
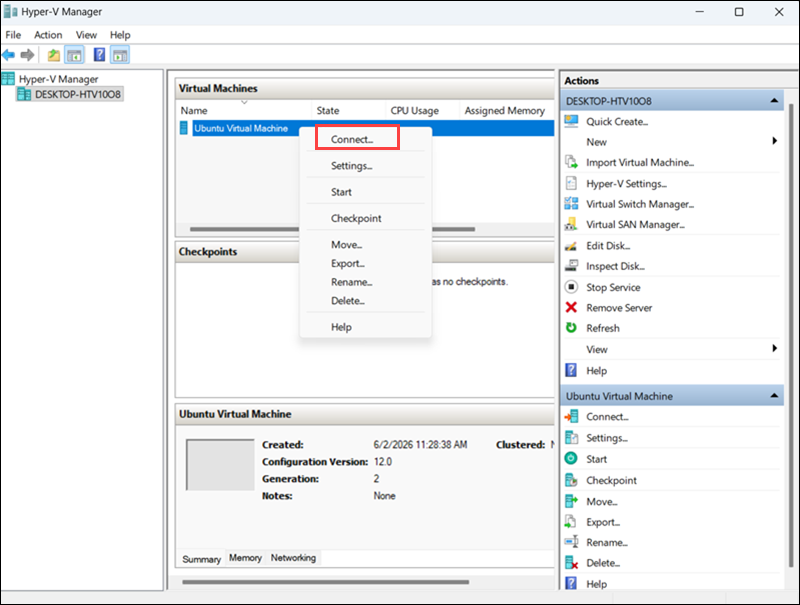
The new virtual machine appears in the Hyper-V Manager main window. Right-click the virtual machine and select Connect to start it.
Note: If the virtual machine fails to boot from the Ubuntu ISO, open the virtual machine Settings, select Security, and clear the Enable Secure Boot option.
Conclusion
This guide showed how to enable Hyper-V and set up a new virtual machine with Ubuntu.
Next, see our in-depth comparison between VirtualBox vs. VMware as well as between Hyper-V and Proxmox.