When working on web projects locally, it is essential to have a reliable and streamlined development environment. MAMP provides a fast and hassle-free way to set up a local web development environment.
The stack lets users test websites, switch between PHP versions, and run CMS projects like WordPress safely on their machine, saving time and reducing setup complexity.
This comprehensive guide explains what MAMP is, how to install it, use it, and its pros and cons.

Prerequisites
- A machine running Windows 10/11 or macOS Big Sur 11 or later, including macOS Sonoma.
- A user account with administrator privileges.
What Is MAMP?
MAMP is a local server environment that lets you run web applications on your computer without uploading them to a remote server. It simplifies setup by bundling all the necessary components into a single package and provides an interface to start, stop, and configure servers with a single click.
The name MAMP is an acronym that stands for:
- Mac OS X (now also available for Windows).
- Apache or Nginx as the web server.
- MySQL as the database software (some versions offer MariaDB).
- PHP, though Perl or Python can also be used.
MAMP includes a PHP accelerator to speed up script execution and offers a free version and the commercial MAMP PRO edition. PRO adds features like multiple PHP versions, easy installation of CMS platforms such as WordPress, Joomla, or Drupal, and enhanced testing capabilities across desktop and mobile devices.
It is ideal for both beginners and experienced developers who want a reliable, fast, and flexible local development environment.
How to Install MAMP
This section covers the MAMP installation process on macOS and Windows. Depending on your operating system, refer to one of the sections below.
Install MAMP on macOS
The MAMP installation process is straightforward and does not require advanced configuration. Follow the steps in the sections below.
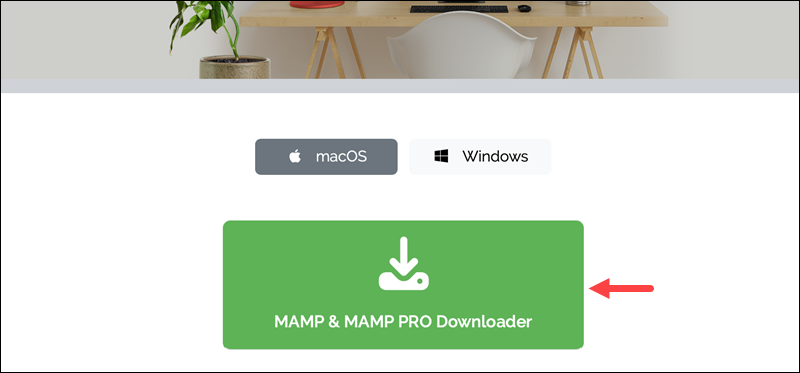
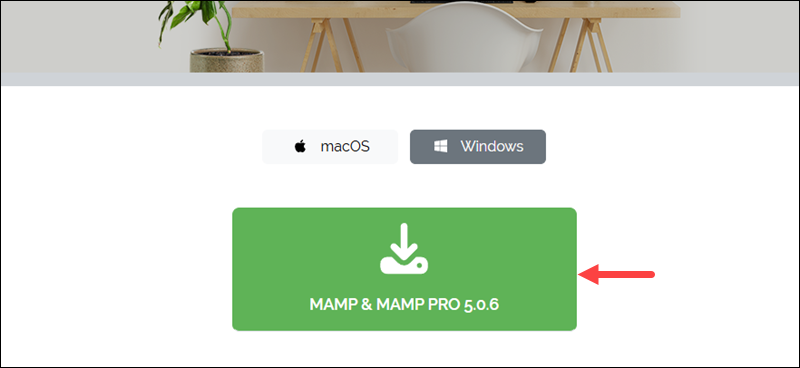
Step 1: Download MAMP
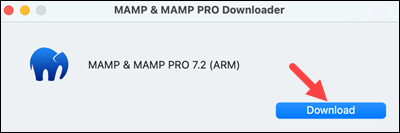
Navigate to the official MAMP downloads page and click the MAMP & MAMP PRO Downloader button to download the latest macOS package downloader. The free and PRO versions are both included in the downloader.
Step 2: Run the Installer
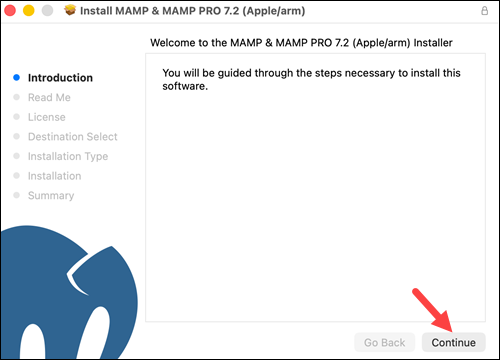
Open the downloaded .pkg file and click Download to download the necessary files for the installation.
After the download completes, click Continue on the welcome screen to begin the installation.
Step 3: Review Developer Notes
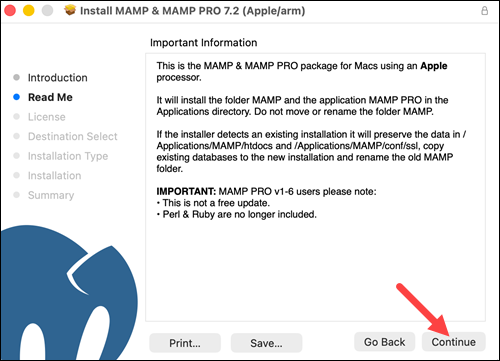
The next screen shows important notes from the developers about the installation and any changes in the current version. Click Continue to go to the next step.
Step 4: Accept License Agreement
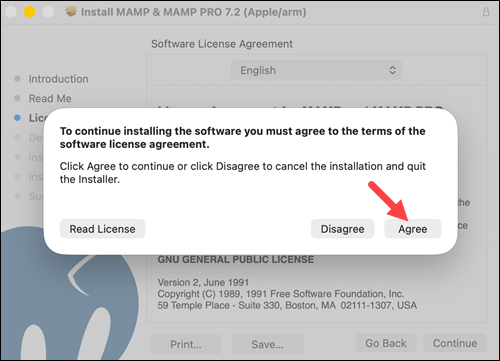
Read the license agreement, and if you agree, click Continue and then Agree to proceed with the installation.
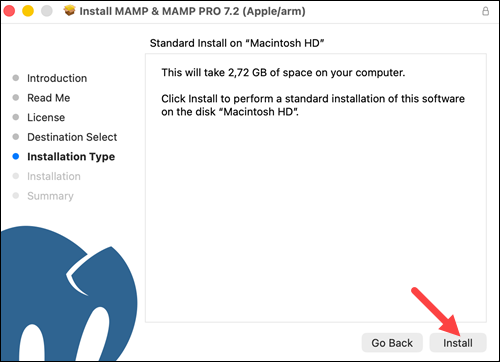
Step 5: Install MAMP
Click Install to install the MAMP app on your machine. Wait for the process to complete.
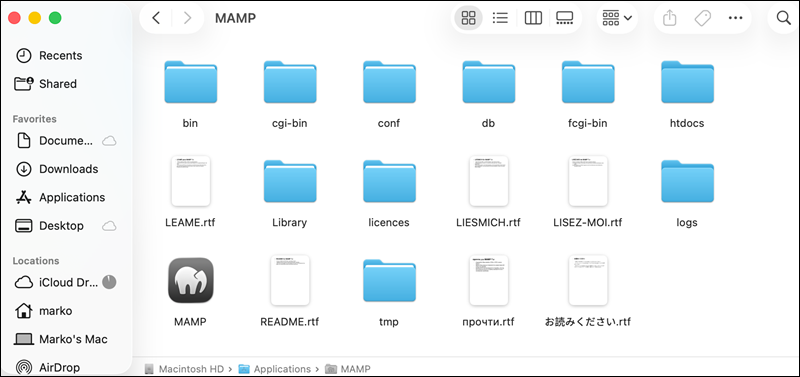
Step 6: Launch MAMP
Navigate to Applications > MAMP and open the MAMP app. The main control panel lets you start or stop the servers, adjust ports, and manage PHP or MySQL settings.
Note: Learn how to start, stop, or restart an Apache server or how to start, stop, and restart Nginx.
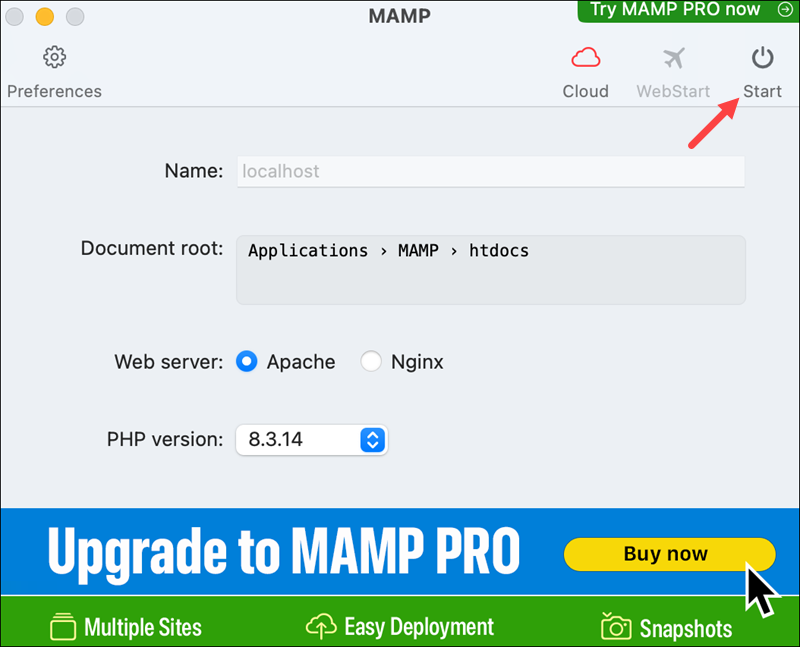
Step 7: Verify the Installation
Click Start in the MAMP control panel. Once running, MAMP will open a WebStart page in your browser (usually http://localhost:8888/MAMP/) to confirm everything is working.
Install MAMP on Windows
Installing MAMP on Windows is similar to macOS but uses a standard Windows installer. Follow the steps below.
Step 1: Download MAMP
Navigate to the official MAMP downloads page and click the MAMP & MAMP PRO button to download the latest version installer. The free and PRO versions are both included in the installer.
Step 2: Run the Installer
Double-click the downloaded .exe file and follow the steps in the installation wizard:
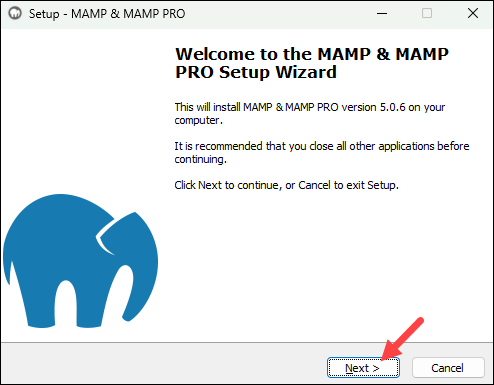
1. Click Next on the Welcome screen to start the installation.
2. On the component selection screen, the wizard asks to install MAMP PRO and Apple Bonjour:
- MAMP PRO. Adds advanced features like multiple hosts, one-click CMS installations, and parallel PHP versions. Uncheck it if you only want the free edition.
- Apple Bonjour. Allows network discovery so you can access local sites from other devices. Uncheck it if you only plan to work on the same computer.
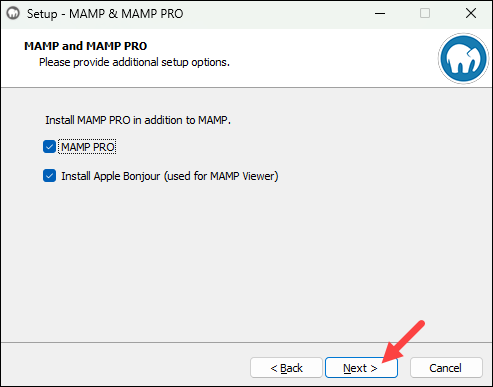
Click Next to proceed to the next step.
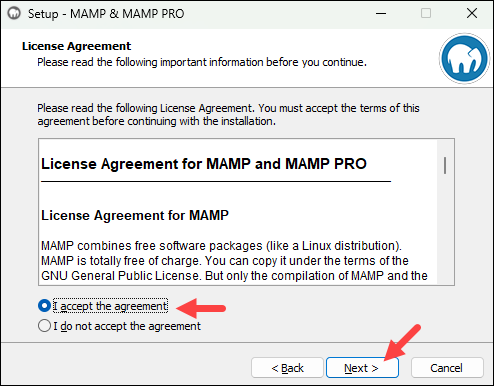
3. Read the license agreement and, if you agree with the terms, select the I accept the agreement option and click Next.
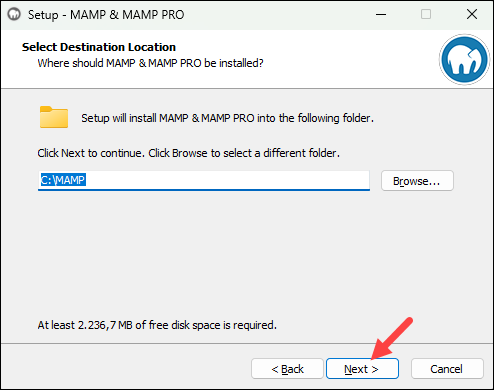
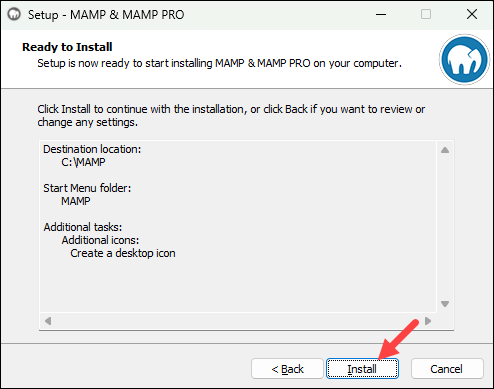
4. The next step is to choose the installation directory. By default, MAMP installs to C:\MAMP. Keep the default path unless you specifically need to change it.
5. In the next step, choose whether you want the installer to create a desktop icon. Check or uncheck the box according to your preference and click Next.
6. The last step allows you to review your choices from the previous steps. If everything is correct, click the Install button to install MAMP.
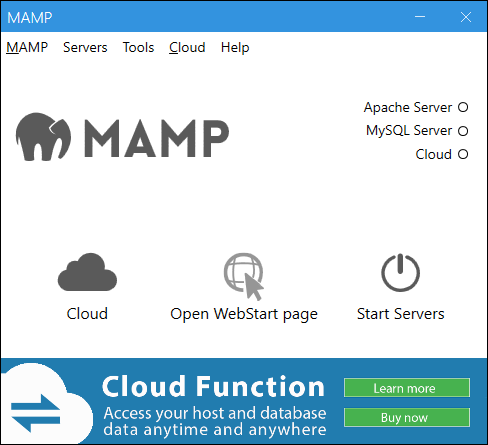
Step 3: Launch MAMP
Open the MAMP application from the Start Menu or the desktop shortcut. The control panel appears, providing access to server controls, ports, and preferences.
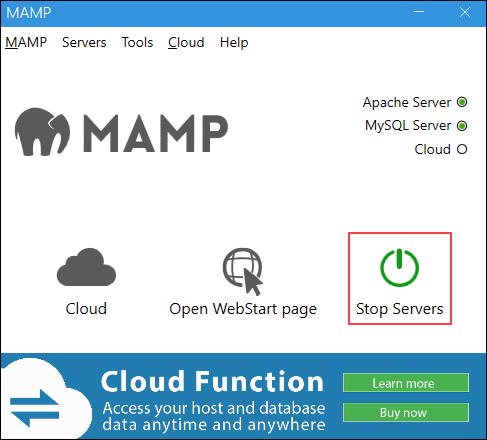
Step 4: Start the Servers
Click Start Servers in the control panel and, if prompted, allow access in Windows Firewall.
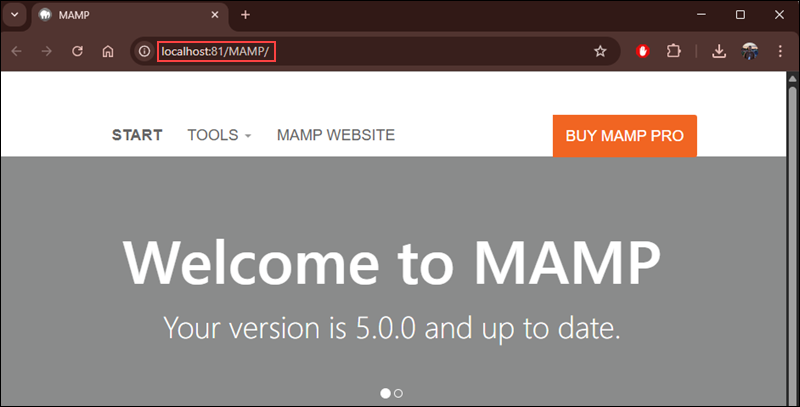
Once Apache or Nginx and MySQL are running, MAMP automatically opens the start page in your browser at http://localhost:
How to Uninstall MAMP
The MAMP uninstallation process is straightforward on both macOS and Windows, with the only difference being that Windows includes an uninstallation wizard and macOS does not. Refer to the sections below to uninstall MAMP from your system.
Uninstall MAMP on macOS
To uninstall MAMP on macOS, open the Finder and navigate to your Applications folder. Delete the MAMP directory to return everything to its original state.
If you installed MAMP Cloud Functions, go to /Library/Application Support/ and delete the appsolute/MAMP folder as well. Deleting this folder also deletes databases and settings.
Uninstall MAMP on Windows
Follow the steps below to uninstall MAMP on Windows:
1. Before uninstalling, stop MAMP servers and close the application.
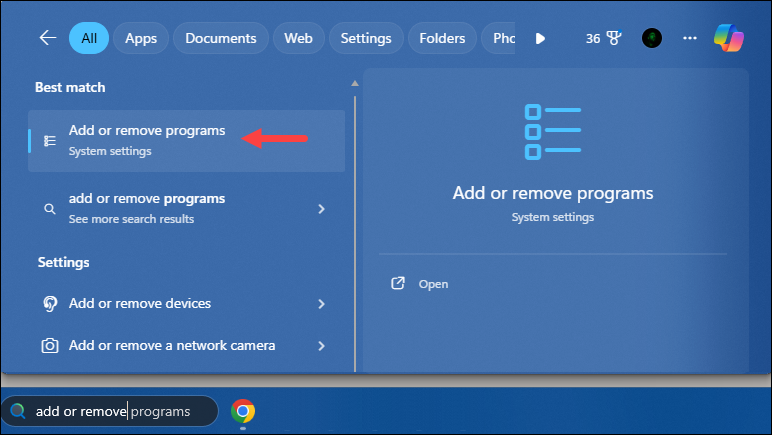
2. Press the Windows key and search for Add or remove programs. Press Enter to open the app management window.
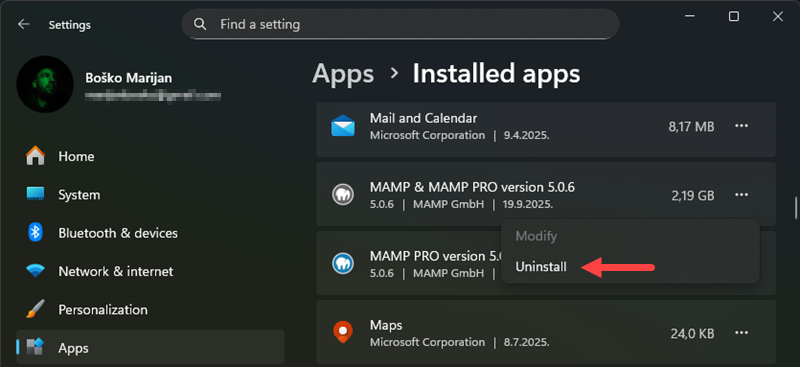
3. Find MAMP in the list of installed programs, click the … button to open the menu, and select Uninstall.
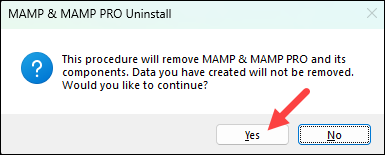
4. When prompted, click Yes to start the MAMP uninstallation wizard:
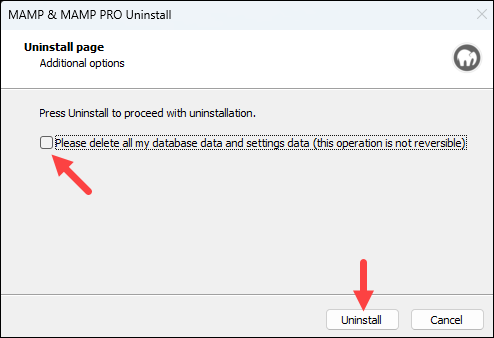
5. Check the box in the first window to delete all database and settings data. Make sure to back up any important databases before proceeding. Click Uninstall to start the process.
6. When the uninstallation completes, navigate to C:\MAMP in the File Explorer and delete the MAMP folder. Make sure to back up any important remaining files.
How to Install WordPress on MAMP?
The WordPress installation process is the same for macOS and Windows. Follow the steps outlined below:
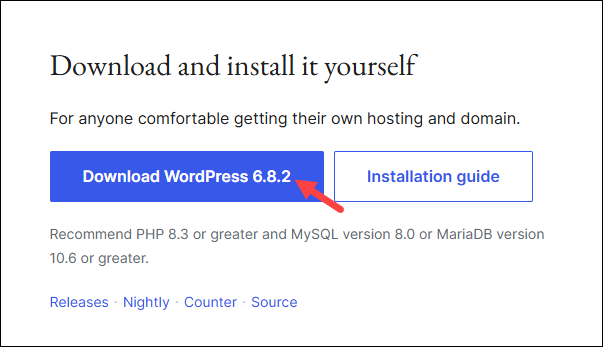
1. Download WordPress from the official website:
2. Unzip the downloaded file and move it to the MAMP/htdocs folder. On macOS, the default folder location is /Applications/MAMP/htdocs, while on Windows it is C:\MAMP\htdocs.
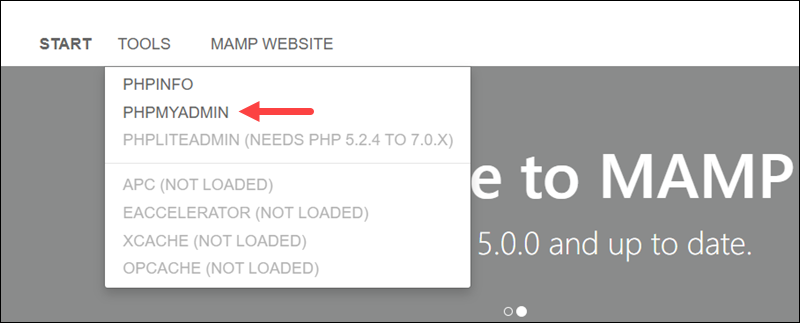
3. Open MAMP and click the Open WebStart Page button. Next, select the phpMyAdmin entry from the Tools menu.
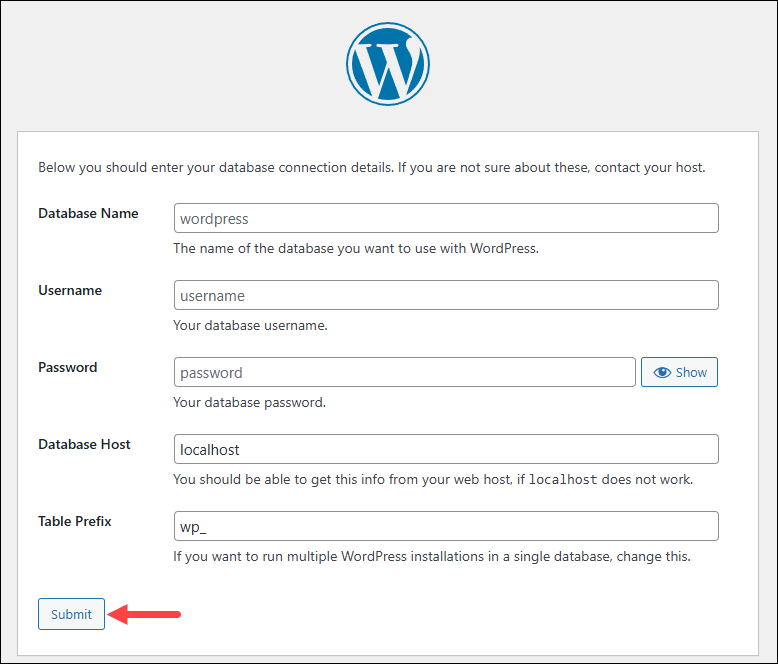
4. In phpMyAdmin, select the Databases tab and create a database. You can give it any name you want, without special characters or spaces. Click Create to create the database.
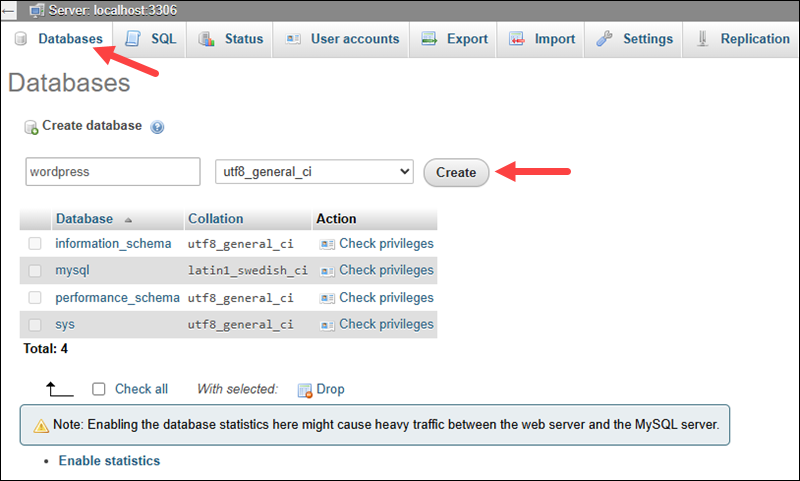
After creating the database, phpMyAdmin displays the No tables found in database message. Ignore the message as the database tables for WordPress are created automatically during WordPress installation.
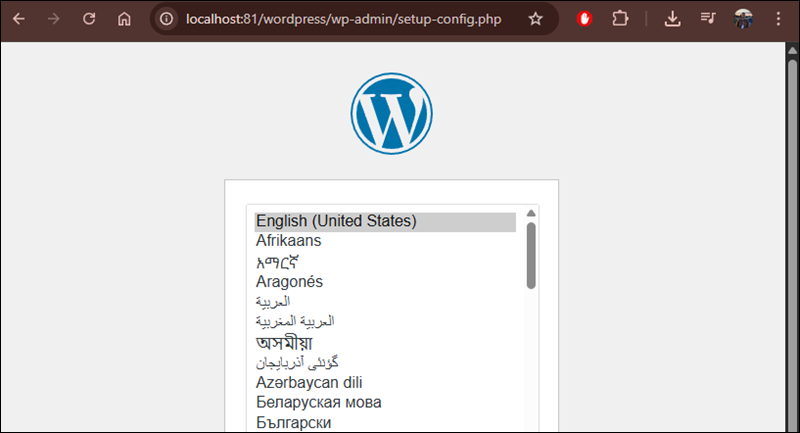
5. Return to the MAMP start page and in the address bar, append the name of the WordPress folder you copied to the MAMP/htdocs folder. In our case, it is wordpress. For example:
localhost:81/wordpressNote: By default, MAMP uses Apache on 8888 and MySQL on 8889. On Windows, Apache may first try port 80, so you might need to change it (e.g., to 81) if that port is in use, which was the case in our example above.
Press Enter to start the WordPress installation.
6. Select the WordPress installation language:
7. Fill in the required fields with your information and enter the name of the database you created, and click Submit:
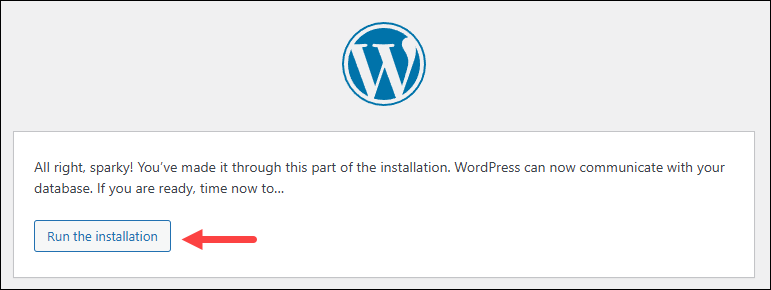
8. After entering the details, click Run the installation to start the installation process:
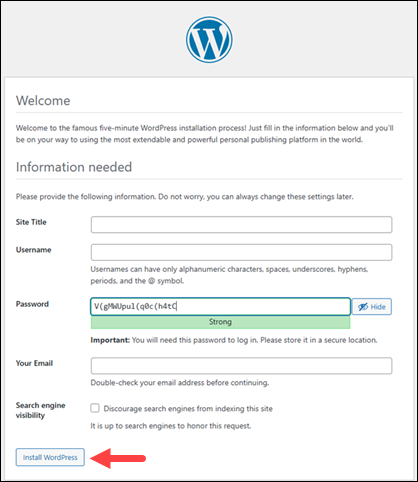
9. Complete the WordPress installation by setting your website title, username, password, and email. Click Install WordPress when ready:
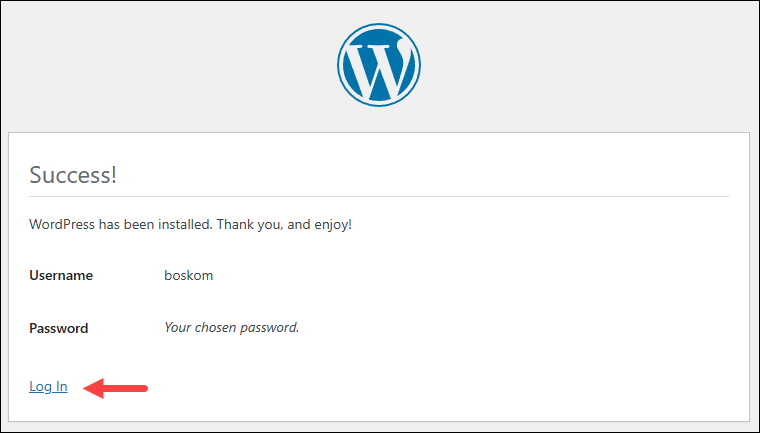
10. When the process completes, you can log in to WordPress with your username and password you chose in the previous step:
How to use MAMP?
Once you install MAMP, you can start using it via a simple interface and manage your local development environment. This section lists MAMP features that help control and customize your setup.
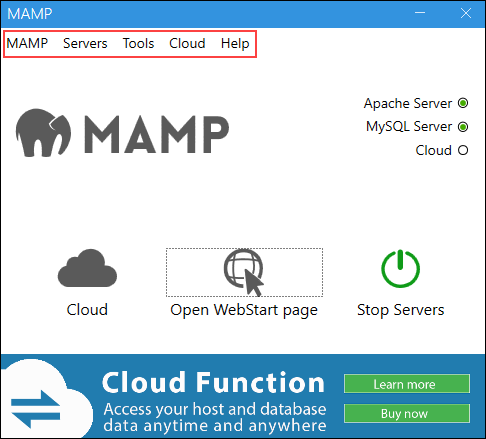
MAMP Toolbar
The MAMP toolbar provides quick access to starting and stopping servers. You can also open the start page, view logs, and access settings with a single click.
MAMP Main Area
The MAMP main area displays the Apache/Nginx, MySQL, and Cloud status. From here, you can check whether the servers are running, restart them, or stop them at any time.
Configure MAMP
Click on MAMP in the Toolbar and select Preferences to:
- Switch between Apache and Nginx.
- Change default ports.
- Select different PHP versions.
- Adjust MySQL settings.
- Define the document root for your projects.
Update PhpMyAdmin
MAMP ships with phpMyAdmin for managing databases. If you need a newer version, you can download it from the phpMyAdmin website and replace the existing folder in the MAMP/bin/phpMyAdmin directory.
Important: Back up the existing phpMyAdmin folder in MAMP/bin/ before replacing it with the new version and ensure compatibility with your PHP/MySQL version.
Check php Configurations
MAMP uses the php.ini file to define PHP behavior. This file controls settings such as file upload size, memory limits, and enabled extensions.
On macOS, the php.ini file is located in:
/Applications/MAMP/bin/php/php[version]/conf/php.iniOn Windows, it is in:
C:\MAMP\bin\php\php[version]\conf\php.ini.Replace [version] with the PHP version you are using, for example php8.2.0.
Common settings you may want to adjust include:
upload_max_filesize. Maximum file size allowed for uploads.post_max_size. Maximum size of POST data, which should be larger thanupload_max_filesize.memory_limit. Maximum amount of memory a script is allowed to use.max_execution_time. Maximum time a script can run before being terminated.
After editing and saving the file, restart the MAMP servers for the changes to take effect.
Access Web Pages
Your local projects are stored in the htdocs folder inside the MAMP directory. You can access them by visiting the following page in your browser:
http://localhost:[port]/[project_name]For example, we are using port 81 and the project name is example:
http://localhost:81/exampleWorking with PHP
MAMP supports multiple PHP versions. You can switch between them in the preferences menu and test your applications under different environments:

PHP scripts placed in the htdocs folder are executed automatically when accessed through the browser.
MAMP Advantages and Disadvantages
Like any development tool, MAMP has both strengths and limitations. Understanding them helps you decide if it is the right fit for your workflow. The sections below list MAMP's strengths and weaknesses.
Advantages
MAMP provides several benefits that make it appealing for both beginners and experienced developers. Some of them include:
- Easy installation. Bundles Apache/Nginx, MySQL, and PHP in one package with minimal setup.
- Cross-platform. Available for macOS and Windows.
- Multiple PHP versions. Switch between versions to test compatibility.
- CMS integration. PRO edition supports one-click installation of WordPress, Joomla, Drupal, and more.
- Safe testing. Develop and test locally without risking live environments.
- Beginner-friendly. Simple interface with quick start/stop controls.
Disadvantages
At the same time, there are some drawbacks to consider when using MAMP:
- Limited scalability. Not suitable for simulating complex production environments.
- Resource usage. Running both Apache/Nginx and MySQL can be heavy on lower-end systems.
- Outdated components. Sometimes ships with older versions of PHP or MySQL compared to production servers.
- Pro features locked. Advanced features like multiple hosts or advanced configuration require the paid PRO version.
- Less flexible than manual setup. Developers needing custom server stacks may find it restrictive.
How Does MAMP Compare to LAMP and WAMP?
MAMP belongs to the same family of software stacks as LAMP and WAMP, but each serves a slightly different purpose. While they share similar components, the main differences come from the operating system they run on, ease of setup, and how they are typically used.
The following table compares MAMP to LAMP and WAMP for an easy overview of each solution:
| Feature / Aspect | LAMP | WAMP | MAMP |
|---|---|---|---|
| Operating system | Linux (usually Ubuntu, Debian, CentOS, etc.) | Windows | macOS and Windows |
| Web server | Apache (sometimes Nginx in variants) | Apache | Apache or Nginx |
| Database | MySQL (or MariaDB) | MySQL | MySQL |
| Scripting languages | PHP, often Perl or Python also supported. | PHP primarily, sometimes others. | PHP; also Perl or Python available. |
| Typical use case | Production servers and hosting environments; open-source servers. | Local development on Windows machines. | Local development, especially for Mac users; also for testing across OSes. |
| Ease of setup | Moderate to advanced (needs more manual configuration). | Easy for Windows users; fairly plug-and-play. | Easy setup; simple GUI; multiple PHP versions; good defaults. |
| Flexibility & customization | Very high; full control over the server environment. | Moderate; built for Windows, might have limitations. | High; especially with PRO version; switching PHP versions, ports, etc. |
| Cross-platform support | Linux only | Windows only | macOS & Windows |
| Best for | Deploying live websites and learning server admin; production scale. | Developers who use Windows and want a local stack similar to LAMP. | Developers who want ease of use, local testing, CMS work, and control over PHP versions. |
In short, choose LAMP for production environments, WAMP for Windows-based local development, and MAMP if you want a flexible, beginner-friendly stack that works especially well on macOS.
Conclusion
This article explained what MAMP is, how to install it on macOS and Windows, how to use its main features for local development, as well as its advantages and disadvantages. MAMP simplifies the process of running a local server, making it easier to test web applications, work with CMS platforms, and switch between different PHP versions.
Next, see how to install the Apache web server on Ubuntu or how to install PHP on Ubuntu.