Composer is an application that tracks software dependencies for PHP projects. It helps define a set of libraries for a specific project. The application automatically identifies package versions and the required dependencies.
Composer cannot be used to install packages, as that's the role of package managers like apt. Installing Composer on Ubuntu is straightforward.
This guide shows how to install and get started with Composer on Ubuntu 24.04.

Prerequisites
- An Ubuntu Linux system (we will use Ubuntu 24.04, but the process is similar for other versions).
- PHP 5.3.2+ for Composer LTS. If using the newest Composer version, PHP 7.2.5 is the minimum requirement. See how to install PHP on Ubuntu.
- A user account with sudo privileges.
- Access to a command line/terminal window.
Installing Composer on Ubuntu
To install Composer on Ubuntu, confirm PHP is available on the system:
php -v
Ensure the PHP version is compatible with the Composer version. Follow the steps below to install Composer on Ubuntu.
Step 1: Update Local Repository
Update the local repository lists with the following apt command:
sudo apt updateWait for the update to complete, and continue to the next step.
Step 2: Download Composer Installer
To download the Composer installer, use the following command:
php -r "copy('https://getcomposer.org/installer', 'composer-setup.php');"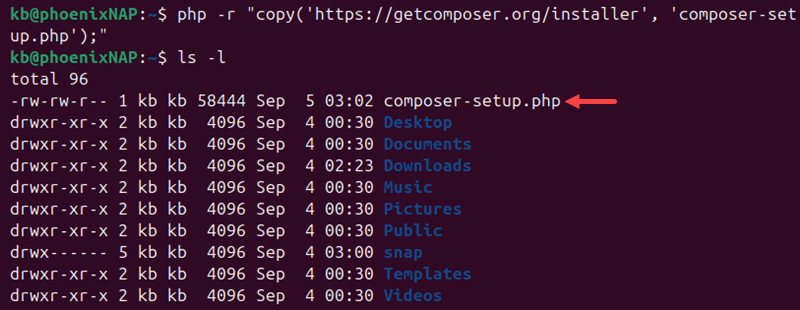
The command copies the installer to the machine and stores it in the composer-setup.php file.
Step 3: Verify Download Integrity
A good security practice is to verify the integrity of the downloaded file. Checking ensures the file is not corrupted and the installation will work without issues.
To verify the download:
1. Visit the Composer Public Keys page and copy the Installer Checksum (SHA-384).

2. Set the shell variable and paste the key from the previous step:
COMPOSER=[key]
Use the echo command to view the value.
3. Run the following script to compare the official hash against the downloaded one:
php -r "if (hash_file('SHA384', 'composer-setup.php') === '$COMPOSER') { echo 'Installer verified'; } else { echo 'Installer corrupt'; unlink('composer-setup.php'); } echo PHP_EOL;"
The script compares the composer-setup.php file hash with the checksum. It will show if the installer is verified or corrupt.
If corrupted, the script removes the installer. Redownload the file and try again.
Step 4: Install PHP Composer
Once the installer is downloaded and verified, install Composer:
1. PHP Composer requires several utilities before installing, including curl, git, and unzip. Install them with:
sudo apt install curl php-cli php-mbstring git unzip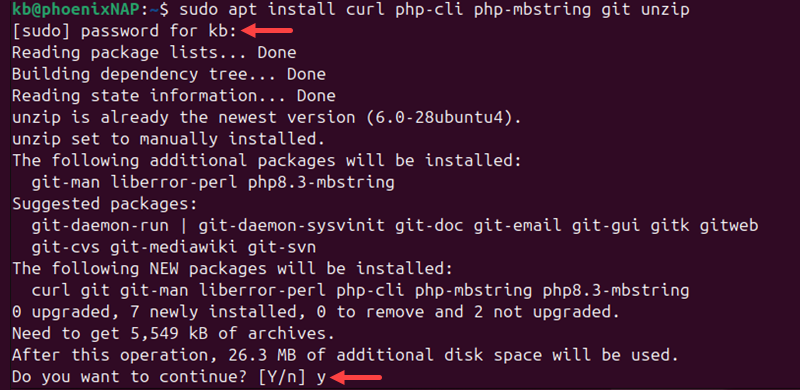
Enter the sudo password and press y to confirm the installation.
2. Install Composer as a command accessible from anywhere. Set the installation directory to /usr/local/bin and install it with:
sudo php composer-setup.php --install-dir=/usr/local/bin --filename=composer
The command confirms the installation is successful.
3. Verify the installation:
composer --version
The system outputs the Composer and PHP version numbers.
4. The installer file is no longer required. To delete the file, run:
php -r "unlink('composer-setup.php');"The command removes the composer-setup.php file from the system.
Basic Composer Usage
Composer tracks dependencies on a per-project basis. It simplifies recreating an identical development environment. The sections below demonstrate how to use Composer with PHP projects.
Create composer.json and composer.lock
Composer uses two files to track PHP project dependencies:
- composer.json. Tracks required software and allowed software versions.
- composer.lock. Maintains consistency when copying a directory.
These two files are automatically generated after using the composer require command. To see this process, do the following:
1. Open the terminal and enter the following:
mkdir composer_example && cd composer_example
The command creates a directory with the mkdir command called c_sample and enters the directory with the cd command.
2. Choose a package to load. Search the website packagist.org, which has various PHP packages available for download. In this example, we will use the monolog/monolog package.
3. In the terminal window, enter:
composer require monolog/monolog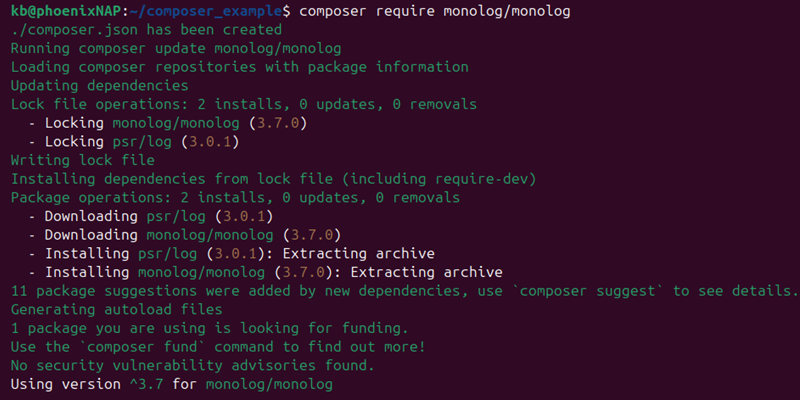
The system downloads the software and automatically creates the composer.json and composer.lock files.
Note: Monolog is a package for managing logfiles. The name before the slash is the vendor, and the name after the slash is the package name.
4. Once the process completes, list the contents of the directory with the ls command:
ls -l
The list shows composer.json and composer.lock files and a vendor directory.
5. To view the contents of the composer.json file, use the cat command:
cat composer.json
The system adds the monolog software. The carat (^) sign beside the version number indicates the minimum software version.
Set Up Autoloading
PHP does not automatically load classes. Configure Composer to autoload classes to simplify working with dependencies. See the example below:
1. Create a file using a text editor:
nano monolog_sample.php2. Add the following code:
<?php

require __DIR__ . '/vendor/autoload.php';
use Monolog\Logger;
use Monolog\Handler\StreamHandler;

// create a log channel
$log = new Logger('name');
$log->pushHandler(new StreamHandler('logs/text.log', Logger::WARNING));

// add records to the log
$log->warning('foo');
$log->error('bar');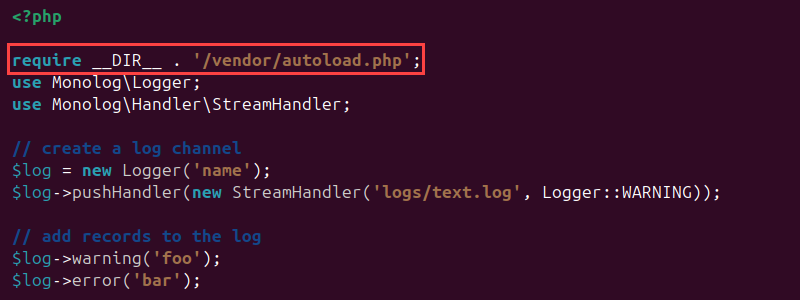
The first line includes the Composer autoloader. The autoloader imports all the necessary libraries, which is Monolog in this example. The /vendor/autoload.php file is generated during dependency installation.
3. Save the file and exit.
4. Run the script to autoload Monolog and create an example log file:
php monolog_sample.phpThe result shows no output. The script creates a directory (logs) and a log file (text.log) within it. It also appends two log records to the file: a warning (foo) and an error (bar).
5. To view the text.log file's contents, run:
cat logs/text.log
The output shows the two entries, indicating that the autoloader successfully loaded the Monolog library and executed the code in composer_sample.php.
Update Dependencies
To update the dependencies in the composer.json file, do the following:
1. Install the php-curl library:
sudo apt install php-curl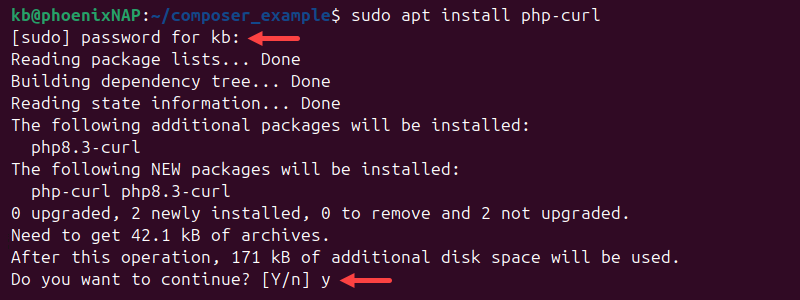
Enter the user's password and press y to start the installation. The extension enables Composer to run updates faster.
2. To update dependencies, run:
composer update
The command updates all dependencies according to the version in the file.
3. To update individual dependencies, use the following:
composer update [vendor]/[package] [vendor]/[package]Use the command to update one or multiple specific dependencies.
Conclusion
This guide showed how to install and use Composer on Ubuntu. We also covered setting up autoloading and updating dependencies. Composer is an essential tool for managing project dependencies.
Next, read about different dependency management techniques, including dependency injection.
