Kubernetes provides a secure, efficient, and reliable way to exchange data between microservices and resources outside the cluster. By leveraging the Ingress concept, Kubernetes enables simpler load balancing, service discovery, and management of external connectivity.
This article explains how to set up Ingress in a MicroK8s Kubernetes cluster. Testing in MicroK8s lets you understand how Ingress works and how to apply it to your production environments.
Prerequisites
- MicroK8s installed.
- Nginx installed and configured.
What Is Kubernetes Ingress?
Ingress is a Kubernetes API object that defines DNS routing rules for external traffic coming into a Kubernetes cluster. Using Ingress, cluster administrators set up granular load balancing, SSL/TLS termination, and name-based virtual hosting for their cluster services.
Ingress allows a single cluster to host multiple domains or subdomains, enhancing deployment flexibility and resource utilization. Since it serves as the single point of contact for all external traffic entering the cluster, it is also a single, centralized configuration point.
Note: Read our Kubernetes Ingress Guide for a more detailed overview of this Kubernetes concept.
How to Set Up Kubernetes Ingress?
Ingress is available in MicroK8s as a preinstalled add-on that must be enabled and configured to work. The following steps show how to enable, set up, and test Ingress on a MicroK8s cluster.
Step 1: Enable Ingress in MicroK8s
When you activate Ingress in MicroK8s, the platform creates and runs an Nginx Ingress controller pod. An Ingress controller implements Ingress routing rules and ensures they are consistently applied.
Enable Ingress by executing the instructions below:
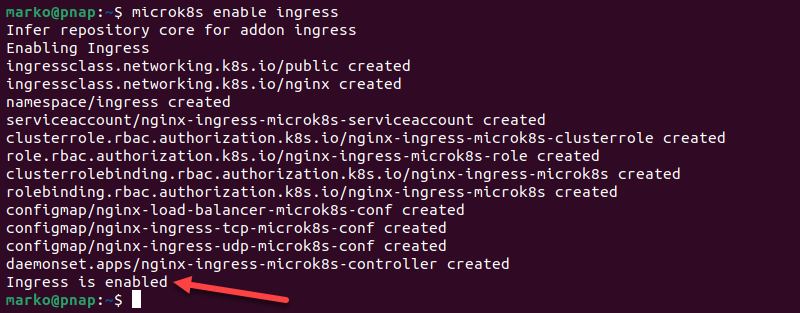
1. Enter the following command to activate the Ingress add-on:
microk8s enable ingressThe output shows MicroK8s creating several Kubernetes objects necessary for Ingress to work. Lastly, a message confirms that Ingress is enabled.
2. Check if the Ingress controller is running by listing all the pods in the cluster and using the grep command to display only the Ingress pod:
microk8s kubectl get pods -A | grep ingressThe output shows the controller pod and confirms that it is Running.

3. Make note of the pod name.
Step 2: Test Connection with Nginx
For the Ingress rules in this tutorial to work, the Nginx web server installation must be able to communicate with localhost. Test the connection with the curl command:
curl -v 127.0.0.1The output shows an Nginx response, confirming that the web server communicates with localhost. The content of the response may be a 404 page, like in the example below:
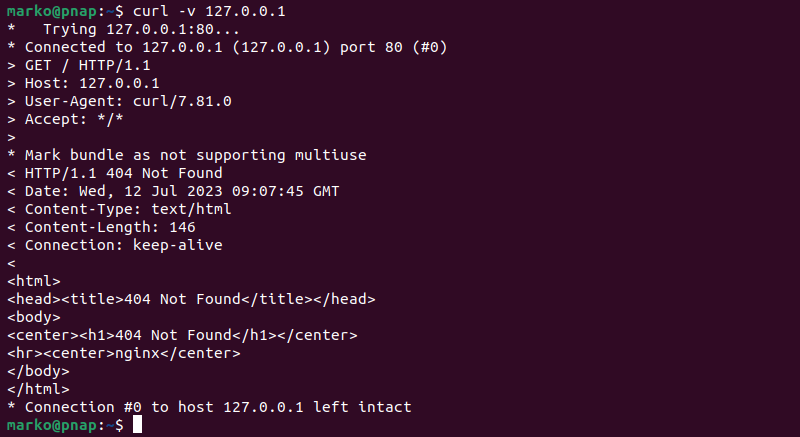
However, this response still means that Nginx is working correctly, and you may proceed to the next step.
Step 3: Edit ConfigMap
When MicroK8s enables Ingress, it generates three ConfigMaps in the ingress namespace. To enable exposing services over HTTP, you must edit the load balancer ConfigMap. Follow the procedure below to make the necessary adjustments.
1. List the available ConfigMaps by typing:
microk8s kubectl -n ingress get configmapThe output shows the existing ConfigMaps.

The nginx-load-balancer-microk8s-conf is the ConfigMap that needs to be edited.
2. Enter ConfigMap edit mode by typing:
microk8s kubectl -n ingress edit configmaps nginx-load-balancer-microk8s-conf3. Navigate around the file and add the following section under the kind: ConfigMap line:
data:
  use-forwarded-headers: "true"
The example screenshot shows the contents of the ConfigMap file after editing:

4. Save and exit the file with the following Vim command:
:wqThe output confirms that the changes were automatically applied.

Step 4: Confirm Ingress Setup
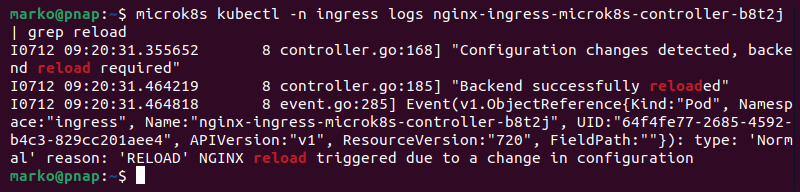
Verify the Ingress setup by checking the Ingress controller logs. To check the log, type the command below using the pod name you obtained in Step 1:
microk8s kubectl -n ingress logs [pod-name] | grep reloadThe output confirms that the backend was reloaded successfully.
Step 5: Test Ingress Setup
With Ingress enabled and set up, create a rule to test the configuration. Follow the steps below to create an Ingress rule.
1. Create a YAML file using a text editor, such as Nano:
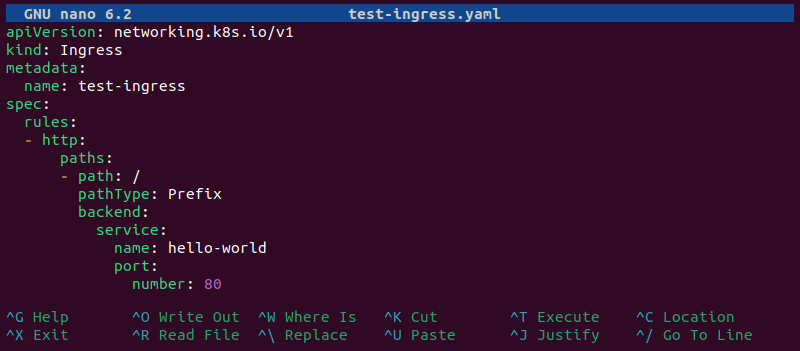
nano test-ingress.yaml2. Paste the following content into the file, replacing the service-name and the service-port placeholder values with the data from your cluster.
apiVersion: networking.k8s.io/v1
kind: Ingress
metadata:
  name: test-ingress
spec:
  rules:
  - http:
      paths:
      - path: /
        pathType: Prefix
        backend:
          service:
            name: [service-name]
            port:
number: [service-port]Note: If you do not have a service running in your cluster to follow along, you may want to create a test WordPress Kubernetes deployment.
Below is an example of the YAML file that creates an Ingress rule for the hello-world service on port 80. The / value in the path field means that the rule will be enforced when the user visits the domain home page.
Save and exit the file.
3. Apply the configuration to the cluster by entering the following command:
microk8s kubectl apply -f test-ingress.yamlThe output confirms that the Ingress rule was created.

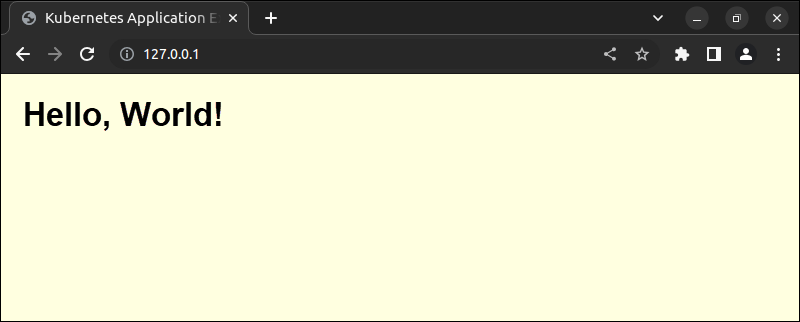
4. Navigate to the localhost (or 127.0.0.1) page in your browser. It should show the contents served by the Ingress.
Conclusion
After reading this tutorial, you should know how to enable, set up, and test Ingress on your MicroK8s Kubernetes cluster.
Due to the ease of deployment, Microk8s is a great testing ground for experimenting with Ingress and understanding how it works.