A practical way to manage microservices of a cloud-native application is to automate application network functions.
Istio is a configurable service mesh platform acting as a control plane, distributing the configuration to sidecar proxies and gateways. It is a popular option for connecting, monitoring, and securing containers in a Kubernetes cluster.
In this tutorial, you will learn how to install Istio, deploy a test application, and set up your Kubernetes cluster to work with the platform.

Prerequisites
- A Kubernetes cluster (or minikube)
- kubectl command-line tool
Download the Latest Istio Release
To download the latest release of Istio, navigate to the Istio release page on GitHub.
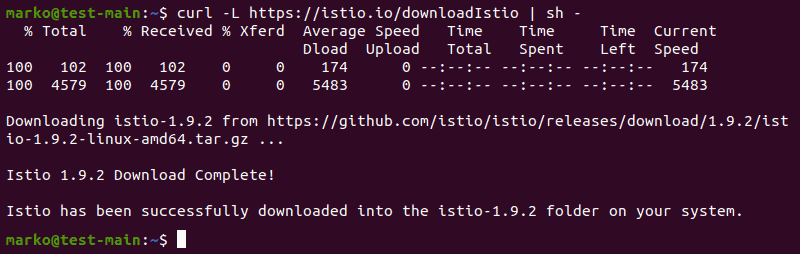
Alternatively, Linux users can use curl to download and extract the latest release automatically:
curl -L https://istio.io/downloadIstio | sh -The command extracts the installation files to the folder named istio-[version]:
To download an older version of Istio, use curl, but specify the version and the processor architecture by using the following syntax:
curl -L https://istio.io/downloadIstio | ISTIO_VERSION=1.6.8 TARGET_ARCH=x86_64 sh -Istio Installation Guide
1. Start your Kubernetes cluster. This article uses minikube:
minikube start2. Next, start Istio installation by moving in to the folder with the extracted files:
cd istio-1.9.23. The bin/ directory contains istioctl client binary. In Linux, add the client to your path by typing:
export PATH=$PWD/bin:$PATHThe variable set this way lasts only until you terminate the current shell session. To set the variable permanently, read how to set environment variables in Linux.
Note: To perform the above steps on Windows, manually extract the Istio installation archive and set the Windows environment variable for the istioctl binary.
4. Use the istioctl tool to initiate the installation process:
istioctl install --set profile=demo -yThe output confirms the successful installation:

5. Istio can automatically inject Envoy sidecar proxies upon application deployment. To enable this, use kubectl to add a namespace label containing this instruction:
kubectl label namespace default istio-injection=enabled
This concludes the Istio installation process.
Test Deployment via Bookinfo Application
The Istio installation archive contains all the files needed to deploy the sample application called Bookinfo.
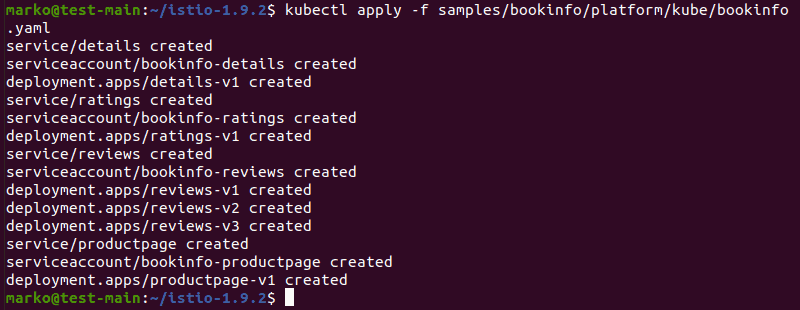
1. Start by applying the bookinfo.yaml file using kubectl:
kubectl apply -f samples/bookinfo/platform/kube/bookinfo.yamlThe system creates several deployments, services, and pods:
2. Check the running services:
kubectl get services
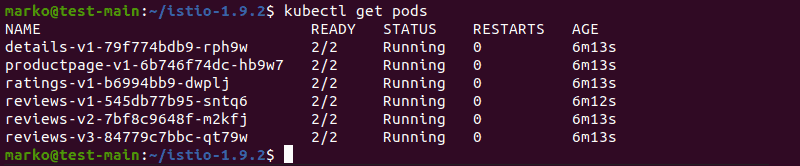
3. Check if the pods are ready:
kubectl get podsAs the pods go up, Istio deploys sidecars along with them:
4. Wait until the READY label for each pod is 2/2. Then run the following command to see if the app is serving HTML pages correctly:
kubectl exec "$(kubectl get pod -l app=ratings -o jsonpath='{.items[0].metadata.name}')" -c ratings -- curl -sS productpage:9080/productpage | grep -o ""The output should be the title tag of the page, along with the title itself:

5. The next step is to open the app to outside traffic. Apply the bookinfo-gateway.yaml file from the samples folder:
kubectl apply -f samples/bookinfo/networking/bookinfo-gateway.yamlThe output confirms that the application was successfully associated with the Istio gateway:

6. Use istioctl to analyze the configuration and check for potential issues:
istioctl analyzeIf the system finds no issues, the following message is displayed:

7. To access the gateway set up in the previous step, set the ingress variables. First, export INGRESS_PORT:
export INGRESS_PORT=$(kubectl -n istio-system get service istio-ingressgateway -o jsonpath='{.spec.ports[?(@.name=="http2")].nodePort}')8. Now, repeat the process for SECURE_INGRESS_PORT:
export SECURE_INGRESS_PORT=$(kubectl -n istio-system get service istio-ingressgateway -o jsonpath='{.spec.ports[?(@.name=="https")].nodePort}')9. Use the echo command to check if the ports have been assigned successfully:
echo "$INGRESS_PORT" && echo "$SECURE_INGRESS_PORT"The output shows the port numbers:

10. Export the INGRESS_HOST variable:
export INGRESS_HOST=$(minikube ip)11. Check the variable with echo:
echo "$INGRESS_HOST"
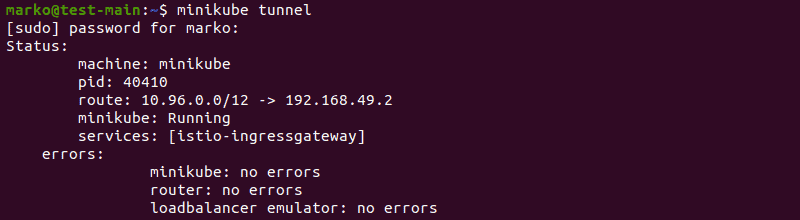
12. To direct traffic to the Istio Ingress Gateway, open a new terminal window and type the following command:
minikube tunnelMinikube now serves as a load balancer for Istio. The output shows minikube directing traffic:
13. Go back to the previous terminal window and export the GATEWAY_URL variable, which consists of the INGRESS_HOST and INGRESS_PORT variables:
export GATEWAY_URL=$INGRESS_HOST:$INGRESS_PORT14. Use echo to see the entire IP address and port number:
echo "$GATEWAY_URL"
15. Type the following command to view the external address of the application:
echo http://$GATEWAY_URL/productpage
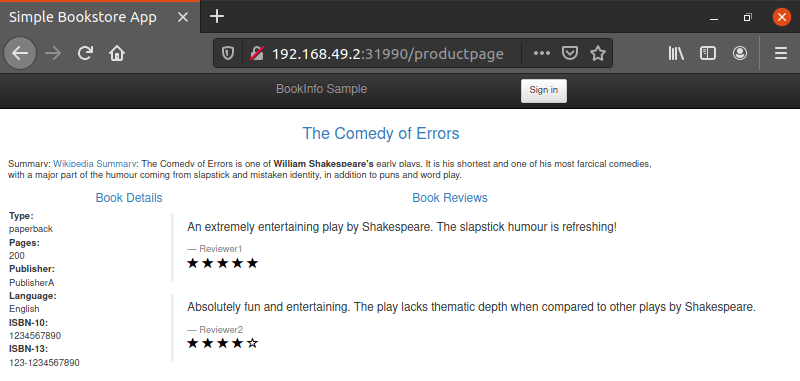
16. Copy the address obtained in the previous step and paste it into a web browser. The Bookinfo website loads successfully:
Set up a Kubernetes Cluster for Istio
Istio comes with a number of add-ons for popular Istio services, such as Grafana dashboard, Jaeger transaction tracing software, Prometheus metrics scraper, and Kiali management console.
1. Install those add-ons by applying the samples/addons folder:
kubectl apply -f samples/addons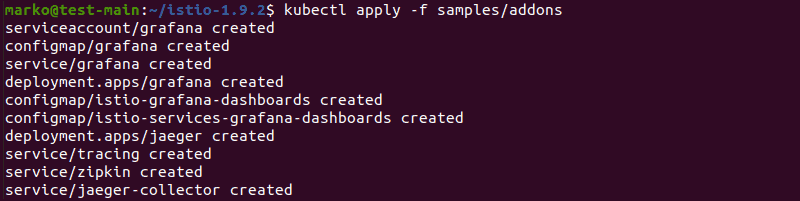
Note: If the command returns errors, try executing it again since timing issues sometimes prevent the successful installation.
2. Now, create a Kubernetes Ingress resource for each of the addons. Do this by pasting the following into a yaml file.
apiVersion: networking.k8s.io/v1beta1
kind: Ingress
metadata:
  name: istio-system
  namespace: istio-system
  annotations:
    kubernetes.io/ingress.class: istio
spec:
  rules:
  - host: my-istio-dashboard.io
    http:
      paths:
      - path: /
        pathType: Prefix
        backend:
          serviceName: grafana
          servicePort: 3000
  - host: my-istio-tracing.io
    http:
      paths:
      - path: /
        pathType: Prefix
        backend:
          serviceName: tracing
          servicePort: 9411
  - host: my-istio-logs-database.io
    http:
      paths:
      - path: /
        pathType: Prefix
        backend:
          serviceName: prometheus
          servicePort: 9090
  - host: my-kiali.io
    http:
      paths:
      - path: /
        pathType: Prefix
        backend:
          serviceName: kiali
          servicePort: 20001
3. Save the file and apply the configuration with kubectl:
kubectl apply -f [file-name]
The add-ons are now configured and ready to be used.
Conclusion
Note: Learn how to do canary deployments with Istio.
After completing this tutorial, you should have been able to install and set up Istio in your Kubernetes cluster. You should also know how to deploy an application with Istio.
For more information about how Istio works, read What Is Istio? – Architecture, Features, Benefits and Challenges.