Canary deployments are helpful for introducing new versions of services because they offer a way to deploy new features gradually. When an update is rolled out, it comes out in stages to a small percentage of users. This allows developers to see how the update performs before making it available to everyone.
Kubernetes is designed to perform canary deployments natively. However, the downside to this approach is that limiting traffic to the canary deployment (by changing replica ratios) needs to be done manually. The solution to streamlining this process is employing a service mesh, such as open-source Istio, to de-couple traffic distribution and replica counts.
In this tutorial, you will learn how to deploy the canary version of an app in an Istio enabled cluster and set up Istio to control traffic routing.
Prerequisites
- Kubernetes cluster (minikube)
- kubectl command-line tool
- Istio installed
- Docker Hub account
- Grafana Dashboard
Step 1: Build the Docker Image and Container for the Canary Build
To start deploying the canary build of your app, first create a docker image containing the version you want to deploy.
- Go to the directory containing the necessary files for the image. The example uses an app called test-canary, stored in the directory with the same name:
cd test-canary2. Use the docker build command to build the Docker image. Follow the command with your Docker Hub username and the image name:
docker build -t [dockerhub-username]/test-canary .The output confirms the successful image creation:

3. Use the docker images command to see a list of your images and check whether the new image is among them:
docker images
4. Next, use the docker run command to build a container with the image you previously created. Give a name to the container and choose a port for access:
docker run --name [name] -p [port]:8080 -d [dockerhub-username]/test-canaryIf the operation is successful, the system outputs the full ID of the newly created container:

5. Use the docker ps command to check the running containers:
docker ps
6. Now use the port you assigned to the container to access it via a browser:
http://localhost:[port]The browser displays the content of the app:
7. After you confirm that the app is working, stop the container with the docker stop command. Add the Container ID to the command, which you can copy from the first column of the docker ps output:
docker stop [container-id]
8. Finally, to push the image to your Docker Hub account, log in to Docker Hub using the command line:
docker login -u [dockerhub-username]The system asks for the password. Type in the password and press Enter:

9. Now push the image with docker push:
docker push [dockerhub-username]/test-canary
Note: Visit our article on the most common Docker commands and download our PDF cheat sheet for future reference.
Step 2: Modify the App Deployment
To add the canary deployment to your general app deployment, use a text editor to edit the file containing service and deployment specifications.
The example uses the application manifest called app-manifest.yaml:
nano app-manifest.yamlThe manifest should look similar to the content below:
apiVersion: v1
kind: Service
metadata:
  name: nodejs
  labels:
    app: nodejs
spec:
  selector:
    app: nodejs
  ports:
  - name: http
    port: 8080
---
apiVersion: apps/v1
kind: Deployment
metadata:
  name: nodejs
  labels:
    version: v1
spec:
  replicas: 1
  selector:
    matchLabels:
      app: nodejs
  template:
    metadata:
      labels:
        app: nodejs
        version: v1
    spec:
      containers:
      - name: nodejs
        image: markopnap/test-prod
        ports:
        - containerPort: 8080
The example manifest above describes a production version of a Node.js app, whose container is stored in markopnap/test-prod. To include the canary version of the application, start by editing the Deployment section of the file and add -v1 to the name of the app:
---
apiVersion: apps/v1
kind: Deployment
metadata:
  name: nodejs-v1
Now, append another Deployment section to the end of the file, with specifications for the canary build:
---
apiVersion: apps/v1
kind: Deployment
metadata:
  name: nodejs-v2
  labels:
    version: v2
spec:
  replicas: 1
  selector:
    matchLabels:
      app: nodejs
  template:
    metadata:
      labels:
        app: nodejs
        version: v2
    spec:
      containers:
      - name: nodejs
        image: markopnap/test-canary
        ports:
        - containerPort: 8080
Note: Remember to replace the example Docker Hub image location with the location of your file.
Once you finish editing the file, save it and then update the system configuration using kubectl apply:
kubectl apply -f app-manifest.yamlStep 3: Configure Istio Virtual Service
Create a new yaml file to store the Istio configuration. The example uses the file titled istio.yaml, but you can give it a name of your choice:
nano istio.yamlIf you previously used Istio for the deployment of a production version, the file already exists and should look similar to this:
apiVersion: networking.istio.io/v1alpha3
kind: Gateway
metadata:
  name: nodejs-gateway
spec:
  selector:
    istio: ingressgateway
  servers:
  - port:
      number: 80
      name: http
      protocol: HTTP
    hosts:
    - "*"
---
apiVersion: networking.istio.io/v1alpha3
kind: VirtualService
metadata:
  name: nodejs
spec:
  hosts:
  - "*"
  gateways:
  - nodejs-gateway
  http:
  - route:
    - destination:
        host: nodejs
The file has two sections that defines Gateway and VirtualService objects. To introduce both versions of the application and set the routing rule for the distribution to users, modify the http section at the bottom. The section must contain two destinations with different subsets and weights:
http:
  - route:
    - destination:
        host: nodejs
        subset: v1
      weight: 90
    - destination:
        host: nodejs
        subset: v2
      weight: 10
The weight parameter tells Istio what percentage of traffic should be routed to a specific destination. In the example above, 90 percent of traffic goes to the production version, while 10 percent is directed to the canary build.
After you edit the Virtual Service section, append the following lines to the end of the file to create a Destination Rule:
---
apiVersion: networking.istio.io/v1alpha3
kind: DestinationRule
metadata:
  name: nodejs
spec:
  host: nodejs
  subsets:
  - name: v1
    labels:
      version: v1
  - name: v2
    labels:
      version: v2
The purpose of defining the Destination Rule is to manage incoming traffic and send it to the specified versions of the application.
Save the file and use kubectl apply to activate it:
kubectl apply -f istio.yamlStep 4: Test the Canary Deployment
The configuration set in the previous step performs traffic routing to your production and canary deployments. To test this, access the application using the external IP of istio-ingressgateway, which Istio uses as a load balancer.
Note: If you are using minikube, you need to emulate the load balancer by opening another terminal window and issuing the minikube tunnel command. Without this, the external IP field in the next step will always show as pending.
Look for the istio-ingressgateway service in the list of services available in the istio-system namespace. Use kubectl get to list the services:
kubectl get svc -n istio-system
Copy the istio-ingressgateway external IP address into your browser's address bar:
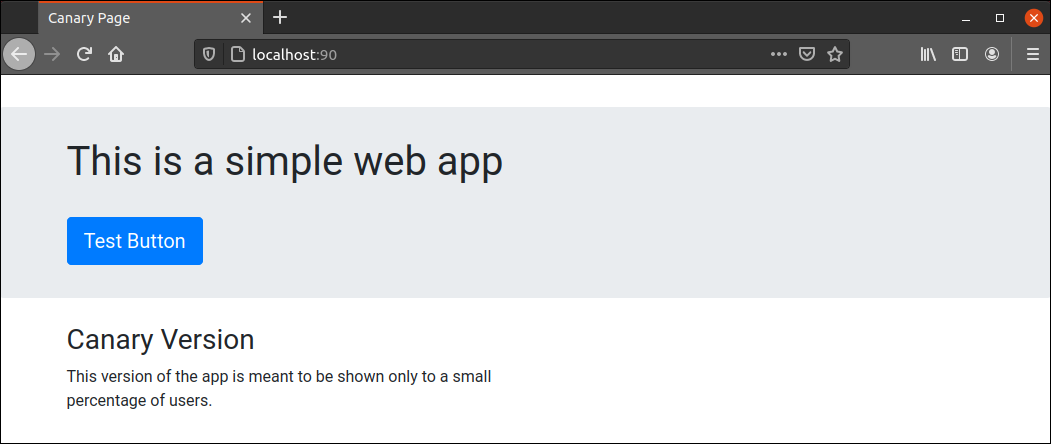
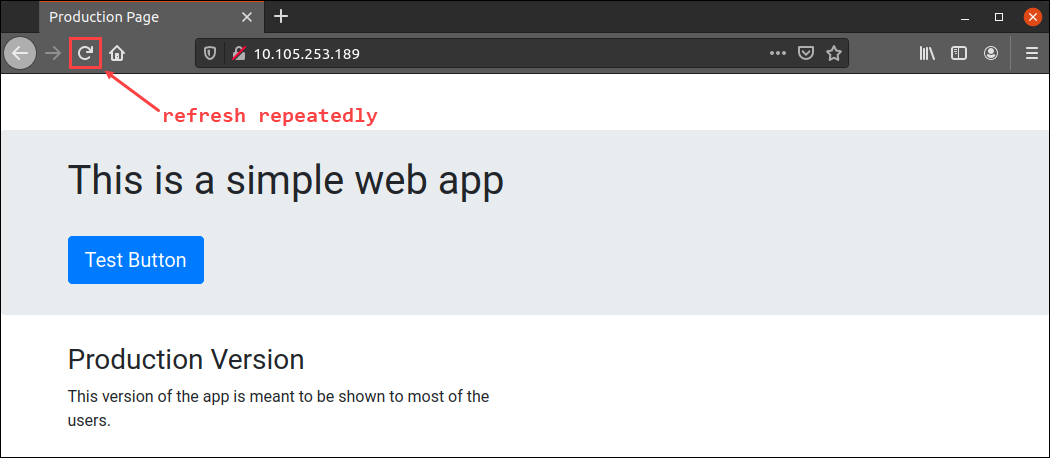
http://[ingressgateway_ip]The browser will likely show the production version of the application. Hit the Refresh button multiple times to simulate some traffic:
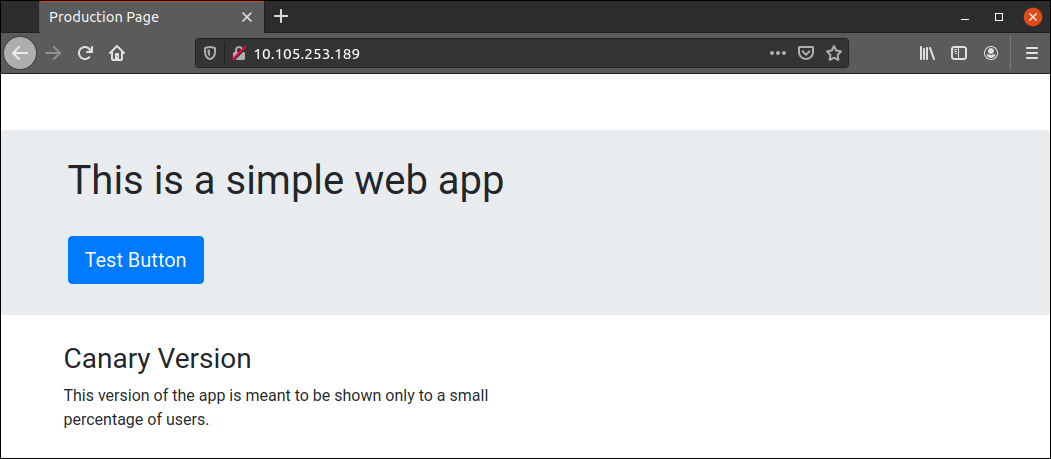
After a couple of times, you should see the canary version of the app:
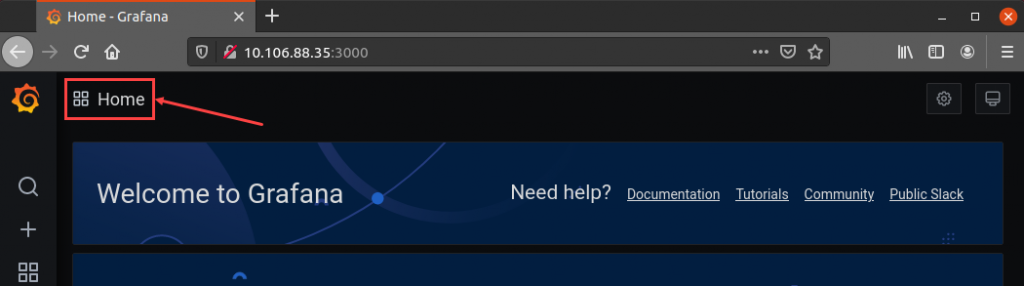
If you have Grafana add-on installed, check the incoming requests stats to see the routing percentage for each deployment. In Grafana, click on the Home icon:
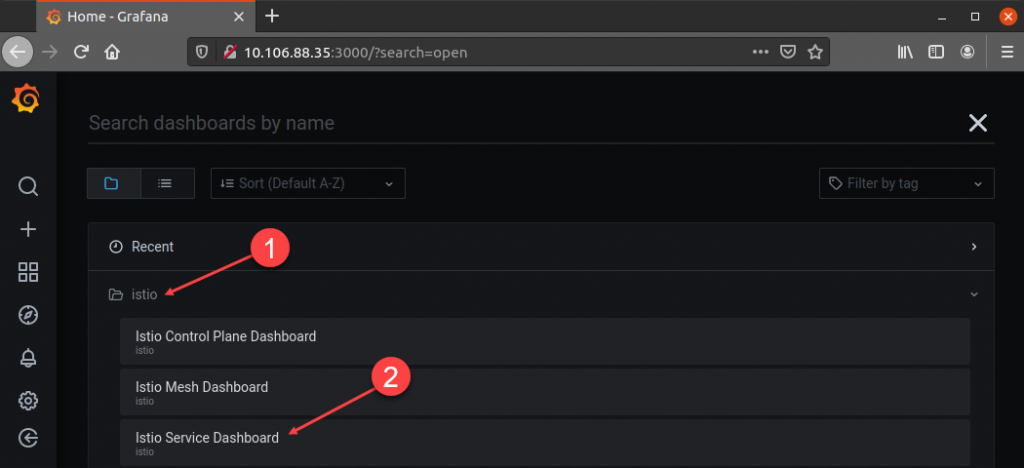
In the Dashboards section, select Istio, and then click Istio Service Dashboard:
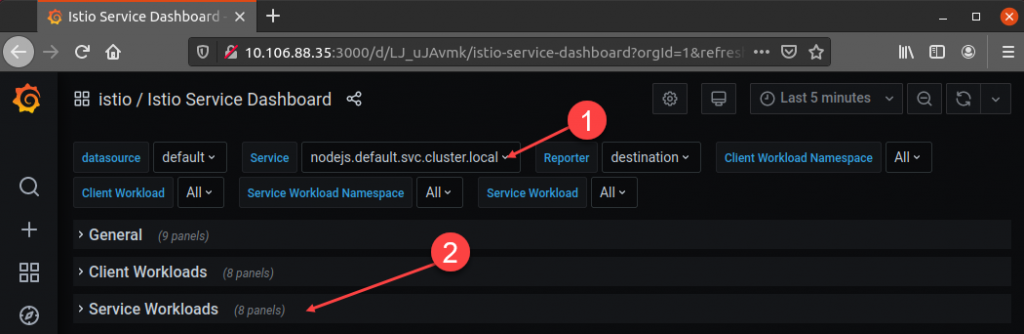
In the dashboard, find the Service field and select the service corresponding to your application. In this example, the service is called nodejs.default.svc.cluster.local. Once you choose the service, go to the Service Workloads section:
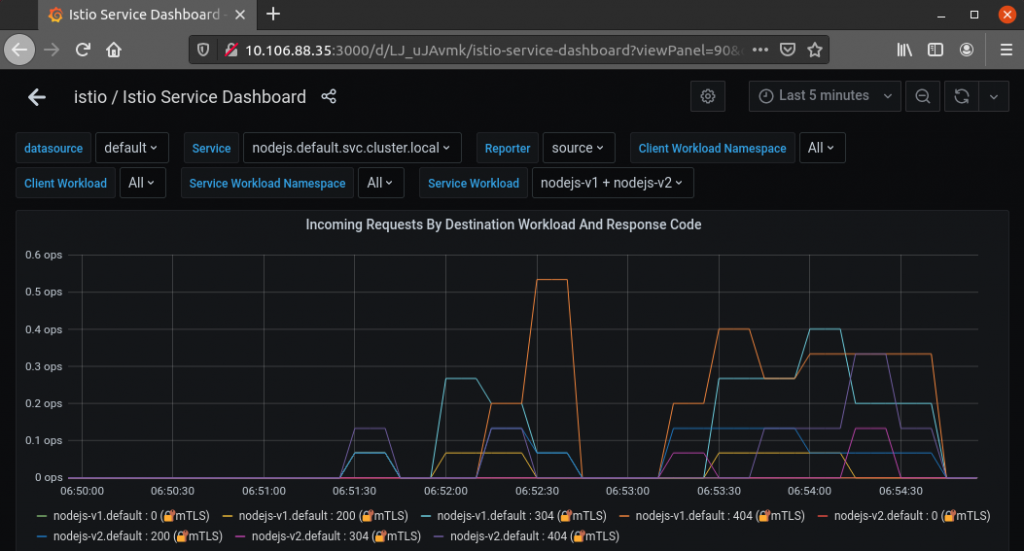
Select the graph titled Incoming Requests By Destination Workload and Response Code. The graph shows the traffic you generated by refreshing the page. In this example, it is evident that Istio served the nodejs-v1 version of the app more frequently than the canary nodejs-v2 version.
Conclusion
By following this tutorial, you learned how to set up Istio to route traffic to multiple versions of one app automatically. The article also provided instructions on setting up routing rules for canary app deployments.