Nginx is a free, open-source Linux application for web servers. It works as a reverse proxy server by directing web traffic to specific servers.
Nginx is used for security and load-balancing, but can also function independently as a web server.
This guide will help you install Nginx on Ubuntu 20.04 Linux (Focal Fossa).
Note: Some Ubuntu 20.04 flavors have reached EOL in April 2023. For security reasons, we recommend upgrading to Ubuntu 22.04.
After upgrading, refer to our guide on how to install Nginx on Ubuntu 22.04.
Prerequisites
- A system running Ubuntu 20.04 Linux
- A user account with sudo or root privileges
- Access to a terminal window / command line (click Activities > Search > type Terminal)
Step 1: Update Software Repositories
It is important to refresh the repository lists before installing new software. This helps make sure that the latest updates and patches are installed.
Open a terminal window and enter the following:
sudo apt-get update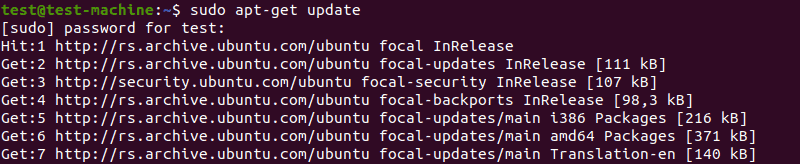
Allow the process to finish.
Step 2: Install Nginx From Ubuntu Repositories
Nginx is included in the Ubuntu 20.04 default repositories. Install it by entering the following command:
sudo apt-get install nginx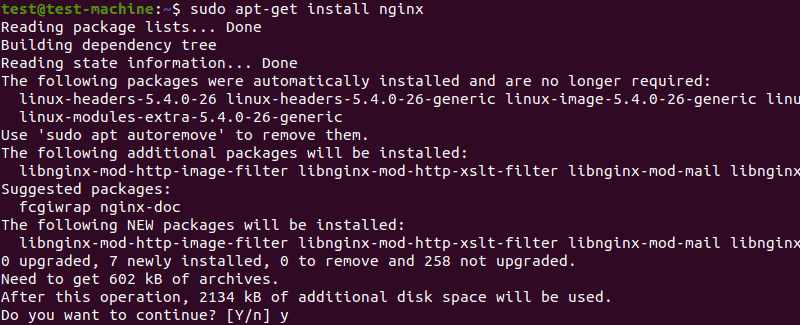
Note: If the system generates an error about the lock file, please see How To Fix Could Not Get Lock /Var/Lib/Dpkg/Lock Error for suggestions.
Step 3: Verify the Installation
Verify that Nginx installed correctly by checking the software version. Enter the following:
nginx -vThe system should display the software version of Nginx.

Step 4: Controlling the Nginx Service
The behavior of Nginx can be adjusted. Use this to start or stop Nginx, or to enable or disable Nginx at boot.
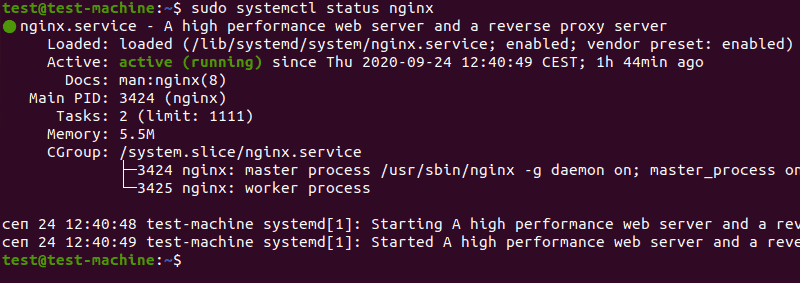
Start by checking the status of the Nginx service:
sudo systemctl status nginxIf the status displays active (running), Nginx has already been started. Press CTRL+z to exit the status display.
If Nginx is not running, use the following command to launch the Nginx service:
sudo systemctl start nginxTo set Nginx to load when the system starts, enter the following:
sudo systemctl enable nginx
To stop the Nginx service, enter the following:
sudo systemctl stop nginxTo prevent Nginx from loading when the system boots:
sudo systemctl disable nginx
To reload the Nginx service (used to apply configuration changes):
sudo systemctl reload nginxFor a hard restart of Nginx:
sudo systemctl restart nginxStep 5: Allow Nginx Traffic
Nginx needs access through the system’s firewall. To do this, Nginx installs a set of profiles for the Ubuntu default ufw (UnComplicated Firewall).
Start by displaying the available Nginx profiles:
sudo ufw app listThe system should display the following:

Note: Other applications may be listed. They can be ignored.
To grant Nginx access through the default Ubuntu firewall, enter the following:
sudo ufw allow 'nginx http'The system should display Rules updated.

Refresh the firewall settings by entering:
sudo ufw reload
For encrypted (https) traffic, enter:
sudo ufw allow 'nginx https'To allow both, enter:
sudo ufw allow 'nginx full'Note: It is recommended that you only allow the bare minimum required traffic through the firewall. For this process, only basic HTTP traffic is needed. Other configurations may require HTTPS (encrypted) or other traffic. If the system uses a different firewall, it should be configured to allow traffic on Port 80 (HTTP), Port 443 (HTTPS), or whatever ports are required by the network.
Step 6: Test Nginx
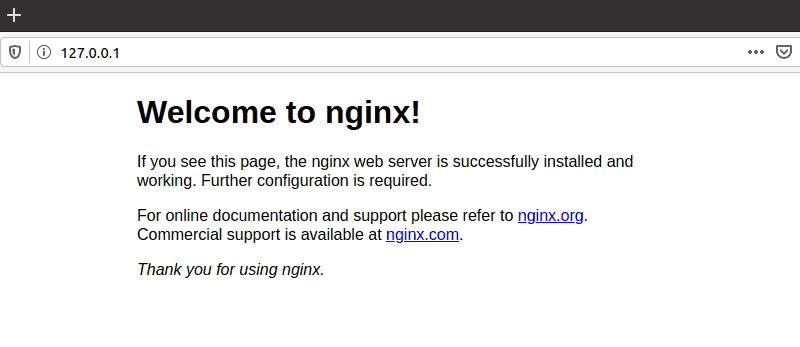
Make sure that the Nginx service is running, as in Step 4. Open a web browser, and navigate to the following web address:
http://127.0.0.1The system should display the Nginx welcome page.
Note: If the system has a specific hostname or IP address, that may be used instead.
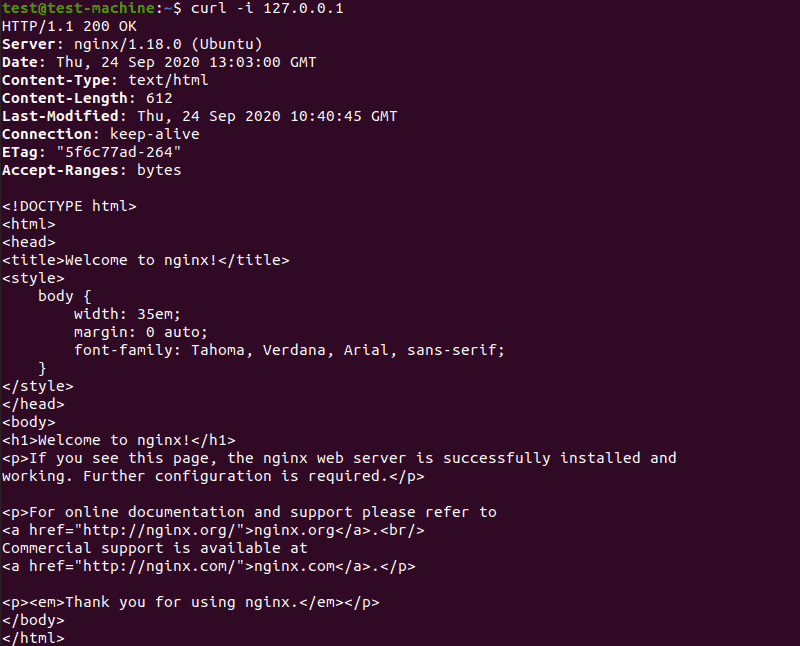
If the system does not have a graphical interface, the Nginx Welcome page can be loaded in the terminal using curl:
sudo apt-get install curl
curl –i 127.0.0.1
The system should display the HTML code for the Nginx Welcome page.
Step 7: Configure a Server Block (Optional)
In Nginx, a server block is a configuration that works as its own server. By default, Nginx has one server block preconfigured.
It is located at /var/www/html. However, it can be configured with multiple server blocks for different sites.
Note: This tutorial uses test_domain.com for the domain name. This may be replaced with your own domain name.
1. Create a Directory for the Test Domain
In a terminal window, create a new directory by entering the following:
sudo mkdir -p /var/www/test_domain.com/html2. Configure Ownership and Permissions
Use chmod to configure ownership and permission rules:
sudo chown –R $USER:$USER /var/www/test_domain.com
sudo chmod –R 755 /var/www/test_domain.com
Note: Read our article to learn how to use chmod recursively.
3. Create an index.html File for the Server Block
Open index.html for editing in a text editor of your choice (we will use the Nano text editor):
sudo nano /var/www/test_domain.com/html/index.htmlIn the text editor, enter the following HTML code:
<html>
   <head>
      <title>Welcome to test_domain.com!</title>
   </head>
   <body>
      <h1>This message confirms that your Nginx server block is working. Great work!</h1>
   </body>
</html>
Press CTRL+o to write the changes, then CTRL+x to exit.
4. Create Nginx Server Block Configuration
Open the configuration file for editing:
sudo nano /etc/nginx/sites-available/test_domain.comEnter the following code:
server    {
listen 80;

root /var/www/test_domain.com/html;
index index.html index.htm index.nginx.debian.html;

server_name test_domain.com www.test_domain.com;
location /          {
try_files $uri $uri/ =404;
      }
}
5. Create Symbolic Link for Nginx to Read on Startup
Create a symbolic link between the server block and the startup directory by entering the following:
sudo ln –s /etc/nginx/sites-available/test_domain.com /etc/nginx/sites-enabled6. Restart the Nginx Service
Restart Nginx by running the following command:
sudo systemctl restart nginx7. Test the Configuration
sudo nginx –tThe system should report that the configuration file syntax is OK, and that the configuration file test is successful.

8. Modify the Hosts File (Optional)
If you’re using a test domain name that isn’t registered or public, the /etc/hosts file may need to be modified to display the test_domain.com page.
Display the system’s IP address with the following command:
hostname –iMake a note of the IP address displayed.

Next, open /etc/hosts for editing:
sudo nano /etc/hostsIn an empty space just below the localhost information, add the following line:
127.0.1.1 test_domain.com www.test_domain.com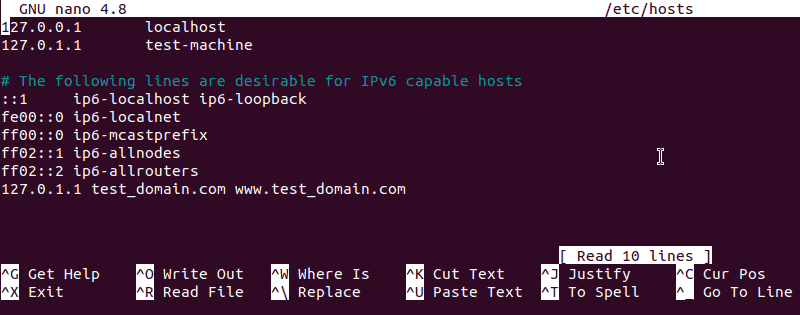
Replace 127.0.0.1 with the IP address displayed above. Press CTRL+o to save the changes, then CTRL+x to exit.
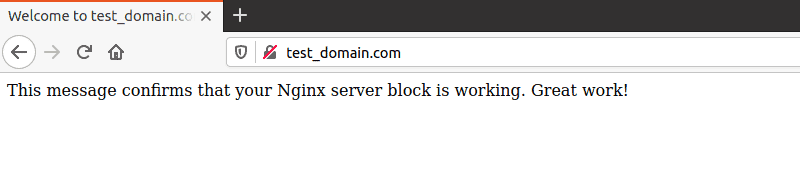
9. Check test_domain.com in a Web Browser
Open a browser window and navigate to test_domain.com (or the domain name you configured in Nginx).
You should see the message you entered in Part 3.
Important Nginx File Locations
By default, Nginx stores different configuration and log files in the following locations:
- /var/www/html – Website content as seen by visitors.
- /etc/nginx – Location of the main Nginx application files.
- /etc/nginx/nginx.conf – The main Nginx configuration file.
- /etc/nginx/sites-available – List of all websites configured through Nginx.
- /etc/nginx/sites-enabled – List of websites actively being served by Nginx.
- /var/log/nginx/access.log – Access logs tracking every request to your server.
- /var/log/ngins/error.log – A log of any errors generated in Nginx.
Conclusion
You should now have a working installation of Nginx on Ubuntu 20.04. As a bonus, you should now have an introduction to setting up an Nginx server block.
If you intend to use Nginx as a reverse proxy, see our article – How to Set Up Nginx as a Reverse Proxy.