Open Source Computer Vision Library (OpenCV ) is a software library containing over 2500 algorithms for computer vision and machine learning projects.
OpenCV supports multithreading, multi-core processing, and hardware acceleration, making it very fast and suitable for high-performance computing tasks. The library integrates easily with scientific computation libraries like NumPy, TensorFlow, and PyTorch.
In this tutorial, you will learn to install OpenCV on Ubuntu using four different methods.

Prerequisites
- A machine running Ubuntu (this tutorial uses Ubuntu 26.04).
- Access to a terminal window.
- A user account with root or sudo privileges.
How to Install OpenCV on Ubuntu?
There are four methods to install OpenCV on Ubuntu, and each method has its benefits:
- Install OpenCV from Ubuntu repositories. This is the fastest and simplest way to install OpenCV on Ubuntu. However, the official Ubuntu repositories may not include the latest version of OpenCV, which can cause compatibility issues with other software or omit important bug fixes.
- Build OpenCV from source. Retrieve the source code from the OpenCV repository and compile it on your machine to install the latest version and customize the build options.
- Install OpenCV using Anaconda. Developers who use Anaconda for Python development can utilize the conda package manager to install OpenCV.
- Install OpenCV using pip. Users can also install OpenCV directly within the Python ecosystem via pip, Python's package manager.
Refer to the sections below and install OpenCV using the method that best suits your needs.
Method 1: Install OpenCV from Ubuntu Repositories
To install OpenCV from the official Ubuntu repositories:
1. Access the command line and update the Ubuntu packages list:
sudo apt update2. Install OpenCV using the apt package manager:
sudo apt install libopencv-dev -y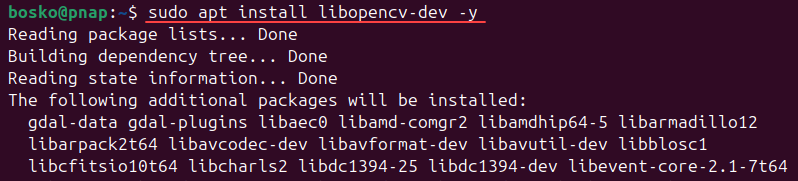
The command installs the latest OpenCV development library available in Ubuntu repositories.
3. Check the OpenCV version to verify the installation:
dpkg -l libopencv-dev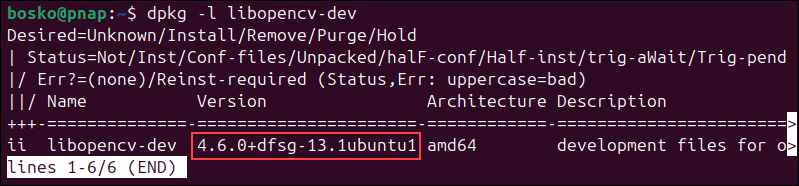
The system confirms the installed OpenCV version.
Method 2: Install OpenCV on Ubuntu from the Source
To retrieve the OpenCV source code from official repositories and install OpenCV:
1. Update the Ubuntu packages list:
sudo apt update2. Install developer tools, image and video libraries, and other dependencies necessary to build OpenCV:
sudo apt install build-essential cmake git libgtk-3-dev pkg-config libavcodec-dev libavformat-dev libswscale-dev libv4l-dev libxvidcore-dev libx264-dev openexr libatlas-base-dev libopenexr-dev libgstreamer-plugins-base1.0-dev libgstreamer1.0-dev python3-dev python3-numpy libtbbmalloc2 libtbb-dev libjpeg-dev libpng-dev libtiff-dev libdc1394-dev gfortran -y3. Create and access a directory for the OpenCV build. In this example, the directory is called opencv_build:
mkdir ~/opencv_build && cd ~/opencv_build4. Use git to clone the official OpenCV repository:
git clone https://github.com/opencv/opencv.git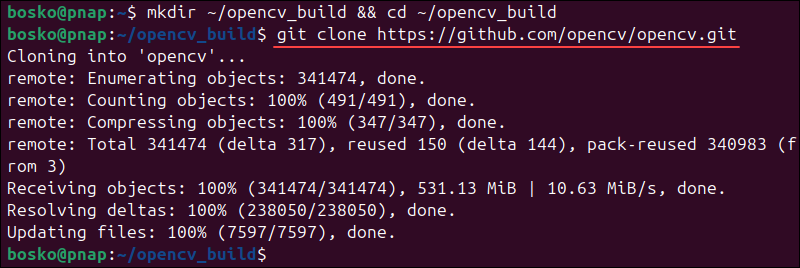
5. Clone the additional OpenCV modules:
git clone https://github.com/opencv/opencv_contrib.git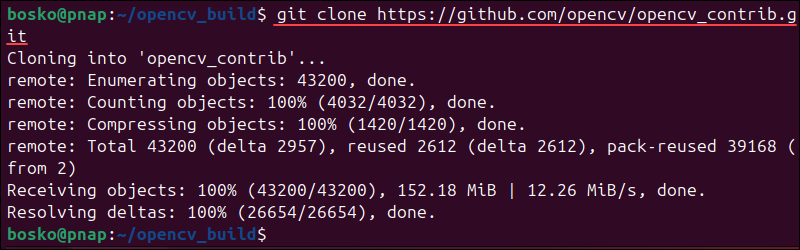
6. Create the build directory within the opencv directory and access it:
mkdir -p ~/opencv_build/opencv/build && cd ~/opencv_build/opencv/build7. Configure the build using cmake and include the path to the cloned extra modules:
cmake -D CMAKE_BUILD_TYPE=Release -D CMAKE_INSTALL_PREFIX=/usr/local -D INSTALL_C_EXAMPLES=ON -D INSTALL_PYTHON_EXAMPLES=ON -D OPENCV_GENERATE_PKGCONFIG=ON -D BUILD_EXAMPLES=ON -D OPENCV_EXTRA_MODULES_PATH=~/opencv_build/opencv_contrib/modules ..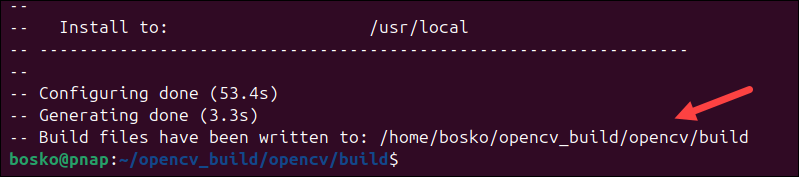
Note: The sample command above installs C++ and Python code examples. If you want to customize the build further, review available options using the cmake -LH command.
8. Use the make command to build OpenCV:
make -j3The -j3 flag tells the system to use three cores for the operation. Change the number of cores to reflect your system's capabilities and setup.
9. After the successful build, install OpenCV using the following command:
sudo make install10. Check the OpenCV version to verify the installation:
pkg-config --modversion opencv4
The system displays the OpenCV library version. In this example, the version number is 4.12.0.
Method 3: Install OpenCV using Anaconda
Developers using the Anaconda distribution of Python can utilize the conda command-line tool to install OpenCV:
1. Access the terminal and create a new Python environment:
conda create -n myenv python=3.12.3
Replace myenv with the name of your environment and 3.12.3 with the desired Python version.
2. Activate the new environment using the following command:
conda activate myenvNote: Each time you start a new terminal session, use the conda activate myenv command to activate the environment where OpenCV is installed.
3. Anaconda includes a version of OpenCV in its distribution. Enter the following command to install OpenCV:
conda install -c conda-forge opencv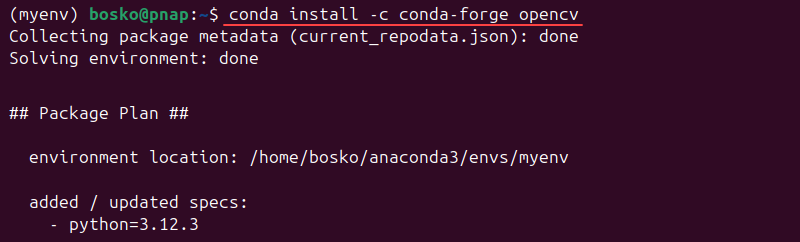
When prompted, type y and press Enter to confirm the installation.
4. Access the Python interactive shell:
python35. Enter the following commands to verify the OpenCV version:
import cv2

print(cv2.__version__)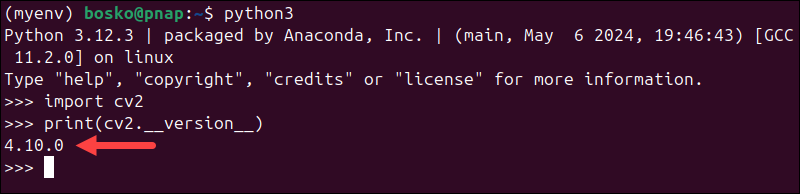
The system shows the installed OpenCV version.
Method 4: Install OpenCV using Pip
It is recommended to create a virtual environment before installing OpenCV with pip to keep dependencies for different projects isolated. The venv module is the preferred method to create and manage virtual environments:
1. Enter the following command to install the venv module in Python 3.12:
sudo apt install python3.12-venv -yAdjust the command if you are using a different Python version.
2. Use the venv module to create a Python environment:
sudo python3 -m venv myenvReplace myenv with the name of your virtual environment.
3. Activate the myenv environment using the following command:
source myenv/bin/activate
The environment name is in parentheses (myenv) and indicates that the user is now operating within the virtual space.
Note: Use the source myenv/bin/activate command every time you start a new terminal session. The command activates the environment where OpenCV is installed.
4. Enter the following command to install OpenCV using the pip package manager:
pip install opencv-python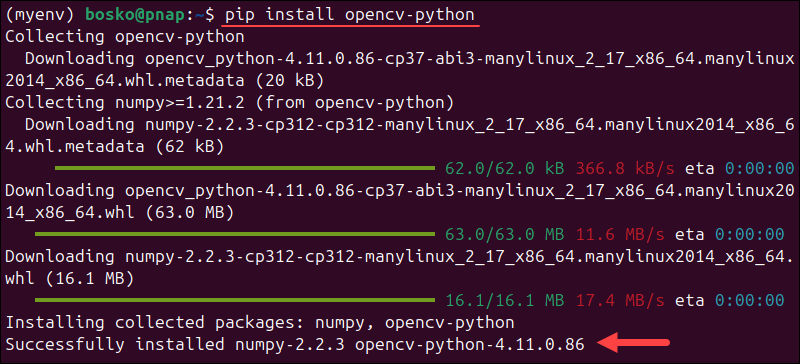
5. (Optional) Install the OpenCV version that includes the main modules and the extended (contrib) modules using the following command:
pip install opencv-contrib-python6. Access the Python shell to verify the installation:
python37. Check the OpenCV version in Python using the following commands:
import cv2

print(cv2.__version__)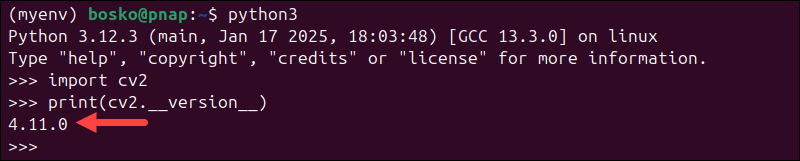
The system displays the OpenCV version.
Conclusion
You now know how to install OpenCV on Ubuntu using four different methods. Choose the installation method based on your project's needs, the OpenCV version, specific libraries, and how you want to configure your development environment.
Next, learn more about deep learning frameworks and how neural networks help you tackle complex AI, machine learning, and computer vision tasks.