MySQL Workbench is a database management tool. It is open source and provides a user-friendly cross-platform GUI for creating and editing MySQL databases.
This tutorial will show you how to create a MySQL database in Workbench. It also explains how to create a table and add data rows.
Prerequisites
- MySQL Workbench installed (check out our tutorial for installing Workbench on Ubuntu)
- MySQL server installed (refer to our tutorials for installing MySQL on Ubuntu and installing MySQL on Windows).
- MySQL user with sufficient permissions.
Note: Learn how to check MySQL user privileges.
How to Create Databases in MySQL Workbench
MySQL Workbench automatically detects running MySQL server deployments on the local system, simplifying the database creation process. Follow the steps below to create a MySQL database using Workbench.
1. Open MySQL Workbench.
2. Select a database server in the MySQL Connections section.

When prompted, type the account password.
3. Click the database icon in the Workbench toolbar to start creating a database schema.
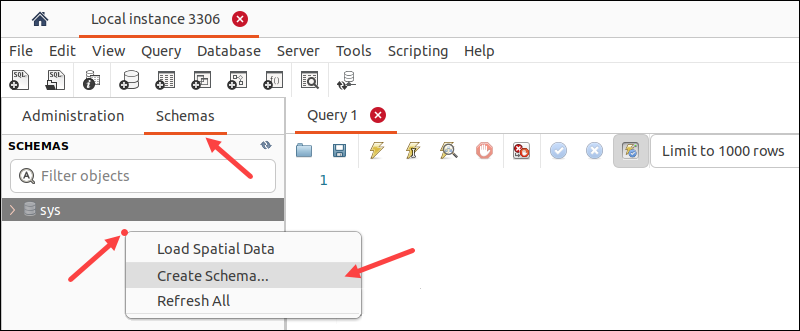
Alternatively, select the Schemas tab in the window pane on the left side. Right-click anywhere in the blank area and select Create Schema from the menu.
4. Enter a name for the database. Allowed characters include letters, numbers, and the underscore (_). Optionally, choose the character set, such as Latin1 or UTF8.
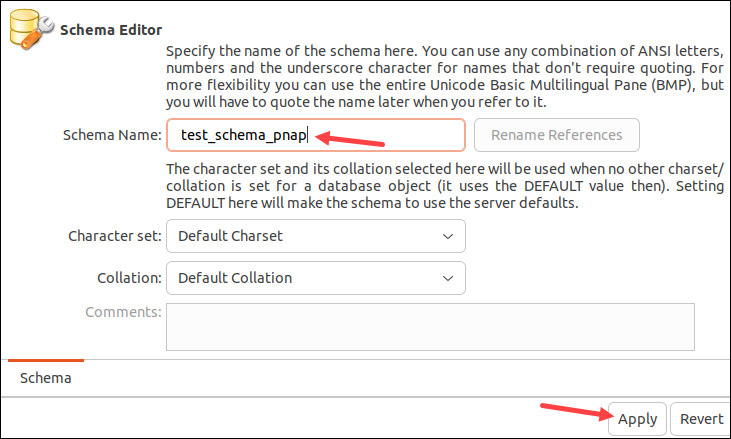
5. Click Apply when ready.
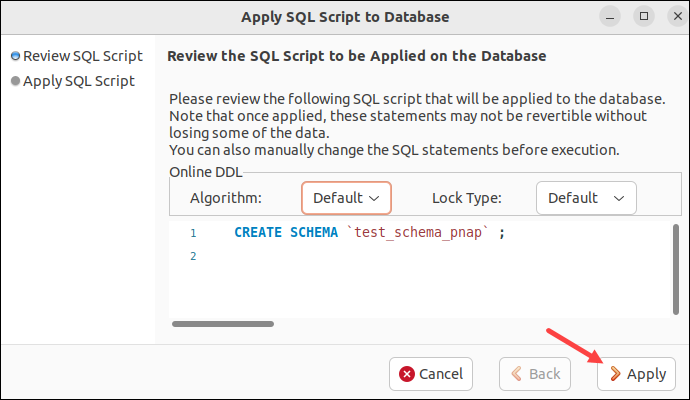
6. Review the SQL script that applies the changes to the database. If everything is in order, click Apply.
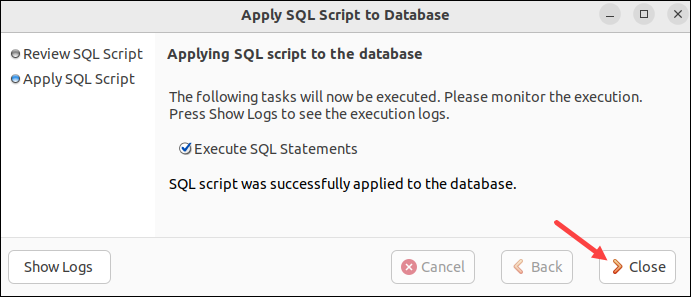
7. The output confirms that the SQL script successfully created a schema. Select Close to return to the main window.
Bonus: How to Create Table in MySQL Workbench
After creating a database, use MySQL Workbench to add tables. The following section explains how to create a table and add data rows in Workbench.
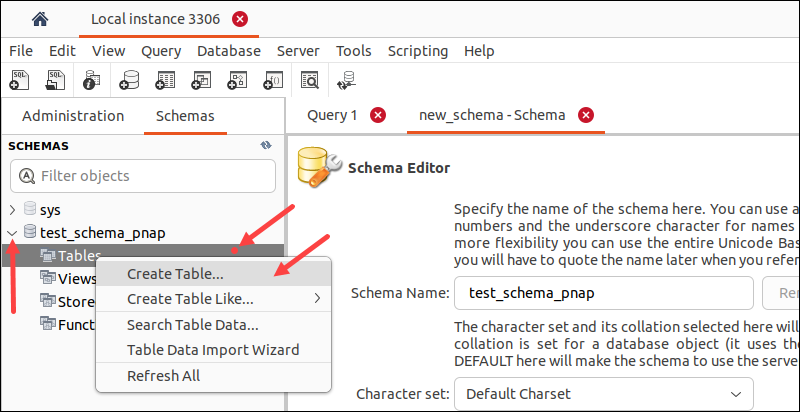
1. Select the database in the Schemas tab located in the left-side pane.
2. Click the Create Table button in the Workbench toolbar.
Alternatively, expand the database item in the pane, right-click the Tables item, and select Create Table.
3. Name the table in the Name field.
4. Double-click the empty section under the table name to add a column. Define the column name, data type, and any required constraints. Repeat the process for each new column.
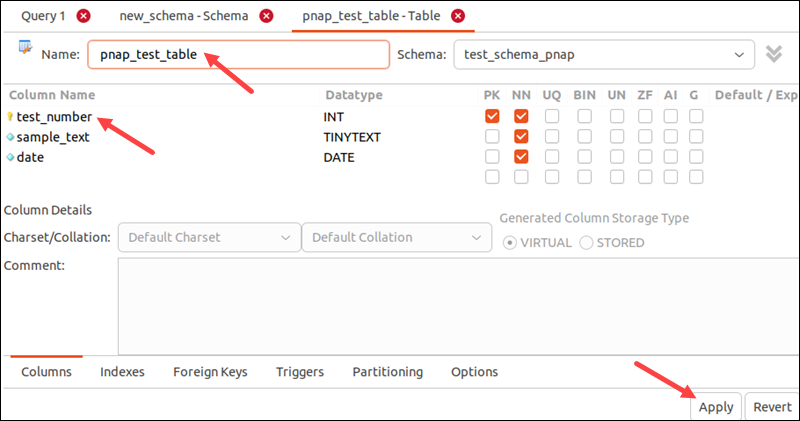
5. Click Apply when done.
6. In the next dialog, review the script and select Apply. Select Close once the SQL script has been applied to the database.
Add Data to Table
After creating a table and defining its columns and data types, follow the steps below to learn how to add rows containing table data:
1. Locate the database in the left-side pane.
2. Expand the Tables item.
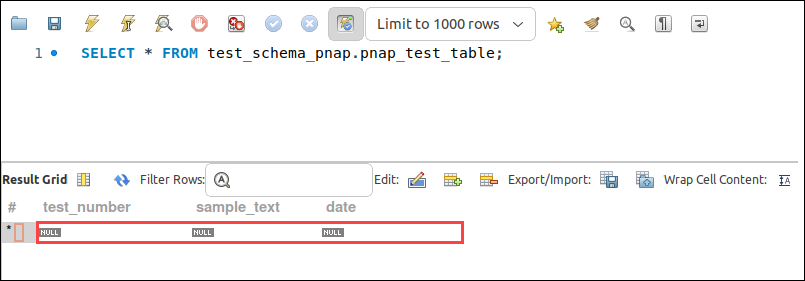
3. Hover the cursor over the table you want to modify. Three icons appear on the right side of the table name. Select the rightmost icon to load the table.
A new window opens. The top section shows MySQL statements, while the bottom section shows the data rows. The example below shows the table with NULL values.
4. Double-click the row and type values in each column. Once you entered the data, click the Apply button.
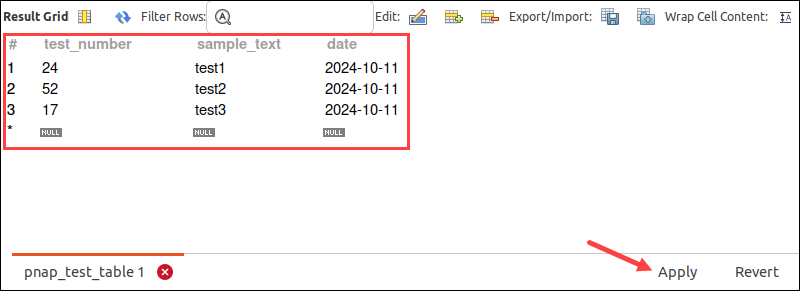
5. A new window with the SQL script appears. Review the script and select Apply. In the next window, select Close to finish adding the data.
Conclusion
By following the steps in this tutorial, you have successfully created a MySQL database and table in Workbench. Additionally, the article taught you how to add data to your tables.
Next, learn how to start, stop, and restart a MySQL server via the command line and GUI.