Provisioning and deploying dedicated bare metal servers for sandboxing purposes can be a costly undertaking. Initial investments in the equipment are followed by running and maintenance costs.
Application developers with low hardware requirements do not need high-performance servers. Instead, they can opt for cost-effective solutions providing high availability. Bare metal cloud technology allows you to delegate critical testing work to affordable dedicated server instances.
This article will show you how to set up a sandbox environment on a small server instance using Rancher and Kubernetes.
Prerequisites
- A phoenixNAP BMC account.
Note: If you are a new client, create a BMC account. For instructions on setting up a BMC Portal account, see Bare Metal Cloud Portal Quick Start Guide or watch the video instructions for BMC account creation.
Deploy Rancher on an S.0 BMC Instance
1. Log in to the BMC Portal.
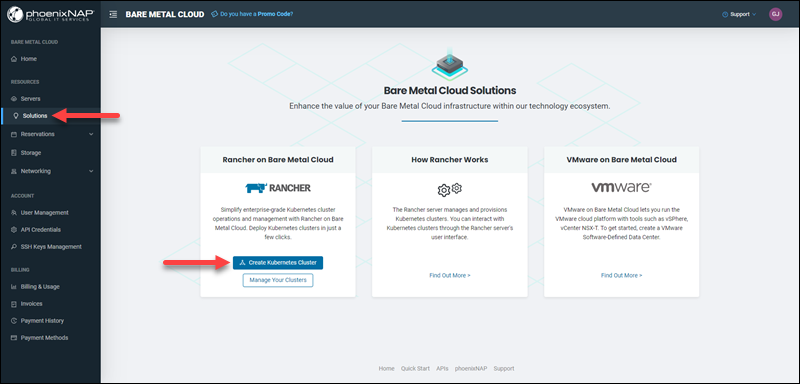
2. Select Solutions from the navigation pane on the left.
3. Click the Create Kubernetes Cluster button in the Rancher on Bare Metal Cloud tile.
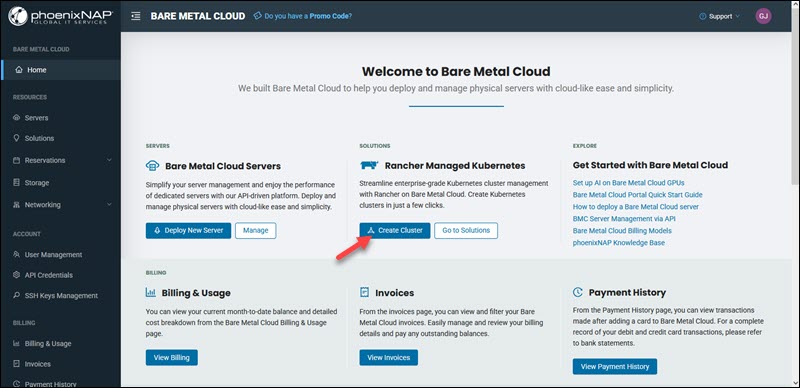
Alternatively, select the Create Cluster button on the Bare Metal Cloud Home page.
Note: This tutorial shows how to import a workload cluster via Rancher UI after the management cluster has been deployed. However, the BMC portal also allows you to deploy a new workload cluster during the management cluster deployment. To learn more, read Deploy and Manage Rancher Management Cluster with Workload Cluster in BMC.
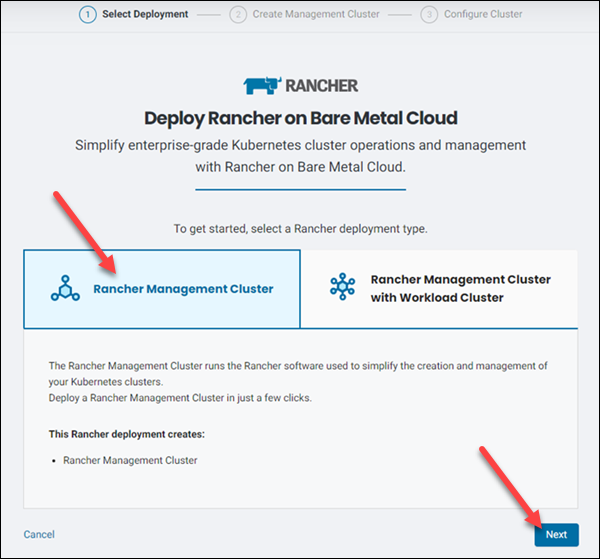
4. Select the Rancher Management Cluster option and click Next.
5. Choose a location for your server and give it a name and description on the Create a Rancher Management Cluster page.

6. Select the number of nodes for the cluster. You can choose between one and three nodes.

7. Select an available s0 server instance in the Server field.
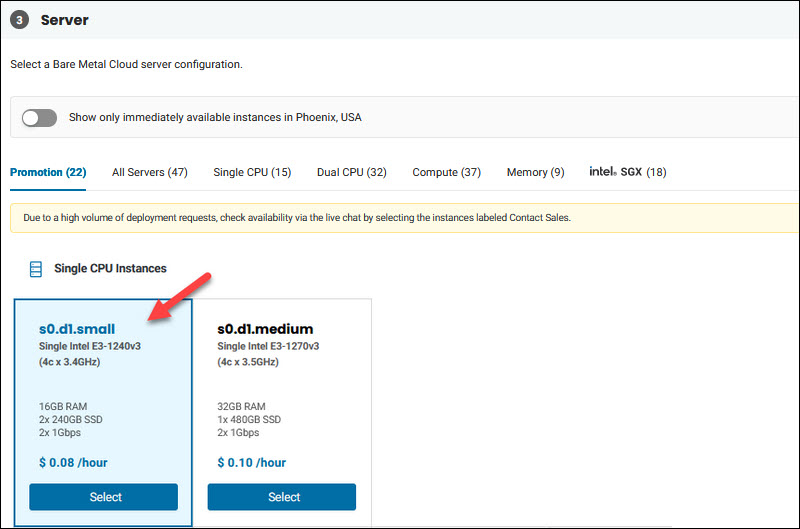
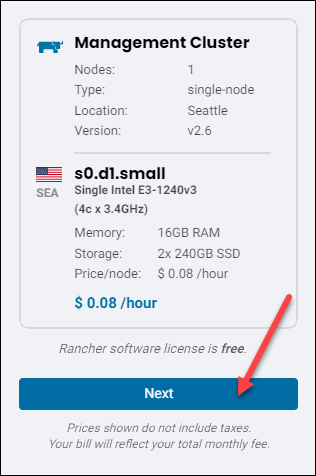
8. Click Next to proceed to Configure Your Rancher Management Cluster page.
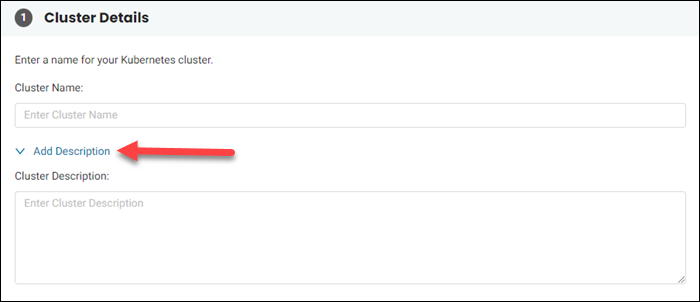
9. Type the cluster name and description in the Cluster Details section.
10. Provide your SSH keys in the Access section.

11. The Public IP Settings section lets you assign a public IP allocation to the instance.
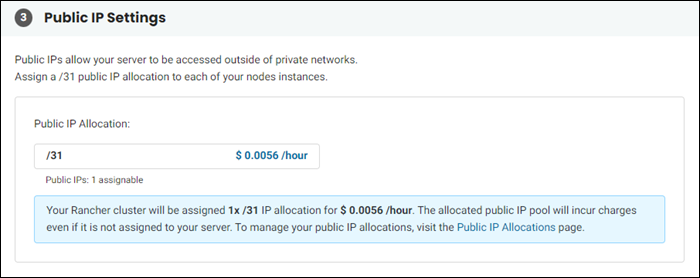
12. If you wish to configure advanced Rancher settings, check the box in Advanced Configuration Settings.

13. Click Create Kubernetes Cluster to complete the deployment.
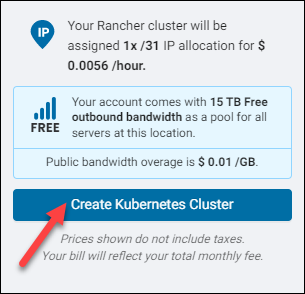
The Welcome to Rancher dialogue appears.
14. Copy and store the temporary password for the Rancher admin account.
15. Copy and store the IP address of your Rancher server.
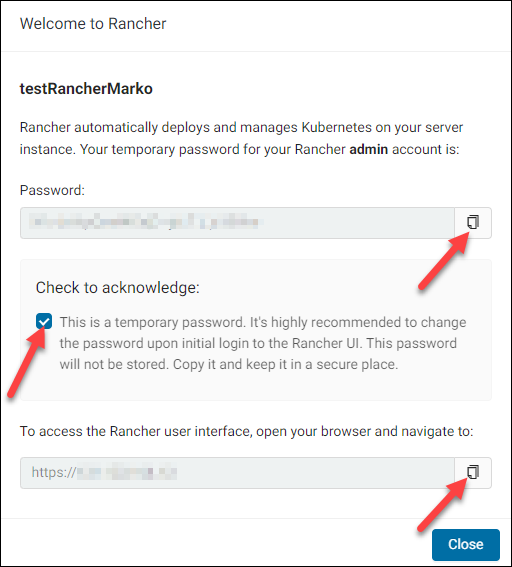
16. Close the dialogue box and wait for the server to initialize. Then access Rancher using the IP address from Step 14 in an internet browser.
17. Log in to Rancher. Use admin as the username and the password obtained in Step 14.
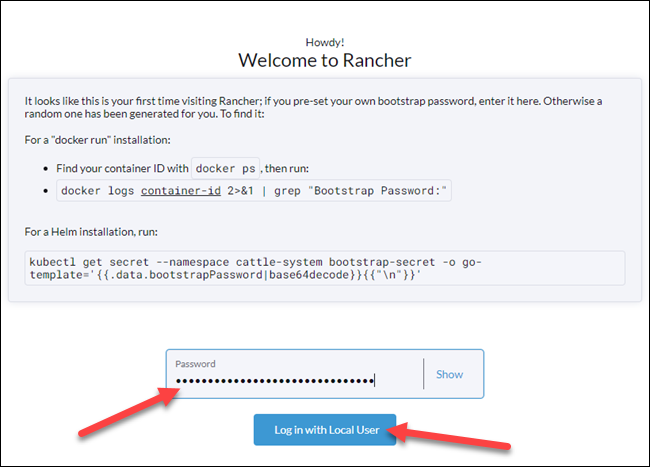
Note: For a comprehensive tutorial on setting up a Rancher cluster on Bare Metal Cloud, read Using Rancher to Deploy Kubernetes Clusters in BMC.
Deploy Your App in Rancher
Create a cluster to start deploying apps in Rancher.
1. Click Import Existing on Rancher’s main screen.

2. Click Generic on the Cluster: Import page.
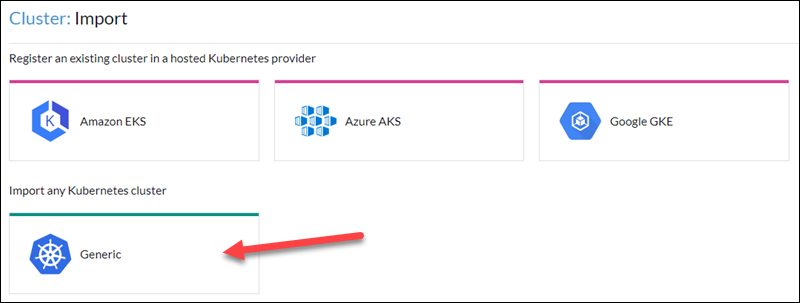
The Cluster: Import Generic page appears.
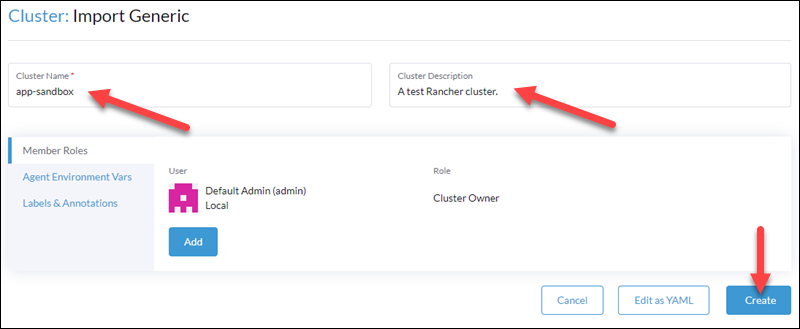
3. Name your cluster and configure it according to your needs. Then click Create.
4. Copy the automatically generated command and run it on the machines you want to include in the cluster.
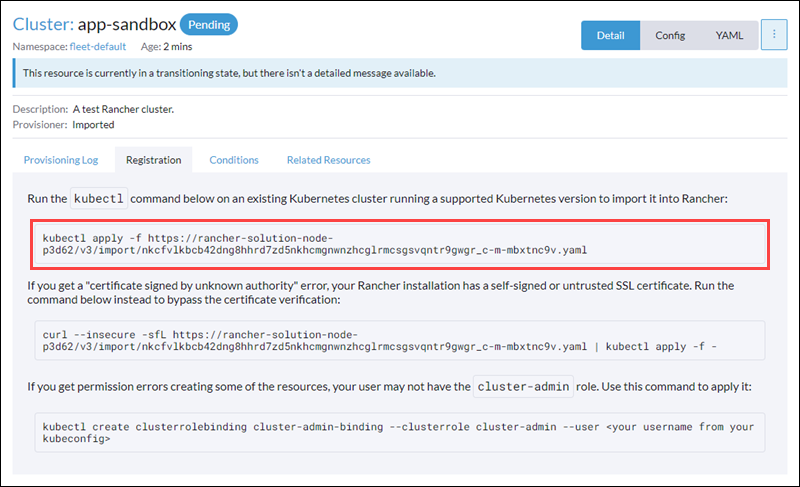
Note: Repeat Step 4 for all the nodes that need to join the cluster.
5. The cluster appears on the main list of clusters.

If you have executed the command from Step 4 on all the nodes, wait for the cluster to become Active.
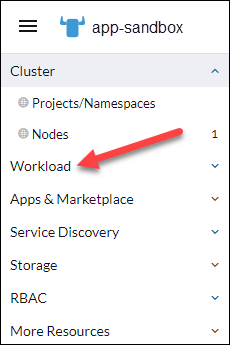
6. Select the cluster you created in the main Rancher menu. Select the Workload item.
7. Click Create in the upper right corner of the screen to open the Deployment: Create page.

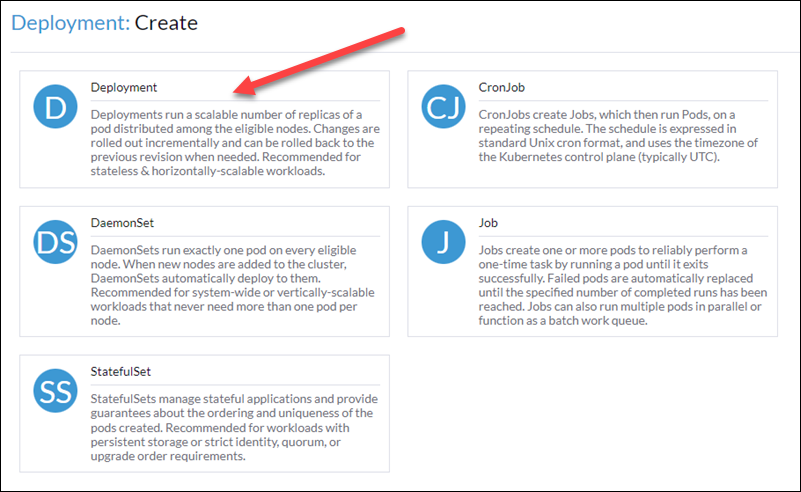
8. Click the Deployment tile.
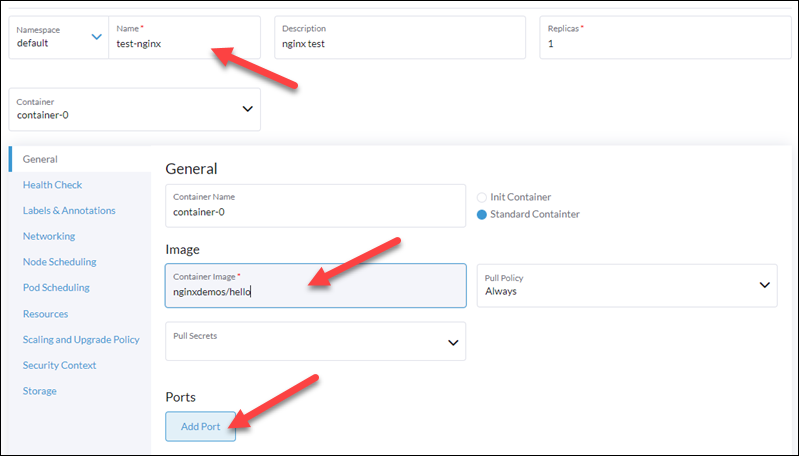
9. Name your deployment and provide the Docker image. Add ports for accessing the app.
Note: Read How to Create Docker Image with Dockerfile to learn how to package your application for Docker.
10. When you finish configuring the workload, click Create at the bottom of the page.
11. The workload appears in the Workloads list.

12. Access the app using the IP of your workload cluster.
Note: For a comprehensive tutorial on deploying app workloads with Rancher, read How to Set Up a Kubernetes Cluster with Rancher.
Conclusion
S.0 server instances provide a cost-effective dedicated server solution for development projects. This tutorial showed you how to utilize an S.0 instance to sandbox your applications.
