Zsh is a type of interactive Linux shell. When combined with the Powerlevel10k theme, it creates a highly customizable terminal environment. Creating a unique terminal can improve user experience and productivity.
This guide will show you how to install Zsh, Powerlevel10k, and set up additional plugins to customize Zsh.
Prerequisites
- Access to the command line/terminal/WSL.
- Administrator privileges.
Install Zsh
The steps to install Zsh differ depending on the operating system. The sections below cover installation steps for Linux, Windows, and macOS systems. Follow the appropriate steps for your OS.
Install Zsh on Linux
To install Zsh on Linux, use the system package manager. For example, to install Zsh on Ubuntu or Debian (and Debian-based distributions), use apt:
1. Update the repository list:
sudo apt update2. Install Zsh with:
sudo apt install zsh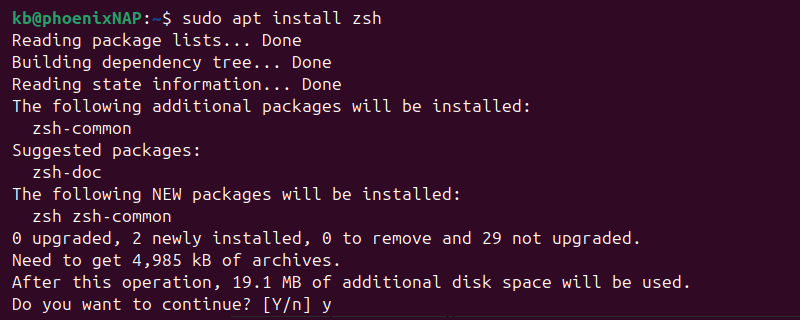
Enter y to confirm the installation.
3. Set Zsh as the default shell with the chsh command:
chsh -s $(which zsh)
Enter the user's password when prompted.
Install Zsh on Windows
To install Zsh on Windows, use WSL:
1. Install WSL and a supported Linux distribution (such as Ubuntu or Debian).
Note: We recommend using WSL2. To upgrade an existing WSL installation, see our guide on how to upgrade WSL to WSL2.
2. Launch the distribution and update the repository list:
sudo apt update3. Install Zsh using the apt install command:
sudo apt install zsh
4. Set Zsh as the default shell:
chsh -s $(which zsh)
If the command fails, try changing the Windows Terminal profile configuration or add exec zsh at the end of the .bashrc file.
Install Zsh on Mac
Zsh is the default shell on Mac systems starting with macOS Catalina and later. To install, update, or customize Zsh, follow these steps:
1. Use Homebrew to install Zsh:
brew install zsh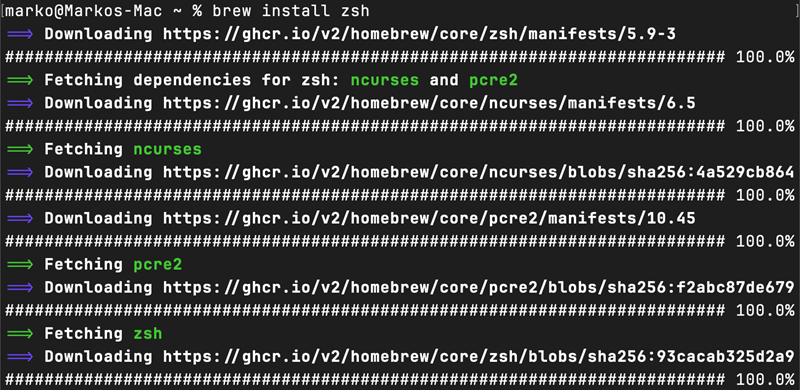
If Zsh is already installed, the command updates the existing installation instead.
2. Add Zsh to the list of allowed login shells with:
sudo sh -c "echo $(brew --prefix)/bin/zsh >> /etc/shells"3. Set Zsh as the default shell:
chsh -s /bin/zsh
If it was the default shell, no changes are made.
Note: To switch to Bash, see our guide on how to change from Zsh to Bash on Mac.
Install Powerlevel10k
Powerlevel10k is a fast and highly customizable theme for Zsh. The theme works both with and without Oh My Zsh. It's highly recommended to install Meslo Nerd Fonts before Powerlevel10k for complete styling options and proper glyph rendering.
The sections below outline the steps to install the font and Powerlevel10k on all systems.
Install Nerd Font
Start by installing and loading the font to ensure Powerlevel10k loads correctly. To install the font:
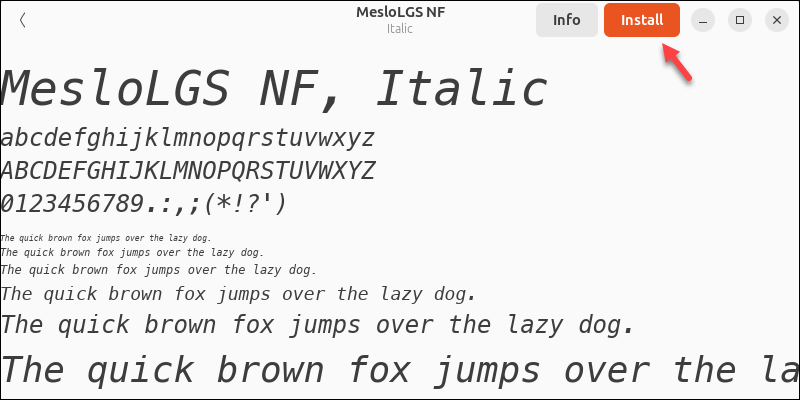
1. Download the font files. The files are available at the following links:
2. Open each file and click Install.
3. Import the font into the terminal/command prompt:
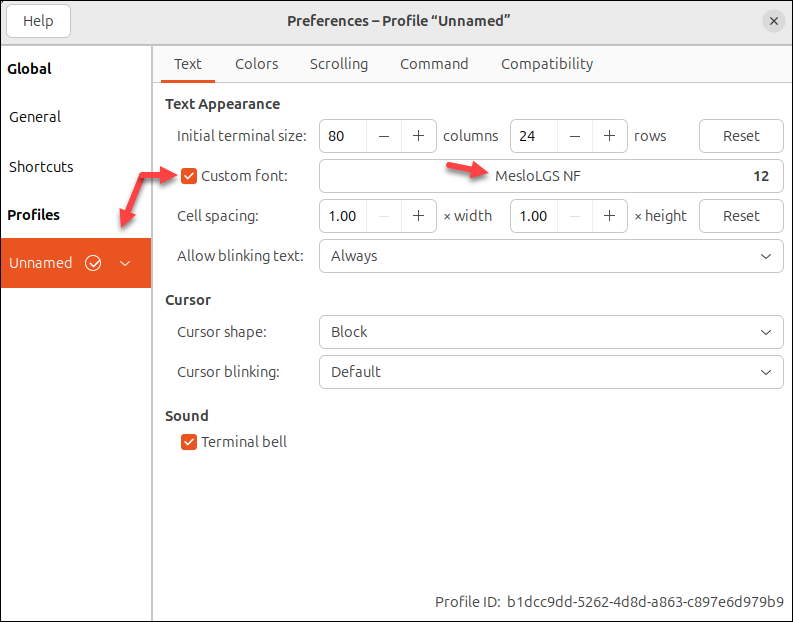
- Linux. In the Preferences menu, select Profile > Custom Font, and change it to MesloLGS NF.
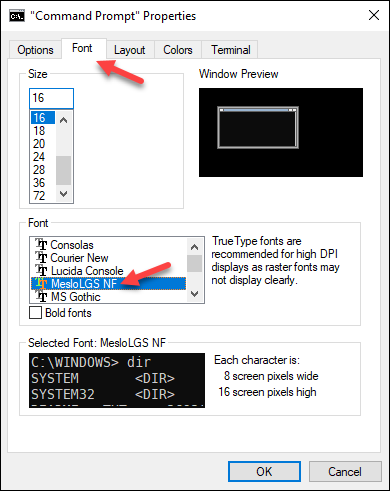
- Windows. Navigate to Properties > Font and set it to MesloLGS NF.
- Mac. Go to Preferences > Profiles > Text and set the font to MesloLGS NF.

Install Powerlevel10k on Linux, Windows, or Mac
To set up the font and install Powerlevel10k on any system:
1. Open the terminal and clone the Powerlevel10k theme from the official repository:
git clone --depth=1 https://github.com/romkatv/powerlevel10k.git ~/.powerlevel10k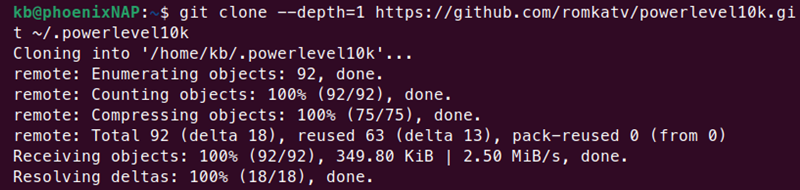
If using Oh My Zsh, use the following command instead:
git clone --depth=1 https://github.com/romkatv/powerlevel10k.git ${ZSH_CUSTOM:-$HOME/.oh-my-zsh/custom}/themes/powerlevel10k2. Add the theme to the .zshrc file:
echo 'source ~/.powerlevel10k/powerlevel10k.zsh-theme' >> ~/.zshrcIt appends the source command to the .zshrc file.
For Oh My Zsh, there's a ZSH_THEME variable in the .zhrc file that controls the default theme. Use sed to replace the existing value for Linux and Windows:
sed -i 's/^ZSH_THEME=.*/ZSH_THEME="powerlevel10k\/powerlevel10k"/' ~/.zshrcOn macOS, use the following command format instead:
sed -i '' 's/^ZSH_THEME=.*/ZSH_THEME="powerlevel10k\/powerlevel10k"/' ~/.zshrcThe commands replace the ZSH_THEME environment variable to point to Powerlevel10k.
Note: For more details, see how to set environment variables in Zsh.
Configure Powerlevel10k
After installing Zsh and Powerlevel10k, the shell is ready to be customized. The sections below show how to set up a theme and add optional plugins.
Powerlevel10k Theme
To run Zsh with Powerlevel10k, use the exec command:
exec zsh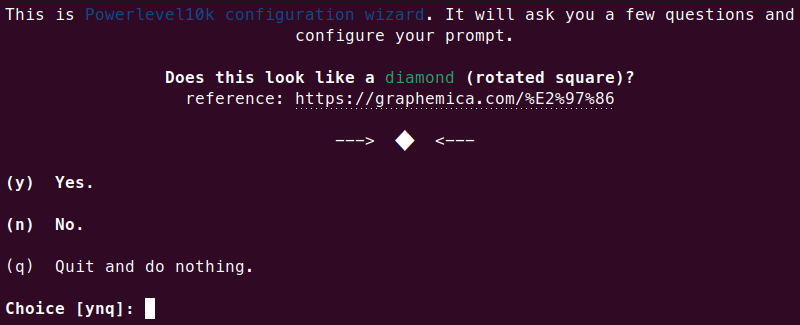
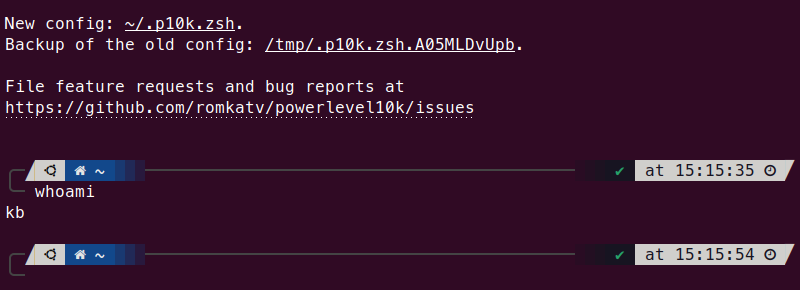
The command immediately opens the Powerlevel10k configuration setup. Go through the steps to confirm the font works correctly. After those steps, the configuration allows you to customize the prompt style and its details:
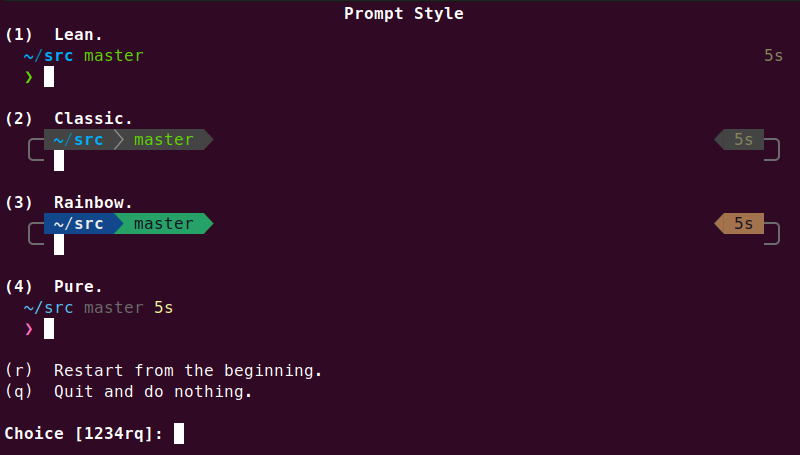
Note that the changes apply to the prompt and not the whole terminal theme.
To re-run the configuration, use:
p10k configureIt allows you to go through the interactive configuration again and change any previously applied settings.
Note: For additional customization, edit the .p10k.zsh file using a text editor.
Powerlevel10k Plugins
Additional plugins can help make the most out of Powerlevel10k. They create a highly interactive terminal environment, aiming to simplify or visually enhance a terminal experience.
Below are some commonly used plugins.
Syntax Highlighting
The zsh-syntnax-highlighting plugin colorizes shell commands as they are typed. Apart from the visual appeal, it also helps catch syntax errors when reviewing commands.

To install the syntax highlighting plugin:
git clone https://github.com/zsh-users/zsh-syntax-highlighting.git ~/.zsh-syntax-highlighting2. Add the script to the .zshrc file:
echo 'source ~/.zsh-syntax-highlighting/zsh-syntax-highlighting.zsh' >> ~/.zshrc3. Run Zsh again:
exec zshThe restart automatically applies the changes.
Autosuggestions
The zsh-autosuggestions plugin recommends commands as you type them. It adapts based on history and completions.

To install the plugin:
1. Clone the Git repository:
git clone https://github.com/zsh-users/zsh-autosuggestions ~/.zsh/zsh-autosuggestions2. Source the script with:
echo 'source ~/.zsh/zsh-autosuggestions/zsh-autosuggestions.zsh' >> ~/.zshrcThe terminal now offers the autocomplete option.
lsd Tool
The ls command is colorless by default. The lsd Zsh tool colorizes, adds icons, and provides a tree view to make the command output easier to read.

To install the tool:
1. Clone the zsh-lsd project:
git clone https://github.com/z-shell/zsh-lsd.git ~/.zsh/zsh-lsd2. Add the source command to .zshrc:
echo 'source ~/.zsh/zsh-lsd/zsh-lsd.plugin.zsh' >> ~/.zshrc3. Restart the shell to apply the changes:
exec zshConclusion
This guide explained how to set up Zsh with Powerlevel10k to create a custom terminal environment. We also showed how to add plugins to further improve and simplify working in Zsh.
Next, see how to configure Vim color schemes.