Transferring files between a local and remote machine during a Remote Desktop session is useful when you need to copy logs from a remote server, transfer configuration files, or move working documents between systems.
Windows Remote Desktop offers multiple ways to transfer files, from simple clipboard methods to advanced sharing protocols. However, each method varies in setup, security, and compatibility.
This tutorial will explain how to transfer files using Remote Desktop and how to troubleshoot common issues.
How to Transfer Files via Remote Desktop
Remote Desktop Protocol (RDP) allows access to a remote Windows system over a network. Once the connection is established, the remote system appears in a window on the local machine, providing full access to its desktop environment.
Some file transfer methods rely on the system clipboard, which temporarily holds copied text or files. Clipboard-based transfers allow content to be copied on one system and pasted into another. Alternatively, other methods use redirected storage, shared folders, or network-based protocols to move files between machines.
Here's how to start a Remote Desktop session using the built-in Remote Desktop Connection client on Windows:
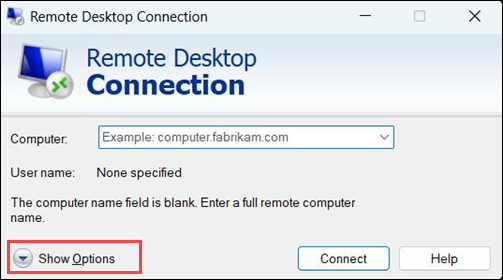
1. Press Windows + R, type mstsc, and press Enter to open the Remote Desktop Connection client.
2. In the Computer field, type the remote system IP address. In this example, it is 192.168.0.37.
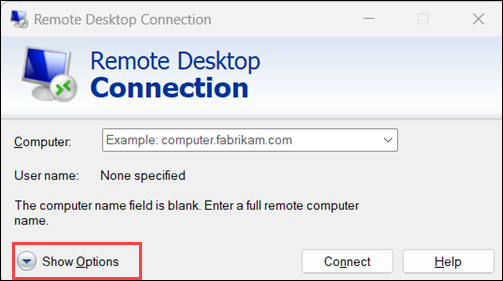
3. Click Show Options to expand additional settings.
4. Add a User name. In this case, we used windows11-test\test-user.

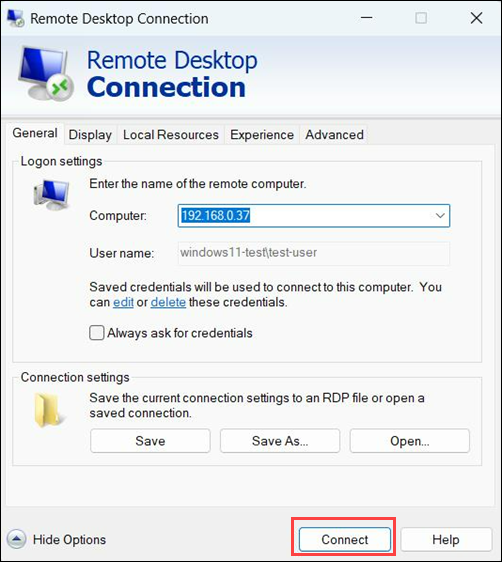
5. Click Connect.
Once connected, the Remote Desktop session is active and ready for file transfer using the available methods.
The following sections explain several methods for transferring files during a Remote Desktop session.
Using Copy and Paste Method
Copy and paste is the fastest way to transfer files during a Remote Desktop connection. It utilizes clipboard redirection, which enables copied files or folders on one system to be pasted into another. Moreover, the drag-and-drop method functions similarly and relies on the same underlying mechanism.
The following steps show how to copy and paste files between the local and remote systems during an active RDP session.
Step 1: Check if Clipboard Redirection and Drag-and-Drop are Supported
To ensure this method works for your system, do the following:
1. Open Remote Desktop Connection/
2. Click Show Options.
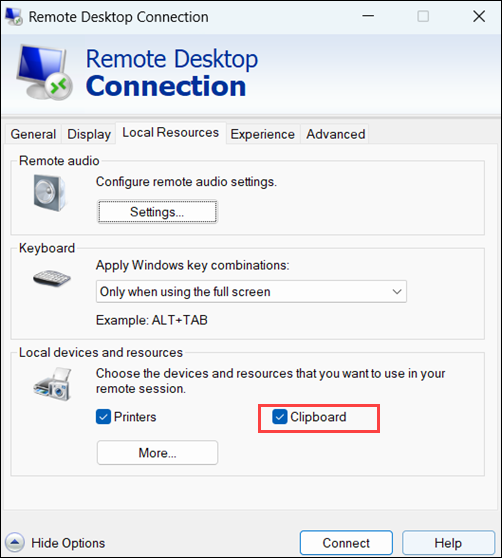
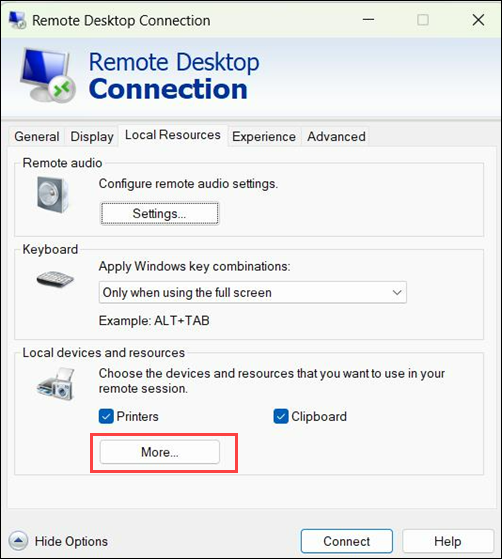
3. Go to the Local Resources tab.
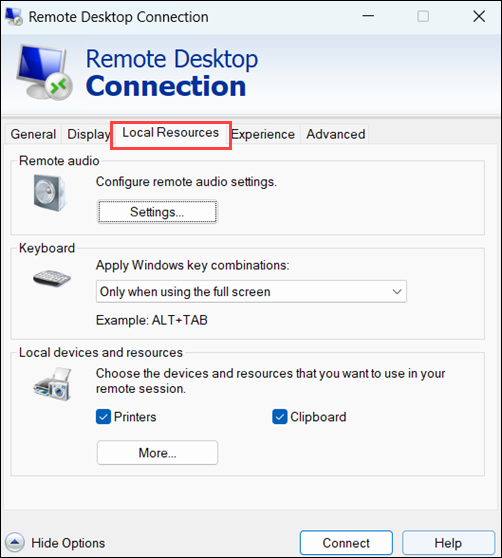
4. Ensure the Clipboard checkbox is selected.
5. Click More under Local devices and resources.
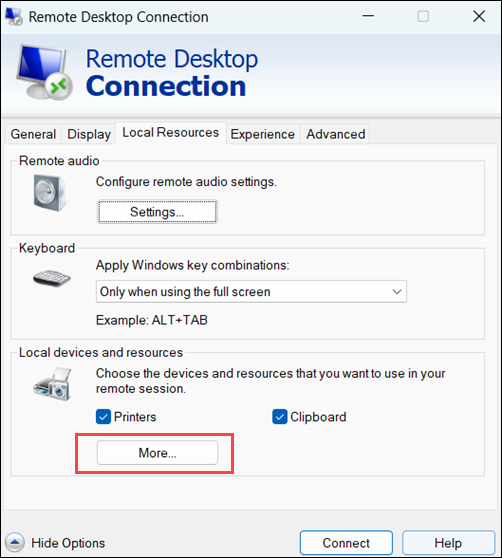
6. Ensure Drives is also selected.
Step 2: Launch the RDP Session
To connect to the Remote Desktop, take the following steps:
1. Type the remote machine IP address in the Computer field.
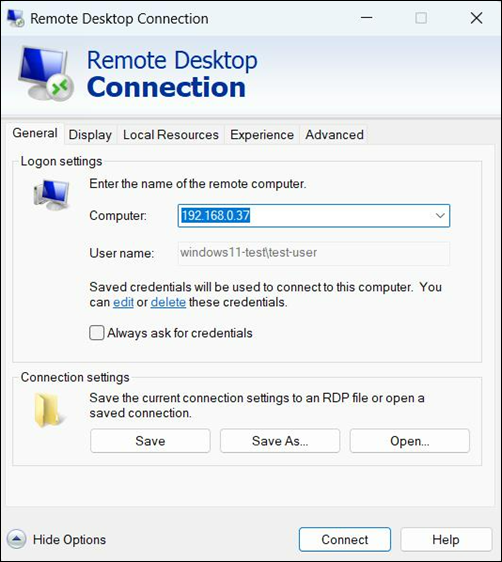
2. Type in a username if you haven't already.
3. Click Connect.
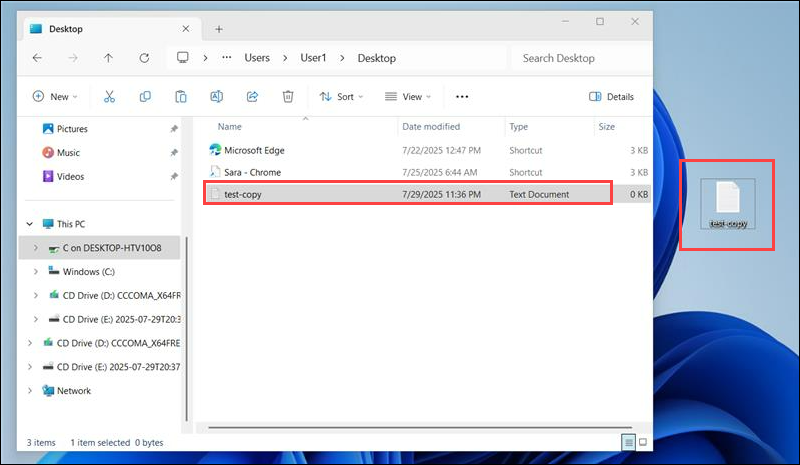
Step 3: Prepare a Test File on the Local System
To transfer files between local and remote systems, first create a sample file on the host system. For instance:
1. Right-click the desktop.
2. Select New.
3. Click Text Document.
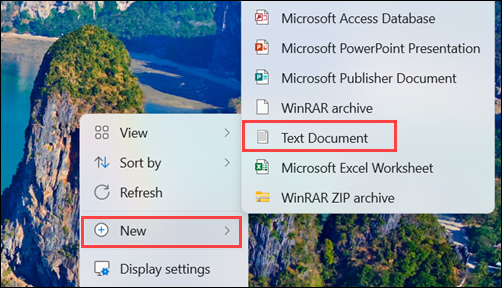
4. Name it test-copy.txt.
Step 4: Use Copy and Paste to Transfer the File
Transfer the file by doing the following:
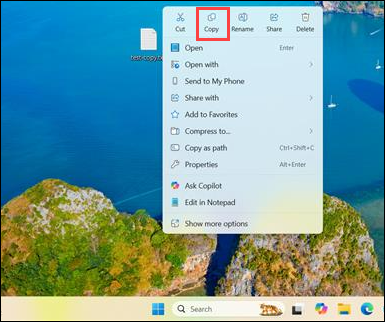
1. Right-click test-copy.txt
2. Select Copy.
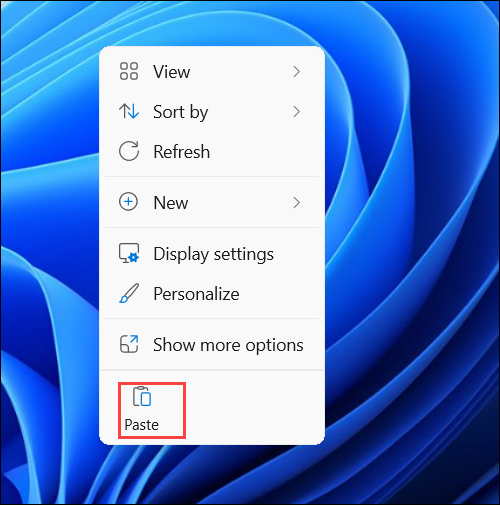
3. Switch to the RDP session.
4. Paste the file into any folder. In this case, it is Desktop.
Step 5: Try Drag-and-Drop if Supported
Another option is to drag test-copy.txt from the host Desktop into the remote Desktop window.
If drag-and-drop is supported and enabled, the file appears in the target folder automatically.
Using FTP/SFTP
File Transfer Protocol (FTP) and Secure File Transfer Protocol (SFTP) provide reliable methods to transfer files between local and remote systems independently of Remote Desktop features.
SFTP encrypts both commands and data, offering better security compared to standard FTP. However, FTP transmits data in plaintext and is generally used only in trusted or isolated networks.
Still, both methods are useful when direct clipboard or drive sharing is disabled or not available. The process requires an FTP or SFTP server running on the remote system and an FTP/SFTP client on the local machine.
The following steps show how to set up and transfer files between a local and a remote machine using the built-in SFTP client on Windows, using the file test-copy.txt created earlier.
Step 1: Install an SFTP Server on the Remote System
To accept incoming SFTP connections, the remote system must run an SFTP server. On Windows 11, the built-in OpenSSH server provides this functionality.
There are multiple ways to accomplish this. However, the recommended method is to use PowerShell commands to install and configure OpenSSH Server quickly:
Open PowerShell as Administrator on the remote machine and:
1. Install OpenSSH Server:
Add-WindowsCapability -Online -Name OpenSSH.Server~~~~0.0.1.0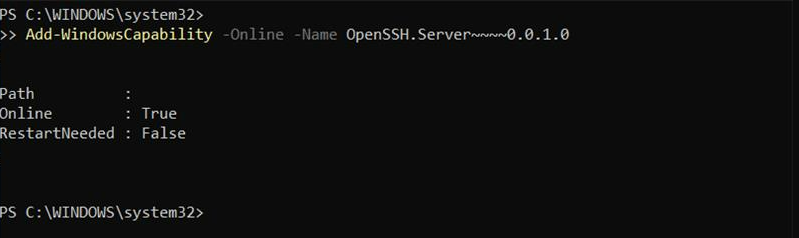
The process takes a few minutes.
2. Start and configure the service:
Start-Service sshd
Set-Service -Name sshd -StartupType 'Automatic'
The commands have no output.
3. Verify whether the firewall rule already exists:
Get-NetFirewallRule -Name sshd
If you see output with Enabled: True and Direction: Inbound, your firewall is already configured to allow SSH traffic on port 22.
4. In case the firewall rule doesn't exist, add it with:
New-NetFirewallRule -Name sshd -DisplayName 'OpenSSH SSH Server' -Enabled True -Direction Inbound -Protocol TCP -Action Allow -LocalPort 22These commands install OpenSSH Server, start the service, and set it to start automatically on boot. They also configure the firewall to allow SSH connections.
Note: This process can also be completed via the graphical interface by navigating to Settings > Apps > Optional Features, installing OpenSSH Server if not present, and starting the service via Services. However, the command-line method is faster.
Step 2: Find the Remote System's IP Address
The SFTP client needs the remote machine’s IP address to connect. To find it, take the following steps:
1. On the remote system, open Command Prompt and enter:
ipconfig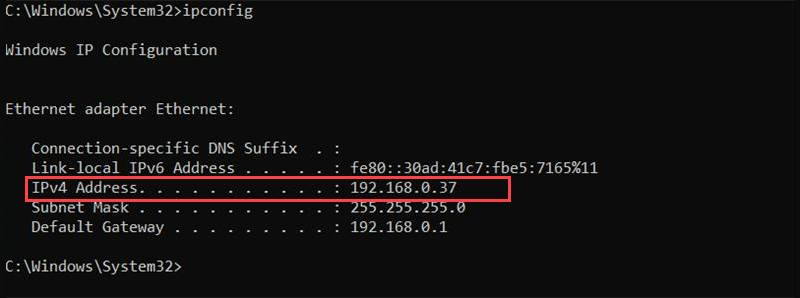
2. Identify the IP address listed under the active network adapter (such as Ethernet or Wi-Fi).
In this case, the remote system's IP address is 192.168.0.37.
Step 3: Connect to the Remote System Using the Built-in SFTP Client
On the local system, open PowerShell or Command Prompt and establish an SFTP connection with:
sftp test-user@192.168.0.37
Replace test-user and 192.168.0.37 with the actual username and IP address of the remote system.
When prompted, enter the password for the remote user account.
Step 4: Transfer Files Using SFTP Commands
Use the built-in SFTP commands to transfer files.
To upload the file test-copy.txt from the local Desktop folder to the remote system's Desktop, run:
put "/Users/user1/Desktop/test-copy.txt" Desktop/
To download a file from the remote system to your local Desktop, use the get command:
get Desktop/test-copy.txt /Users/user1/Desktop/
After transferring, confirm the file is present on the remote machine by checking the target directory.
Step 5: Exit the SFTP Session
Once the transfer is complete, disconnect by typing:
exitUsing a GUI-Based SFTP Client (Optional)
For users preferring graphical interfaces (GUI), third-party clients such as WinSCP or Cyberduck offer user-friendly SFTP functionality. To transfer files using the GUI:
1. Download WinSCP from the official site and install it on the local system.
2. Open WinSCP and set the following parameters:
- File protocol. SFTP.
- Host name. IP address of the remote system (in this example, 192.168.0.37).
- Port number. 22.
- User name. Remote system username (e.g., test-user).
- Password: The remote account password.
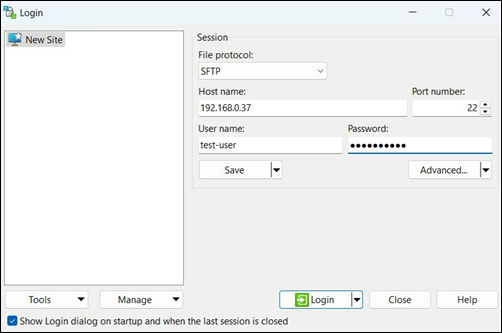
3. Click Login to connect.
4. Transfer files using the dual-pane interface
The left pane represents the local machine, while the right pane displays the remote system's file system.

Drag and drop files between panes to upload or download.

Files maintain original names, timestamps, and permissions as permitted by the remote system.
Using Server Message Block (SMB)
The Server Message Block (SMB) protocol enables file and printer sharing between systems on the same network. Unlike temporary transfer methods, SMB shares are persistent, network-accessible folders configured on a remote system. Once set up, they allow repeated access without reconfiguration.
The following steps show how to access and transfer files using SMB shares.
Step 1: Configure SMB Share on the Remote System
To share a folder via SMB on the remote system, take these steps:
1. Right-click the desktop and choose New, then Folder.
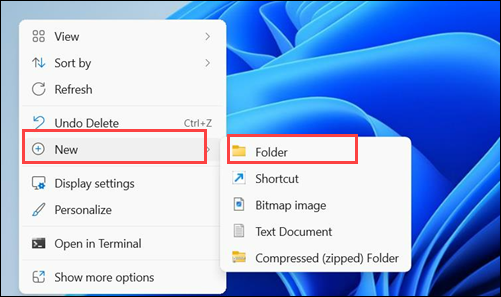
2. Name it SharedFolder.
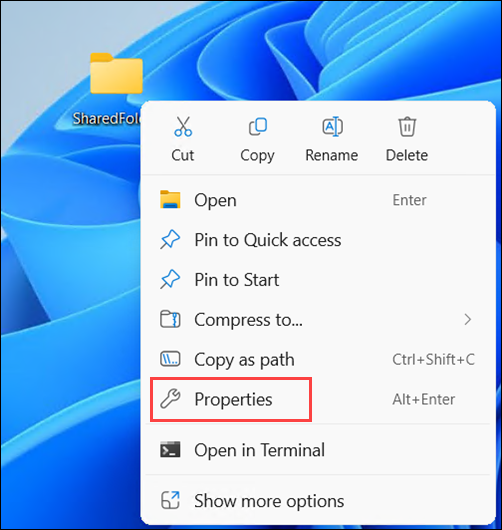
3. Right-click the folder and select Properties.
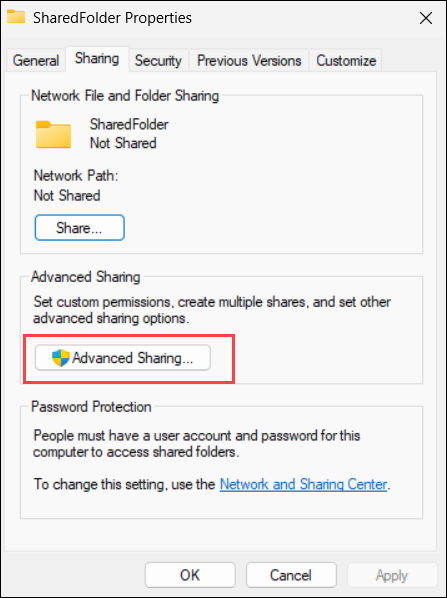
4. Go to the Sharing tab.
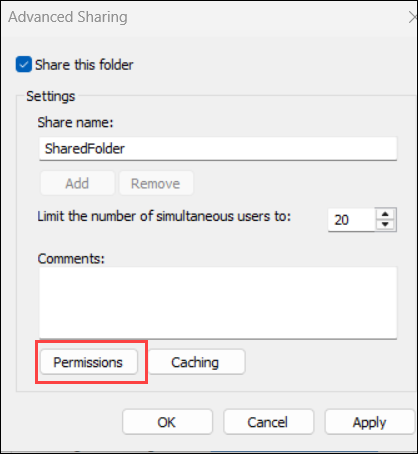
5. Click Advanced Sharing.
6. Check Share this folder.
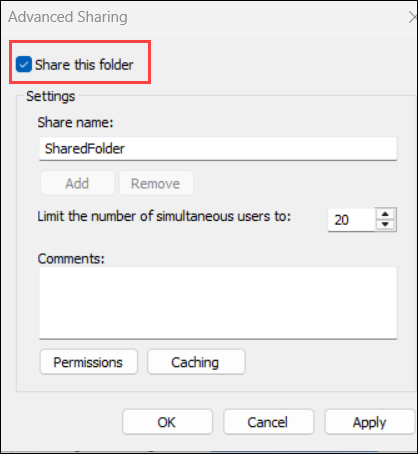
7. Set the share name (for example, SharedFolder).
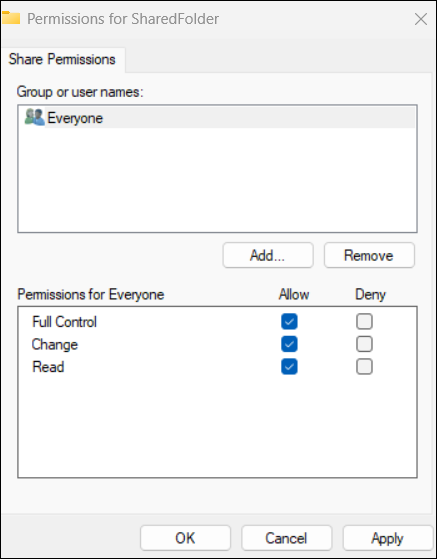
8. Click Permissions to adjust access rights if needed.
9. The default is Read for Everyone. In this case, we change it to Full Control for Everyone.
10. Click OK to apply and close all dialogs.
Step 2: Find the Remote System's IP Address
The local system requires the remote system's IP address to access the SMB share. Use the ipconfig command:
ipconfigIn our case, it's 192.168.0.37.
Step 3: Access the SMB Share from the Local System
On the local system, open File Explorer and enter this path in the address bar:
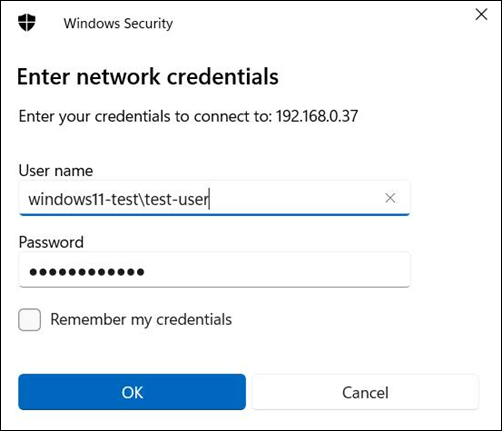
\\192.168.0.37\SharedFolderReplace 192.168.0.37 with the remote IP address and SharedFolder with the share name you created in Step 1.
Next, press Enter to connect, and if prompted, enter the Network Credentials.
Step 4: Transfer Files Using the SMB Share
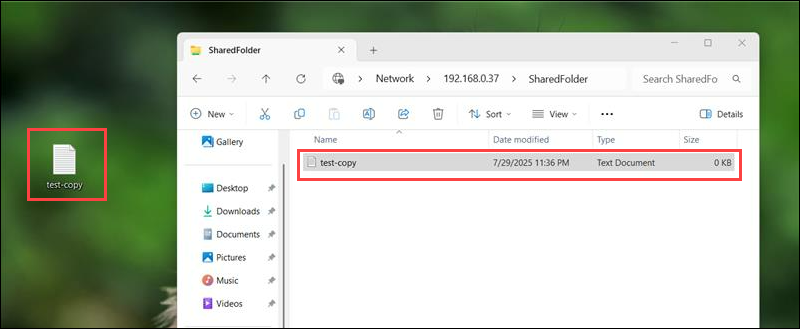
Transfer files using drag-and-drop or copy/paste methods. For example, copy test-copy.txt from the local Desktop to the SMB share folder.
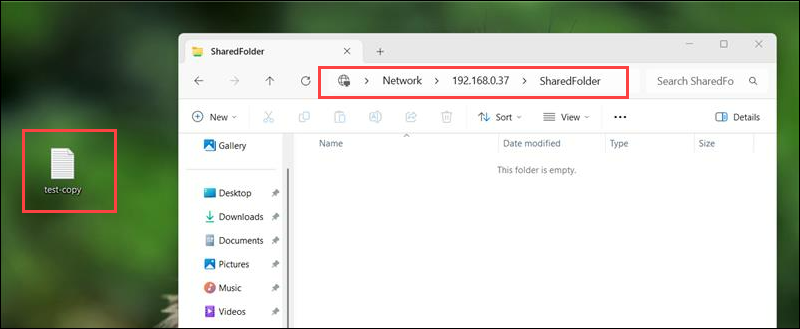
Step 5: Confirm the Transfer
Confirm that the file appears on the remote system by checking the shared folder.
Note: To exit an SMB network share in File Explorer, close the File Explorer window displaying the shared folder.
Using File Explorer
File Explorer allows the remote system to browse and interact with local drives directly during an active Remote Desktop session. This method relies on drive redirection, which mounts local volumes inside the RDP environment.
Unlike the copy and paste method, drive redirection provides persistent access to full drives and folders throughout the session.
The following steps show how to enable and use File Explorer access to transfer files over RDP.
Step 1: Enable Drive Redirection in the RDP Client
Before starting the session, configure Remote Desktop Connection on the local machine to share local drives:
1. Press Windows + R, type mstsc, and press Enter.
2. Click Show Options.
3. Open the Local Resources tab.
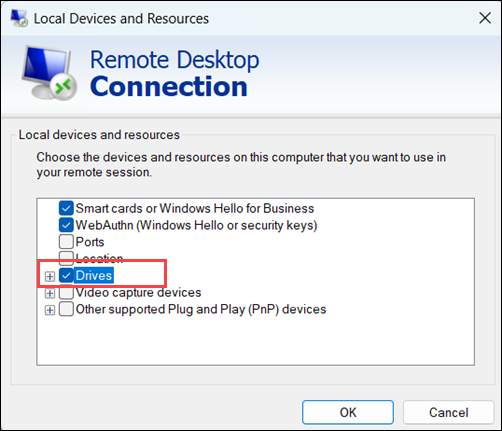
4. Click More under Local devices and resources.
5. Expand Drives, and check the boxes for the drives you want to access (e.g., C:).
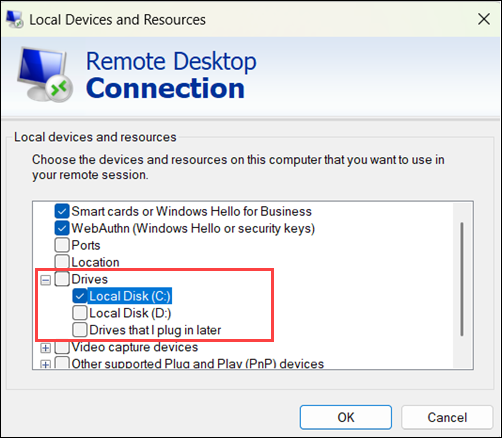
6. Click OK.
Step 2: Connect to the Remote System
To establish a Remote Desktop connection, switch to the General tab and follow these steps:
1. Enter the remote machine’s IP address in the Computer field. In this example, it's 192.168.0.37.
2. Provide the username for the remote system if you haven't already.
3. Click Connect to initiate the session.
Step 3: Find the Shared Local Drive on the Remote Machine
After logging in, press Windows + E to open File Explorer. Next, look under This PC in the left pane and confirm the shared local drives appear (e.g., C on DESKTOP-HTV10O8).

Step 4: Transfer Files Between the Systems
Use File Explorer to transfer files between the local and remote systems:
1. Locate test-copy.txt on the redirected Desktop drive.
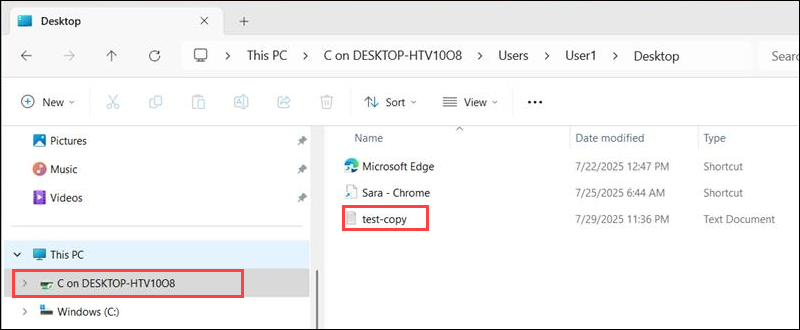
2. Copy the file and paste it into the remote system's Desktop folder.
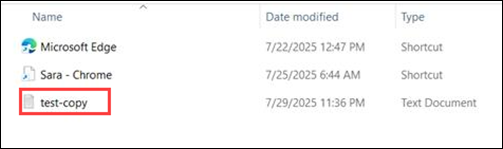
3. Confirm the file appears on the remote system.
Using Drive Sharing via RDC
Drive sharing via Remote Desktop Connection (RDC) allows access to local drives from within a remote session. Unlike SMB shares, this method does not require you to create a shared folder or configure network permissions in advance.
It temporarily maps the local drives to the remote system, which makes them appear as network drives in This PC. Therefore, you are able to browse and transfer files as if they were part of the remote machine.
The following steps show how to use drive sharing during an active Remote Desktop session.
Step 1: Enable Drive Redirection in the RDP Client
Before starting the session on the local machine, configure Remote Desktop Connection to share local drives as explained in the previous section. This involves opening the Local Resources tab, clicking More, and selecting the drives to redirect.
Step 2: Launch a Remote Desktop Session
Start the session from the local machine. Enter the remote system's IP address and user credentials, then click Connect.
Step 3: Transfer Files via Shared Drives
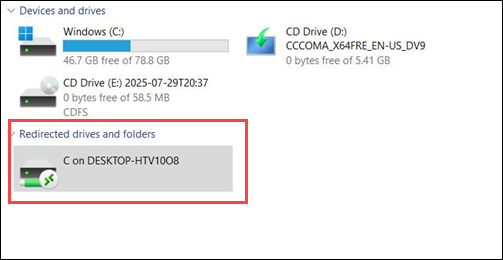
Once logged in via the remote connection, open This PC and look under Devices and Drivers. Shared local drives appear under the Redirected drives and folders section.
Browse to the local file you want to transfer
Copy and paste the file into a folder on the remote system, or drag and drop as needed
Step 4: Confirm the File Transfer
Navigate to the destination folder on the remote machine and ensure the transferred file is present.
Troubleshooting Remote Desktop File Transfer Issues
File transfers over RDP sometimes fail due to misconfiguration, missing features, or system limitations. Issues often stem from disabled redirection options, unsupported client versions, or permission conflicts between local and remote systems.
Troubleshooting is necessary to ensure reliable file movement between machines, especially in environments where copy/paste, drag-and-drop, or drive sharing are expected to work seamlessly.
The following sections outline common problems and provide solutions for resolving file transfer issues during an active RDP session.
Transfer Speeds
Slow file transfers over Remote Desktop usually result from limited network bandwidth, high latency, or large file sizes. This is noticeable with drag-and-drop or drive redirection methods, as they rely on the RDP connection, which is not designed for fast file transfers.
Background applications on either system sometimes also consume resources, further degrading performance.
To improve transfer speeds:
- Use a wired connection.
- Close unnecessary applications.
- Avoid transferring large files during peak network usage.
For better performance, consider setting up an SMB share or using a dedicated file transfer protocol like SFTP.
Drives Not Showing
Local drives sometimes fail to appear in the remote session despite drive redirection being enabled. This issue often stems from configuration errors, outdated Remote Desktop client versions, or restrictions imposed by domain security settings.
Such problems prevent access to essential files during a session and disrupt workflows. Therefore, it's crucial to identify and fix the root cause promptly.
To resolve this issue:
- Verify drive redirection settings in the RDP client.
- Update the Remote Desktop client to the latest version.
- Check for domain restrictions that block drive redirection.
- Restart the Remote Desktop session after applying fixes.
Clipboard Synchronization Issues
Clipboard redirection enables copying and pasting files and text between local and remote systems during a session. However, this feature is sometimes unstable or stops working due to software bugs, process crashes, or network interruptions.
When clipboard synchronization fails, users lose a key method of transferring data quickly, which severely impacts productivity.
Therefore, to fix clipboard sync problems:
- Ensure clipboard redirection is enabled in the RDP client.
- Restart the rdpclip.exe process on the remote system.
- Reconnect the Remote Desktop session.
- Use alternative transfer methods if issues persist.
Conclusion
This tutorial explained how to transfer files between two systems using Remote Desktop File Transfer. Moreover, the guide elaborated on the basics of starting a Remote Desktop session, common issues with Remote Desktop File transfer, and how to solve them.
Next, learn how to change the RDP password.