Vim color schemes are a useful feature of this popular text editor. They allow for practical syntax highlighting and user interface customization.
You can change the color schemes included in the software package or install user-made color schemes. The software also lets users manually configure the colors of individual elements.
In this tutorial, learn how to use and set Vim color schemes.

Prerequisites
- Vim text editor (This guide uses an Ubuntu Vim installation).
- Access to the command line.
Note: This guide is also applicable to NeoVim, which extends Vim with additional features. However, NeoVim instances usually utilize an init.vim file instead of a .vimrc for configuration settings. The init.vim file is commonly located at ~/.config/nvim/init.vim.
Built-in Vim Color Schemes
Upon installation, Vim starts with a default color scheme based on the terminal's appearance settings.
The text editor uses a default scheme, which depends on whether a light or dark terminal is used. The default Vim color scheme in a light terminal is peachpuff. In a dark terminal, the initial color scheme is ron.
How to Install a New Vim Color Scheme
There are two main ways to install a new Vim color scheme: manually or via a plugin. The following text elaborates on both methods.
Download Vim Color Scheme Manually
Find and download schemes from GitHub or websites such as vimcolorschemes. To get new color schemes manually, take the following steps:
1. Access the website with the color schemes. In this case, it's GitHub.
2. Find the scheme to install. In this example, it is gruvbox.
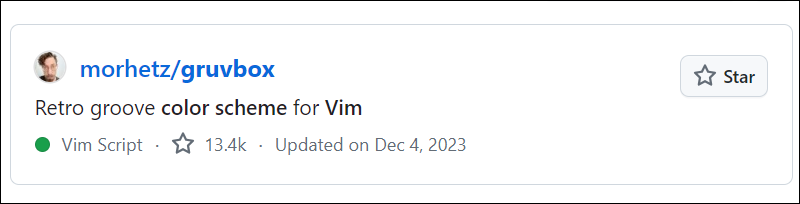
3. Click the morhetz/gruvbox link.
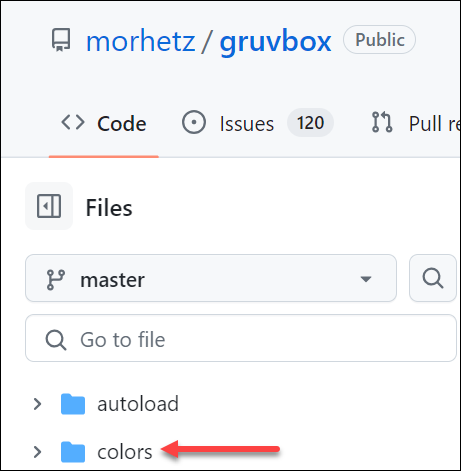
4. Click the colors directory. This is where the color scheme files are stored.
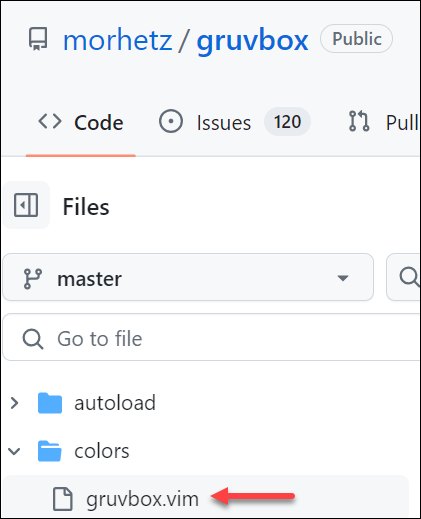
5. Inside the colors directory, find and click the gruvbox.vim file.
6. Click the Raw button in the top-right corner.
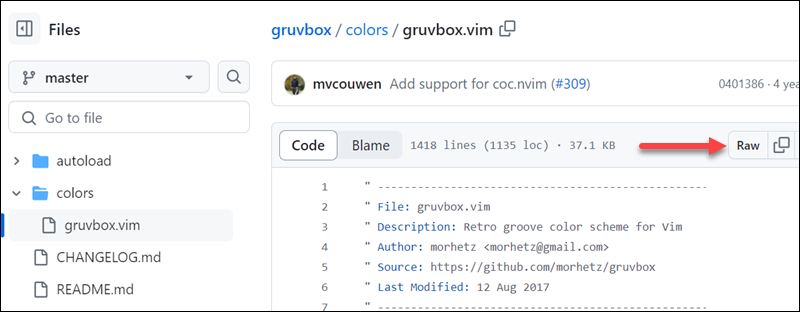
7. Note the URL in your browser's address bar. It is the direct link to the raw file.

8. Create the /.vim/colors directory using the mkdir command:
mkdir -p ~/.vim/colors9. Use wget to download and install the color scheme. The syntax is:
wget [URL] -O ~/.vim/colors/[scheme_name].vimFor example, in this case:
wget https://raw.githubusercontent.com/morhetz/gruvbox/master/colors/gruvbox.vim -O ~/.vim/colors/gruvbox.vim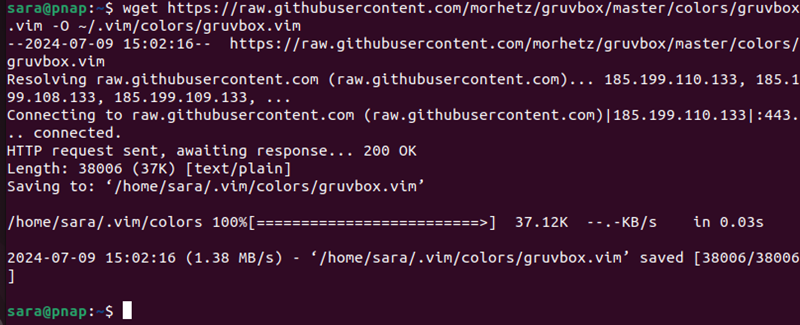
The command consists of:
wget. The wget command for downloading files over the internet.https://raw.githubusercontent.com/morhetz/gruvbox/master/colors/gruvbox.vim. The URL of the file to download.-O. Awgetoption to save the downloaded file with a specific name and path.~/.vim/colors/gruvbox.vim. The path and name where the downloaded file is saved.~/.vim/colors/is the directory where Vim color schemes are stored.
gruvbox.vim. The name of the file. In the example, the file is saved as gruvbox.vim in the~/.vim/colors/directory.
10. Verify the download with the ls command:
ls ~/.vim/colors
11. Open Vim.
12. Access the command mode by pressing the Escape key and typing :

13. Run the following and press Enter:
colorscheme gruvbox
Vim changes color according to the new scheme. Note that the change lasts only during the current session.
Install Vim Color Scheme Using Plugins
Installing Vim color schemes using plugins is more convenient, especially with a plugin manager. One popular Vim plugin manager is vim-plug. Follow these steps to install Vim color schemes with vim-plug.
1. Access GitHub.
2. Search for and click vim-plug.

3. Scroll down to the Installation section and select Click to see the instructions.
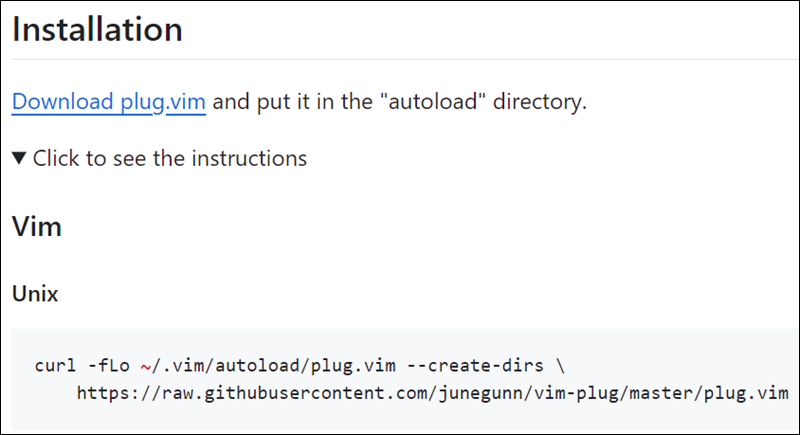
4. Copy the code starting with curl and paste it into the terminal to install vim-plug.
curl -fLo ~/.vim/autoload/plug.vim --create-dirs \
https://raw.githubusercontent.com/junegunn/vim-plug/master/plug.vim
5. Open the .vimrc file:
vim ~/.vimrc6. Add the following lines to install the color scheme plugin. For example, to install the gruvbox color scheme
call plug#begin('~/.vim/plugged')
Plug 'morhetz/gruvbox'
call plug#end()

colorscheme gruvbox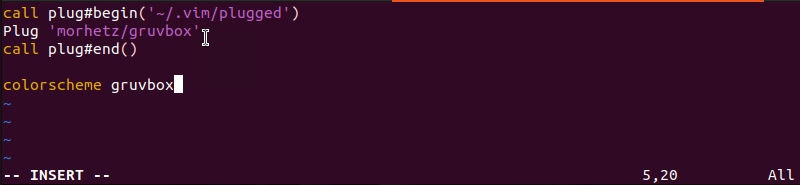
7. Open Vim and run the following command to install the plugins defined in the .vimrc file.
PlugInstall
After PlugInstall finishes, the gruvbox color scheme is applied. If it is not, set it by running:
colorscheme gruvboxView Installed Vim Color Schemes
To see a list of ready-to-use themes, open any document using the Vim editor and use the following instruction:
colorscheme [space] [Ctrl+d]The output shows a list of Vim color schemes:

How to Change Vim Color Scheme
There are two ways to change Vim colors: changing the color scheme or changing individual colors. The following text elaborates on both methods.
Change Vim Color Scheme
To change the Vim color scheme, use the following:
colorscheme [colorscheme_name]Alternatively, use an abbreviation:
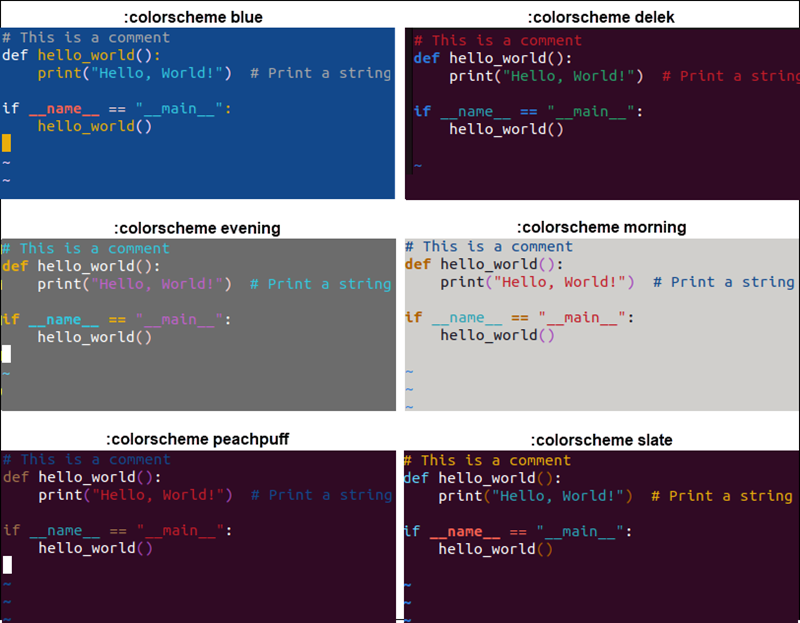
colo [colorscheme_name]For example, to switch to the color scheme blue, use:
colorscheme blueHere are just some examples of how the color schemes differ:
Manually Change Vim Colors
Another way to customize Vim colors is to manually configure the color settings.
The syntax is:
highlight [Group] [key=value]The command consists of:
highlight. Defines or modifies the highlighting attributes of syntax groups.[Group]. Specifies the name of the syntax group to highlight. Syntax groups are predefined collections of text elements in Vim (e.g., comments, keywords, strings, error messages, non-text, etc.).[key=value]. The attributes for the specified group. Set multiple attributes by separating them with spaces. Common attributes include:cterm. Attributes for terminals that support color.ctermfg. Foreground color for terminals.ctermbg. Background color for terminals.gui. Attributes for graphical Vim (GVim).guifg. Foreground color for GVim.guibg, Background color for GVim.guiattr. Additional GUI attributes (e.g., bold, underline, etc.).
When specifying the values for ctermfg, ctermbg/guifg, and guibg, use standard color names, their prescribed numbers, or hex values (only in the GUI).
However, cterm and gui are not used with color values. Instead, the values used for these highlight keys include bold, italic, underline, reverse, and none.
Note: You can substitute highlight with hi for short.
The following example shows how the highlight command works.
For instance, the file has the default color scheme in Vim:

Set all Normal text to red (foreground) and the background color to black. Type the following:
hi Normal ctermfg=Red ctermbg=BlackPress Enter to have the colors automatically change, as in the image below.

How to Set Default Vim Color Scheme
Changes made to the color settings are not permanent. Once you close Vim, the color scheme returns to the default settings.
To make the changes permanent, modify Vim's configuration file with the desired color settings. Take the following steps:
1. Open the .vimrc file in Vim. If the file does not exist, this command creates it.
vim ~/.vimrc2. Add the following line to set the default color scheme.
syntax on colorscheme [your_color_scheme]The syntax on instructs Vim to highlight code syntax based on the file type. Different code elements (such as keywords, comments, and strings) are colored differently, making the code easier to read and understand.
Test the command by choosing one color scheme. For instance, to set gruvbox as the default color scheme, add:
syntax on colorscheme gruvbox
3. Save and exit the file.
Conclusion
This article showed how to set up and use default or custom Vim color schemes.
Next, learn important Vim commands.