The GCC (GNU Compiler Collection) is a free software compiler system that supports several programming languages, including C, C++, Objective-C, and Fortran.
Developers who want to build C or C++ software on a Linux-based system need a reliable compiler like GCC.
This guide will show you how to install GCC on Ubuntu and start compiling code on your system.

Prerequisites
- Ubuntu installed.
- Access to a terminal window/command line.
- A user account with root or sudo privileges.
How to Install GCC Compiler on Ubuntu
There are several ways to install GCC on Ubuntu, and the preferred method depends on your customization needs or if a project requires a specific GCC version.
Method 1: Install GCC Compiler from Ubuntu Repositories
The fastest way to install GCC on Ubuntu is to use the apt package manager. However, installing GCC from the Ubuntu repositories has drawbacks, such as limited customization options and potential dependency conflicts.
To install the GCC compiler from Ubuntu repositories:
1. Update the Ubuntu package repository:
sudo apt update2. Install the build-essential package:
sudo apt install build-essential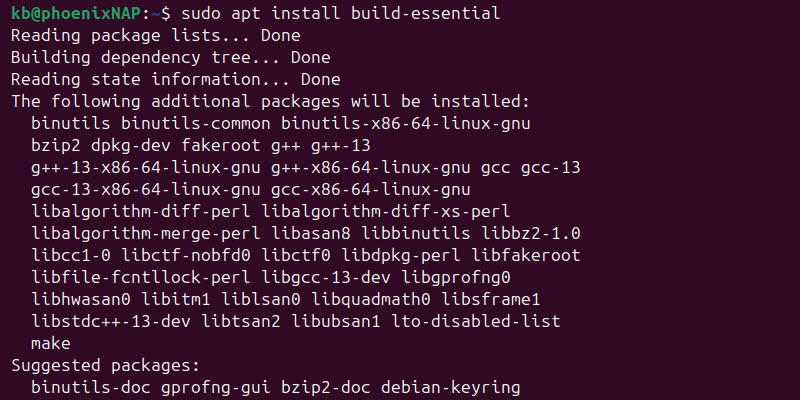
The build-essential package includes the GCC compiler and other utilities needed to build software.
3. Use the following command to check the GCC version:
gcc --version
The GCC version in this example is 13.3.0.
Method 2: Install Multiple GCC Versions on Ubuntu
Use the GCC PPAs (Personal Package Archive) to streamline the installation process and install a specific GCC version (or multiple GCC versions):
1. Update the Ubuntu package repository:
sudo apt update2. Install the software-properties-common package using the following command:
sudo apt install software-properties-common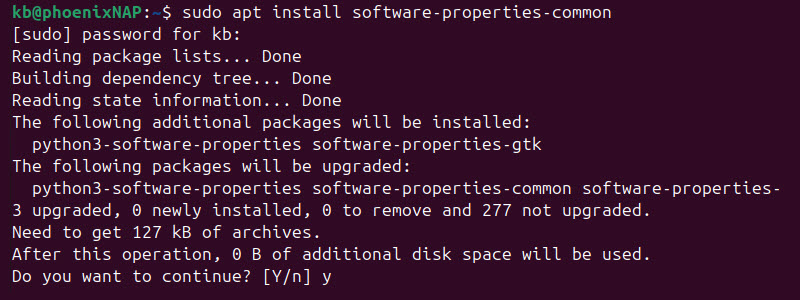
3. Add the GCC PPA that contains all the versions of the GCC compiler:
sudo add-apt-repository ppa:ubuntu-toolchain-r/test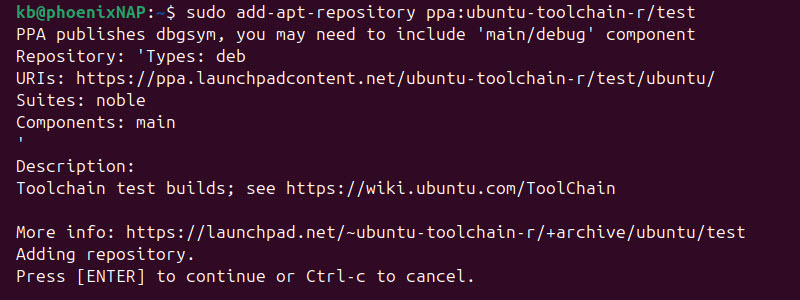
Press Enter to confirm.
4. Update the packages list to include the PPA packages:
sudo apt update5. Use the command below to install a specific version or multiple versions of GCC. For example, to install GCC 14, enter:
sudo apt install gcc-14 g++-14
Note: There are no restrictions to the number of GCC versions you can install using this installation method.
6. The update-alternatives tool helps users manage multiple GCC versions. Add the GCC 14 alternative to the update-alternatives filesystem:
sudo update-alternatives --install /usr/bin/gcc gcc /usr/bin/gcc-14 14 --slave /usr/bin/g++ g++ /usr/bin/g++-14
Note: Replace the GCC version in the example command (GCC 14) with each GCC version installed on your system.
7. Use the update-alternatives tool to switch between installed GCC versions:
sudo update-alternatives --config gcc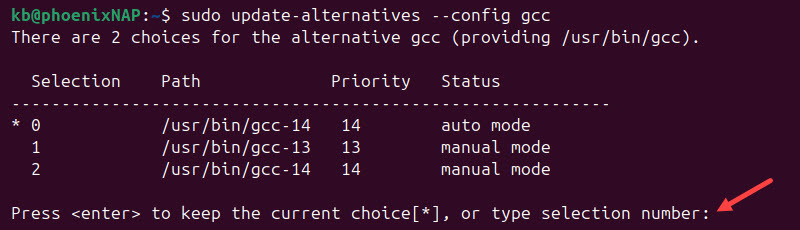
The system displays a list of installed GCC versions and prompts you to select the default version. Enter the selection number for the version you want to use.
8. Check the current GCC version using the following command:
gcc --version
The current default GCC version in this example is 14.2.0.
Method 3: Install GCC Compiler on Ubuntu from Source
Building GCC from source is an advanced installation method that allows users to customize the GCC configuration. Moreover, you can change the installation location or optimize GCC for specific hardware.
To retrieve the GCC source code from official repositories and install the GCC compiler:
1. Install the necessary dependencies using the following command:
sudo apt install build-essential2. Install the libgmp3-dev, libmpfr-dev, and libmpc-dev packages to facilitate compiling GCC from source:
sudo apt install libmpfr-dev libgmp3-dev libmpc-dev -y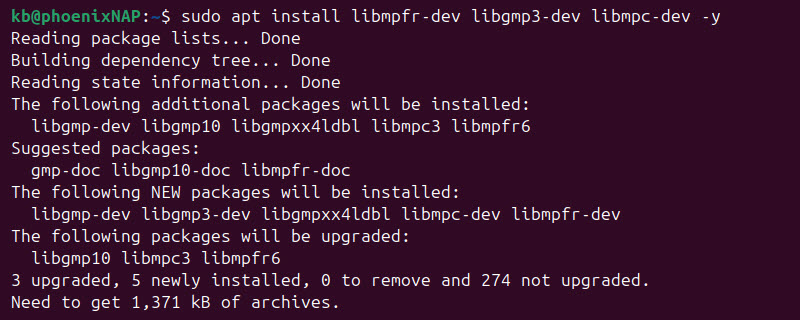
3. Use the wget command to download the GCC source code from the GCC website. In this example, the file gcc-14.2.0.tar.gz contains the source code for GCC version 14.2.0:
wget http://ftp.gnu.org/gnu/gcc/gcc-14.2.0/gcc-14.2.0.tar.gz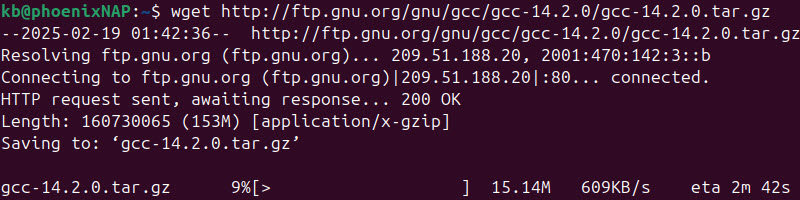
Adjust the URL in the command to reflect the GCC version you want to install.
4. Extract the GCC build files using the following tar command:
tar -xf gcc-14.2.0.tar.gz5. Access the GCC directory:
cd gcc-14.2.06. Configure the GCC build:
./configure -v --build=x86_64-linux-gnu --host=x86_64-linux-gnu --target=x86_64-linux-gnu --prefix=/usr/local/gcc-14.2.0 --enable-checking=release --enable-languages=c,c++ --disable-multilib --program-suffix=-14.2.0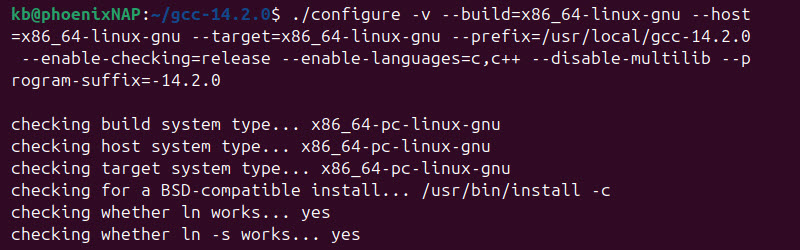
Visit the official GNU GCC configuration page to review available options and recommended configuration procedures.
7. Use the make command to initiate the GCC build process:
make -j3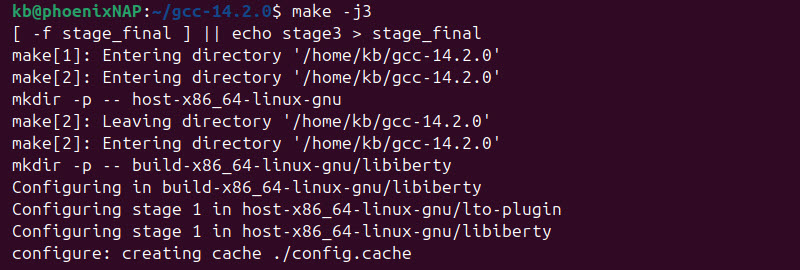
The build process can consume significant resources and take a while to complete. The j3 command tells the system to use three cores for the operation. Change the number of CPU cores to reflect your system's capabilities and setup.
8. After the build process is complete, install GCC using the following command:
sudo make install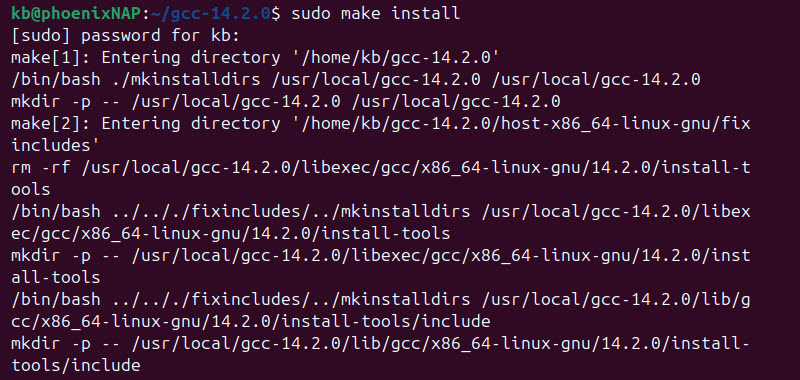
9. Enter the following command to verify the GCC version:
/usr/local/gcc-14.2.0/bin/gcc-14.2.0 --version
The system confirms GCC version 14.2.0 is installed.
Conclusion
This guide showed how to install the GCC compiler on Ubuntu using three different methods. Regardless of the method, installing GCC on an Ubuntu machine allows you to compile and run C and C++ code and complete many programming, debugging, and system administration tasks.
Check out these five different test automation frameworks that make automated testing faster and more reliable.