ClickHouse is a column-oriented database designed specifically for Online Analytical Processing (OLAP). This method is utilized for advanced big data analysis.
It uses a variation of SQL as its query language, making it easier for beginners to learn and start working with it.
This tutorial will show you how to install and use ClickHouse on Ubuntu.

Prerequisites
- A system running Ubuntu (this tutorial uses Ubuntu 22.02 and Ubuntu 24.04).
- A user account with sudo or root privileges.
- Access to the terminal.
Installing ClickHouse on Ubuntu
Understanding how to install ClickHouse on Ubuntu is essential for users who want to run complex queries and manage large datasets efficiently.
The following sections explain how to install ClickHouse on Ubuntu.
Step 1: Update the Package Repository
To ensure all packages are up to date, update the package repository with:
sudo apt update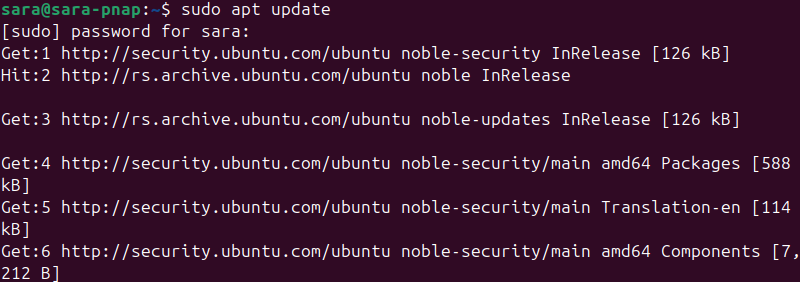
Step 2: Install Prerequisites
Before adding the ClickHouse repository, ensure your system has the necessary tools. These tools enable secure communication, package verification, and repository management.
Run the following:
sudo apt-get install -y apt-transport-https ca-certificates curl gnupg
Step 3: Add the ClickHouse GPG Key
Download and add the ClickHouse GPG key to your system's keyring using the curl command. This process verifies the authenticity of packages. Run the following:
curl -fsSL 'https://packages.clickhouse.com/rpm/lts/repodata/repomd.xml.key' | sudo gpg --dearmor -o /usr/share/keyrings/clickhouse-keyring.gpgThe command has no output.
Step 4: Configure the ClickHouse Repository
Add the ClickHouse repository to your system's APT sources list. Use the echo command piped with tee in the following format:
ARCH=$(dpkg --print-architecture)<br>echo "deb [signed-by=/usr/share/keyrings/clickhouse-keyring.gpg arch=${ARCH}] https://packages.clickhouse.com/deb stable main" | sudo tee /etc/apt/sources.list.d/clickhouse.list
Step 5: Update the Package Repository Again
Update the package repository again to fetch the latest information from the newly added ClickHouse repository:
sudo apt updateStep 6: Install ClickHouse
Install the ClickHouse server and client packages:
sudo apt install -y clickhouse-server clickhouse-client
Getting Started With ClickHouse
Now that the ClickHouse server and client are installed on Ubuntu, the systemd controls this service. You can start, stop, and check the ClickHouse service with a few commands.
To start the clickhouse-server, use:
sudo systemctl start clickhouse-serverThe output does not return a confirmation.
To check the ClickHouse service status, enter:
sudo systemctl status clickhouse-server
Stop the ClickHouse server with this command:
sudo systemctl stop clickhouse-serverEnable ClickHouse on boot with:
sudo systemctl enable clickhouse-server
Start ClickHouse Session
To start working with ClickHouse databases, launch the ClickHouse client. Run the following command:
clickhouse-client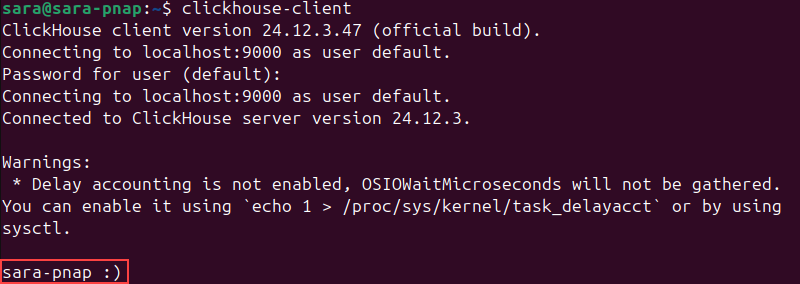
Conclusion
This tutorial explained how to install ClickHouse on Ubuntu. It also elaborated on how to manage the service and connect to the client.
Next, learn more about different database types.
