MySQL is an open-source relational database management system (RDBMS) available on Linux, Solaris, macOS, Windows, and FreeBSD. Sometimes, uninstalling the software and performing a fresh installation is the best solution for resolving bugs or for fixing compatibility issues.
In this tutorial, you will learn how to uninstall MySQL on Linux, Windows, and macOS.
Prerequisites
- MySQL installed on a Linux, Windows, or macOS system.
- A user account with administrator privileges.
- Command-line access.
How to Uninstall MySQL {on Linux, Windows, and macOS}?
Depending on the operating system, the process of uninstalling MySQL is different. The sections below show how to uninstall MySQL on Linux, Windows, and macOS, and delete all the associated data.
Uninstall MySQL on Linux
Uninstall MySQL from Linux using the distribution's default package manager, and the rm command to delete the leftover data. In this tutorial, we will work on Ubuntu, but the instructions for other distros are provided as well.
Follow the steps below:
1. Open a terminal window (Ctrl + Alt + T) and stop the MySQL service and all the related processes. Run the following commands:
sudo service mysql stop
sudo killall -KILL mysql mysqld_safe mysqld
3. Depending on the Linux distribution and package manager you are using, run one of the following commands to uninstall MySQL:
- CentOS, Rocky Linux, and Red Hat:
sudo yum remove mysql-client mysql-server -y- Ubuntu and Debian:
sudo apt remove mysql-client mysql-server -y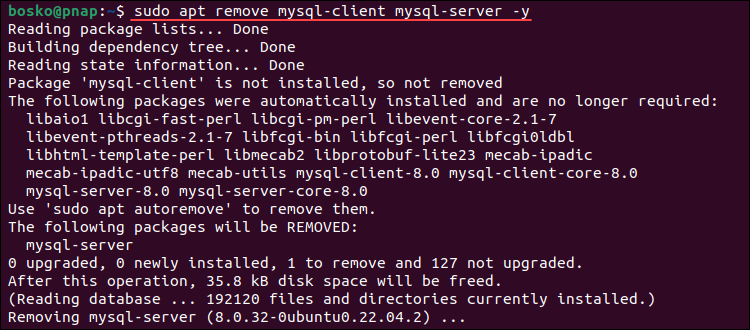
Run autoremove and autoclean to remove unnecessary packages and clean up the package cache:
sudo apt autoremove -y
sudo apt autoclean -y- Fedora:
sudo dnf remove mysql-client mysql-server -y4. After uninstalling MySQL, the next step is to remove residual data. If you still need the data, make a backup before removing it, or rename the directory.
Rename the /var/lib/mysql directory to keep the data if you ever need it again in the future:
sudo mv /var/lib/mysql /var/lib/mysql_directory_backupAlternatively, remove MySQL-related directories by running:
sudo rm -rf /etc/apparmor.d/abstractions/mysql /etc/apparmor.d/cache/usr.sbin.mysqld /etc/mysql /var/lib/mysql /var/log/mysql* /var/log/upstart/mysql.log* /var/run/mysqld5. Remove the mysql user and delete the mysql group, if it exists. Run:
sudo deluser --remove-home mysql
sudo delgroup mysql
After completing the steps above, you have successfully uninstalled MySQL from your Linux system.
Uninstall MySQL on Windows
Follow the steps below to uninstall MySQL from a Windows operating system:
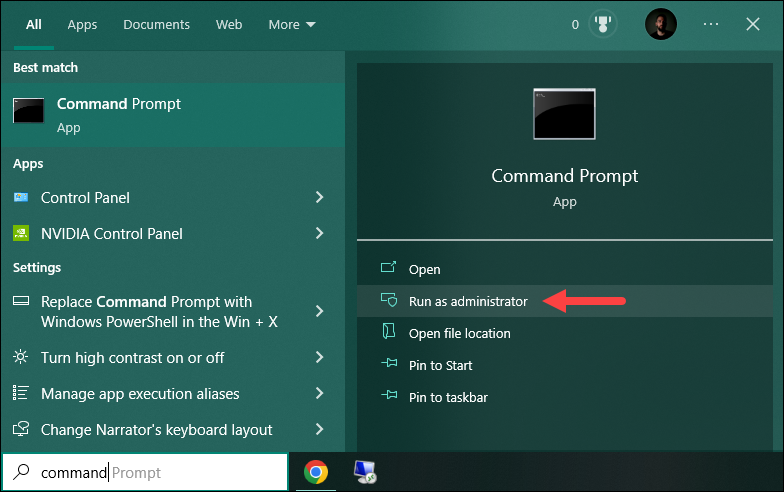
1. Press the Windows key and search for command prompt. Run the app as administrator.
2. Stop the running MySQL server before uninstalling it. The easiest way to stop it is by using the mysqladmin command that was installed automatically during the MySQL installation. In the command prompt, navigate to the bin folder of the MySQL installation directory. For example, the default path is:
cd C:\Program Files\MySQL\MySQL Server 8.0\bin
After navigating into that path, stop the running server by executing:
mysqladmin -u root -p shutdownThe command prompts you for the password and shuts down the running server after confirmation.
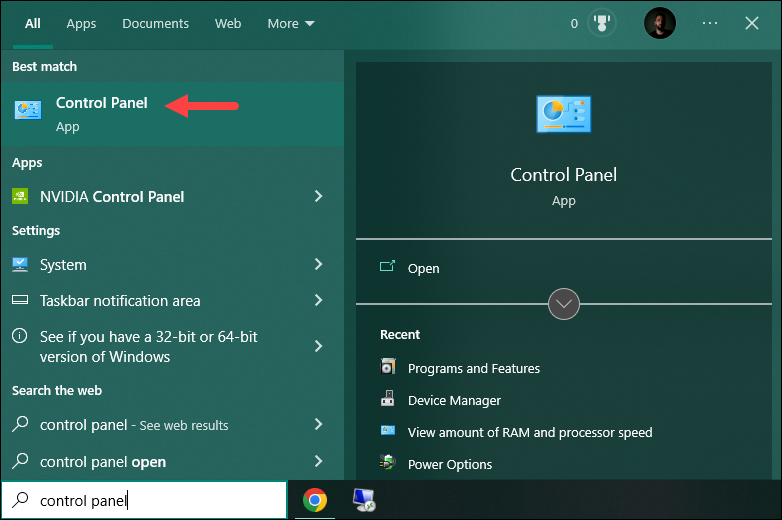
3. Next, open the Control Panel. Press the Windows key and search for Control Panel. Press Enter to open the app.
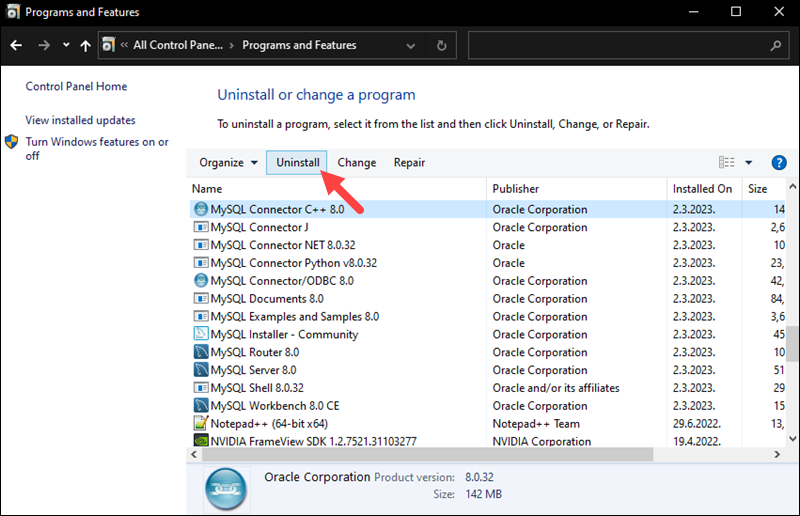
4. Open Programs and Features. In the list of installed programs, locate MySQL and all related programs. Click each one individually and select the Uninstall option.
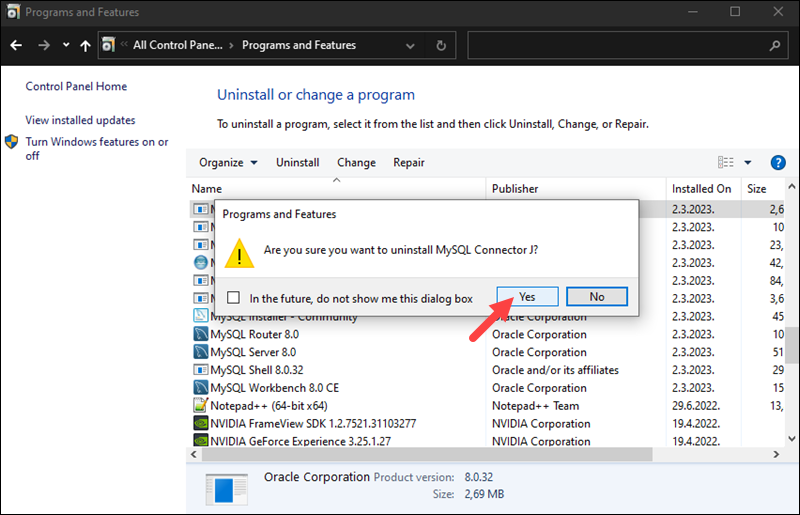
Click Yes for each prompt and wait for the wizard to finish.
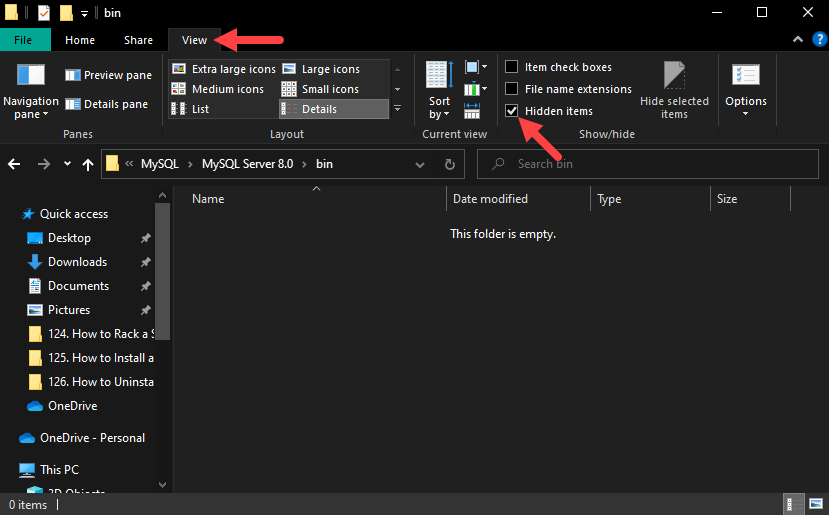
5. After uninstalling all MySQL components, delete the remaining data directories. Since one of the directories is hidden, make sure to enable the Hidden items option in folder settings.
To do so, open any folder using File Explorer, click the View tab, and check the Hidden items option:
Important: If there is critical data that you may still need, make sure to backup MySQL databases before deleting them.
The directories that you need to remove are:
- C:\Program Files\MySQL
- C:\Program Files (x86)\MySQL
- C:\ProgramData\MySQL
- C:\Users\[YourUsername]\AppData\Roaming\MySQL
6. After you uninstall all the components and delete the remaining directories, restart the computer for the changes to take effect.
Uninstall MySQL on macOS
Follow the steps below to uninstall MySQL on a macOS system:
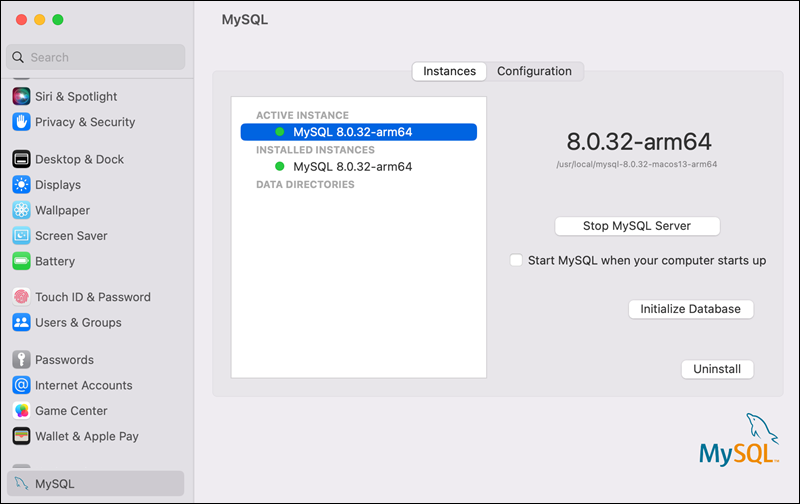
1. Go to System Settings and click MySQL. Click the Uninstall button to remove MySQL from the system.
2. Click the Launchpad icon in the Dock and type Terminal in the search field. Click Terminal to open a new terminal window.
3. Deleting MySQL removes all its databases. If you have critical data stored in MySQL, back up your files first.
Use mysqldump to back up your databases to a text file. Run the following command:
./mysqldump -u root -p --all-databases > mysqlbackup.sqlThe output is redirected to the mysqlbackup.sql file.
4. Check for running MySQL processes by running the following command:
ps -ax | grep mysql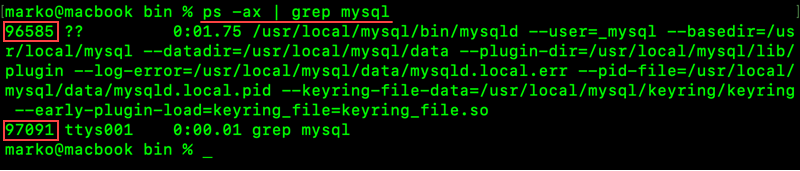
Terminate the running processes using the following syntax:
kill [process_id]For example, to kill the ttys001 process from the image above, run:
kill 970915. Remove the default MySQL directory and all the leftover directories and files. Run these commands:
sudo rm /usr/local/mysql
sudo rm -rf /usr/local/mysql
sudo rm -rf /usr/local/var/mysql
sudo rm -rf /Library/StartupItems/MySQLCOM
sudo rm -rf /Library/PreferencePanes/MySQL*
sudo rm -rf /Library/Receipts/mysql*
sudo rm -rf /private/var/db/receipts/*mysql*
Removing all the directories is important, especially if you want to install an older MySQL version on Mac.
6. Use a text editor to open the /etc/hostconfig file and remove the following line:
MYSQLCOM=-YES-Note: Some versions of macOS don't have the /etc/hostconfig file, so skip this step if the file doesn't exist on your system.
After following the steps above, you have successfully uninstalled MySQL from your macOS system and cleaned up unnecessary files.
Conclusion
This tutorial showed how to uninstall MySQL on Linux, Windows, and macOS. You can now perform a fresh installation or choose another database solution with a clean system.
For more MySQL tutorials, see how to install and get started with MySQL Workbench on Ubuntu, or how to secure your MySQL installation.