CSV (Comma-Separated Values) files are a simple way to store structured data. Each line in a CSV file corresponds to a table row, where every field is separated by a delimiter (often a comma).
The format is easily transferred to different systems, such as databases and spreadsheets. MySQL is an open-source relational DBMS that is highly scalable and a robust alternative to working with CSV files.
This guide shows how to import a CSV file into a MySQL table.
Prerequisites
- Command line/terminal access.
- A CSV file with data to import.
- phpMyAdmin access (optional).
- A MySQL user account with FILE and INSERT privileges.
Note: Learn how to check user privileges in MySQL. For info on how to grant privileges to a new or existing MySQL account, check out our guide How To Create New MySQL User and Grant Privileges.
Import CSV File via Command Line
The command line is a straightforward way to import a CSV file. This process is quick and efficient for transferring data into a MySQL database. Follow the steps below to import a CSV file into MySQL:
1. Open the terminal window and log into MySQL:
mysql -u [username] -p
Replace [username] with the actual username. Provide the password when prompted to access the MySQL client.
2. Select a database:
USE [database_name];
Replace [database_name] with the database name.
Note: To list all existing MySQL databases, use the SHOW DATABASES; statement.
3. Create a MySQL table for the CSV file import. The columns in the MySQL table should match the ones in the CSV file. Create a new table with:
CREATE TABLE [table_name] (
    [column_name_1] [data_type],
    [column_name_2] [data_type],
    ...
);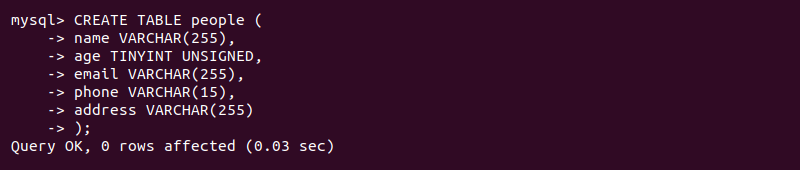
Replace [table_name] value with the name you want for your table. The [column_n] variable represents the names for each column in your CSV file.

To match the CSV data, adjust the column names and specify the appropriate data types (e.g., INT, VARCHAR, DATETIME).
4. Import the CSV file into the table. Use the following example:
LOAD DATA INFILE '[file_path/file_name]'
INTO TABLE [table_name]
FIELDS TERMINATED BY ','
ENCLOSED BY '"'
LINES TERMINATED BY '\n'
IGNORE 1 ROWS;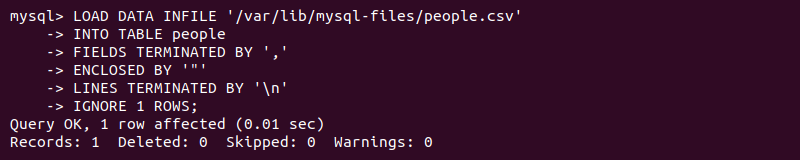
Each query line does the following:
LOAD DATA INFILE. The CSV file location. Change the path and file name to match your CSV file.INTO TABLE. The destination table. Change the[table_name]to the table from the previous step.FIELDS TERMINATED BY. Defines the delimiter as a comma. Adjust the delimiter value if not using a comma.ENCLOSED BY. Specifies that a quotation mark surrounds values.LINES TERMINATED BY. Specifies the line break.IGNORE 1 ROWS. The column labels are in the first row of a CSV file and should not be appended to the MySQL table.
Note: MySQL servers running with the --secure-file-priv option require moving the CSV file to a specific location before importing.
To see the location run:
SHOW VARIABLES LIKE 'secure_file_priv';5. Confirm the CSV data is now in the MySQL table. Use a SELECT statement to verify:
SELECT * FROM [table_name];
Replace [table_name] with the name of your table. The command shows the data imported from the CSV file. Double-check the file path and import syntax, or adjust the data types if the data was not imported.
Note: Do not use the SELECT * statement on large tables. Instead, select a specific column or limit the output to improve query performance.
For more tips, see our guide on MySQL performance tuning and query optimization.
Import CSV File via MySQL Workbench
MySQL Workbench is a graphical interface for managing MySQL databases. It includes a feature to import data from CSV files. See the steps below to import a CSV file into MySQL Workbench:
1. Launch the MySQL Workbench. Find the application through the launcher or run the following command:
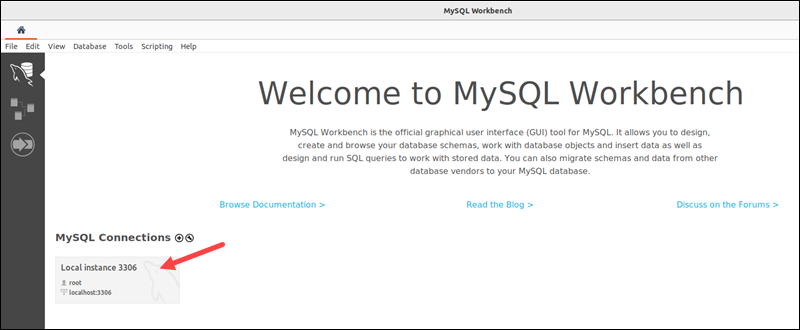
mysql-workbench2. Connect to a database instance. Choose an available connection and enter the password to access it.
3. Use the navigation panel to locate Schemas and select the database schema where you want to import the CSV file.
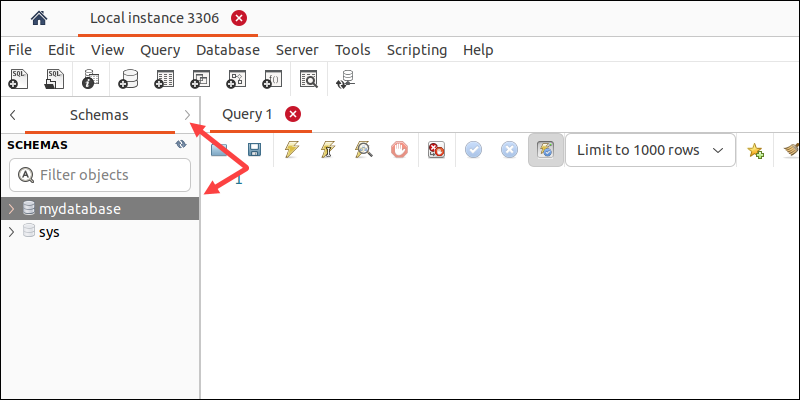
4. Right-click the schema name and select "Table Data Import Wizard".

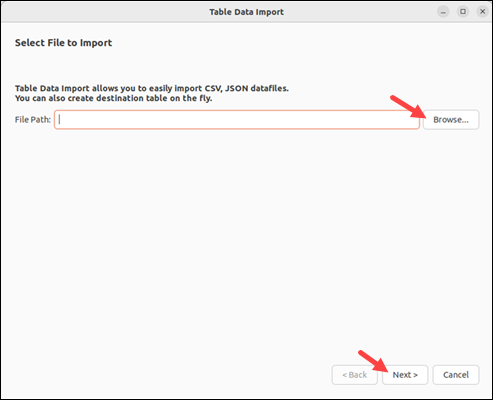
The action opens an interface for importing CSV and JSON data.
4. Enter the file path or click Browse to search for the file's location manually, and click Next.
5. Choose whether to import the data into an existing table or to create a new one. When creating a new table, adjust the database and table names, and choose whether to drop an existing table with the same name.
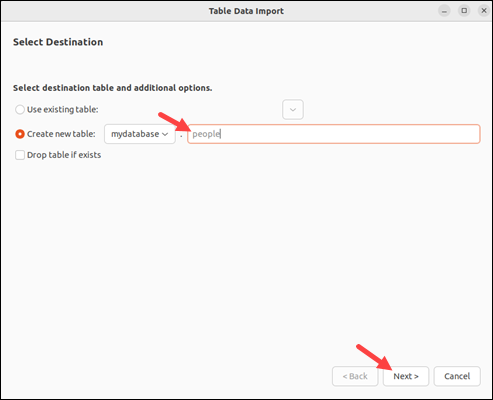
Click Next to continue.
6. Preview the data to ensure it is imported correctly. Check the column names and types. Click the wrench icon to show additional options, such as field and line separators.
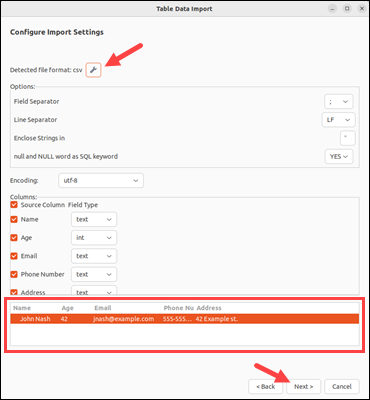
After setting the options and if the import preview looks satisfactory, proceed to the next step.
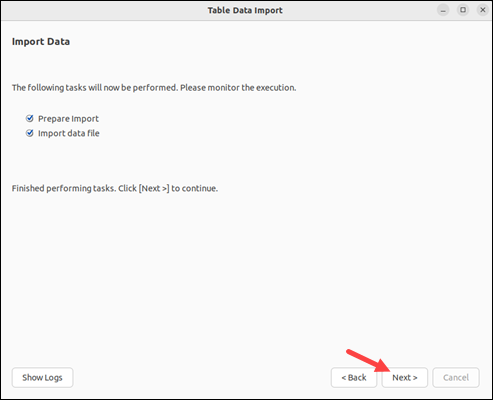
7. Click Next to execute the data import. Once complete, click Next again to proceed to the final page.
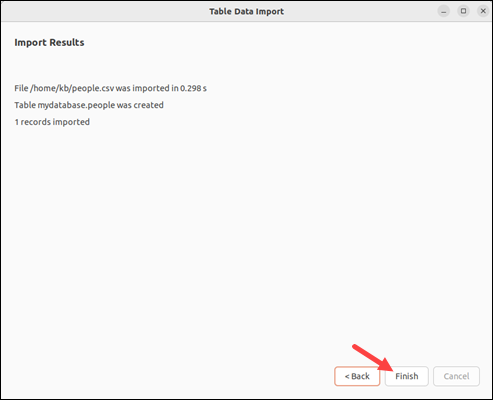
8. The final page shows the import results. Click Finish to complete the import and close the wizard.
9. The imported data is not immediately visible. To display it, right-click the left pane where the schema names are, then choose Refresh All.
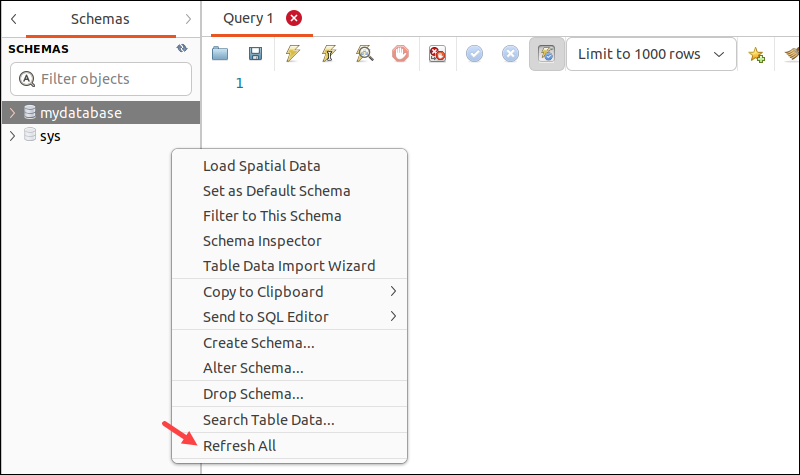
The new table has been created in the database.
Import CSV File via phpMyAdmin
phpMyAdmin is a GUI program used in the LAMP or WAMP stack (depending on the operating system). The phpMyAdmin interface provides a simple way to import CSV files into a MySQL database. Do the following:
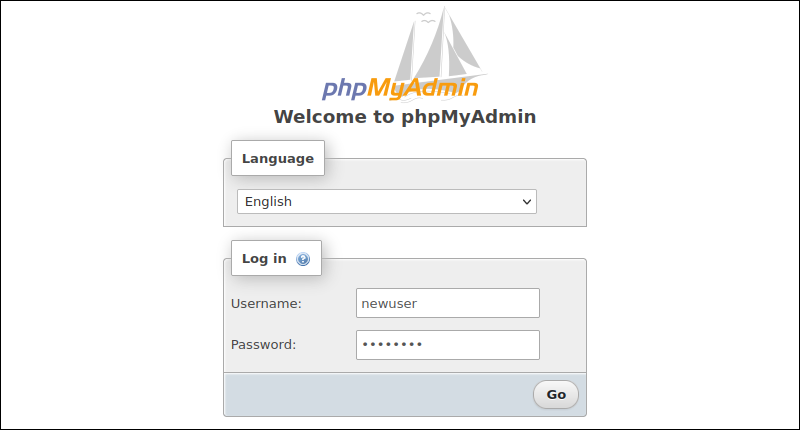
1. Access the phpMyAdmin login page and enter the username and password to log in.
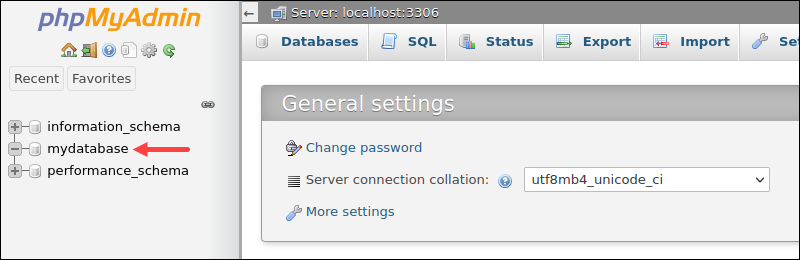
2. Select a database from the left panel.
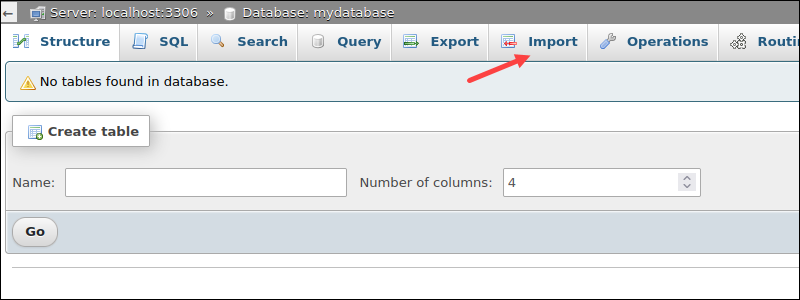
3. Open the Import tab in the navigation bar.
3. Choose a file to import. Click Browse and locate the CSV file.
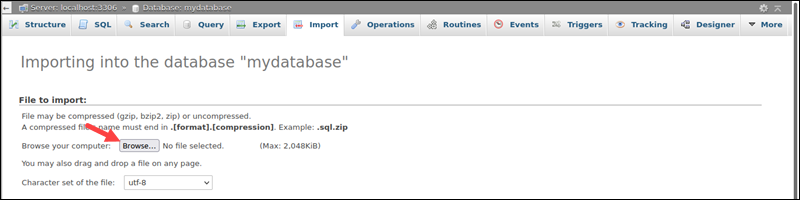
4. Adjust the import options depending on the CSV data. Choose delimiters, decide whether to import the first line, and select other options depending on the file format and the amount of data.

Note: This method automatically creates the database table and insert the data, including the first row. If the first row contains column names, delete the row manually. Alternatively, create a table first, import the CSV file data into the table, and skip the first query.
5. Once ready, click Go to import the CSV file into the database.
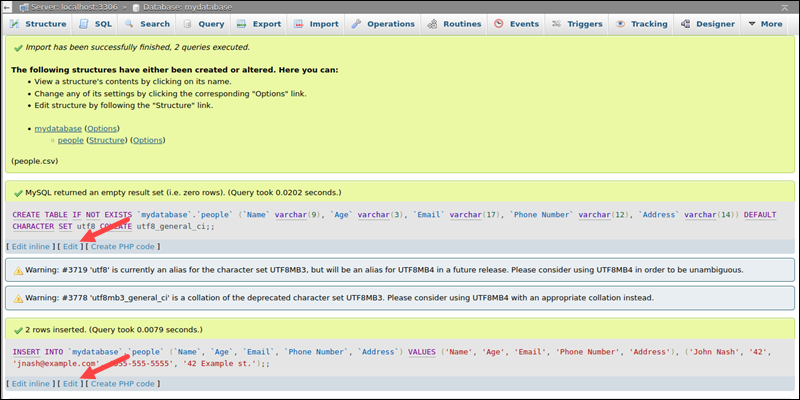
The following page shows and executes MySQL queries based on the previously provided options and the file's contents. If any queries require editing, click the Edit button and make the necessary adjustments.
Import CSV to MySQL via dbForge Studio
dbForge Studio is a database development IDE for Windows that simplifies database administration and development tasks. It includes a built-in feature for importing external files into a database.
To import a CSV file to a MySQL table via dbForge Studio, open the program and do the following:
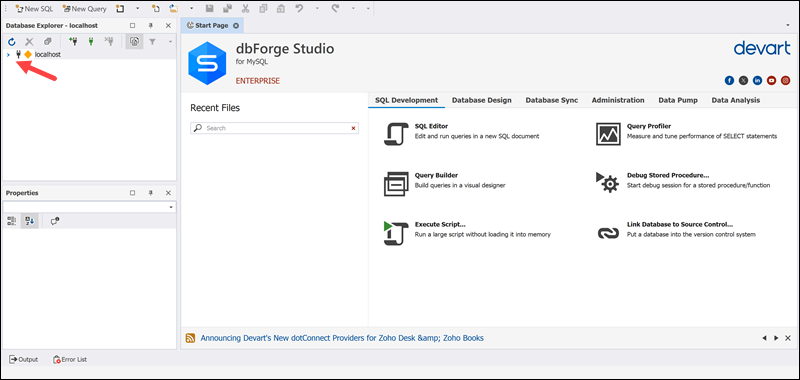
1. Connect to a MySQL database. Expand the connection on the left panel.
2. Open Database -> Tasks -> Import Data from the top menu.
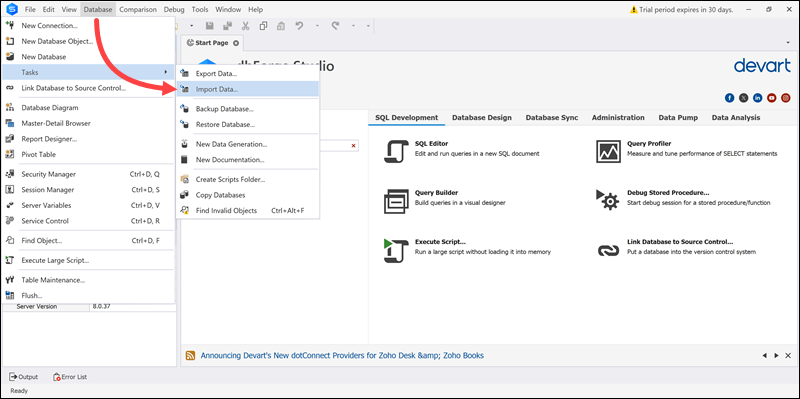
The action opens the data import wizard.
3. Select CSV file format and provide the file location (or locate the file manually).
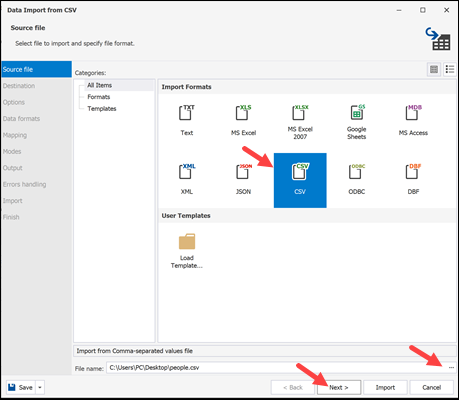
Click Next to proceed.
4. Choose the destination options for the table. Select the connection and database. Pick whether to create a new table or use an existing one, and provide the table name.
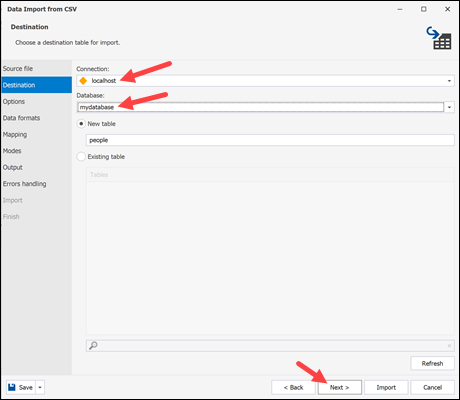
Click Next to continue.
5. Review the import options. Choose the encoding, field delimiter, and whether to skip the header.
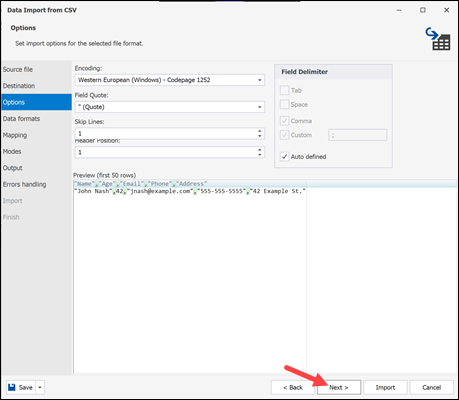
Check the preview to ensure the options are correct, and proceed to the next step.
6. Adjust the data formats and column settings, such as the null strings, separators, and boolean values.
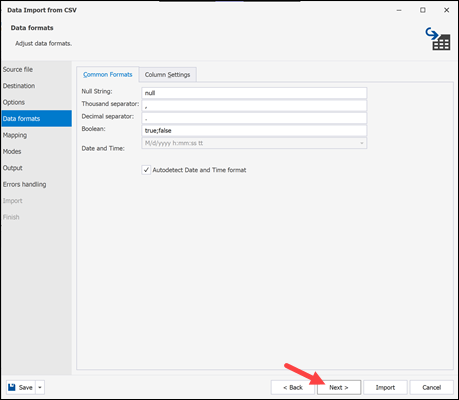
Click Next to continue.
7. Check the mapping options, which control table columns. If required, modify the column names, data types, and the number of columns.

Preview the column settings at the bottom and proceed to the next step.
8. Choose import mode settings, such as appending data, using a single transaction, or performing a bulk insert.
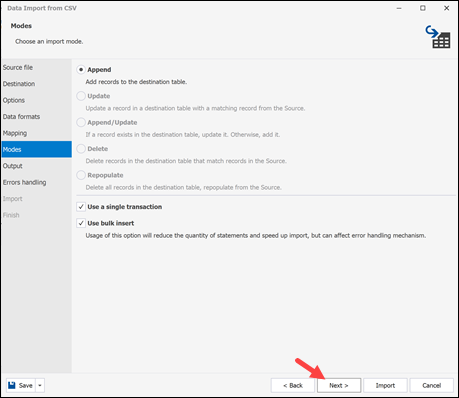
To use the default import modes, click Next without making any changes.
9. Select output settings. dbForge Studio allows the import script to be opened in the internal editor for revision, saved to a file for later use, or executed immediately to create the table and insert data.
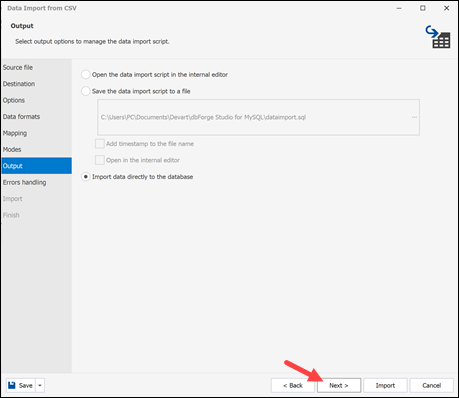
Choose an appropriate option for your use case and click Next.
10. Decide what dbForge Studio does when it encounters an error. Choose between aborting, prompting, or ignoring errors. Optionally, choose whether to log errors and the location of the error log file.
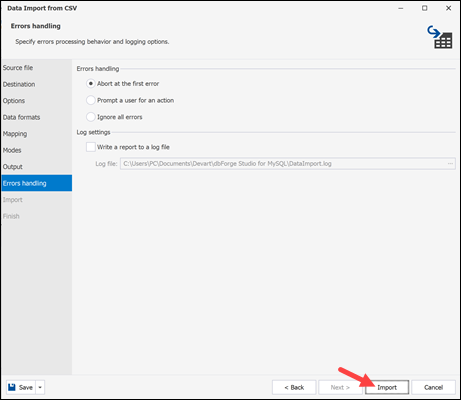
Click Import to start the import.
11. When the import completes, the data import wizard shows the results (including errors, warnings, and the number of rows).
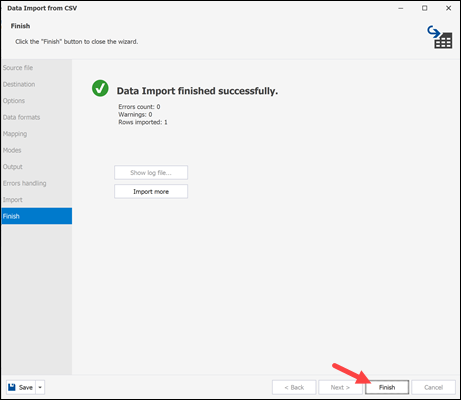
Click Finish to close the wizard.
12. The data is not immediately visible. In the left panel, right-click -> Refresh to display the changes.
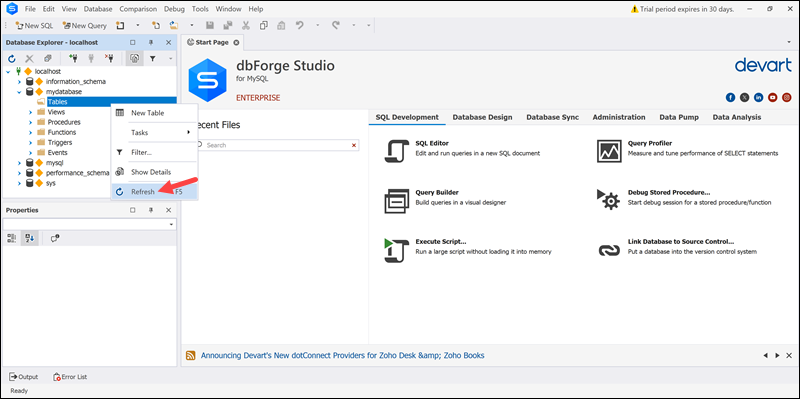
The table and the data are now visible in the database.
Conclusion
The guide showed you how to import CSV files into MySQL using several different environments and methods. The approaches outlined in this guide enable you to move data between systems and different database applications using CSV files.
Next, see how to export a MySQL table to a CSV file.