Wine is free software that allows you to run Windows applications on other systems, including Linux, Mac, Solaris, and FreeBSD.
You can download this open-source software using the source code or from the EPEL repository.
In this tutorial, you will learn how to install Wine 4.0 on CentOS 7 using the source code or EPEL Repository.

Prerequisites
- Access to a command-line/terminal window
- Access to root or a user account with sudo privileges
- The yum package manager, included by default
Steps For Installing Wine 4.0 Using Source Code
Step 1: Install Development Tools
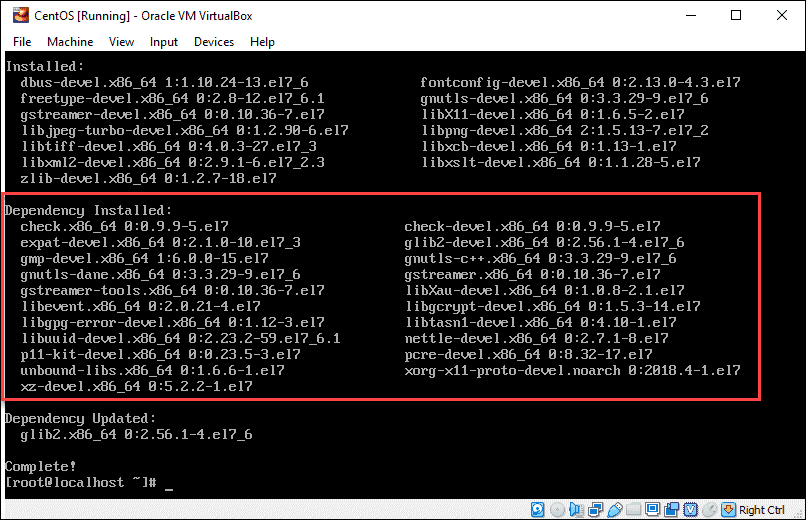
To compile and build new packages, you need to install fundamental development tools grouped by the name ‘Development Tools’.
To do so, run the following commands:
yum -y groupinstall 'Development Tools'yum install libX11-devel freetype-devel zlib-devel libxcb-devel libxslt-devel libgcrypt-devel libxml2-devel gnutls-devel libpng-devel libjpeg-turbo-devel libtiff-devel gstreamer-devel dbus-devel fontconfig-devel
Step 2: Download Wine 4.0
Next, you need to download Wine source file using the wget command.
1. If you do not have wget, you can easily download it by typing the command:
yum install wget2. Now navigate to the /<strong>tmp</strong> directory:
cd /tmp3. Download the source file for Wine 4.0 with the following command:
wget https://dl.winehq.org/wine/source/4.0/wine-4.0.tar.xz
Step 3: Extract Wine
Then, extract the source file using the tar command:
tar -xvf wine-4.0.tar.xz -C /tmp/Step 4: Install Wine 4.0
Once you extract the file, you can move on to installing.
1. Wine uses different applications depending on whether you have a 32-bit or 64-bit OS. If you are not sure which one is running on your system, use the lscpu command to find out:
lscpu2. Find the information in the CPU op-mode(s) line. In the example seen in the image below, the OS supports both 32-bit and 64-bit applications.

3. Next, you need to compile and build the Wine installer. As the root user, type in the commands that apply for the system you are using. If you have both CPU modes, use the instructions for the 64-bit system.
On 32-bit systems, run the following commands:
cd wine-4.0/

./configure

make

make install
On 64-bit systems, install Wine with:
cd wine-4.0/

./configure --enable-win64

make

make install
Step 5: Verify Installation (Check Wine Version)
The best way to check if you have successfully installed Wine is by verifying the version.
To check Wine version on 32-bit systems use:
wine --versionTo check Wine version on 64-bit systems use:
wine64 --versionThe output should show you that you have Wine 4.0, as in the image below:

Installing Wine With EPEL Repository
It only takes a couple of steps to install Wine 4.0 from the EPEL repository.
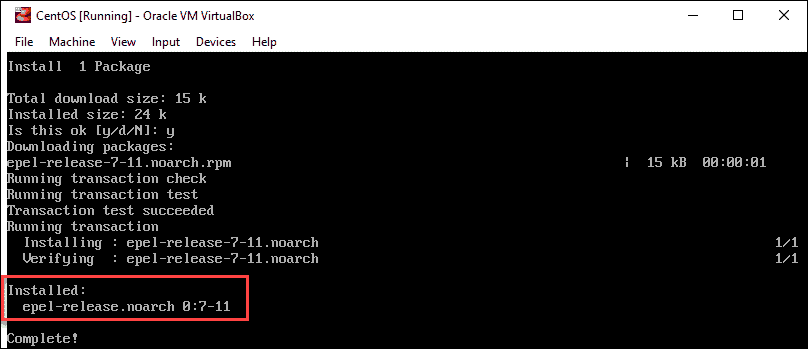
1. First, install the EPEL repository with the command:
yum install epel-release
2. Then, install Wine using:
yum install wine3. Verify installation was successful by checking the Wine version:
wine --versionThe output should display Wine 4.0 is installed on CentOS 7, as in the image above.
Start Using Wine
To start using Wine, include the executable program in the path you type in the terminal. The command to run Wine will differ based on whether you have a 32-bit or 64-bit system:
On 32-bit systems, enter the following to run Wine:
wine notepad
wine c:\windows\notepad.exe
On 64-bit systems, run Wine with the command:
wine64 notepad

Wine64 c:\windows\notepad.exe
How to Uninstall Wine
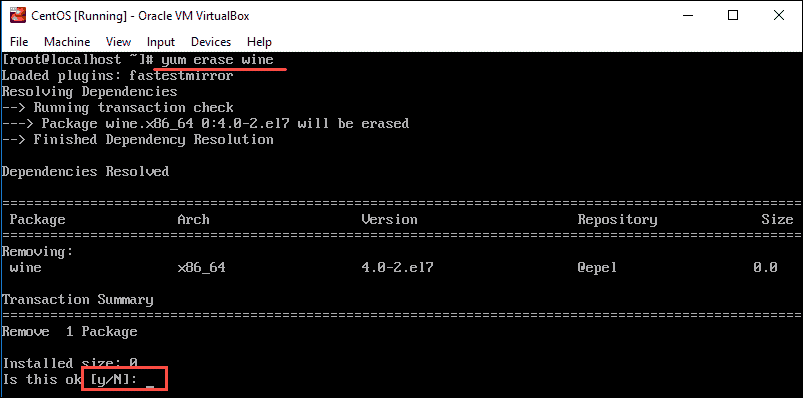
To uninstall Wine 4.0 on CentOS 7, use the command:
yum erase wineType y to confirm you want to remove the package from CentOS and hit Enter.

Conclusion
After reading this article, you should have successfully installed Wine 4.0 on CentOS. Now you can run any Windows program on your Linux system.


