The Dedicated Servers portal simplifies the ordering process and ongoing management of phoenixNAP dedicated server instances. It is available to all existing phoenixNAP Bare Metal Cloud portal account holders.
This guide will walk you through the Dedicated Servers portal's sections and show you how to deploy new servers, list devices, view order history, and control your account.
Prerequisites
- Bare Metal Cloud portal credentials. If you are a new client, create a BMC account.
How to Access Dedicated Servers Portal
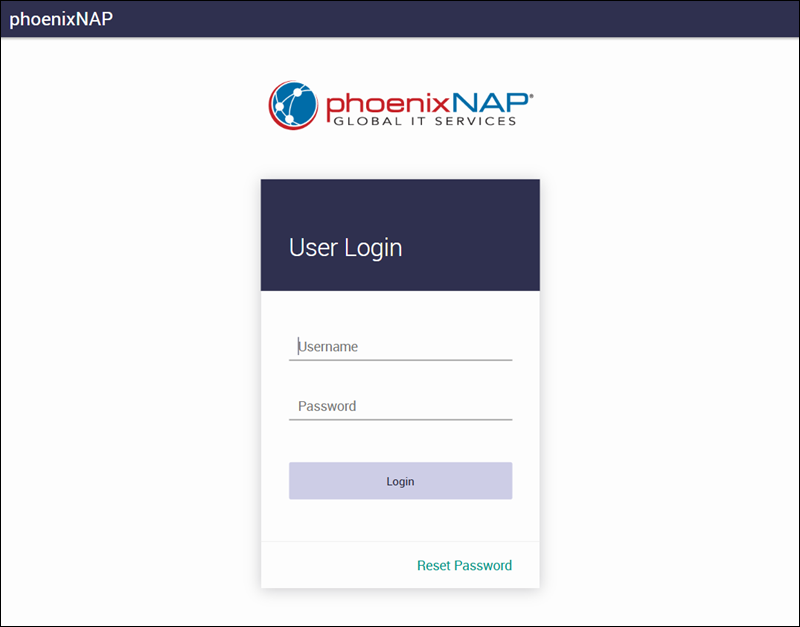
To access the Dedicated Servers portal:
1. Visit https://ds.phoenixnap.com.
2. Enter the email and password.
3. Click the Log In button.

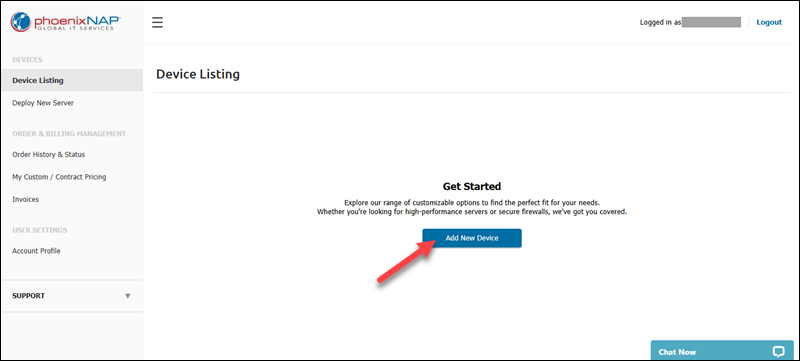
The Device Listing page opens with a list of currently deployed servers. If you have a new account or you have not previously deployed servers, click the Add New Device button to start a new deployment.
Device Listing
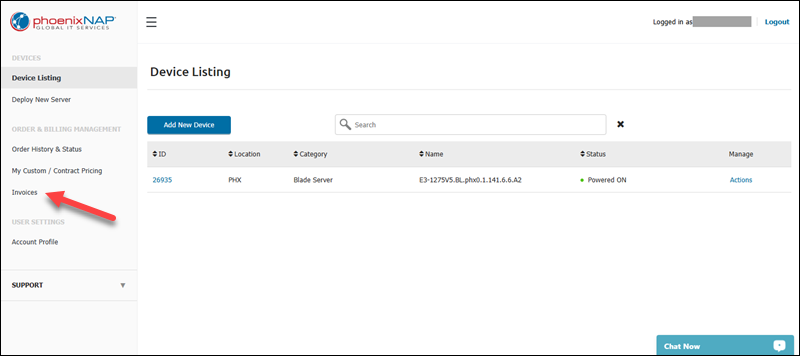
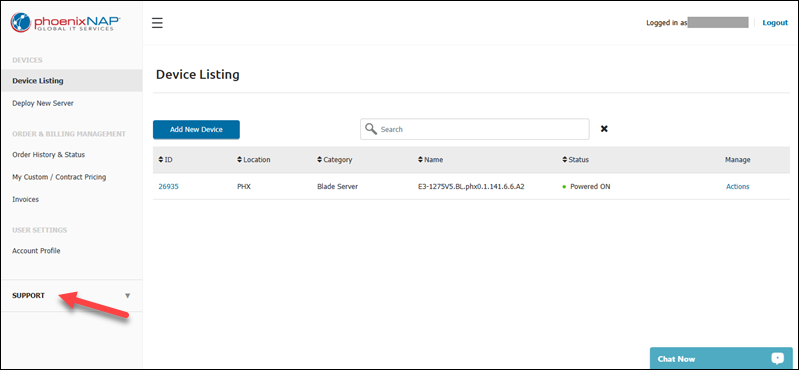
The Device Listing section shows a list of the servers previously deployed using the DS portal. Access it by selecting the Device Listing item in the navigation menu on the left side of the screen.

The list contains the following columns:
- Server ID. The unique numerical identifier for a server instance.
- Location. The geographical location of the server.
- Category. The server category (e.g., Dedicated Server, Blade Server, Cisco ASA, etc.)
- Name. The name of the server.
- Status. One of the following server statuses: Powered ON, Powered OFF, and N/A (status unknown).
- Manage. The column with management options under the Actions menu.
Aside from viewing server information, use the Device Listing page to perform the following actions:
- Start deploying a new server by clicking the Add New Device button. This action opens the Deploy New Server page.
- Search for the existing server instances by entering keywords into the search bar.
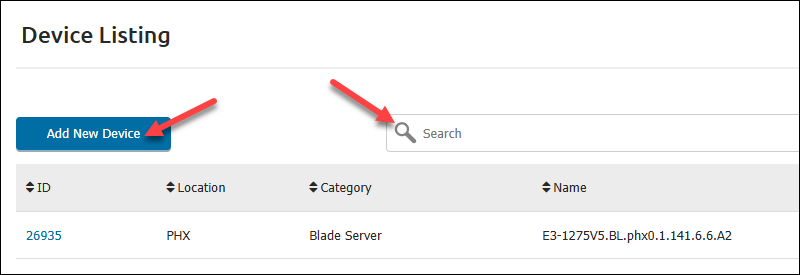
- Access management options by selecting the Actions item next to the relevant server.
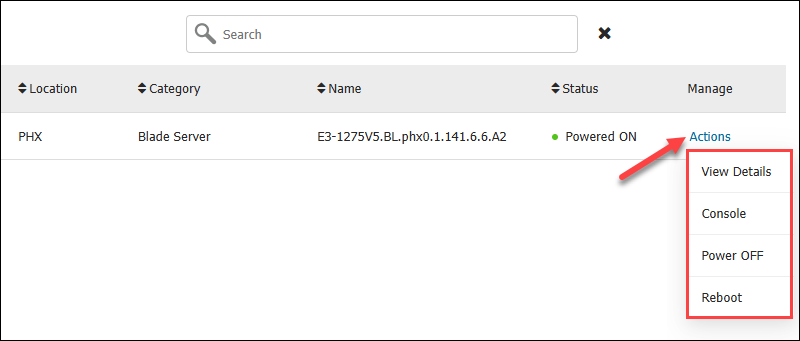
The available options in the Actions menu include:
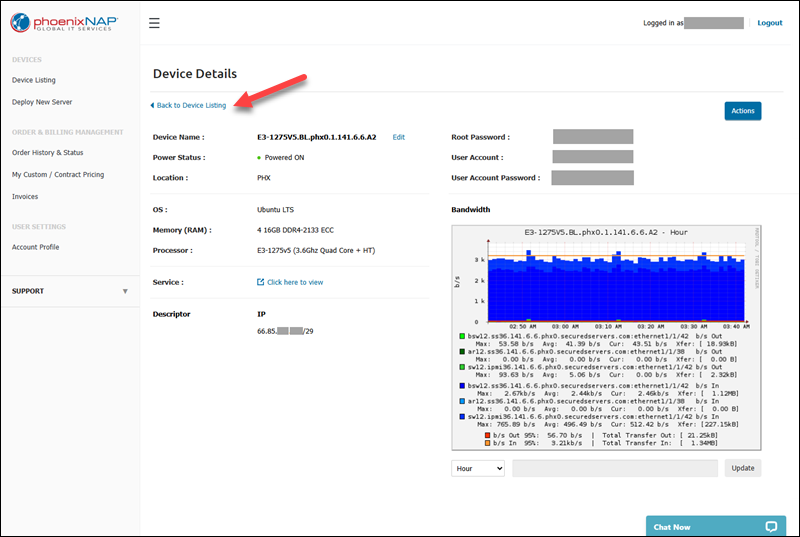
- View Details. Open the Device Details page with more information about the server, including the device name (editable), server operating system, memory (RAM), processor type, networking information, user/root credentials, and bandwidth usage. Return to the device listing by clicking the Back to Device Listing link.
- Console. Access the remote console.
- Power OFF/ON. Start or stop a server.
- Reboot. Reboot a server.
Deploy New Server
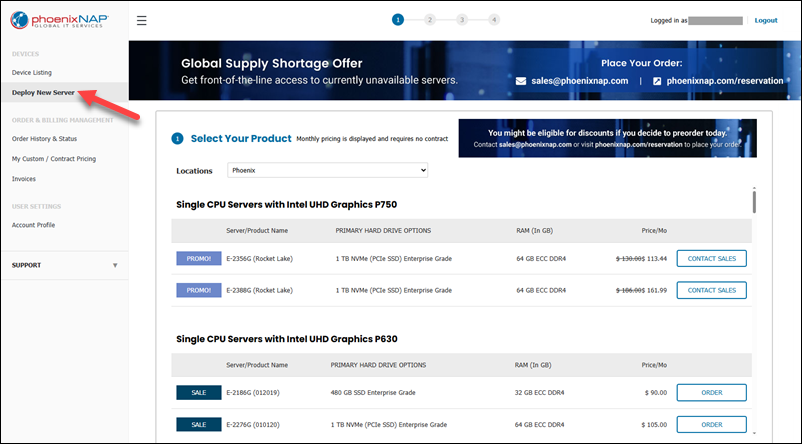
The Deploy New Server page allows you to add a new server instance. Access it via the Deploy New Server item in the menu on the left side of the screen.
Follow the steps below to deploy a server in the DS portal.
Step 1: Select Your Product
Choose a server instance by using the procedure below:
1. Click the Locations field.
2. Choose a location: Phoenix (PHX), Ashburn (ASH), Chicago (CHI), Seattle (SEA), Austin (AUS), Singapore (SGP), and the Netherlands (NLD).
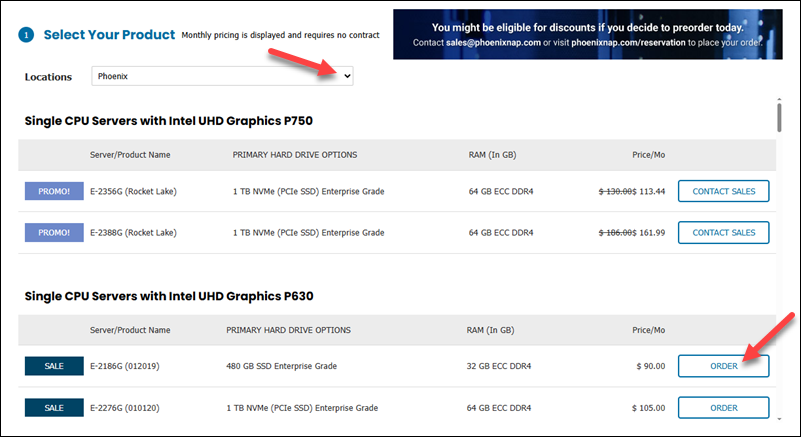
For each selected location, a list appears containing the available server instances.
3. Select an instance by clicking its Order button on the right side of the screen.
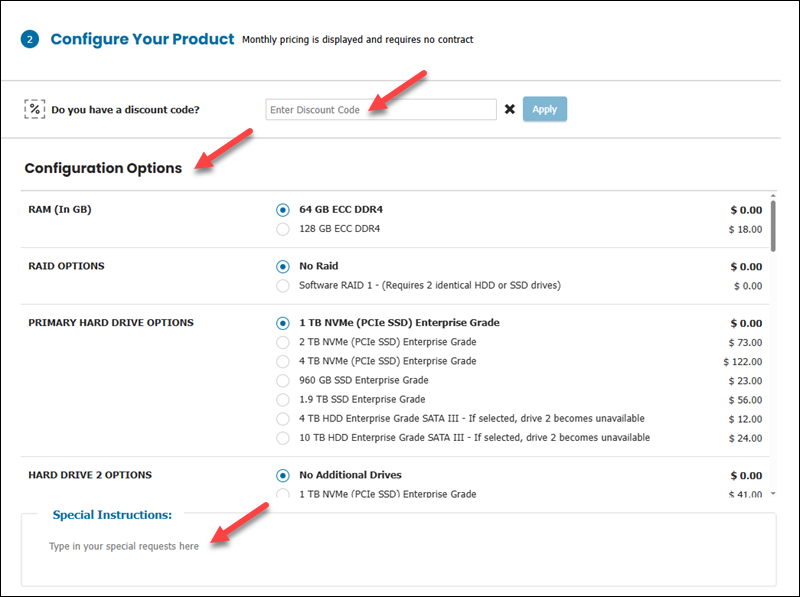
Step 2: Configure Your Product
Customize the configuration of the server before ordering. The step contains four sections:
- The Do you have a discount code field provides a place to enter any discount codes you had received.
- The Configuration Options section allows the user to adjust the configuration of the server according to the following four parameters:
- Managed Services. Choose between the Basic and Advanced set of managed services or opt for not including managed services in the product (default option).
- RAM (in GB). Decide on the amount of RAM for the server. Available options are 8 GB (default), 16 GB, 32 GB, and 64 GB.
- Raid Options. Select Software RAID 1 or proceed without RAID (default). Software RAID 1 requires two identical SATA HDDs.
- Primary Hard Drive Options. Available options include 1 TB and 10 GB HDD, 1.9 TB SSD, and 1 TB, 2 TB, and 4 TB NVME. All drives included in the offer are enterprise-grade SATA II.
- The Special Instructions field allows you to type custom text and list any special demands you may have regarding the configuration.
- The Your Order section contains the summary of the order and provides a way to change the server location and quantity.
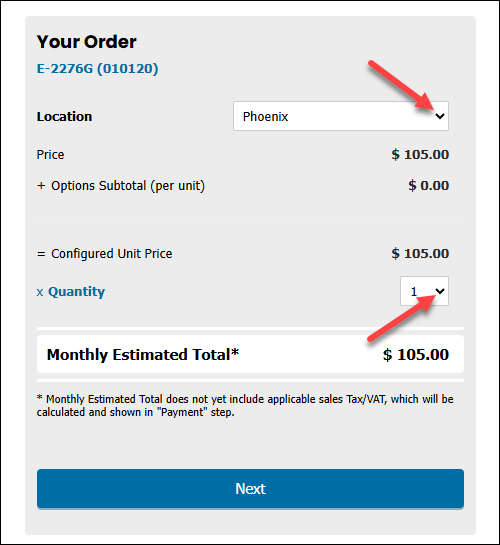
When finished, select Next to proceed.
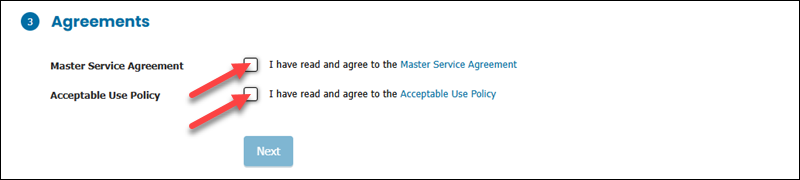
Step 3: Agreements
Read and accept the Master Service Agreement and the Acceptable Use Policy.
Click the links to read the agreements. To accept the agreements, select I have read and agree to the Master Service Agreement and I have read and agree to the Acceptable Use Policy, and click Next.
Step 4: Your Payment Options
This step lets you view the order summary and pay for the products you ordered. This step contains two subsections:
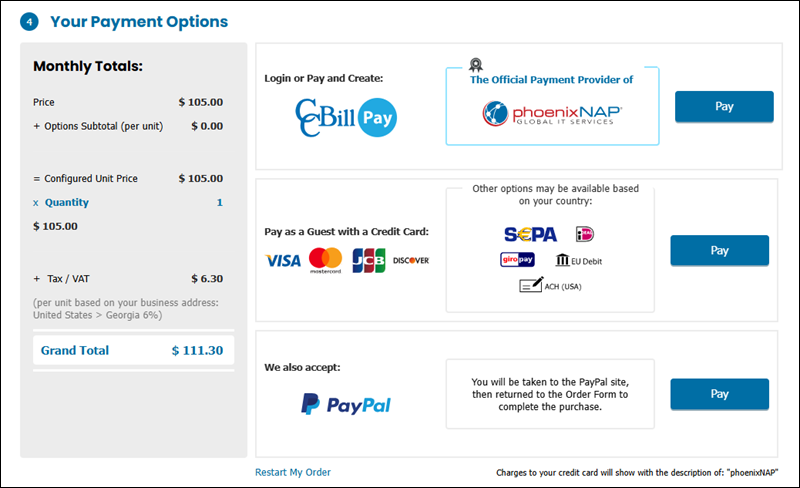
On the left side of the screen, Monthly Totals provides a breakdown of the price you pay for the product:
- Price is the basic price of the product.
- Options Subtotal refers to the price of the selected options.
- Configured Unit Price is the sum of the Price and the Options Subtotal.
- Quantity is the number of servers ordered.
- Tax/VAT represents the amount of additional taxes paid.
- Grand Total is the sum of the Configured Unit Price and Tax/VAT.
- Discount Applied shows any available discounts included in the price.
On the right side of the screen, you can find the available payment options:
- CCBill Pay
- Credit Card
- PayPal
Start the payment by clicking the Pay button next to the desired option.
To start the order from the beginning, select Restart My Order at the bottom of the payment section.
Note: When ordering products through the Dedicated Servers portal, you must choose a payment option, even if you provided one during your initial BMC signup.
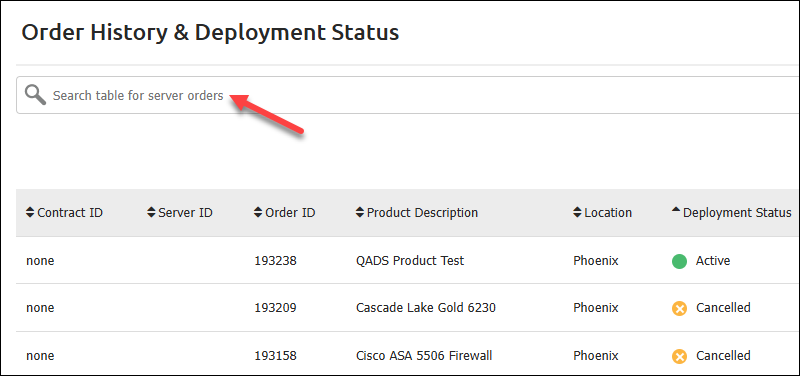
Order History and Status
The Order History and Status page contains a list of past and current orders alongside the relevant deployment status. Access it by selecting the Order History and Status item in the menu on the left side of the screen.

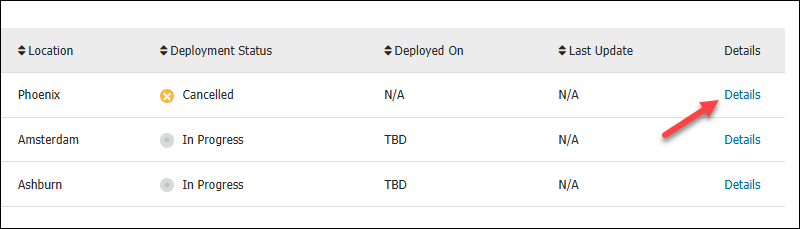
The table with orders features the following columns:
- Contract ID. The unique identifier for the contract. Note that Contract ID is not available for month-to-month purchases.
- Server ID. The unique identifier for the server instance. Not available while the order is in progress.
- Order ID. The unique identifier for the order.
- Product Description. The description of the product.
- Location. The data center location for the server.
- Deployment Status. The status of the deployment. The following are possible statuses:
- In Progress. The order is still in progress for the server (i.e., the system is waiting for a payment, the deployment is pending, etc.)
- Cancelled. The order has been cancelled (e.g., due to a declined or unsuccessful payment, failed installation, etc.)
- Active. The server is deployed.
- Deployed On. The date of the successful server deployment. Servers with the In Progress deployment status show TBD in this column.
- Last Update. The date of the last update.
- Details. The column contains links to the Order Details page for each order.
To search for individual servers, use the search bar at the top of the page.
Note: Each server is shown individually, regardless of whether they were ordered on the same contract or form.
Order Details
To view more information about an order, select the Details link in its row.
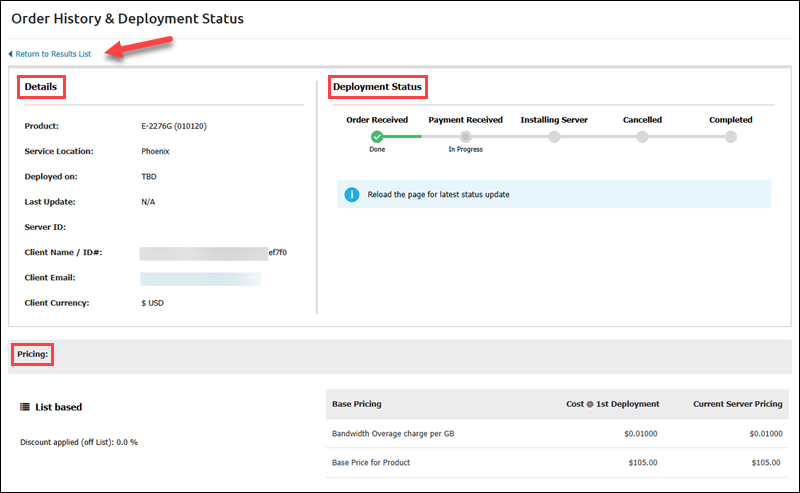
A new page opens, containing the following sections:
- Details. View general information about the product, including its description, location, dates of deployment and last update, and the client's name and email.
- Deployment Status. Track the product's deployment progress with a progress bar. A green checkmark indicates a completed step. To see the latest status updates, refresh the page.
- Pricing. See all costs associated with the selected product. Depending on the order type, the left side of the section contains either contract details or order specifics, alongside any discounts applied. The list on the right shows the product options and their prices at the time of purchase.
Return to the Order History & Deployment page by clicking the Return to Results List link.
My Custom/Contract Pricing
The My Custom/Contract Pricing page contains a table of contracts and any existing addendums. Access the page by selecting the My Custom/Contract Pricing item in the menu on the left side of the screen.
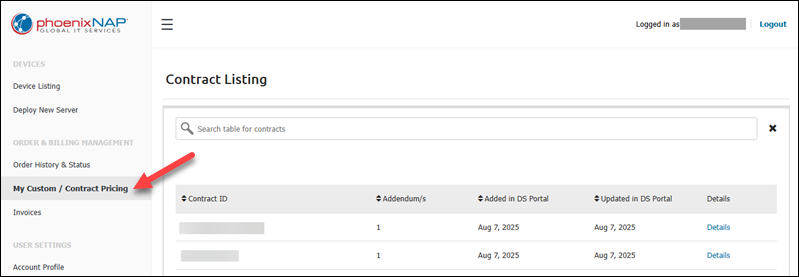
The page contains a table of your contracts. Use the search bar to locate a contract.
The table has the following columns:
- Contract ID. A unique identifier for a contract.
- Addendum/s. The number of addendums attached to the contract.
- Added in DS Portal. The date contract was added to the portal.
- Updated in DS Portal. The date the contract was updated in the portal.
- Details. The link for the Contract Details page.
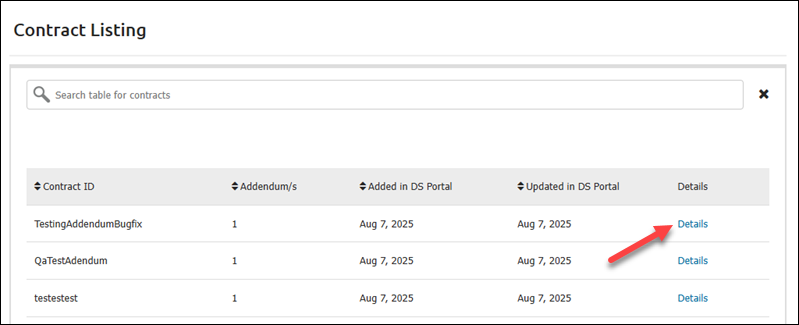
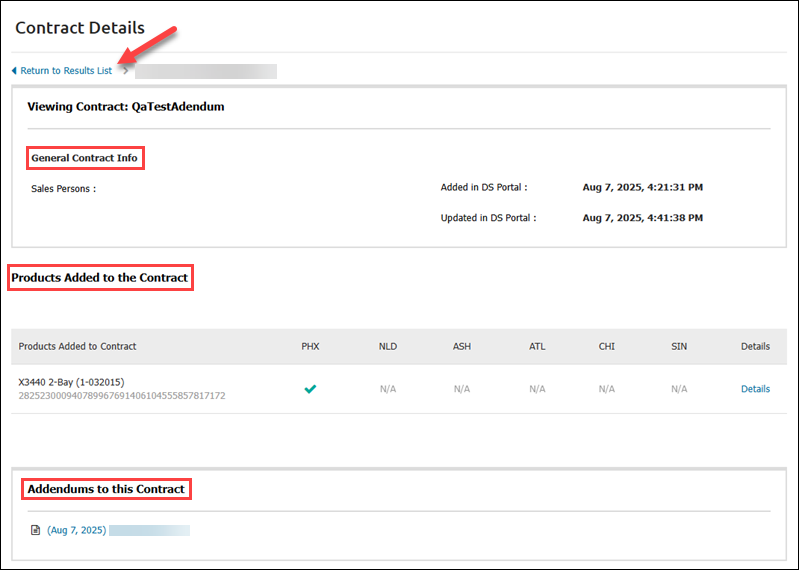
Selecting the Details link opens the Contract Details page for the relevant contract. The page has the following sections:
- General Contract Info. The names of relevant salespersons, along with the date and time for the contract creation and update.
- Products Added to the Contract. All products associated with the contract, along with their data center locations. Select the Details link to navigate to the Location Management screen, where you can view more comprehensive location information for the chosen product.
- Addendums to this Contract. View an addendum by clicking the link.
To return to the My Custom/Contract Pricing screen, click the Return to Results List link.
Invoices
View and manage your invoices by selecting the Invoices item in the menu on the left side of the screen.
A new window opens. Log in using your PNAP credentials.
Account Profile
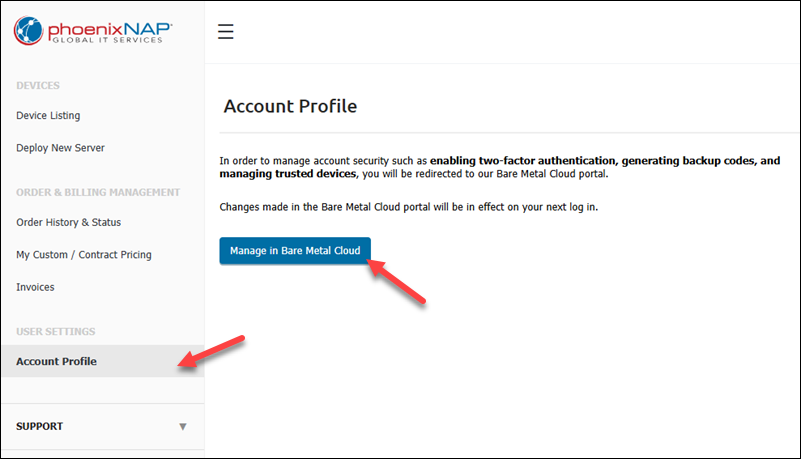
The Account Profile page allows you to access the Bare Metal Cloud portal and manage account security features such as two-factor authentication, backup codes, and trusted devices.
Follow the steps below to access the available account security options:
1. Select the Account Profile item in the menu on the right side of the screen.
2. Click the Manage in Bare Metal Cloud button.
Once in the Bare Metal Cloud portal, enable or disable two-factor authentication by following the procedure below:
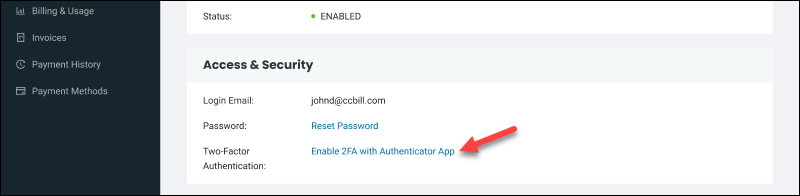
1. Select the Enable 2FA with Authenticator App link in the Access & Security section of the BMC Portal's User Details page.
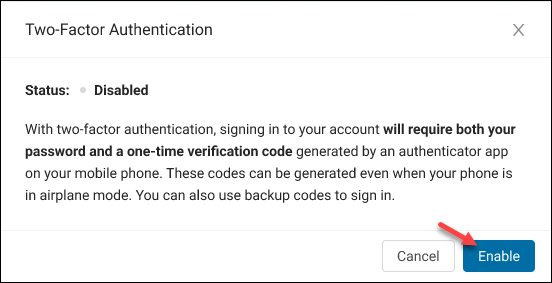
2. Select Enable in the next dialogue to enable two-factor authentication and follow the prompts to set up the authenticator app.
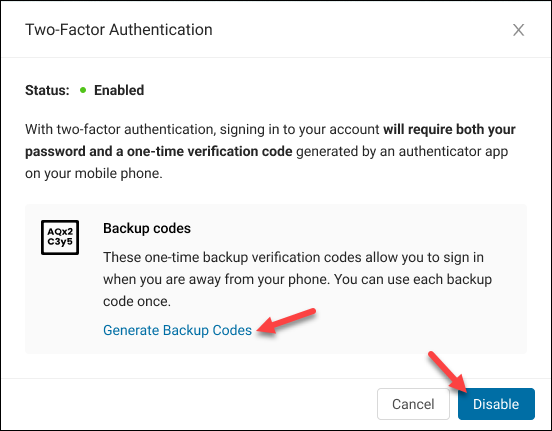
If the two-factor authentication is already enabled, you can select the Disable button to turn it off. To generate backup codes for accessing the portal when the authenticator app is unavailable, select the Generate Backup Codes link.
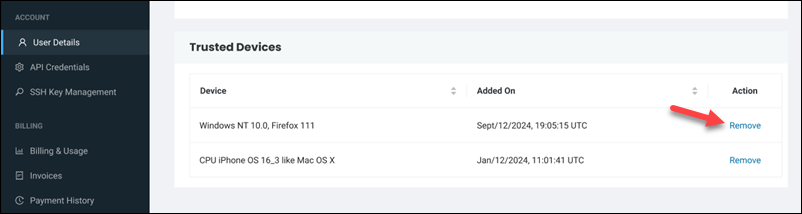
Remove trusted devices by selecting the Remove link next to the relevant device. Find the list of devices in the Trusted Devices section of the User Details page.
Support
To get help with actions in the Dedicated Servers portal, your deployments, and orders, select Support from the menu bar on the left side of the screen.
The support section expands with the following support options:
- System Status. Check if our services are all online and see if any planned maintenance is scheduled for your system.
- Support Tickets. Create a support ticket in the UBS Portal. To log in to the UBS Portal, enter the same credentials you used to access the DS Portal.
- Join our Slack Channel. Find support in our official Slack Channel.
- Email address.
- Telephone number.
- Get my Passphrase.
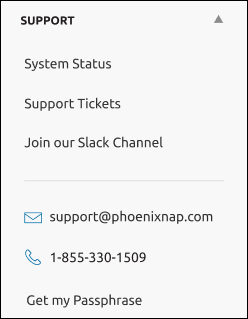
Note: Alternatively, start a conversation with our support specialist by clicking the Chat Now button in the bottom right corner of the screen.
Conclusion
After reading this tutorial, you should know how to use phoenixNAP's Dedicated Servers portal. The article presented the portal features and the actions you can perform in it.
For any support questions, feel free to contact us.