SQL Server is Microsoft's proprietary relational database management software. It supports various operating systems and installation methods, including Linux distributions like Ubuntu, Red Hat, and CentOS.
In this tutorial, we will take you through the step-by-step process of installing and configuring SQL Server on Ubuntu and CentOS 7/Red Hat.

Prerequisites
- A system running a Linux distribution, such as Ubuntu, CentOS, or Red Hat
- An account with sudo privileges
- Access to the terminal window/command line
Note: Check out our guides to installing SQL Server on Windows 10 and installing SQL Server on MacOS. If you are interested in a more lightweight version of SQL Server, have a look at our guide to installing SQL Express Server.
Install SQL Server on Ubuntu
Follow the steps below to install Microsoft SQL Server on Ubuntu:
Step 1: Add Repository Key
1. Import the public repository GPG keys from the Microsoft website by using:
wget -qO- https://packages.microsoft.com/keys/microsoft.asc | sudo apt-key add -2. Once prompted, enter the password for the sudo user. If the process is successful, the output reads OK.

Step 2: Add SQL Server Repository
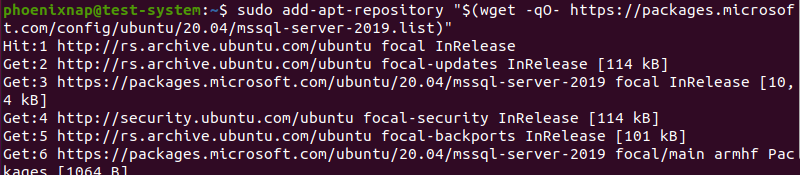
1. Add the Microsoft SQL Server repository for SQL Server 2019 with:
sudo add-apt-repository "$(wget -qO- https://packages.microsoft.com/config/ubuntu/[version]/mssql-server-2019.list)"In the command above, [version] is the version of Ubuntu you are installing SQL Server on. In this example, we are using Ubuntu 20.04:
2. Update the repository to the latest version:
sudo apt-get update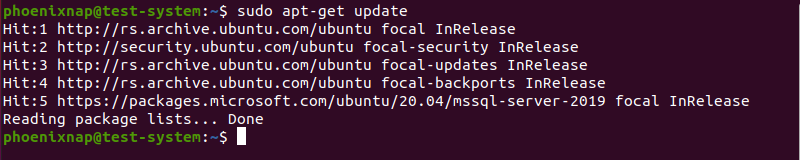
Step 3: Install SQL Server
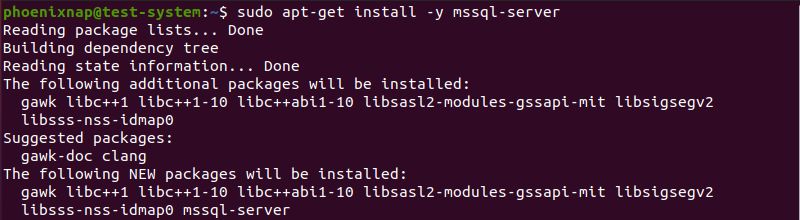
Use the following command to start the SQL Server 2019 installation process:
sudo apt-get install -y mssql-serverThe installation process starts by building a dependency tree of packages that it needs to install before SQL Server:
The installation then proceeds to download, unpack, and set up the necessary packages:
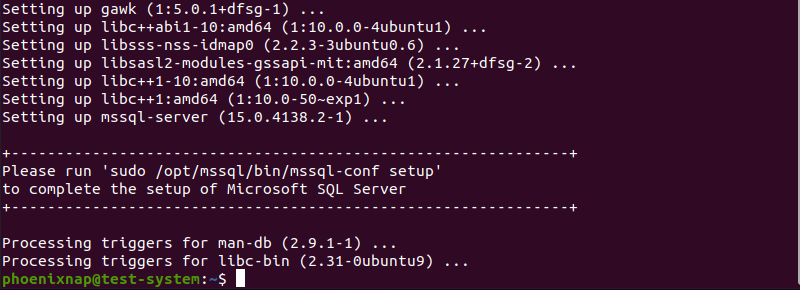
Step 4: Configure SQL Server
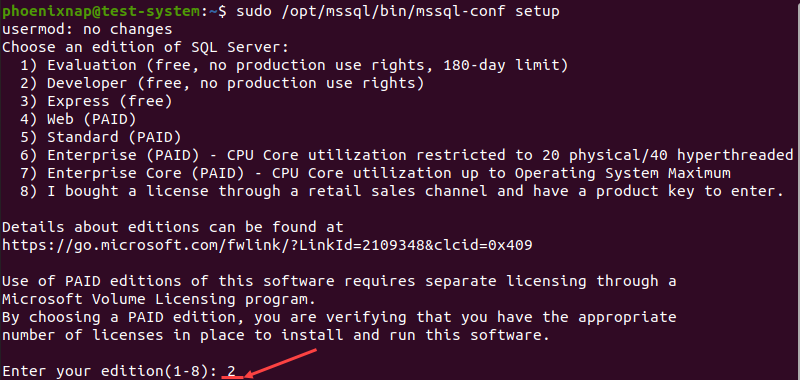
1. Use the following command to start configuring the SQL Server:
sudo /opt/mssql/bin/mssql-conf setup2. First, the configuration requires you to pick from a list of available editions of SQL Server. We are using the Developer edition (number 2):
3. Next, you need to accept the license terms by typing Yes and pressing Enter:

4. Finally, you need to set up an SQL Server system administrator password:
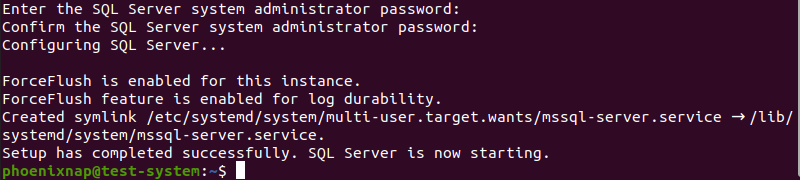
Note: The SQL Server system administrator password must contain at least one uppercase letter, lowercase letter, a number, and symbol.
5. Verify the installation by checking the mssql service:
systemctl status mssql-server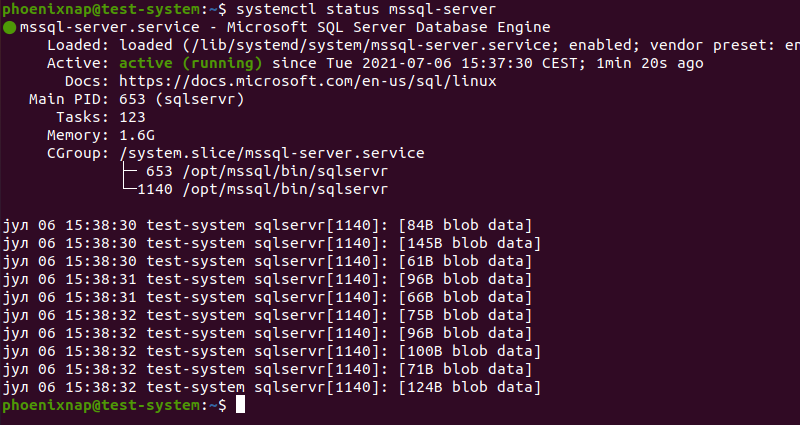
Install SQL Server on CentOS 7 and Red Hat (RHEL)
The steps below install SQL Server 2019 on CentOS 7/Red Hat:
Step 1: Add SQL Server Repository
1. Start by updating the system packages:
sudo yum update -y2. Add the Microsoft SQL Server 2019 repository with:
sudo curl -o /etc/yum.repos.d/mssql-server.repo https://packages.microsoft.com/config/rhel/[version]/mssql-server-2019.repo[version] is the version of CentOS you are installing SQL Server on. In this example, we are using CentOS 7:

Step 2: Install SQL Server
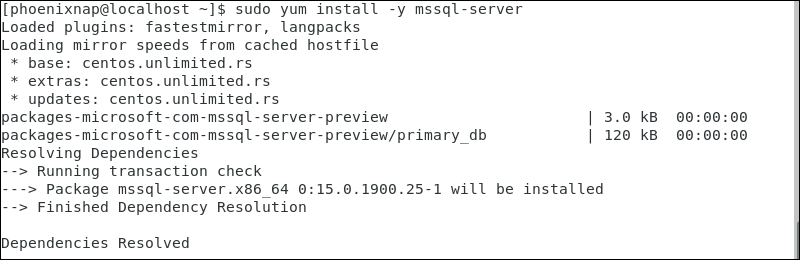
Start the installation process for Microsoft SQL Server 2019 with:
sudo yum install -y mssql-serverThe installation starts by resolving dependencies before downloading and installing all the required packages:
Step 3: Configure SQL Server
1. Start the SQL Server configuration tool by using:
sudo /opt/mssql/bin/mssql-conf setup2. The configuration process prompts you to choose an SQL Server edition, accept the license terms, and set a server administrator password.
3. Verify the installation by checking the mssql service:
systemctl status mssql-server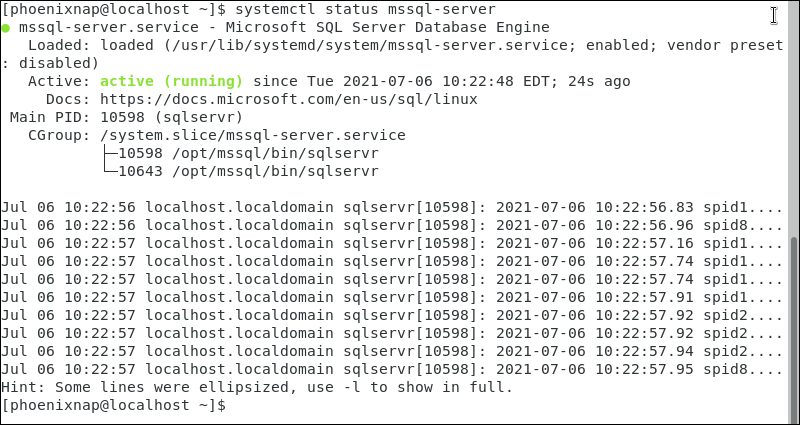
Step 4: Install SQL Server Command Line
1. Add the Microsoft Red Hat repository to allow <a href="https://phoenixnap.com/kb/create-local-yum-repository-centos" target="_blank" rel="noreferrer noopener">yum</a> to install SQL Server command-line tools:
sudo curl -o /etc/yum.repos.d/msprod.repo https://packages.microsoft.com/config/rhel/7/prod.repo
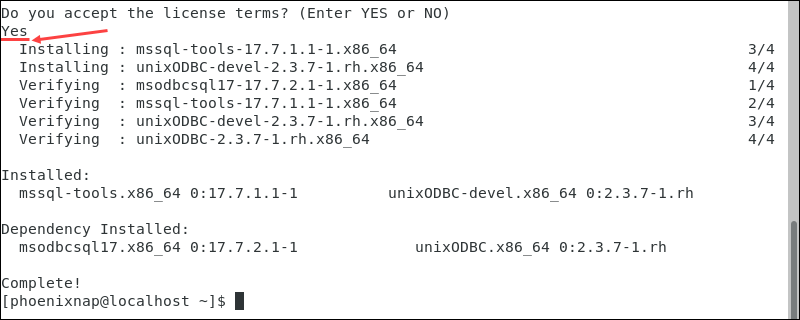
2. Install the command-line tools by using:
sudo yum install -y mssql-tools unixODBC-devel3. When prompted, enter Yes and press Enter to accept the license terms.
4. Add /opt/mssql-tools/bin/ to the PATH environment variable by using the following commands:
echo 'export PATH="$PATH:/opt/mssql-tools/bin"' >> ~/.bash_profile
echo 'export PATH="$PATH:/opt/mssql-tools/bin"' >> ~/.bashrc
source ~/.bashrc
5. Start the command-line tool by using:
sqlcmd -S localhost -U SA6. Type in the server administrator password and hit Enter.

Conclusion
After following this tutorial, you should have a copy of Microsoft's SQL Server installed and ready to use.