Reinstalling an operating system (OS) and starting fresh is helpful if an upgrade fails or there is an issue with drivers. Other situations that require an OS reinstall include a faulty GRUB loader or issues whose cause is difficult to pinpoint.
Although many issues have specific solutions, sometimes reinstalling the OS and starting fresh is the fastest way to eliminate the problem.
This tutorial will show how to reinstall Ubuntu in a few steps.
Prerequisites
- A USB drive (at least 4 GB).
- Internet connection.
Ubuntu Reinstallation Guide
Follow the steps below to reinstall Ubuntu on your machine. Backing up your important files and system settings is the first step before reinstalling your system to prevent data loss, as the reinstall erases existing data, making recovery impossible without a prior backup.
Step 1: Backup
Reinstalling Ubuntu can erase personal files and system partitions depending on the selected installation method. Always create a full backup before proceeding.
Use an external drive or USB and copy any important files you don't want to lose.
After the reinstallation, the following should be preserved:
- The /home directory with your files and settings.
- The entries in the boot menu (for multiple OSes).
Note: Make sure to backup applications installed in the system directory. For example, LAMP installs in the system directory and is erased during reinstall.
Step 2: Download Ubuntu
Browse to the official Ubuntu downloads page. Choose the Ubuntu version to reinstall (for this guide, we chose Ubuntu 26.04) and click the Download [version] button.
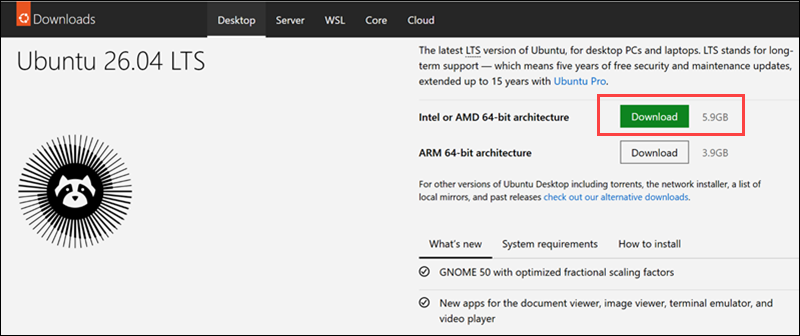
Wait for the ISO image to finish downloading.
Note: See how to fix broken packages in Ubuntu and fix problems without reinstalling the system.
Step 3: Create Live USB
You can create a Live USB on both Linux and Windows to run or install an operating system without altering your computer's internal storage. This process allows you to boot from the USB drive and use the system as if it were installed on the computer.
Create Live USB in Ubuntu
In newer OSs, you can use the built-in Disks utility to create a bootable live USB automatically. However, many systems still use the older Startup Disk Creator tool.
The following steps explain how to use it to create a bootable USB on Ubuntu:
1. Insert a USB stick into an available USB port.
Important: All data on the USB device will be erased.
2. Click the Show Apps button to open the app drawer.
3. Type startup disk creator in the search field and open Startup Disk Creator.
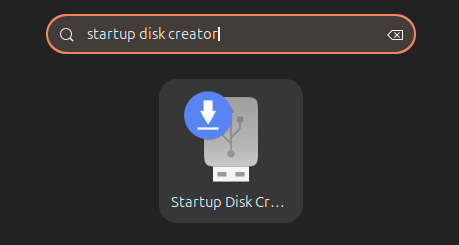
Note: If the Startup Disk Creator is not installed by default, run sudo apt install usb-creator-gtk.
4. In the Startup Disk Creator, select the target USB drive in the Disk to use section.
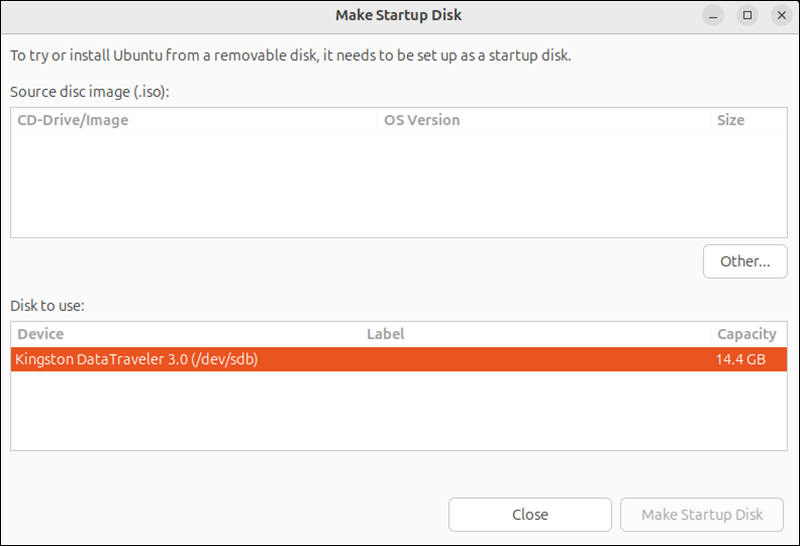
5. Click the Other... button to load the ISO image in the Source disc image (.iso) section.
6. Select the Make Startup Disk button to create the Live USB.
7. Click Yes to continue when prompted.

The process takes a while to complete.
8. When the tool finishes writing the image to USB, an info message appears stating the installation is complete. Click Quit to close the dialog box and follow the steps for reinstalling Ubuntu.

Note: If you are using Windows, but don't want to dual boot with Linux, see how to run Ubuntu on Windows as a VM with Hyper-V.
Create Live USB in Windows
Users reinstalling Ubuntu from a Windows system who don't have access to a Linux environment must create a bootable USB drive on a Windows machine.
Before starting, make sure you download the Ubuntu ISO from the official Ubuntu downloads page.
To reinstall, use Rufus or another third-party tool to create a bootable USB drive on Windows.
For Rufus, follow the steps below:
1. Insert your USB stick into an available USB port.
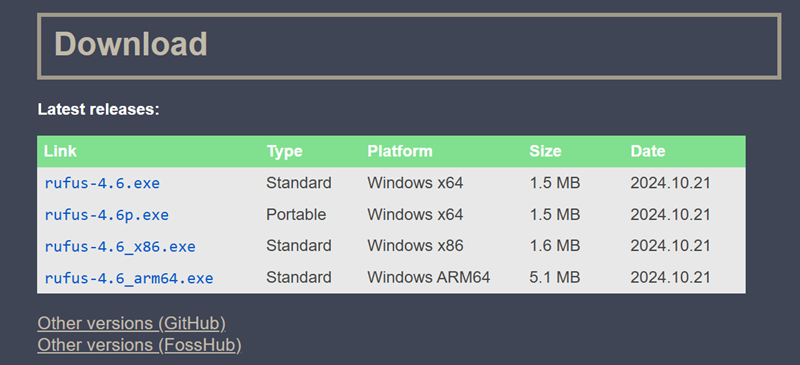
2. Navigate to the official Rufus website and scroll down to the Downloads section. Click the link to download the latest Rufus version.
3. Run the downloaded file. Rufus automatically recognizes the USB drive.
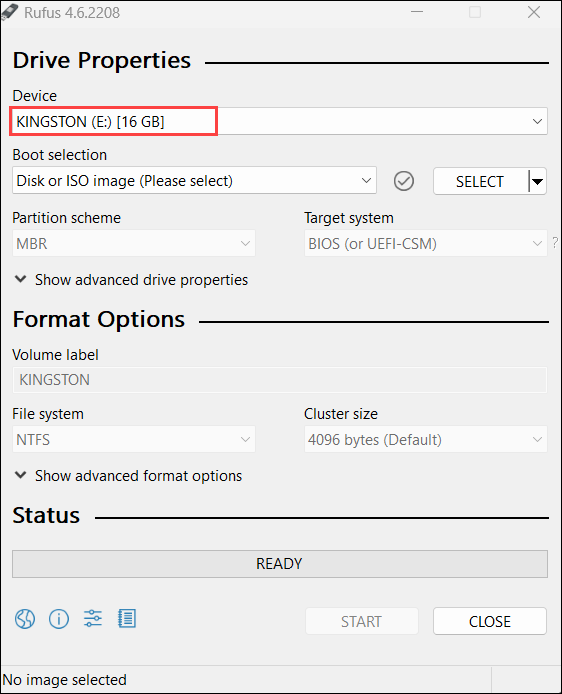
4. Click the SELECT button and locate the downloaded Ubuntu ISO image.
5. Click START to format the USB drive and start writing the image to the device.
Step 4: Reinstall Ubuntu
Do not remove the USB drive and restart the machine. To continue the process, follow these steps:
1. On the post screen, depending on your machine brand, press the F2/F10/F12 key to enter the BIOS or UEFI settings.
2. Ensure Removable Devices/USB is at the top of the Boot order list in BIOS.
3. Save the changes and exit BIOS.
Note: Some systems use UEFI instead of BIOS. If that is the case, disable Secure Boot if that causes issues.
The system restarts and boots from the live USB.
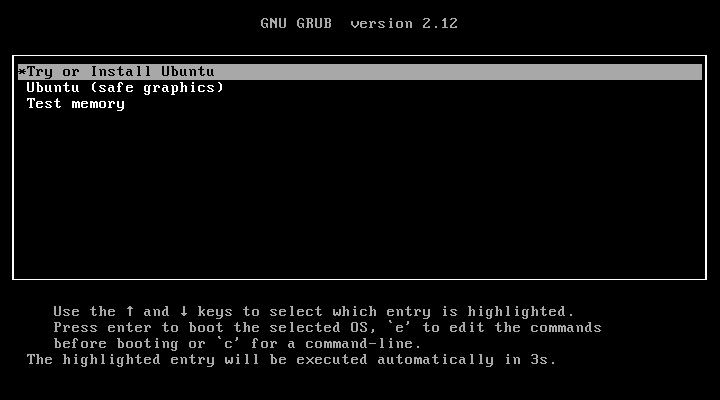
4. In the GNU Grub menu, select the Try or Install Ubuntu option and press Enter.
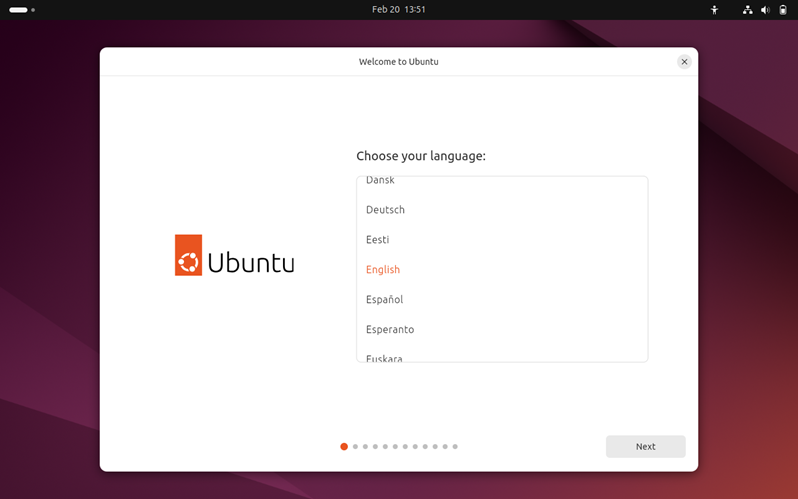
5. Choose your preferred language and select the Next option.
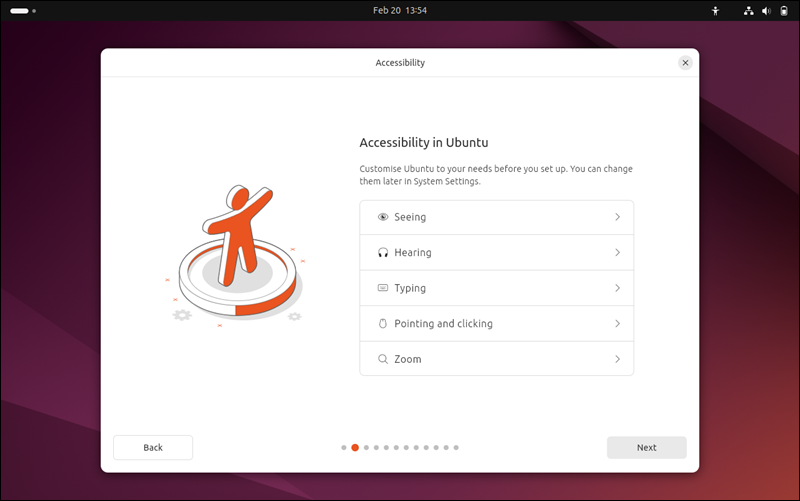
6. Set Accessibility Options and click Next.
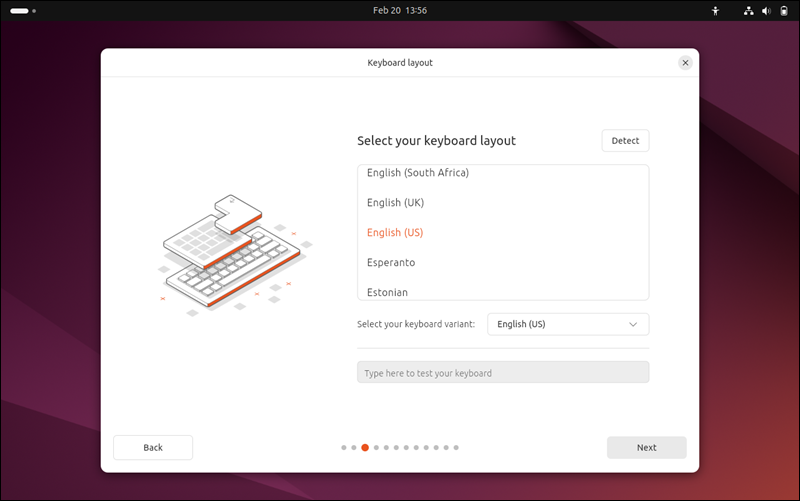
7. Select the keyboard layout and click Next.
8. Choose how to connect to the Internet.

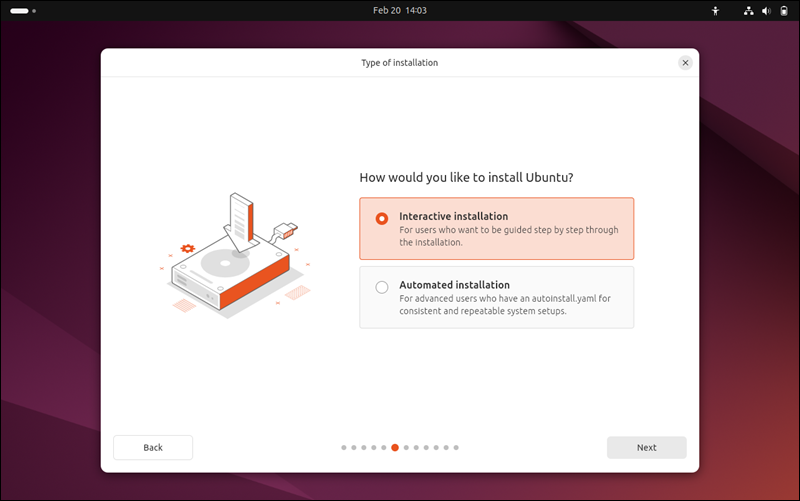
9. Choose whether you want Interactive or Automatic Installation. The Interactive Installation provides a step-by-step guide, while Automatic is for more advanced users.
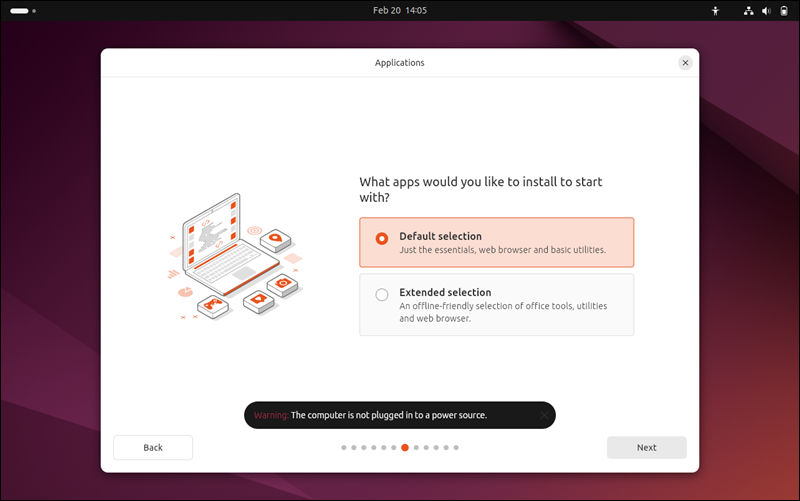
10. Choose which apps to install.
11. On the Installation Type screen, you see options like:
- Erase disk and install Ubuntu.
- Install Ubuntu alongside Ubuntu.
- Reinstall Ubuntu.
- Something else.
The window appearance varies and depends on your Ubuntu version. In some cases, you only have an option to install Ubuntu over the existing version or erase the disk.
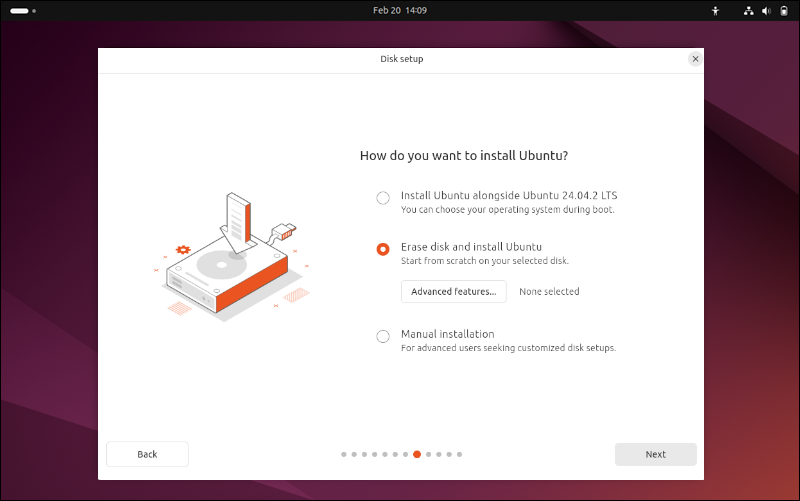
Important: If you are running a Windows and Ubuntu dual boot, select the Something else option and reinstall Ubuntu from there. Otherwise, the Windows partition gets formatted, too.
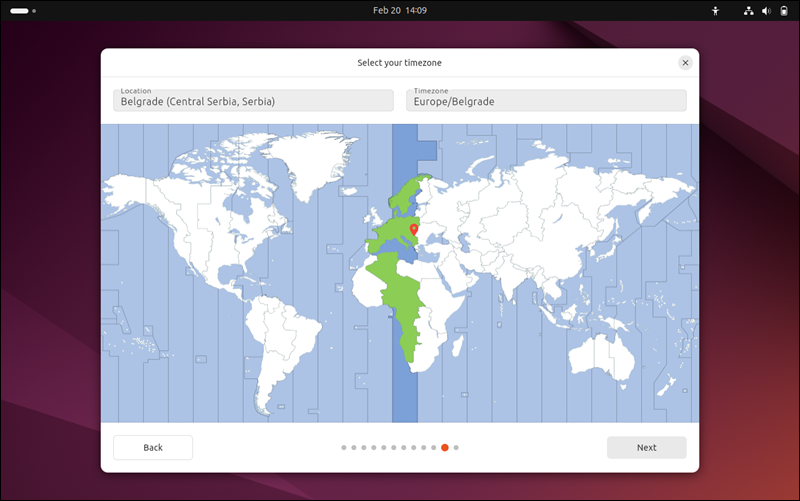
12. Choose your time zone and click Next.
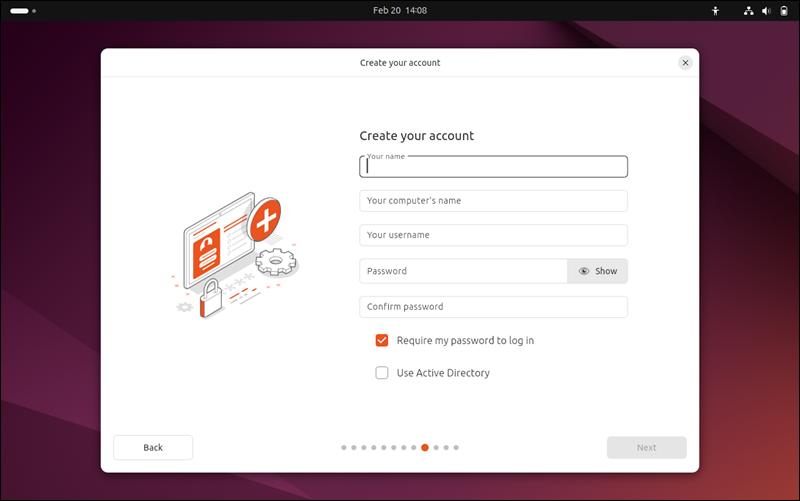
13. Create a username and password and click Continue.
14. Wait for the installation to finish. Then, remove the USB drive and boot into the system.
Conclusion
This tutorial explained how to reinstall Ubuntu. It also elaborated on how to use a USB drive to create bootable media.
Next, learn how to access Ubuntu via remote desktop from Windows.